Repeatedly entering passwords for multiple PDF files can significantly hinder productivity, particularly when you access these documents frequently throughout the day.
If you’re confident that password protection is no longer necessary for certain PDFs, you can remove the passwords using a command-line tool on both Windows and macOS. Even better, you can decrypt multiple PDFs in one operation.
Below, we’ll explore how to remove passwords from multiple PDF files in bulk using QPDF, a reliable command-line utility. We’ll cover the process for both Windows and Mac users.
Limitations of Removing Passwords from PDF Files
While QPDF is a powerful tool, there are some limitations to consider. As a command-line utility, it lacks a graphical user interface, so all interactions occur through commands. You can automate the process with scripts, but all the PDFs must share the same password for bulk operations. If your PDFs have different passwords, you’ll need to process them individually.
Additionally, after installing QPDF, you’ll need to set the environment variable on your system to recognize QPDF commands. Although this step isn’t a limitation per se, it may seem technical for some users.
Remove Password from Multiple PDF Files on Windows
QPDF is a dependable tool for decrypting PDFs. Since it’s a command-line utility, you’ll install it, set up the environment variable, and use Command Prompt or PowerShell to execute the necessary commands.
Below are the detailed steps to install QPDF, set the environment variable, and remove passwords from multiple PDFs on Windows.
Step 1: Install QPDF on Windows
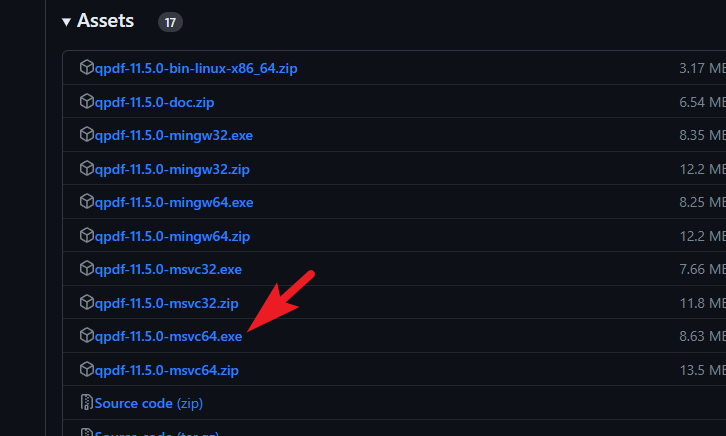
First, navigate to github.com/qpdf in your preferred web browser. Download the appropriate installer based on your system architecture: click on qpdf-msvc64.exe for 64-bit Windows or qpdf-msvc32.exe for 32-bit Windows.
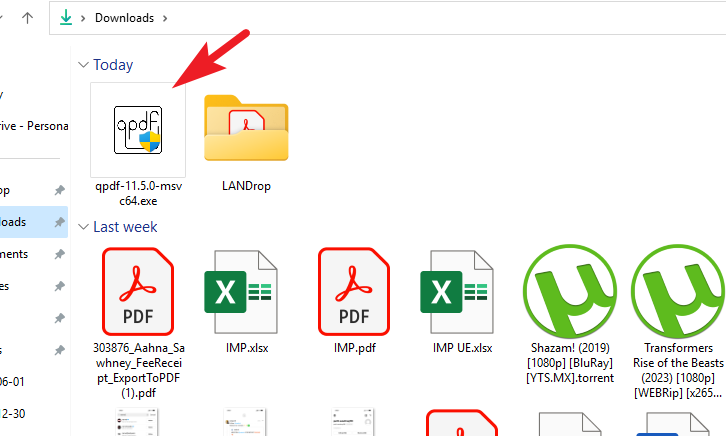
After downloading, go to your default downloads folder and double-click the .EXE file to start the installation.
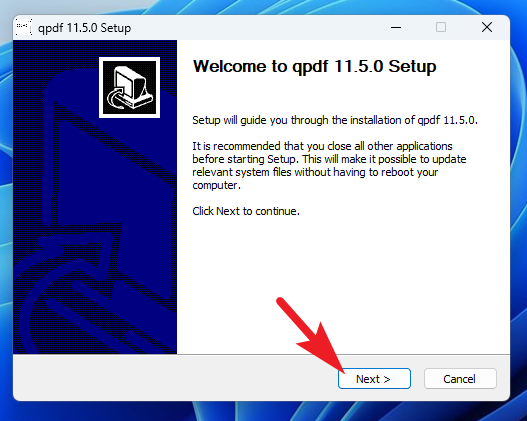
In the installer window, click ‘Next’ to proceed.
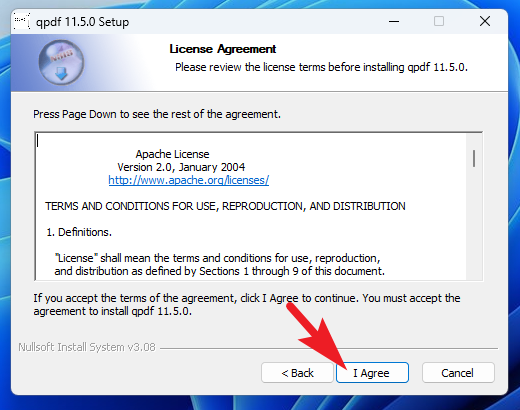
Accept the license agreement by clicking ‘Agree’.
Choose the installation directory. You can click ‘Browse’ to select a different location if desired. Once selected, click ‘Next’.

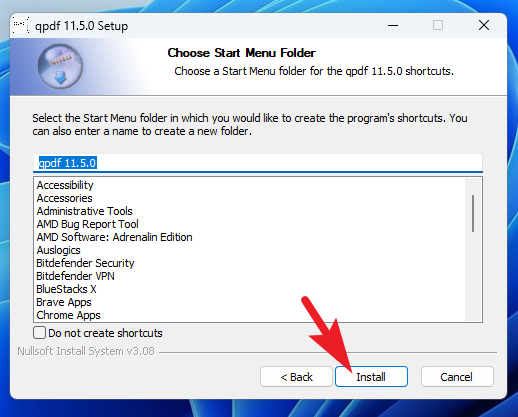
Click ‘Install’ to begin the installation process.
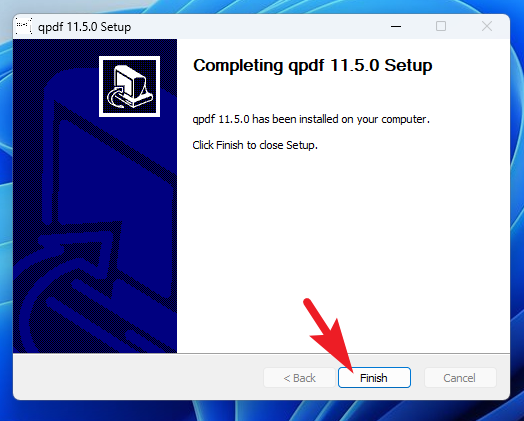
Once the installation completes, click ‘Finish’ to exit the installer.
Step 2: Set Environment Variable
After installing QPDF, you need to set the environment variable so your system recognizes QPDF commands.
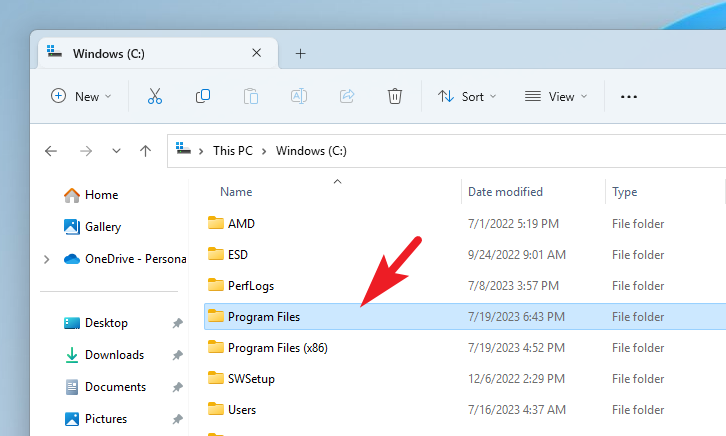
Navigate to the QPDF installation directory. If you didn’t change it during installation, it should be in the ‘Program Files’ folder on your system drive.
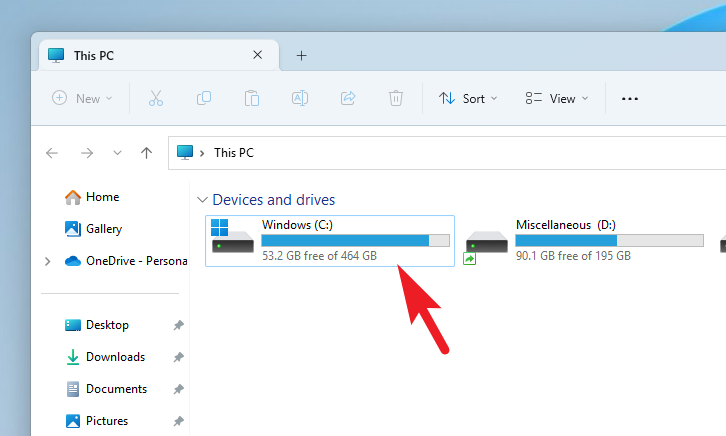
Open the ‘Program Files’ folder.
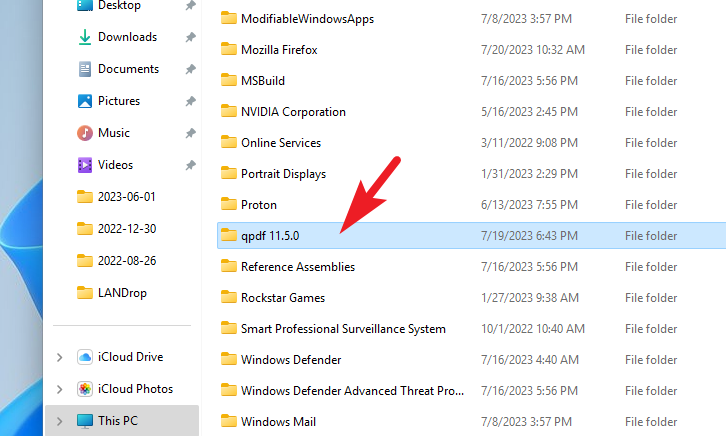
Locate the ‘QPDF’ folder and double-click to open it.
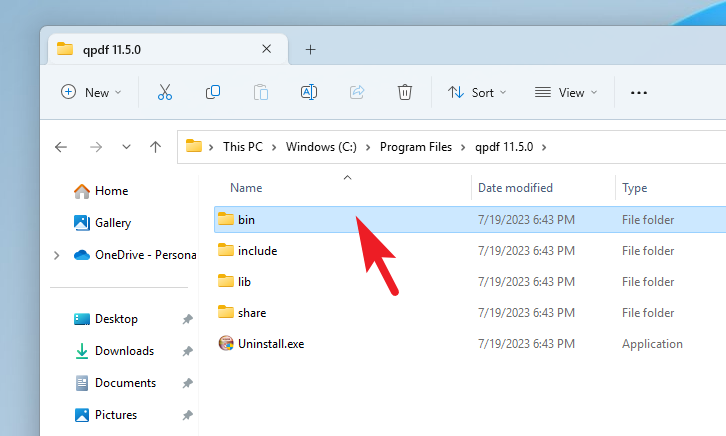
Next, open the ‘Bin’ folder.
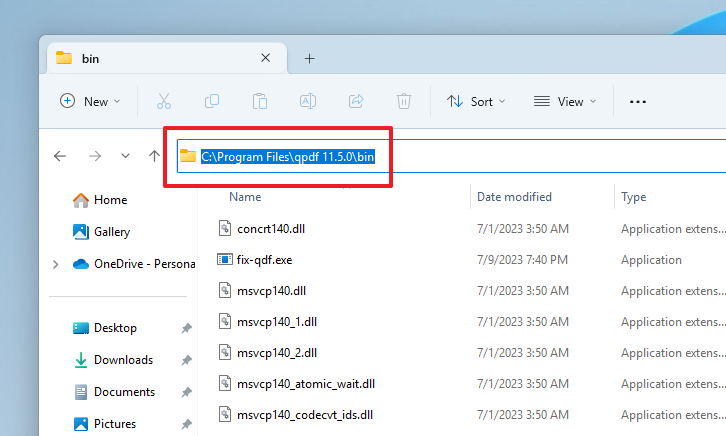
Click on the address bar, highlight the path, and press Ctrl+C to copy it. You’ll need this path shortly.
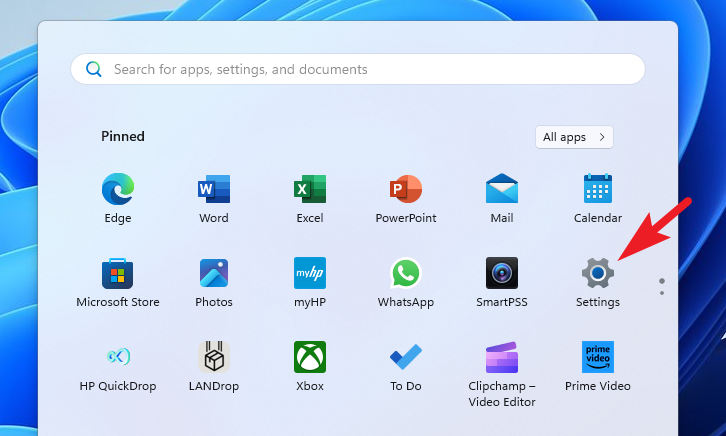
Go to the Start Menu and click on the ‘Settings’ icon.
Ensure that ‘System’ is selected in the left sidebar.
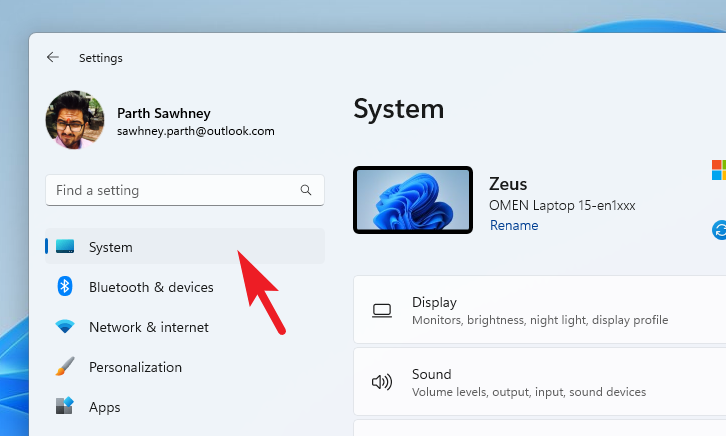
In the right pane, scroll down and click on ‘About’.
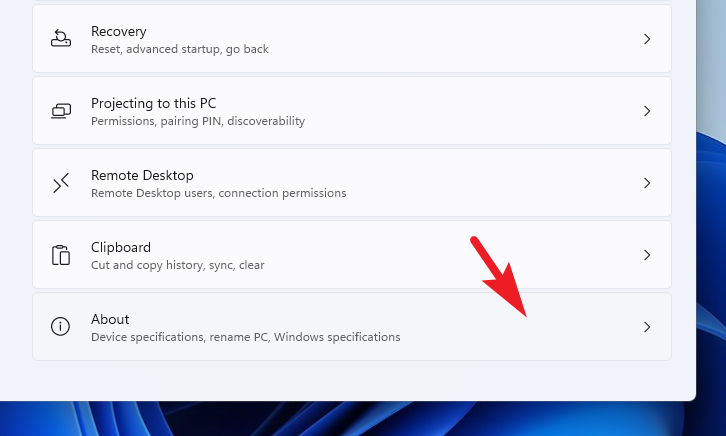
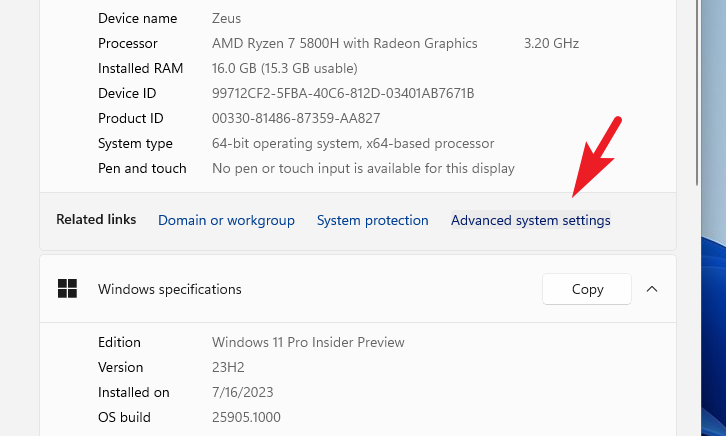
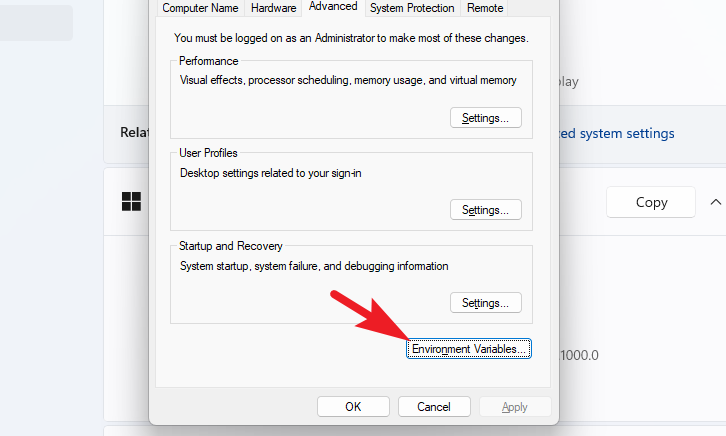
Click on ‘Advanced system settings’ to open the System Properties window.
In the System Properties window, under the ‘Advanced’ tab, click on ‘Environment Variables’.
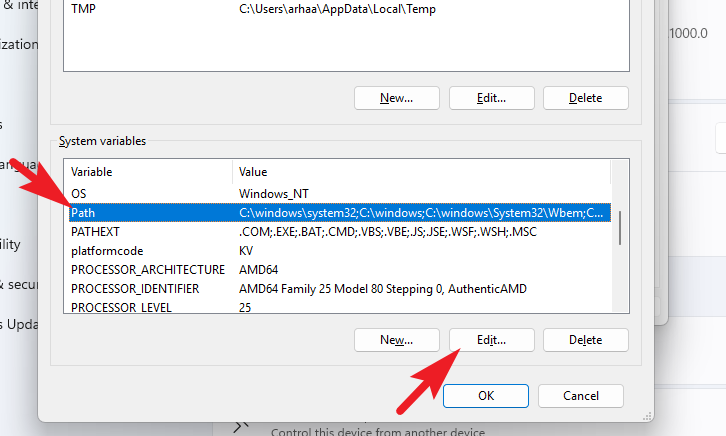
Under ‘System variables’, find and select the ‘Path’ variable, then click ‘Edit’.
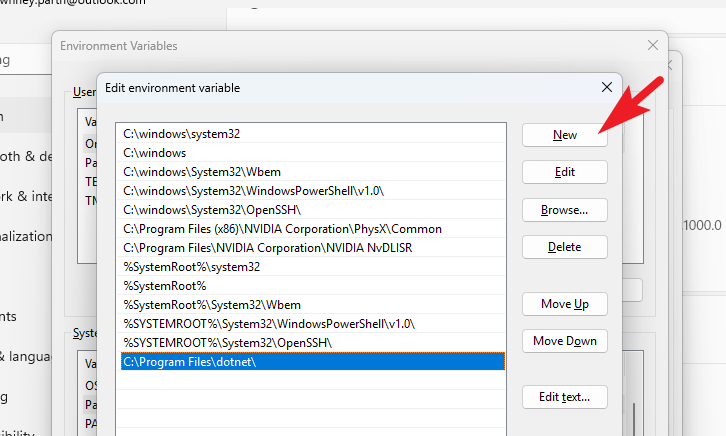
In the Environment Variables window, click ‘New’.
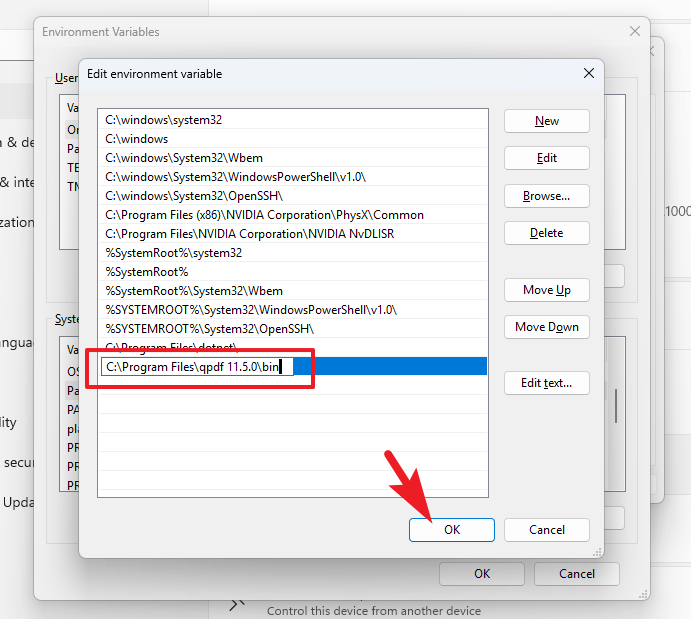
Paste the path you copied earlier into the new entry and click ‘OK’ to save the changes.
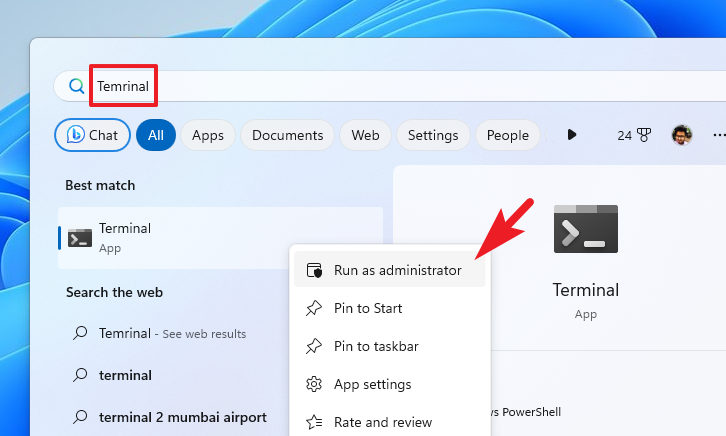
To verify the environment variable is set correctly, open the Start Menu, type Terminal, and select ‘Run as administrator’ for Windows Terminal.
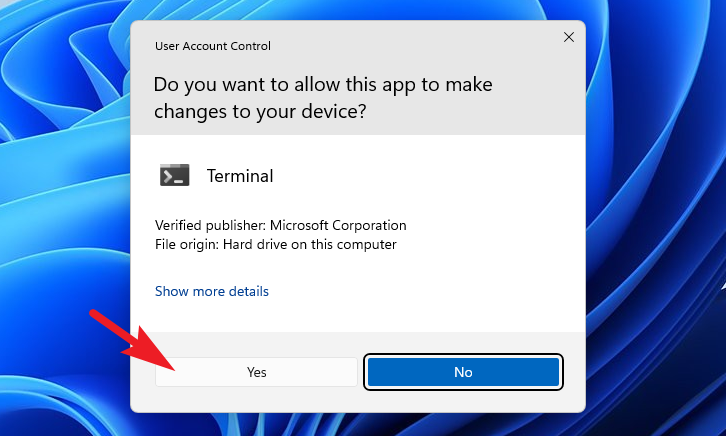
If prompted by User Account Control (UAC), click ‘Yes’ to proceed.
In the terminal window, type the following command and press Enter:
qpdf --version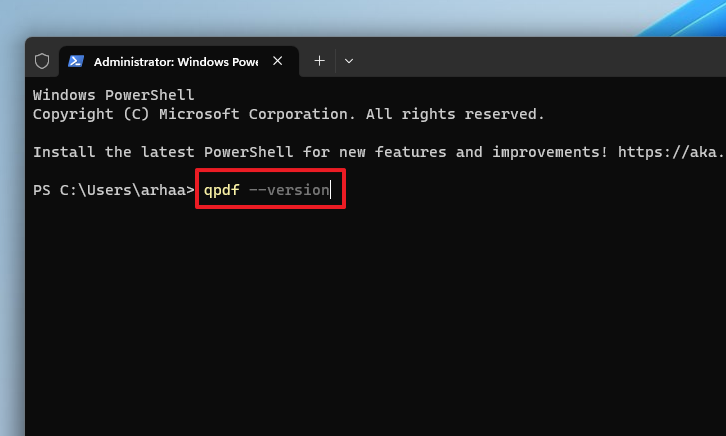
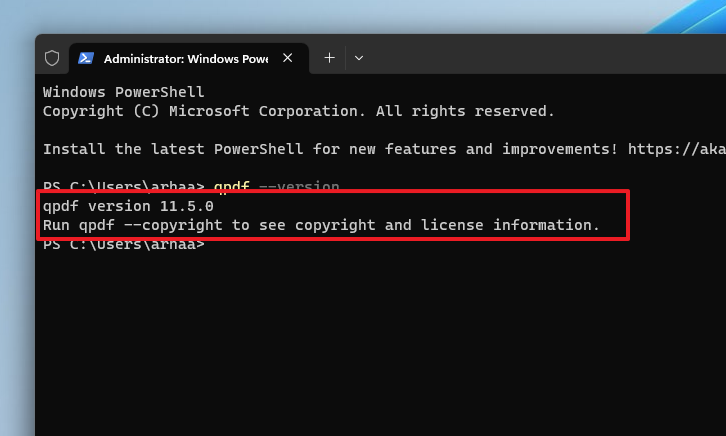
The command should display the installed version of QPDF, confirming that the environment variable is set correctly.
Step 3: Remove Passwords from Multiple PDF Files
Now, you’ll create a PowerShell script to remove passwords from multiple PDFs at once.
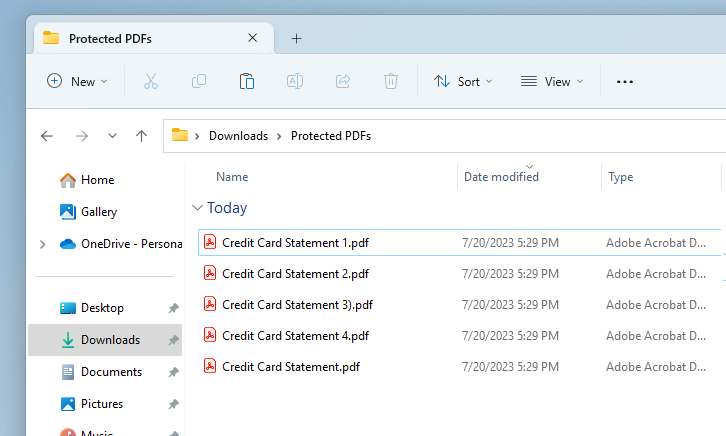
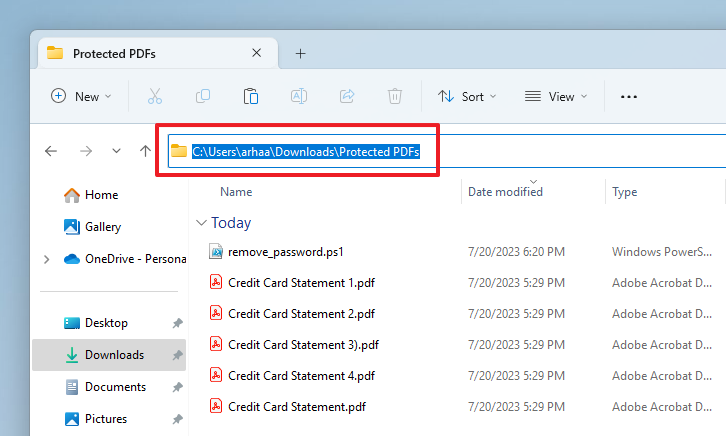
Ensure all the PDF files you want to decrypt are in the same folder.
Open Notepad by searching for it in the Start Menu and clicking on the application.
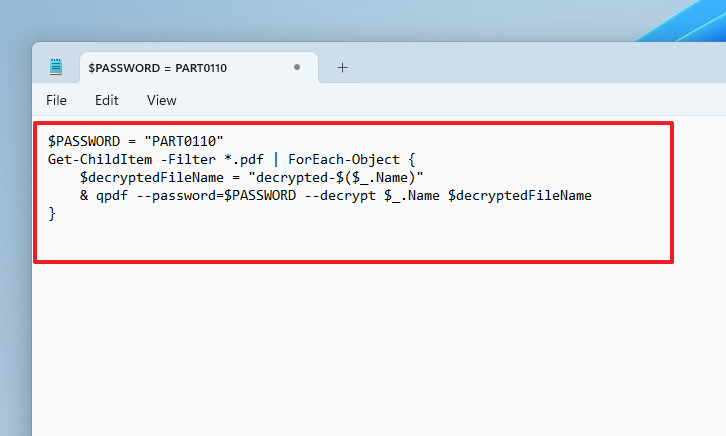
In Notepad, type or paste the following script:
$PASSWORD = "<yourpasswordhere>"
Get-ChildItem -Filter *.pdf | ForEach-Object {
    $decryptedFileName = "decrypted-$($_.Name)"
    & qpdf --password=$PASSWORD --decrypt $_.Name $decryptedFileName
}
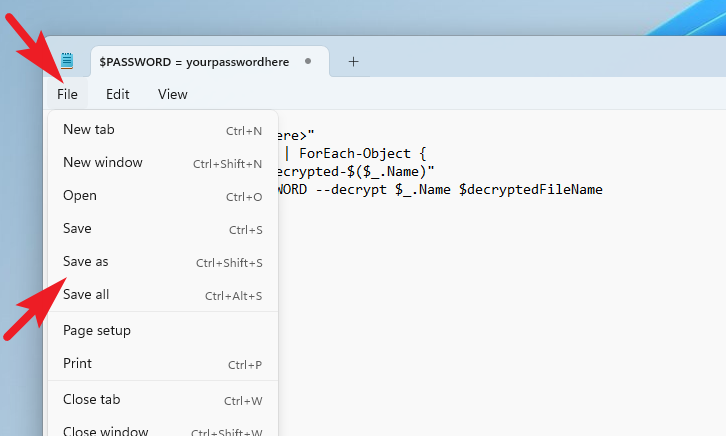
Click on the ‘File’ menu and select ‘Save As’.
In the Save dialog, navigate to the folder containing your PDF files. Save the file with a .ps1 extension, such as decrypt.ps1.

Once saved, go to the folder containing the PDFs and the script file. Click on the address bar, copy the path, and keep it handy.
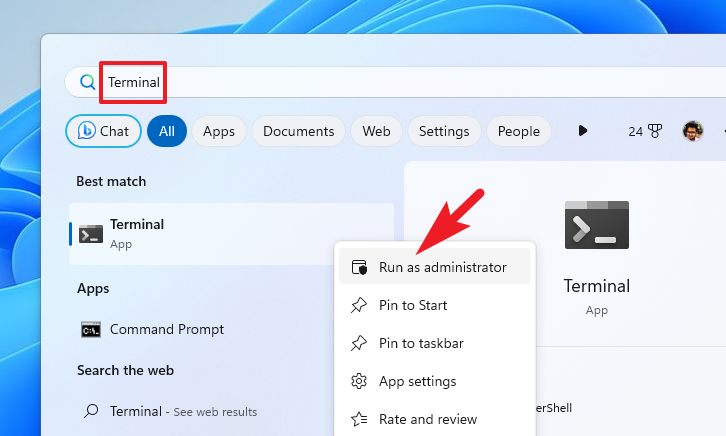
Open an elevated Terminal window by searching for ‘Terminal’ in the Start Menu, right-clicking on it, and selecting ‘Run as administrator’.
In the terminal, change the directory to where your PDFs and script are located by typing:
cd <copied path here>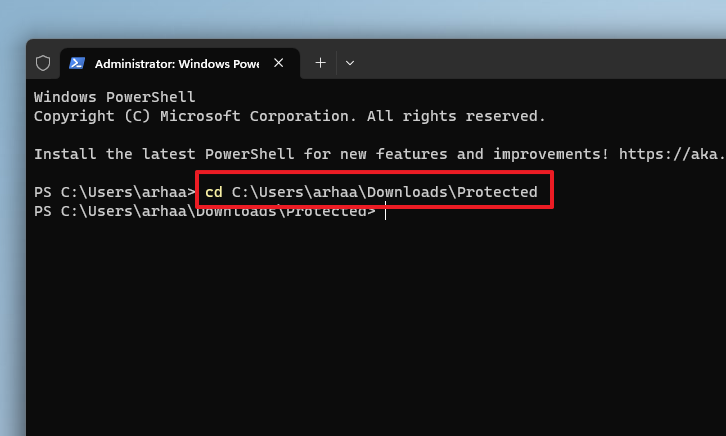
Next, execute the PowerShell script by typing:
.\<script file name>.ps1
decrypt.ps1.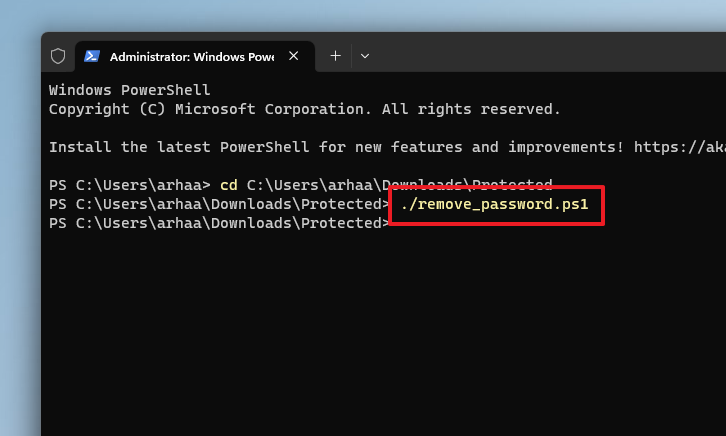
You may not see any confirmation in the terminal. Once the script finishes, check the folder, and you should find decrypted versions of your PDFs with ‘decrypted’ prefixed to their filenames.
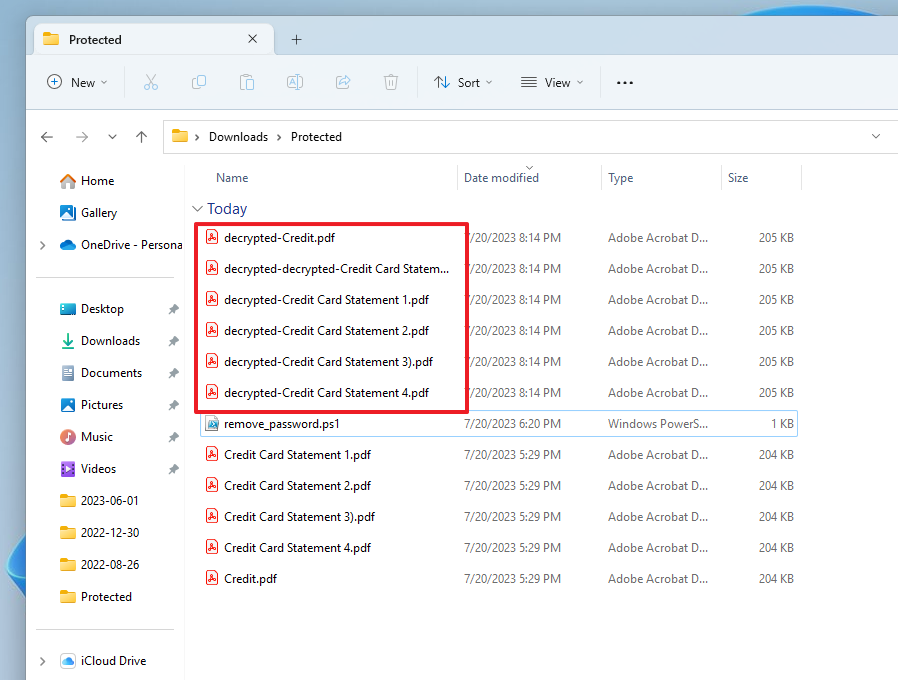
You can now use or share these decrypted files as needed.
Remove Password from Multiple PDF Files on Mac
Mac users can also utilize QPDF to remove passwords from multiple PDF files. The process is similar, and QPDF remains one of the most convenient tools for the task. The same limitation applies: all PDFs must share the same password for batch decryption.
Step 1: Install QPDF on Mac
Begin by installing QPDF using the Terminal. You’ll need Homebrew and Xcode Command Line Tools installed on your Mac.
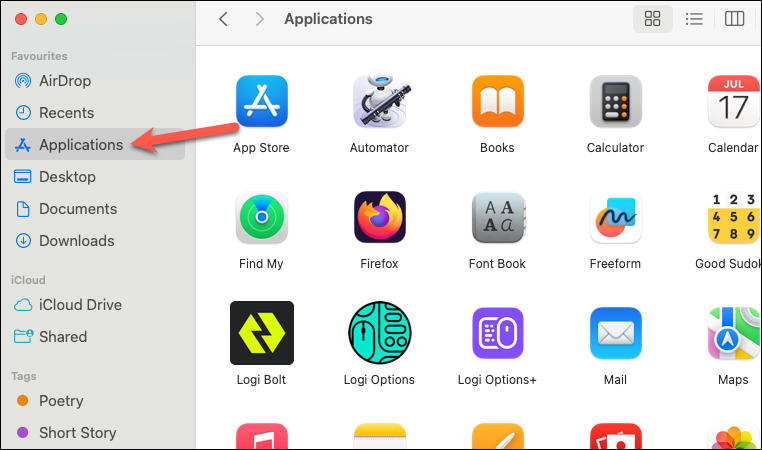
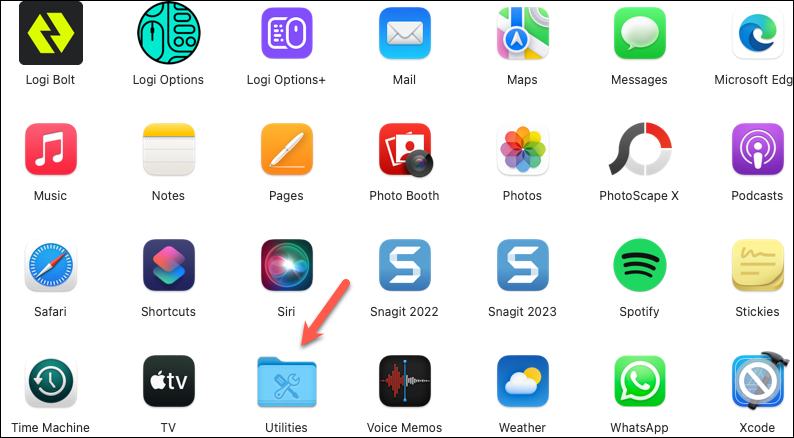
Open Finder, go to ‘Applications’, and then open the ‘Utilities’ folder.
Double-click on ‘Terminal’ to open it. Alternatively, press Cmd + Space to open Spotlight Search, type Terminal, and press Enter.
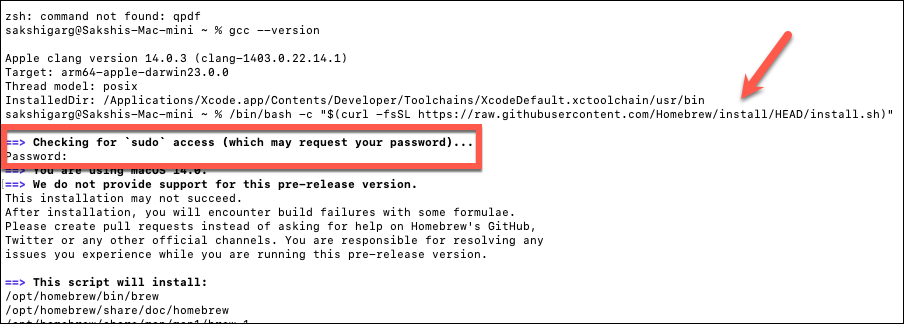
To install Homebrew (if not already installed), run the following command in Terminal:
/bin/bash -c "$(curl -fsSL https://raw.githubusercontent.com/Homebrew/install/HEAD/install.sh)"Enter your user password when prompted (note that the Terminal doesn’t display characters as you type your password). Press Enter to proceed with the installation.
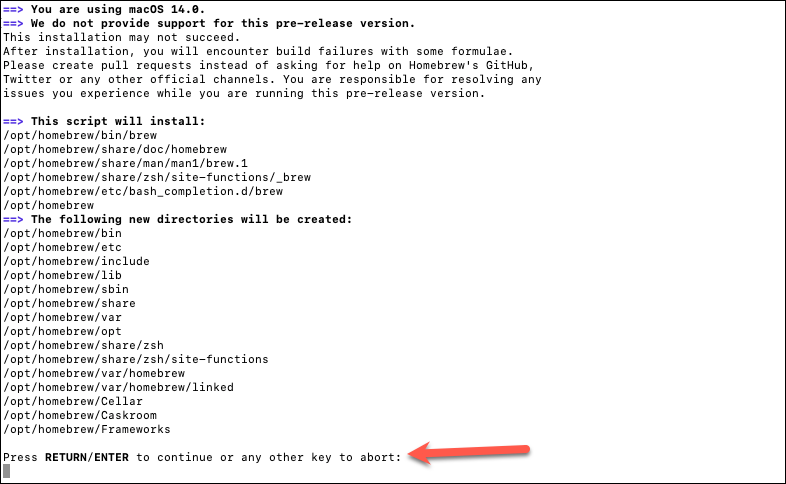
Press Enter again to confirm the installation scripts and directories.
After Homebrew installs, run the following commands to add Homebrew to your path:
(echo; echo 'eval "$(/opt/homebrew/bin/brew shellenv)"')eval "$(/opt/homebrew/bin/brew shellenv)"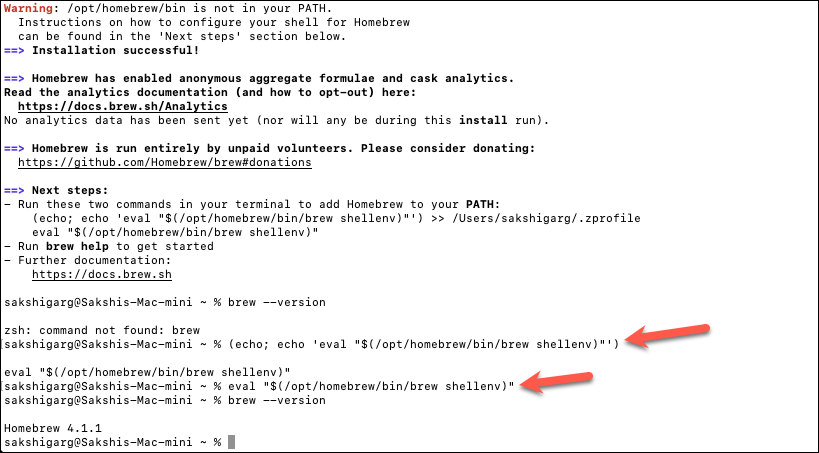
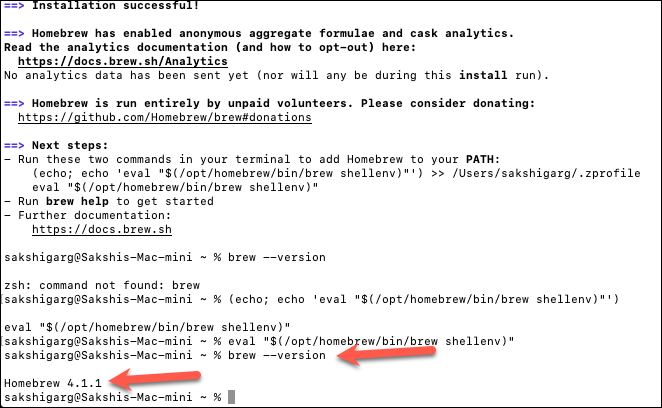
Verify the Homebrew installation by typing:
brew --versionYou should see the Homebrew version displayed.
Now, install QPDF by running:
brew install qpdf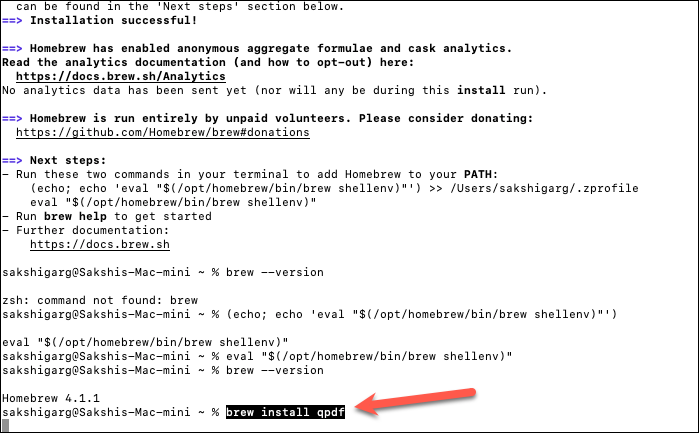
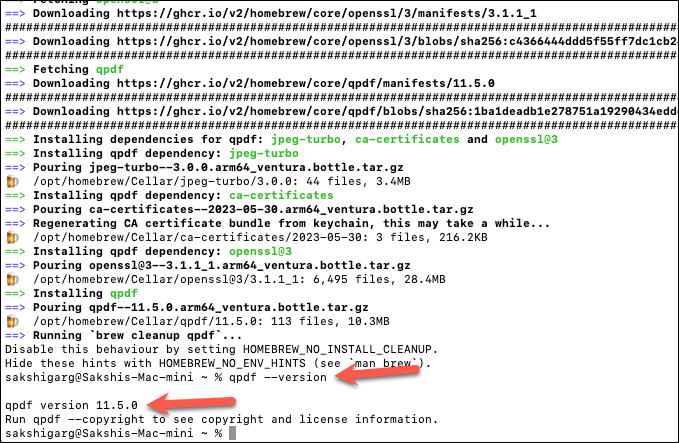
Verify the QPDF installation by typing:
qpdf --versionYou should see the QPDF version displayed, confirming a successful installation.
Step 2: Create the Bash Script
Next, you’ll create a bash script to remove passwords from your PDFs.
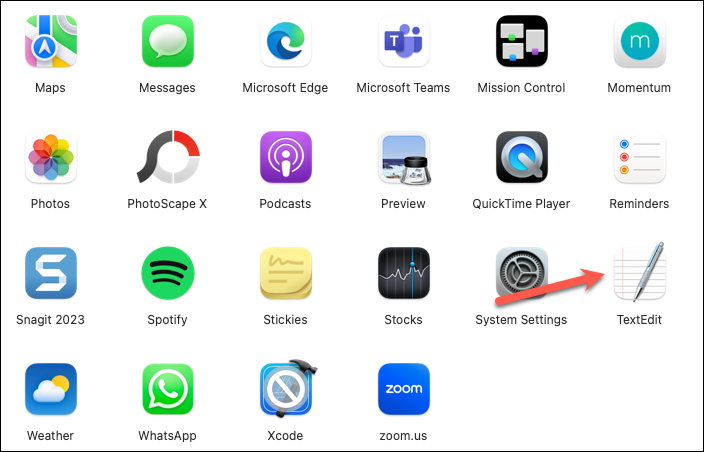
Use any text editor to write the script. For this example, we’ll use TextEdit, which comes pre-installed on macOS. Open TextEdit from the ‘Applications’ folder or via Spotlight Search.
In TextEdit, enter the following script:
#!/bin/bash
PASSWORD="yourpasswordhere"
for file in *.pdf; do
  qpdf --password=$PASSWORD --decrypt "$file" "decrypted-$file"
done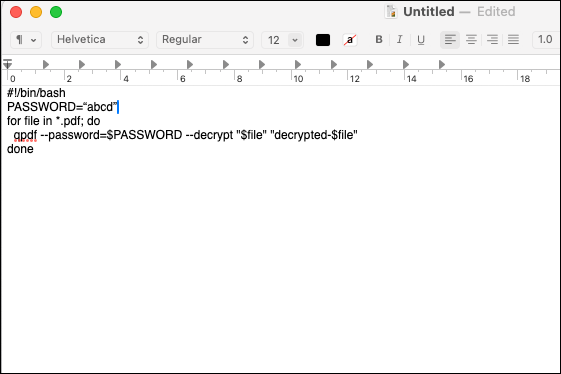
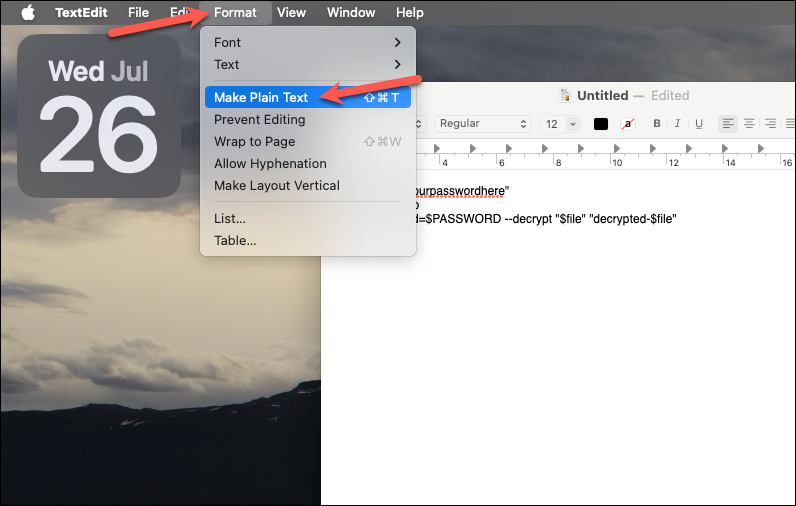
Ensure the file is set to plain text by selecting ‘Make Plain Text’ from the ‘Format’ menu if necessary.
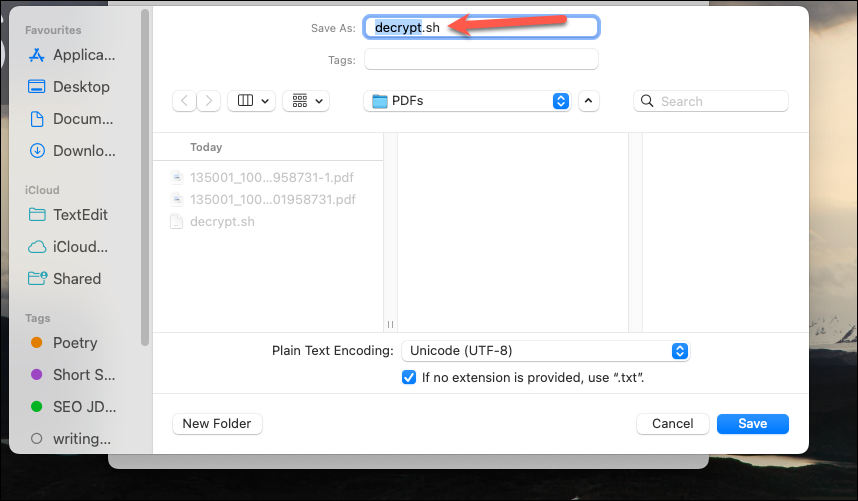
Save the file by selecting ‘Save’ from the ‘File’ menu.

Name the file with a .sh extension, such as decrypt.sh, and save it in the same folder as your PDFs. Uncheck the ‘If no extension is provided, use “.txt”’ option if it’s selected.
Step 3: Run the Bash Script
Now, you’ll execute the script to remove the passwords from your PDFs.
Open Terminal and navigate to the directory containing your PDFs and the bash script using the cd command:
cd /path/to/your/directory/path/to/your/directory with the actual path to your folder. You can copy the path from Finder by selecting the folder and pressing Cmd + Option + C.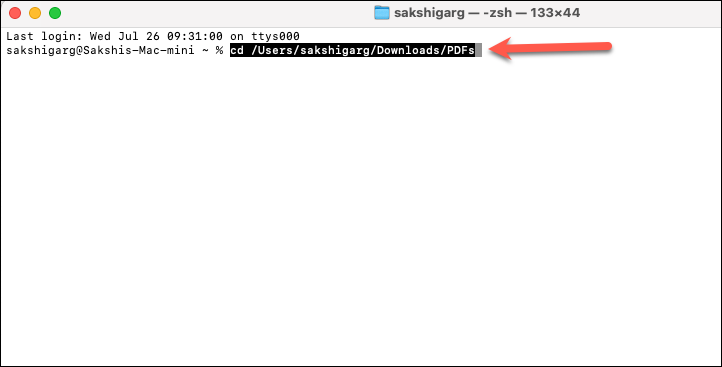
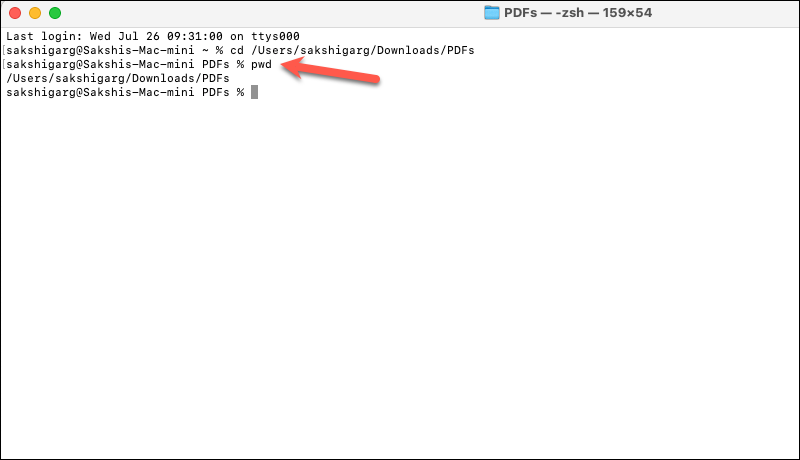
Confirm you’re in the correct directory by typing pwd, which should display the path you navigated to.
Make the bash script executable by changing its permissions:
chmod +x decrypt.shRun the script by typing:
./decrypt.shThe script will decrypt each PDF in the directory, creating new files with ‘decrypted-‘ prefixed to the original filenames.
By following these steps, you can efficiently remove passwords from multiple PDF files on both Windows and Mac, streamlining your document management process.