
Your Windows 11 product key is the unique code that verifies the authenticity of your operating system. While you might not need it for everyday use—especially if your OS came preinstalled—there are situations like a fresh installation where knowing your product key becomes essential. Fortunately, you can retrieve it easily using Command Prompt or PowerShell.
Find your Windows 11 product key using the terminal
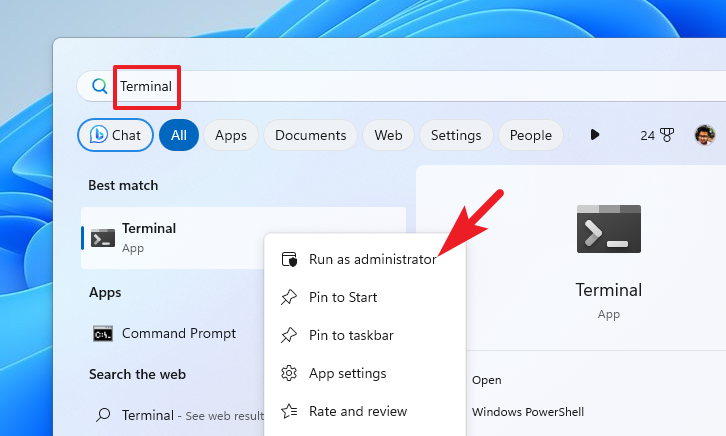
- Open the Start menu and type
Terminal. From the search results, right-click on the ‘Terminal’ app and select ‘Run as administrator’.
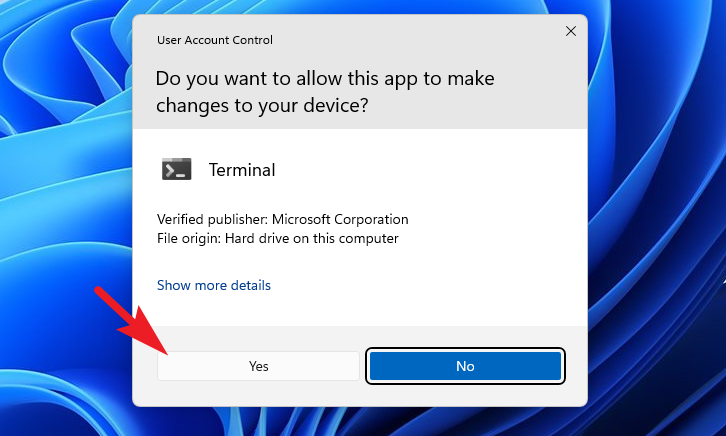
- When the User Account Control (UAC) prompt appears, click ‘Yes’ to grant administrative permissions.
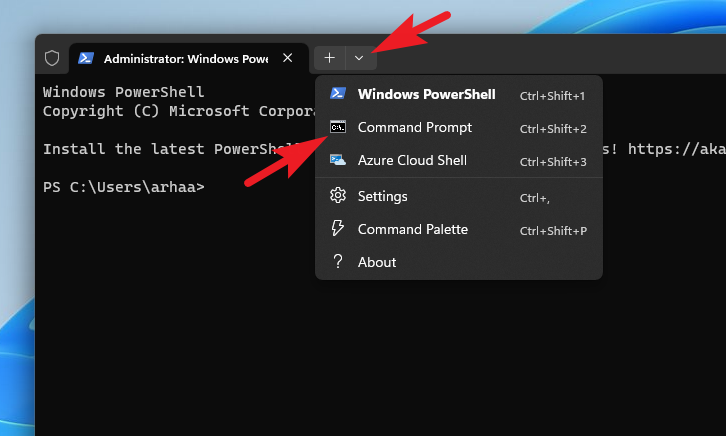
- In the Terminal window, click the down arrow (chevron) and choose ‘Command Prompt’ to open it in a new tab.
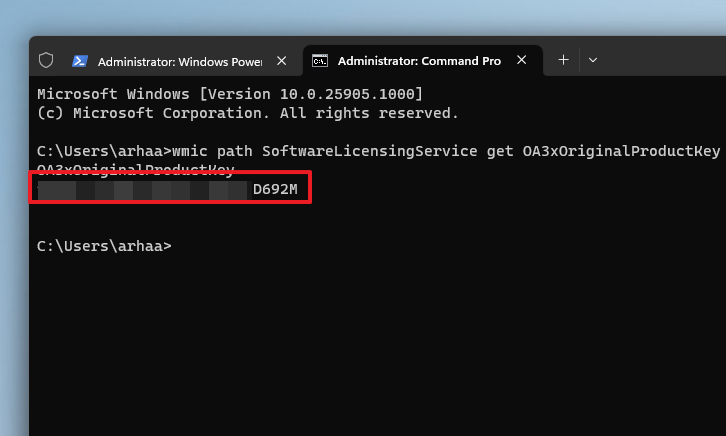
- Type or paste the following command and press
Enter:
wmic path SoftwareLicensingService get OA3xOriginalProductKey
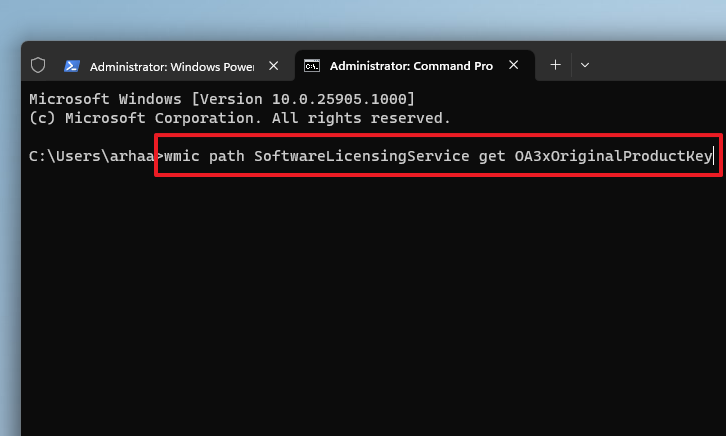
- Your product key will be displayed on the screen.
Find your Windows 11 product key using PowerShell
You can also use PowerShell to find your product key:
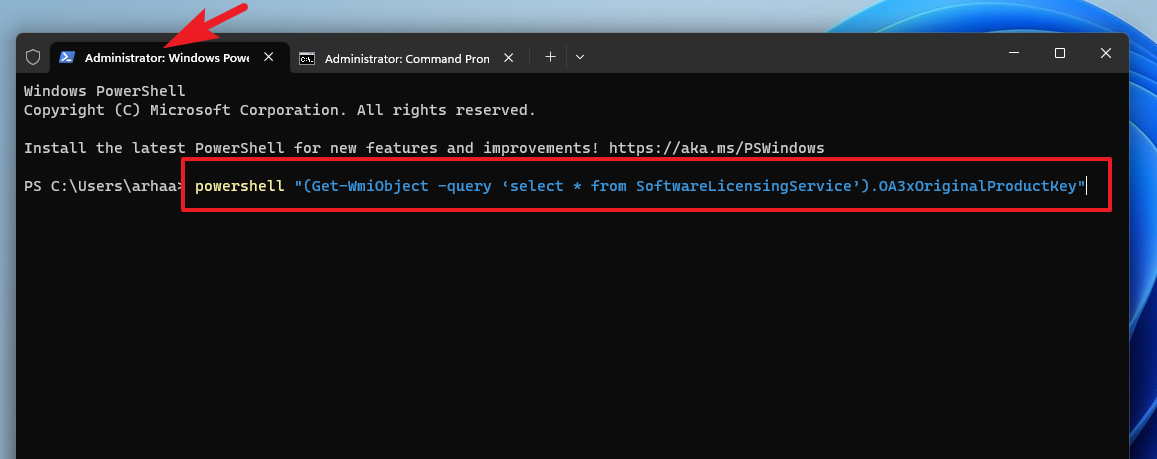
- In the Terminal, switch to the PowerShell tab.
- Enter the following command and press
Enter:
powershell "(Get-WmiObject -query 'select * from SoftwareLicensingService').OA3xOriginalProductKey"
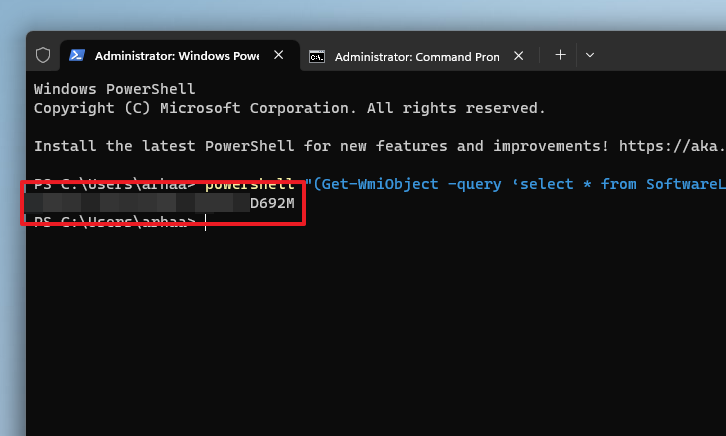
- Your product key will appear on the screen.
Knowing your Windows Product Key can be very helpful when you have to install the OS fresh, and this guide will help you do exactly that using both Command Prompt and PowerShell.


