
Running applications with administrative privileges in Windows 11 can unlock additional functionalities, allowing apps to make changes that are otherwise restricted. This is particularly useful for certain programs that require deeper system access to function correctly. Below are the most effective methods to run an app as an administrator on Windows 11.
Why Do Some Apps Require Administrative Privileges?
Not all applications need administrative rights to operate. However, programs like Command Prompt and PowerShell often require these privileges to execute specific commands that interact with system files or settings. Granting administrative access signals to the system that you trust the application to make significant changes, which can be essential for troubleshooting or performing advanced tasks.
Should You Run All Applications as Administrator?
While administrative privileges can enhance an app’s capabilities, it’s important to exercise caution. Only grant these privileges to trusted applications, as they gain extensive access to your system with the ability to alter files and settings. Running untrusted apps as administrator could pose security risks.
Limitations on Running Apps as Administrator
It’s worth noting that only desktop applications can be run as administrators in Windows 11. Modern apps downloaded from the Microsoft Store typically don’t offer the “Run as administrator” option.
If you’re prompted for a password when attempting to run an app as administrator, it may be because you’re logged in with a standard user account rather than an administrator account. Switching to an administrator account can eliminate this prompt.
Here are several methods to run applications with administrative privileges in Windows 11:
Note: When launching an app as an administrator, you may receive a User Account Control (UAC) prompt. Click Yes to continue.
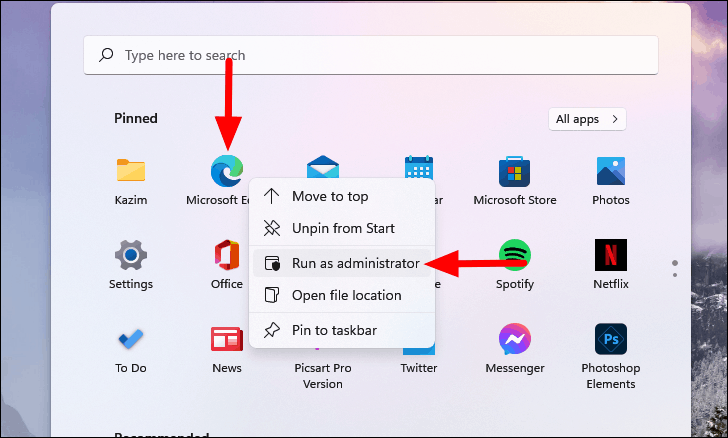
Using the Start Menu
- Click the Start icon on the taskbar or press the Windows key to open the Start menu.
- If the app is pinned to the Start menu, right-click it and select Run as administrator.
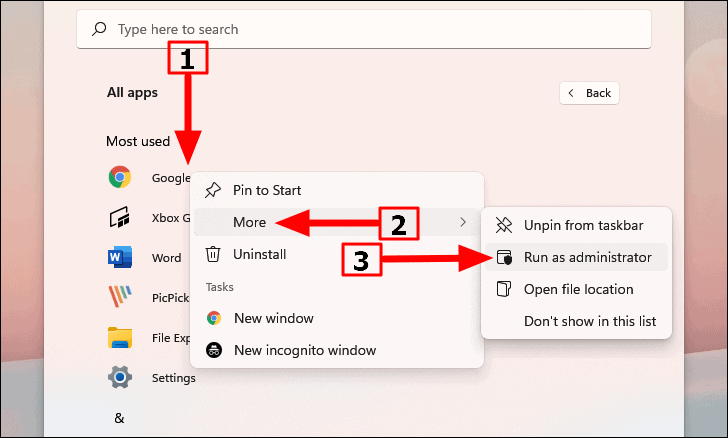
- If the app isn’t pinned, click on All apps at the top right corner.
- Find the app in the list, right-click it, hover over More, and select Run as administrator.
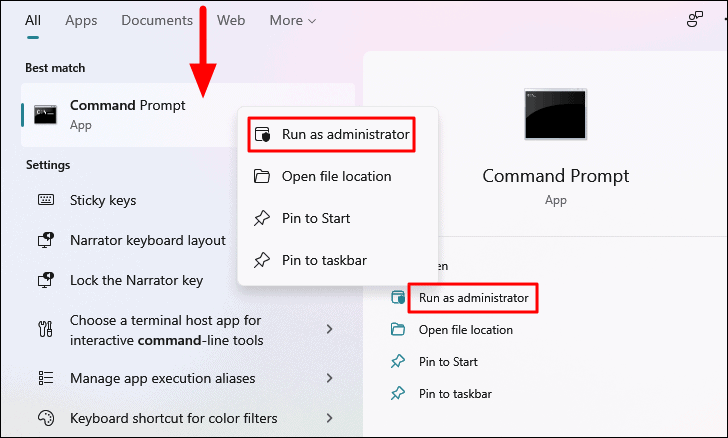
Using Windows Search
- Press Windows + S to open the search bar or click the Search icon on the taskbar.
- Type the name of the app you wish to run.
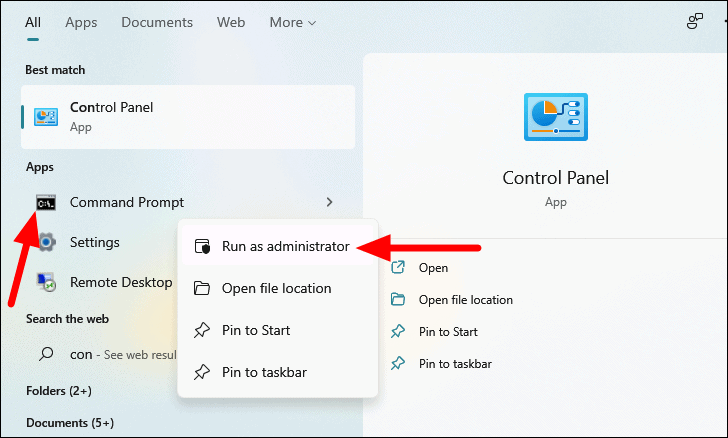
- If the app appears under Best match, right-click it and choose Run as administrator, or click the option on the right pane.
- If the app is listed elsewhere in the search results, right-click it and select Run as administrator.
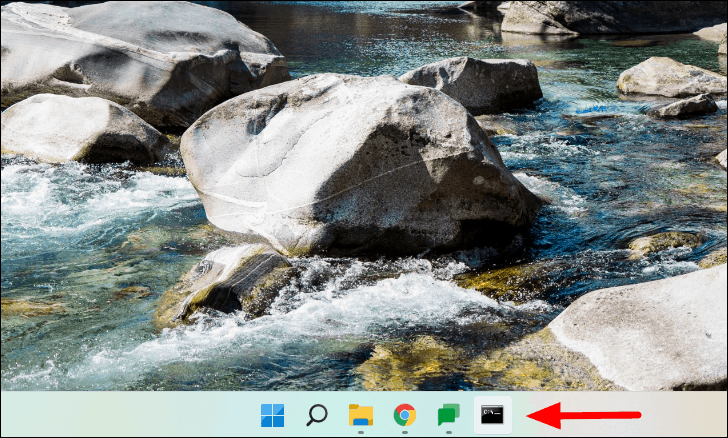
From the Taskbar
- If the app is pinned to your taskbar, hold down Ctrl + Shift and click the app icon.
Alternatively, use the keyboard shortcut by pressing Ctrl + Shift + Windows plus the number key corresponding to the app’s position on the taskbar. For example, if the app is the fourth icon, press Ctrl + Shift + Windows + 4.
Keyboard Shortcut
- Select the app icon on your desktop or in File Explorer.
- Press Ctrl + Shift + Enter to run it as an administrator.
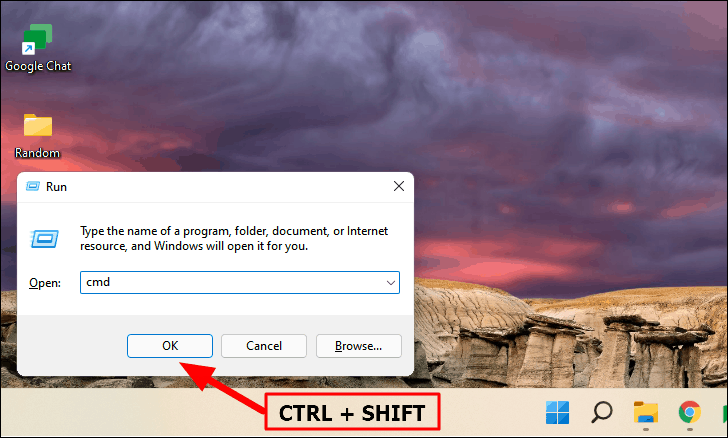
Using the Run Dialog
- Press Windows + R to open the Run dialog.
- Type the name of the application executable (e.g.,
cmdfor Command Prompt). - Hold down Ctrl + Shift and click OK or press Ctrl + Shift + Enter.
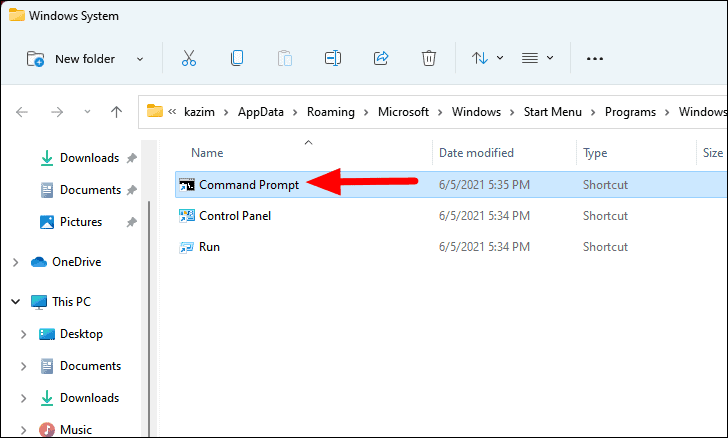
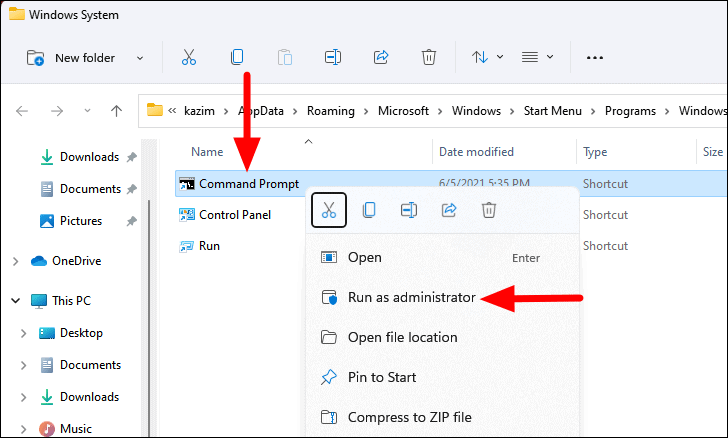
From the Context Menu
- Navigate to the application’s executable or shortcut.
- Right-click the app and select Run as administrator from the context menu.
Using Command Prompt
- Open Command Prompt with administrative privileges.
- Type the full path of the application and press Enter.
To find the application path:
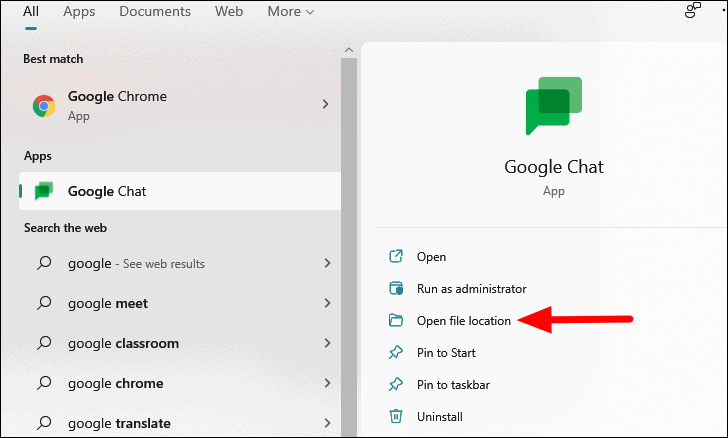
- Locate the app in File Explorer or via the Search menu.
- Right-click the app and select Open file location.
- Right-click the executable file, click the ellipsis (⋯), and choose Copy path.
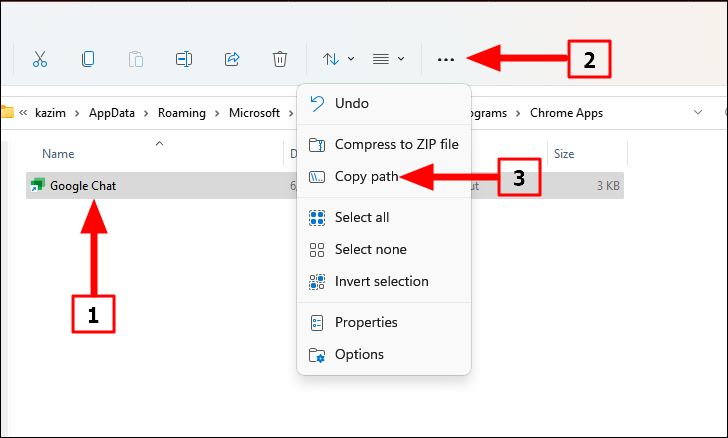
- Paste the path into the elevated Command Prompt and press Enter.
Through Task Manager
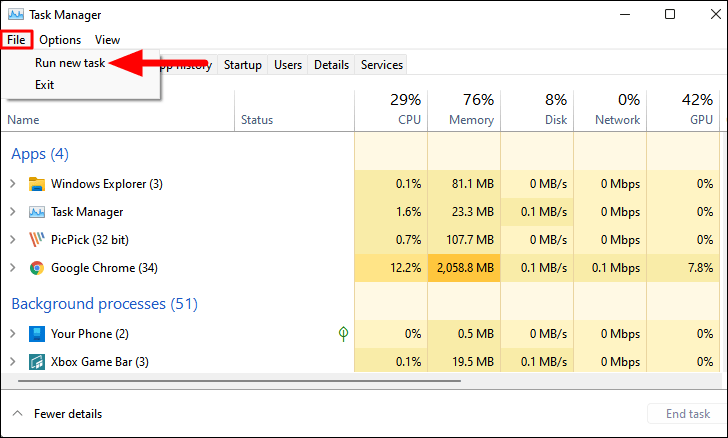
- Press Ctrl + Shift + Esc to open Task Manager.
- Click on File and select Run new task.
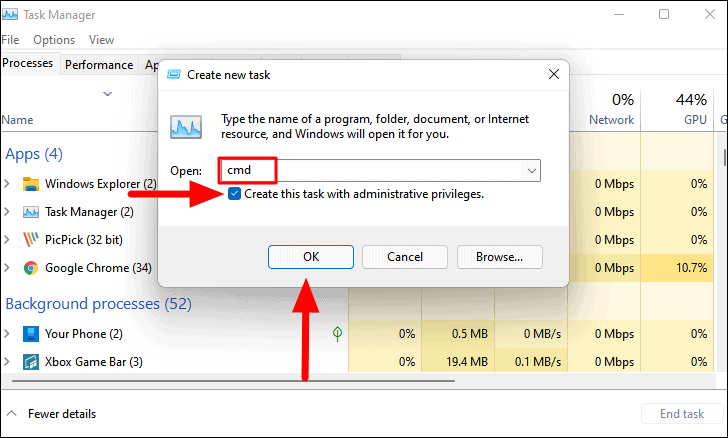
- In the dialog box, type the app’s name or click Browse to locate it.
- Check the box for Create this task with administrative privileges.
- Click OK to launch the app as administrator.
Always Run an App as Administrator
If you frequently need to run an app with administrative rights, you can set it to always launch with those privileges:
- Right-click the app and select Properties or press Alt + Enter after selecting it.
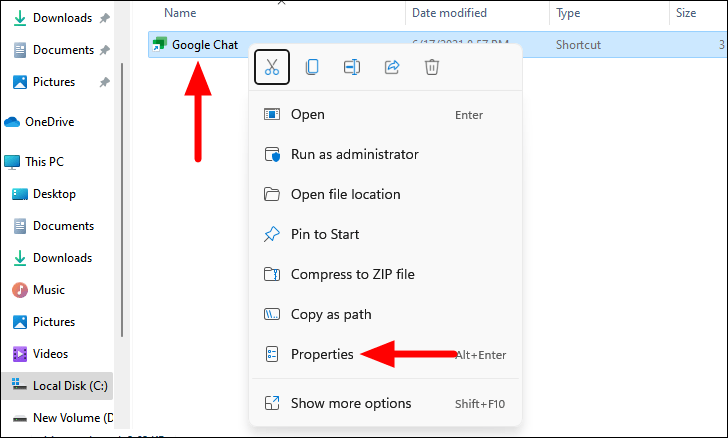
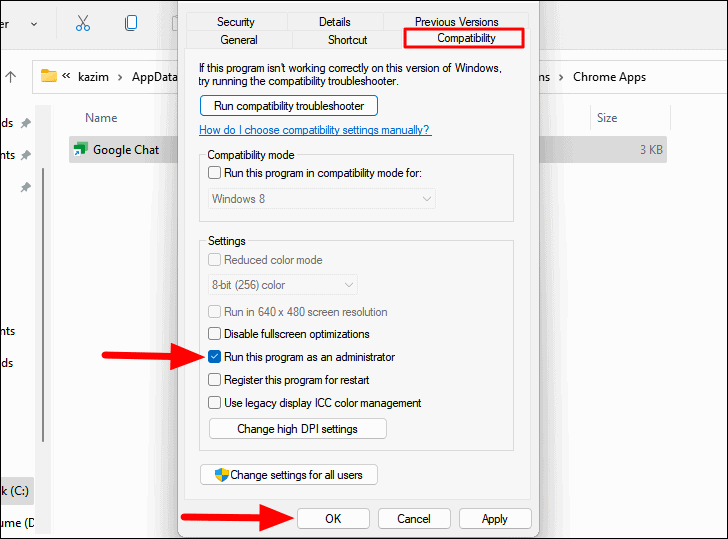
- Go to the Compatibility tab.
- Check the box next to Run this program as an administrator.
- Click OK to save the changes.
By following these methods, you can easily run applications with administrative privileges in Windows 11. Remember to grant these privileges judiciously to maintain system security.


