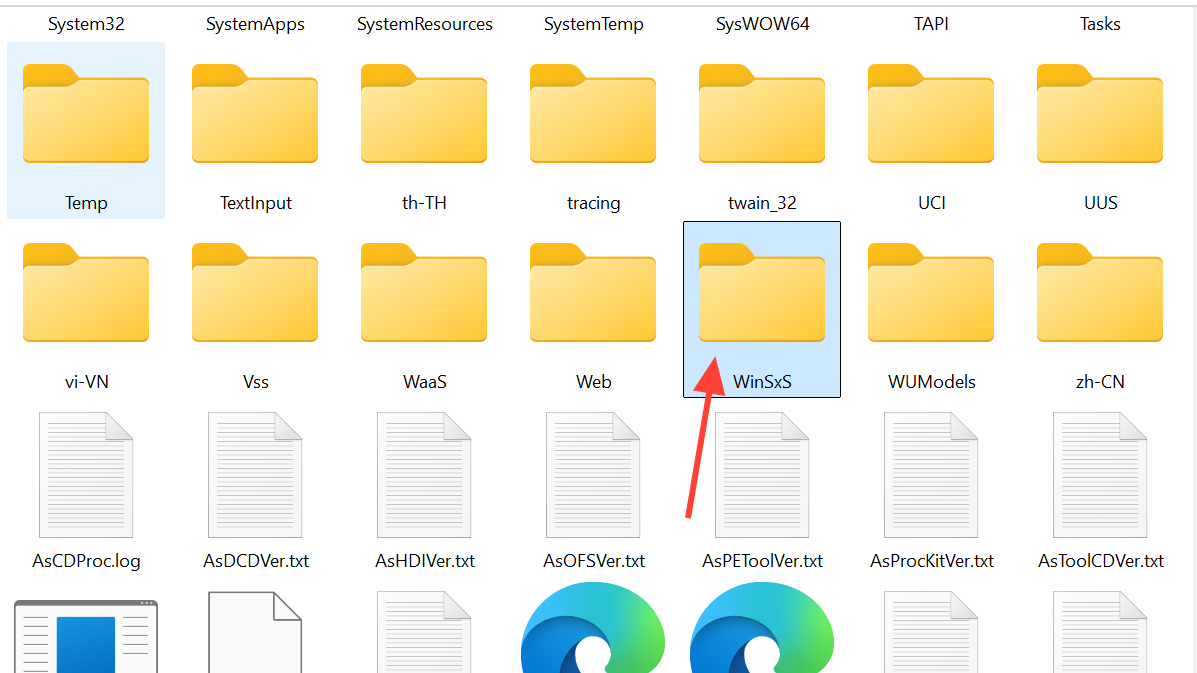
The WinSxS folder sits inside C:\Windows\WinSxS and holds the Windows component store, which keeps the files needed to install updates, enable optional features, roll back changes, and repair the operating system. It grows over time as Windows 11 retains older versions of components alongside newer ones, and File Explorer usually reports it as much larger than it really is because most of its contents are hard links to files that already exist elsewhere on the drive.
Quick answer: Open an elevated terminal and run Dism.exe /online /Cleanup-Image /StartComponentCleanup. To remove all superseded component versions, append /ResetBase, knowing that installed updates can no longer be uninstalled afterward.
Check the real size before cleaning
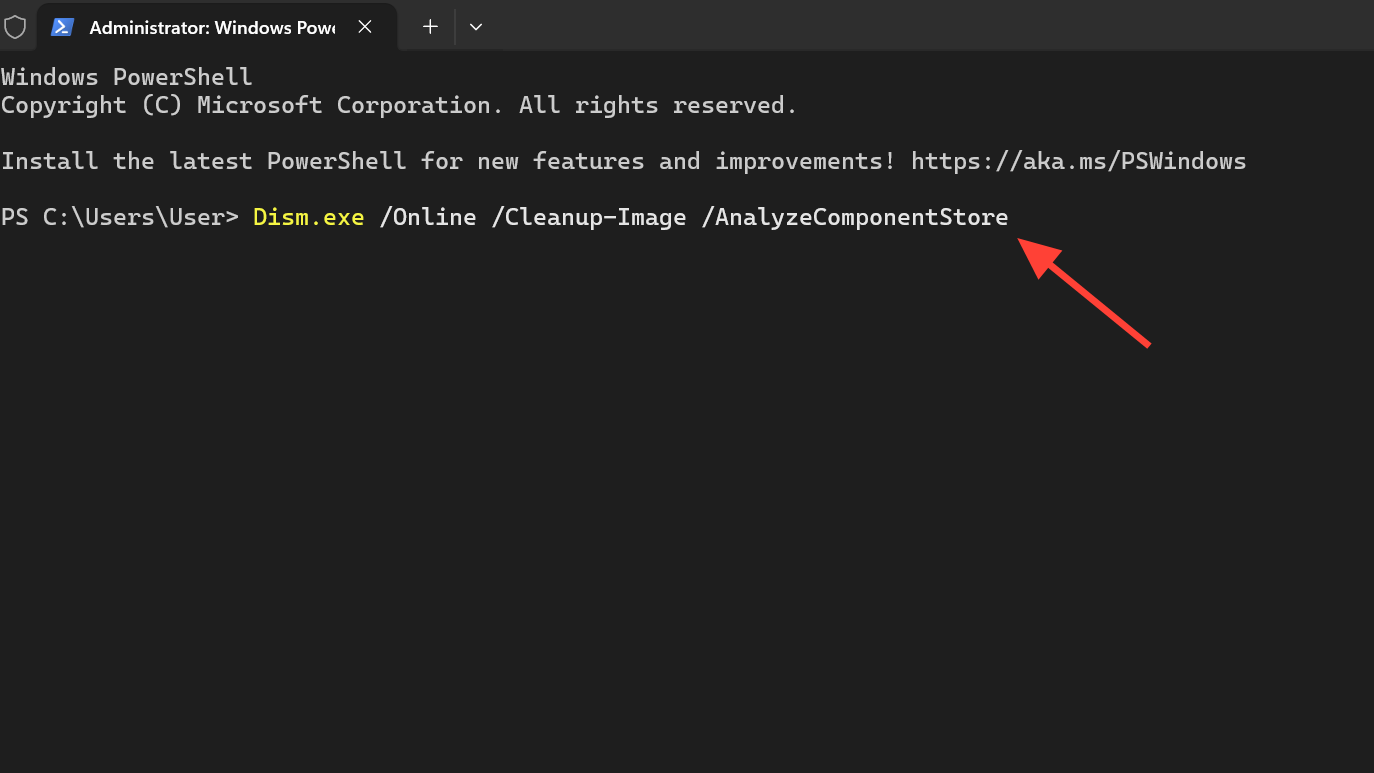
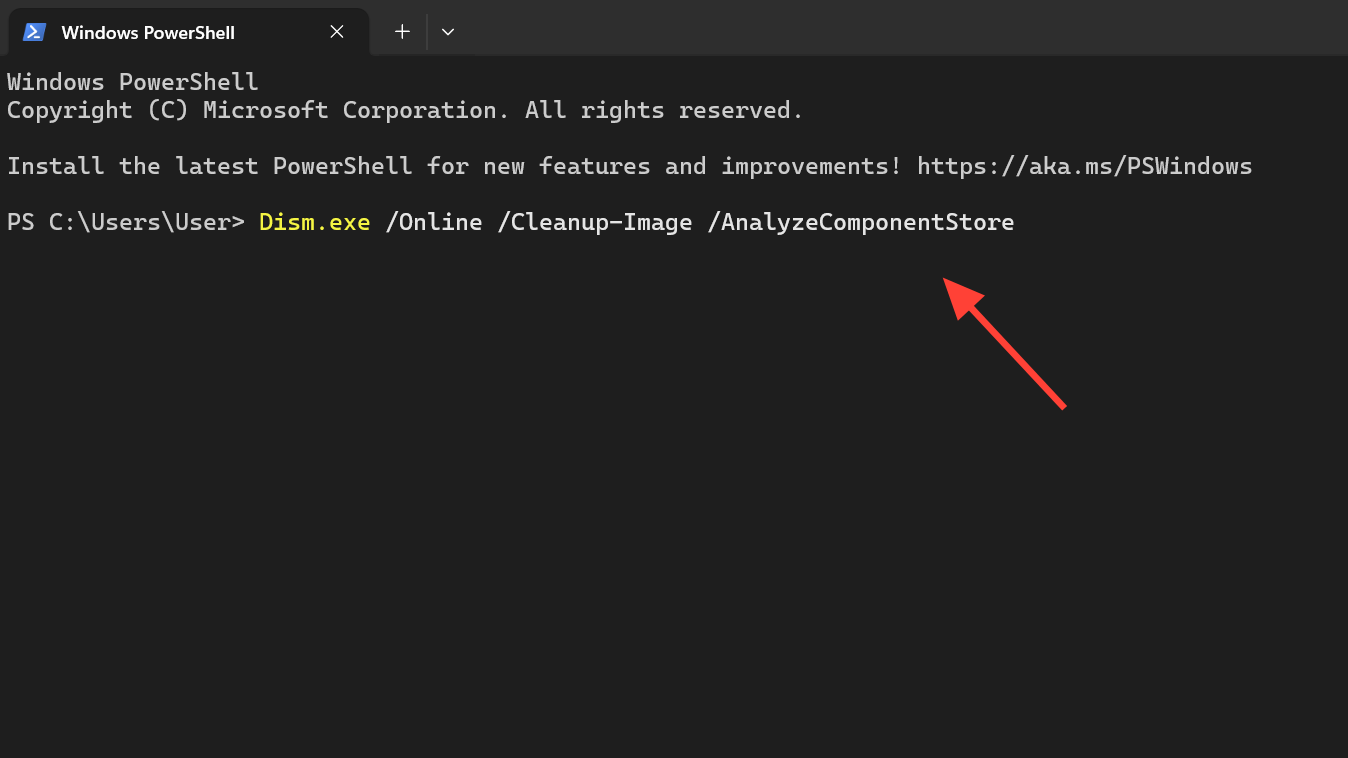
File Explorer counts hard-linked files multiple times, so the reported size is misleading. The accurate figure comes from DISM’s component store analysis, which also tells you whether a cleanup will actually free space.
Open Terminal as administrator and run:
Dism.exe /Online /Cleanup-Image /AnalyzeComponentStore
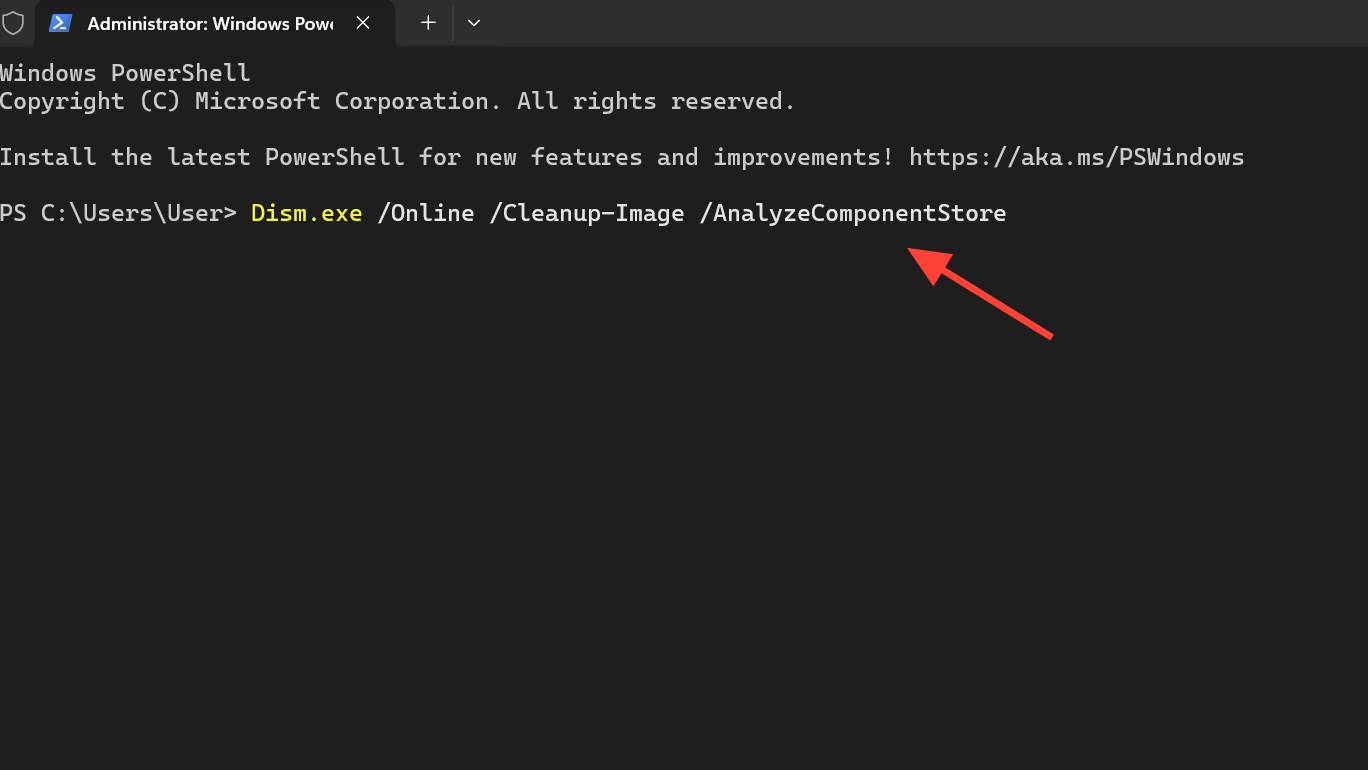
The output breaks the store into categories that explain where the space goes and how much of it is actually reclaimable.
| Field | What it means |
|---|---|
| Windows Explorer Reported Size | The inflated size Explorer shows, counting hard links multiple times. |
| Actual Size of Component Store | The true on-disk footprint after accounting for hard links. |
| Shared with Windows | Files used by the running system through hard links. Not real overhead. |
| Backups and Disabled Features | Older component versions and disabled feature payloads kept for rollback. |
| Cache and Temporary Data | Internal servicing data used to speed up updates and cleanup. |
| Number of Reclaimable Packages | Superseded packages that cleanup can remove. |
| Component Store Cleanup Recommended | Yes or No, based on whether cleanup would meaningfully shrink the store. |
The actual overhead is roughly the sum of Backups and Disabled Features plus Cache and Temporary Data. Everything else is either shared with Windows or essential system data that cleanup will not touch.
Run the StartComponentCleanup scheduled task
Windows 11 already ships with an automatic cleanup job called StartComponentCleanup. It runs during idle time and waits at least 30 days after an update before removing the previous version of a component, giving you a window to uninstall a problematic update. When you trigger it manually, the same 30-day grace period applies, and the task has a one-hour timeout, so it may not finish in a single pass on heavily updated systems.
Task Scheduler Library\Microsoft\Windows\Servicing.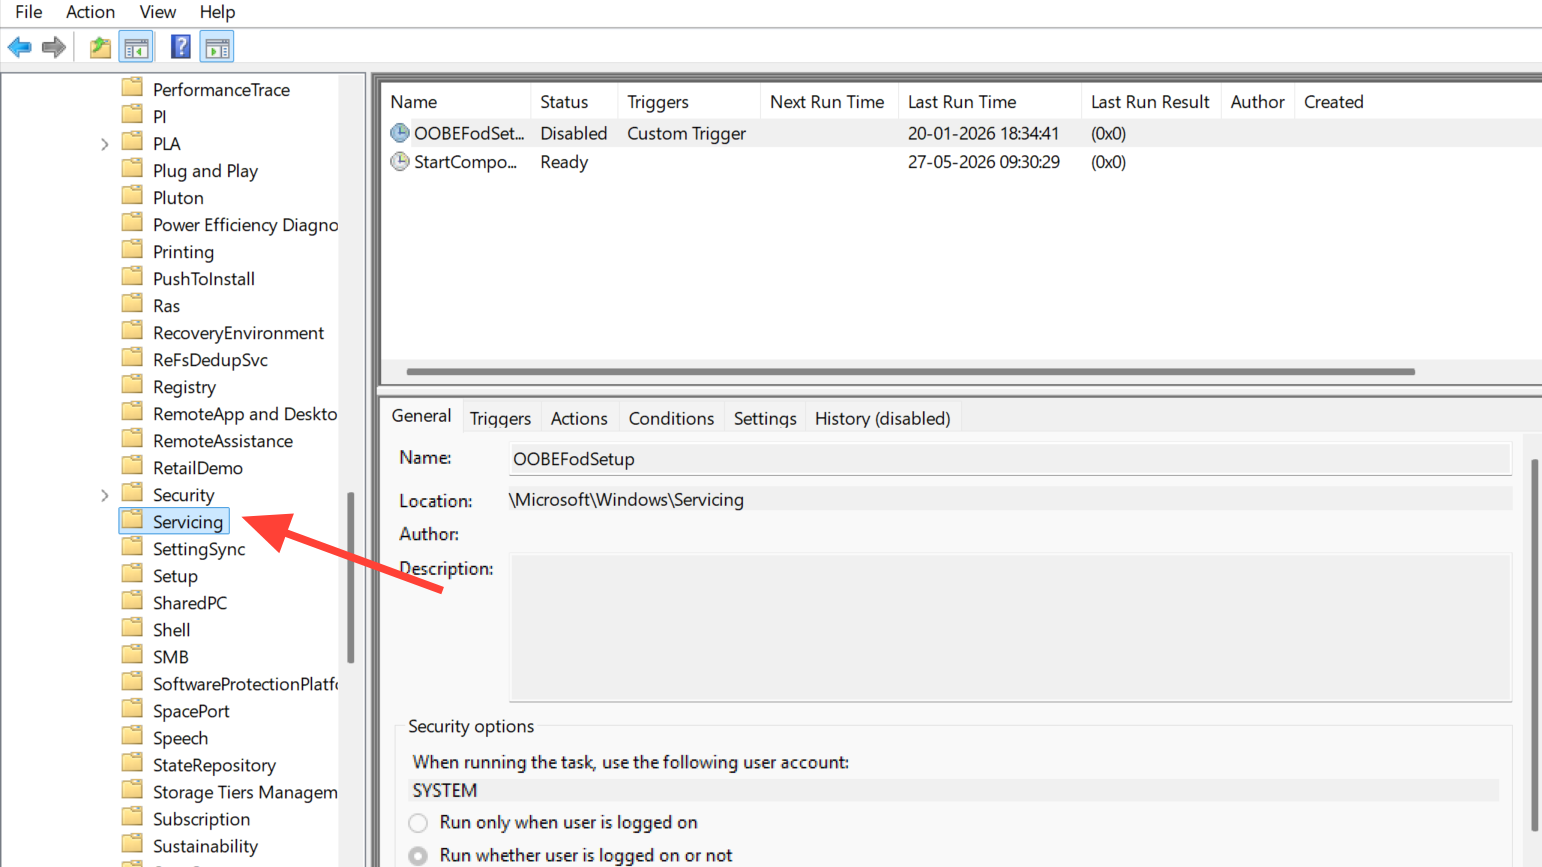
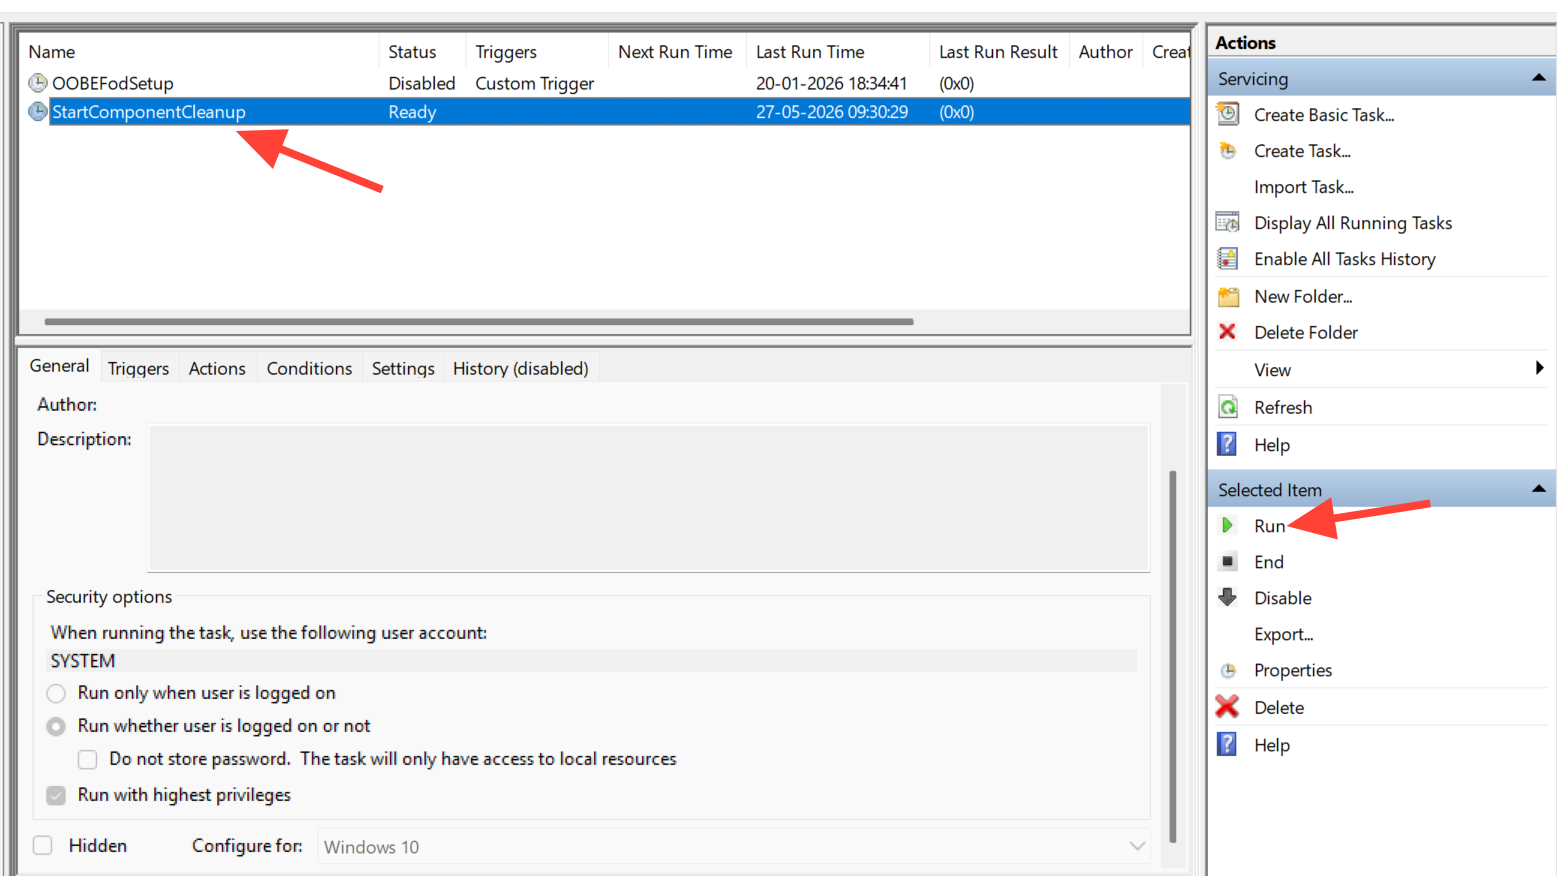
You can also kick it off from an elevated Command Prompt or PowerShell with a single line:
schtasks.exe /Run /TN "\Microsoft\Windows\Servicing\StartComponentCleanup"
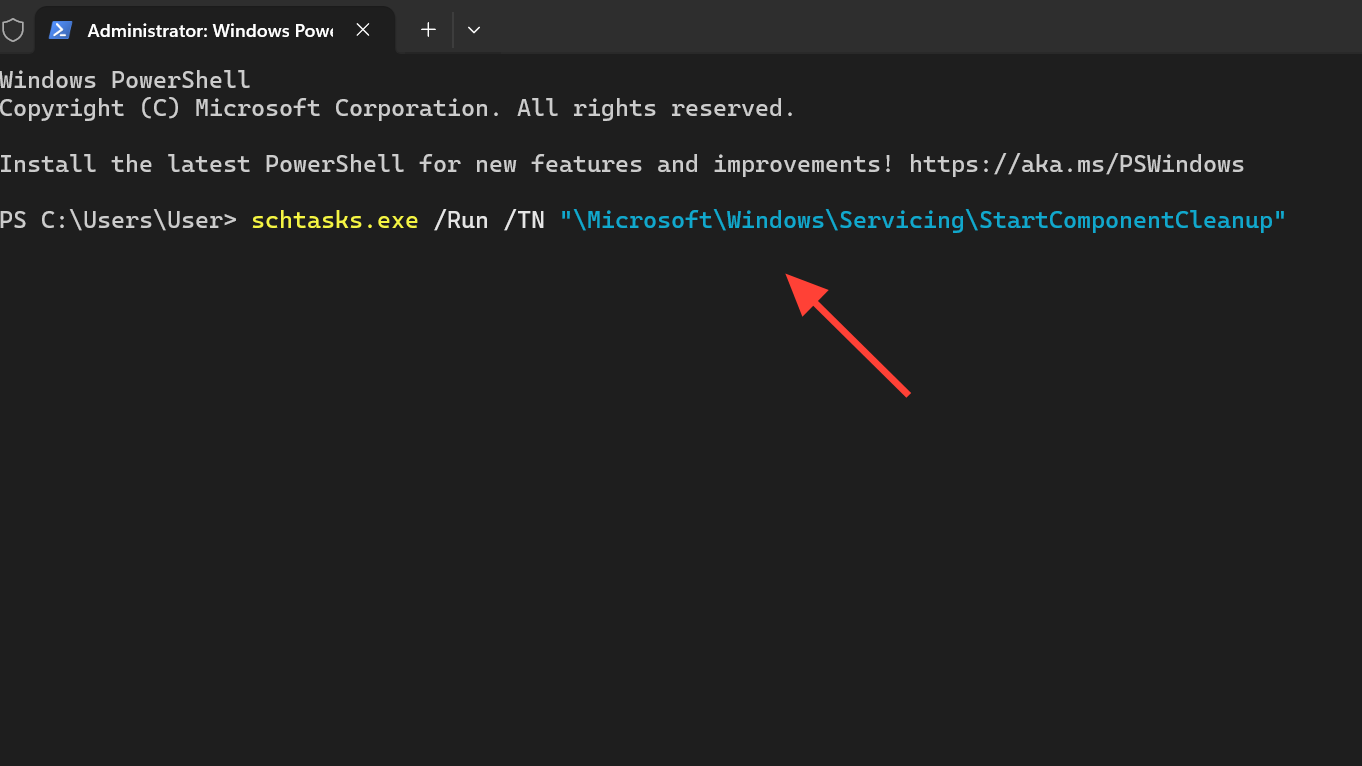
A SUCCESS message means the scheduler accepted the request. Cleanup itself continues in the background.
To make this routine, you can add a custom Trigger to the task so it runs on a schedule of your choosing, such as monthly after Patch Tuesday.
Use DISM for a deeper cleanup
DISM gives you the same engine without the 30-day wait and without the one-hour timeout. It is the preferred option after a large feature update or cumulative update has bloated the store.
Open Terminal as administrator and run:
Dism.exe /online /Cleanup-Image /StartComponentCleanup
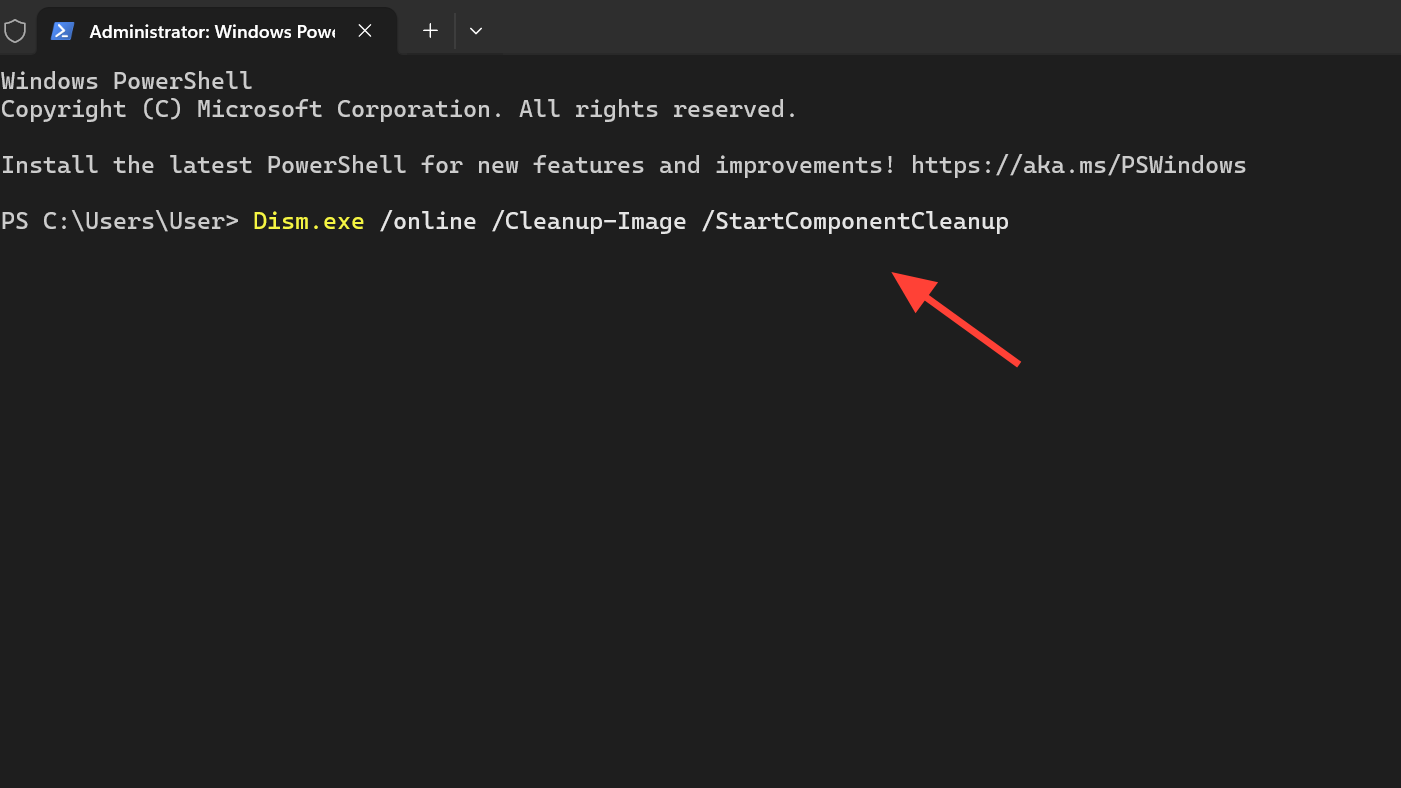
This removes superseded component versions immediately and applies delta compression where possible. Expect it to take several minutes on a typical PC and longer on systems with years of update history.
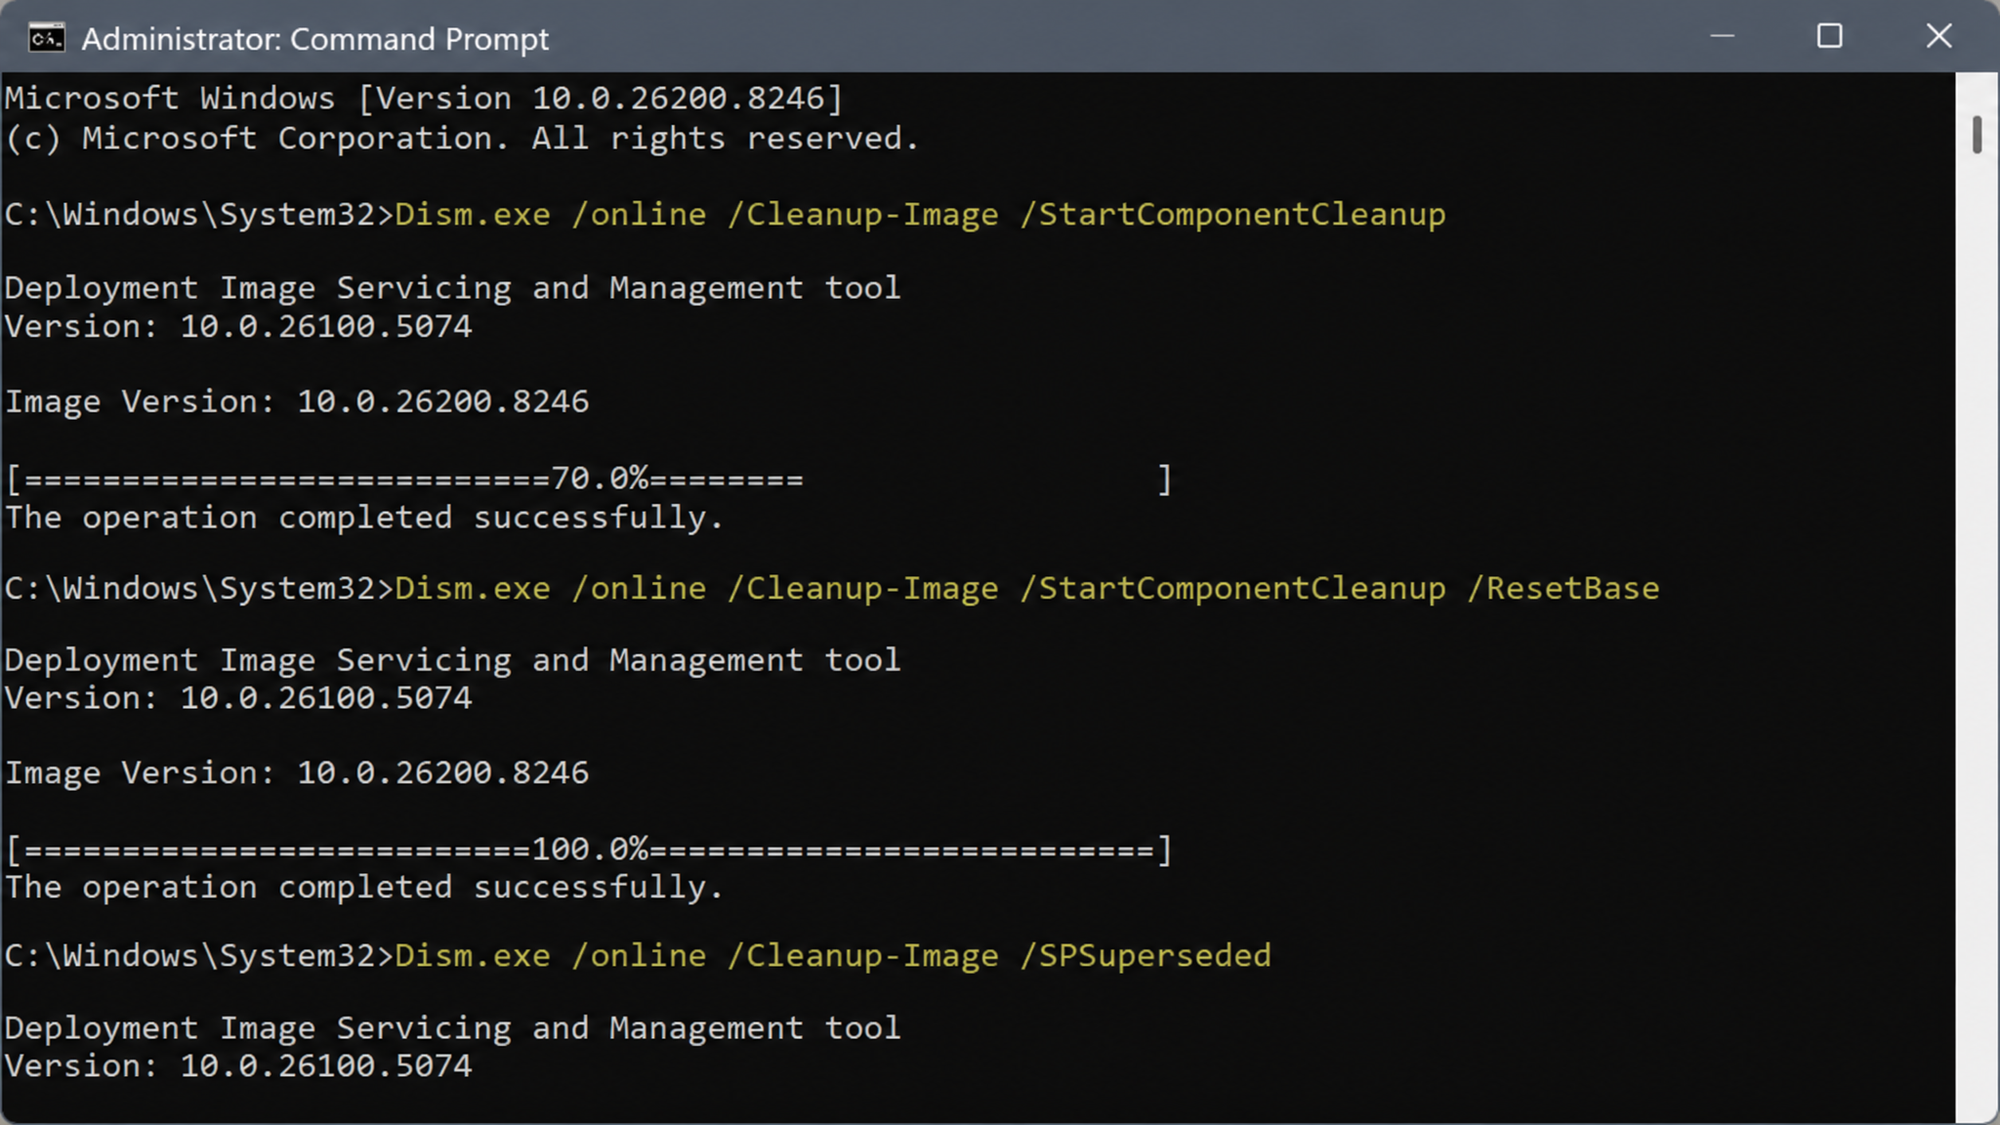
When the operation finishes, run Dism.exe /Online /Cleanup-Image /AnalyzeComponentStore again to compare the new size against the original.
Reclaim more space with /ResetBase
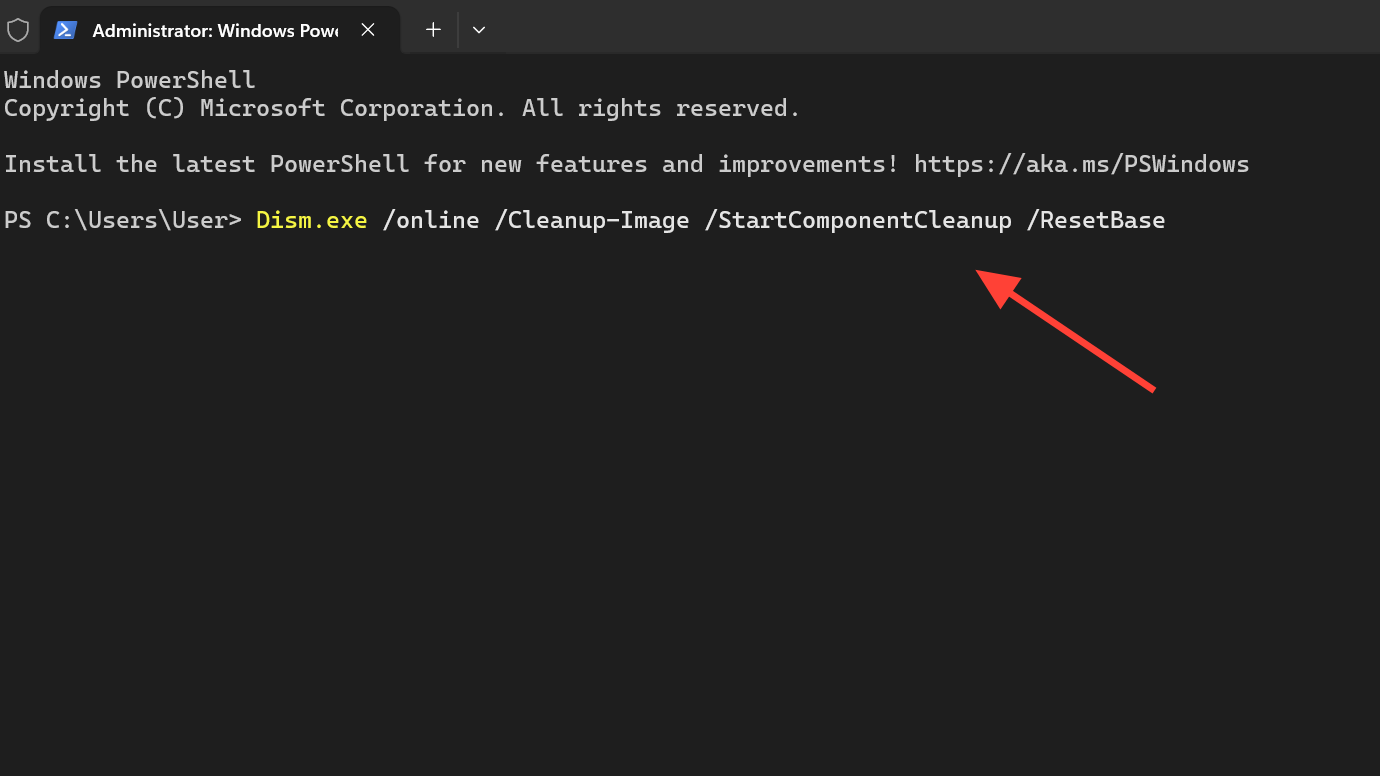
The /ResetBase switch goes further by stripping out every superseded version of every component. The trade-off is permanent: once it completes, you cannot uninstall any update that was already on the system. Future updates can still be removed normally.
Dism.exe /online /Cleanup-Image /StartComponentCleanup /ResetBase
For systems with a service pack still present (rare on modern Windows 11 installs), the equivalent legacy command is:
Dism.exe /online /Cleanup-Image /SPSuperseded
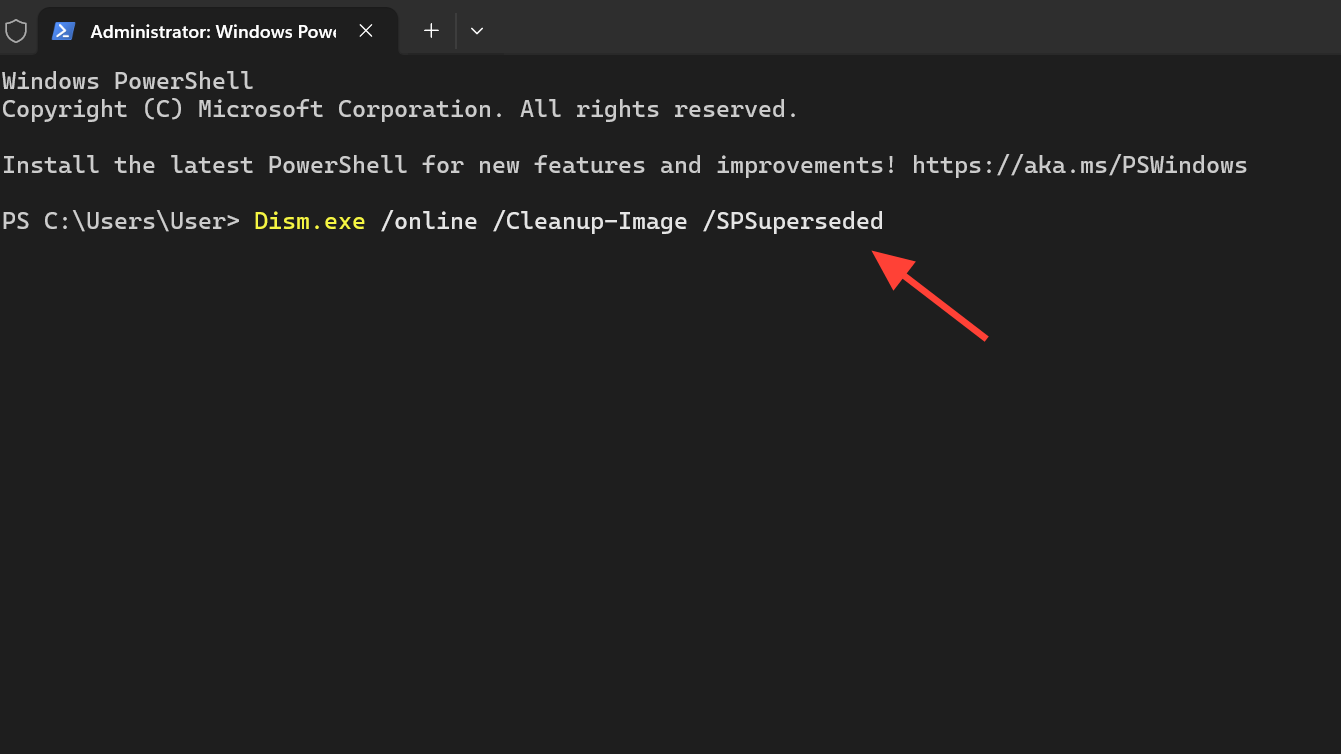
After running it, the service pack can no longer be uninstalled.
Disk Cleanup and Storage Sense for casual cleanup
If you prefer a graphical tool, the built-in Disk Cleanup utility can remove Windows Update leftovers that contribute to component store overhead.
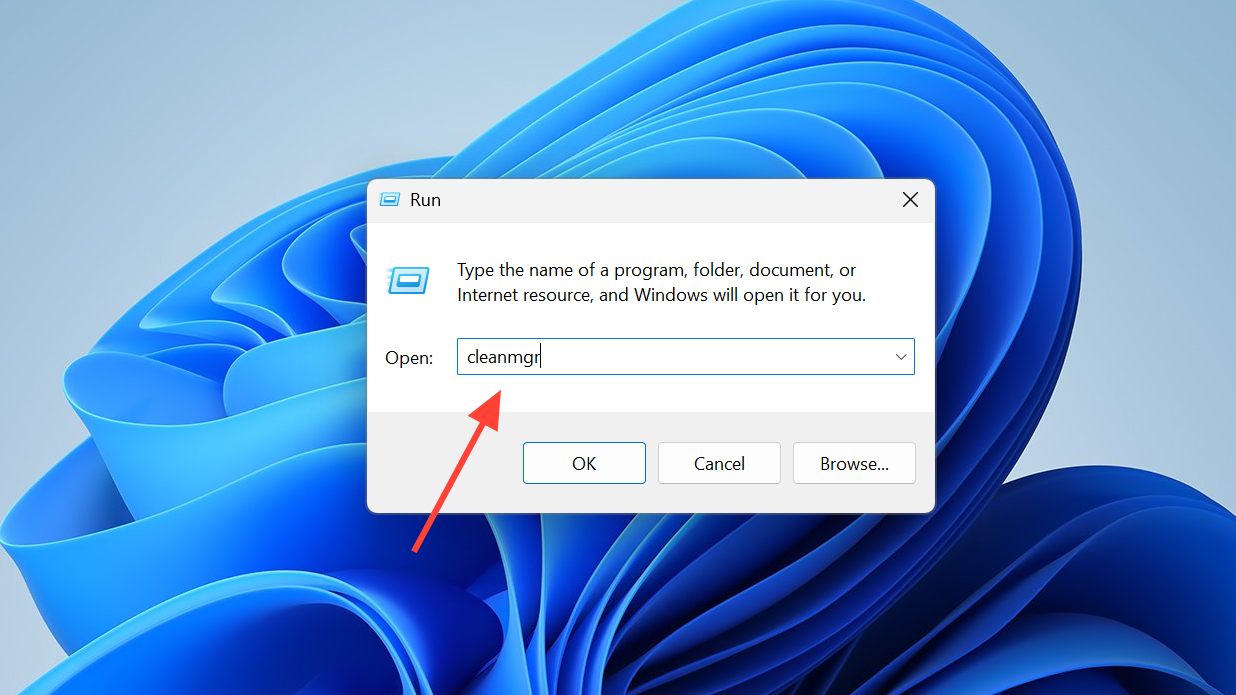
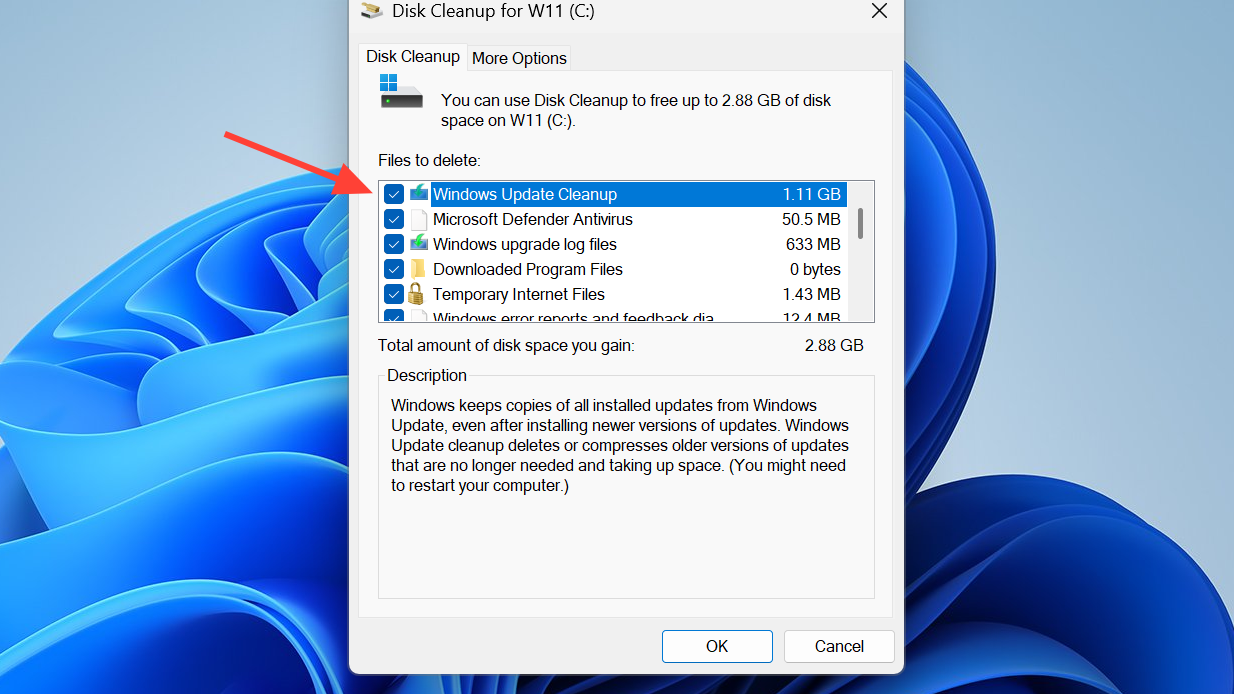
Storage Sense in Settings handles temporary files and is useful alongside DISM, but it does not directly clean the WinSxS folder. Open Settings > System > Storage > Temporary files, deselect the Recycle Bin and Downloads if you want to keep them, and click Remove files.
What each method actually does
| Method | Removes | Caveat |
|---|---|---|
| Task Scheduler (StartComponentCleanup) | Component versions older than 30 days | 1-hour timeout; may not finish in one run |
| DISM /StartComponentCleanup | All superseded component versions, immediately | No 30-day grace; takes longer than the scheduled task |
| DISM /StartComponentCleanup /ResetBase | Every superseded version of every component | Existing updates can never be uninstalled |
| DISM /SPSuperseded | Service pack backup files | Service pack cannot be uninstalled afterward |
| Disk Cleanup (Windows Update Cleanup) | Old Windows Update payloads | Smaller savings than DISM in most cases |
How to confirm cleanup worked
Re-run Dism.exe /Online /Cleanup-Image /AnalyzeComponentStore and compare the Actual Size of Component Store, Number of Reclaimable Packages, and Date of Last Cleanup against the values from before. A successful cleanup updates the cleanup date, reduces reclaimable packages toward zero, and lowers the actual size. The Component Store Cleanup Recommended line typically flips to No once there is nothing meaningful left to remove.
If you ran /ResetBase, expect the largest drop, often several gigabytes after a recent feature update. If the size barely changes, the system was already optimized and the automatic StartComponentCleanup task has been doing its job in the background.
Common reasons cleanup does not free space
- The 30-day grace period is still active for recent updates when you run the scheduled task. Use DISM with
/StartComponentCleanupto bypass it. - Another servicing operation is in progress. Reboot, then rerun the command.
- You ran
/ResetBasepreviously and there are no superseded versions left to remove. - Most of the reported size is shared with Windows through hard links, which cleanup will not and should not remove.
Treat the component store as a self-maintaining system that occasionally needs a nudge, not a folder you manage by hand. Stick to DISM, the StartComponentCleanup task, and Disk Cleanup, and Windows 11 will keep itself trim without risking the next update or recovery.