The Mail app on Mac has been very simplistic till now if compared to its competitors. There haven’t been many features to set it apart and ahead of other email clients. While there’s still nothing out of the box, the Mail app is getting much-needed upgrades to bring it to par with the others.
Along with features like Undo Send, and Remind Me, macOS Ventura also includes the feature to schedule an email in the Mail app. Now, you can make sure that you always send an email at the perfect time. Whether you want to wish someone a happy birthday or you’re sending work mail that needs to go at a certain time, the Mail app has got your back.
Scheduling an Email in the Mail app
It’s extremely easy to schedule an email from the Mail app, given that your Mac is running the latest macOS Ventura.
Note: Your Mac should be powered on and connected to the internet, and the Mail app should be open in the background for the email to be sent. It still works when the system is in Sleep mode, but it shouldn’t be off.
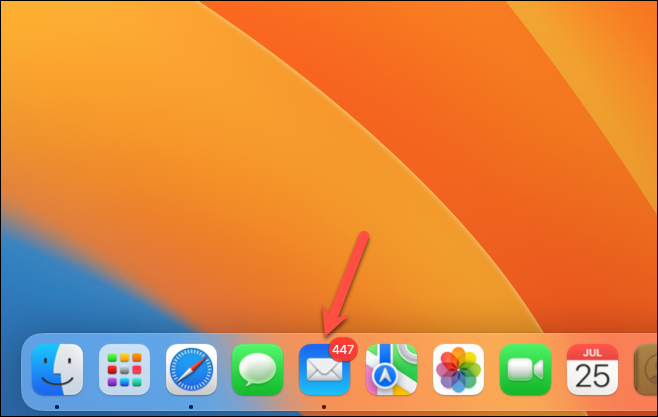
Open the Mail app on your Mac.
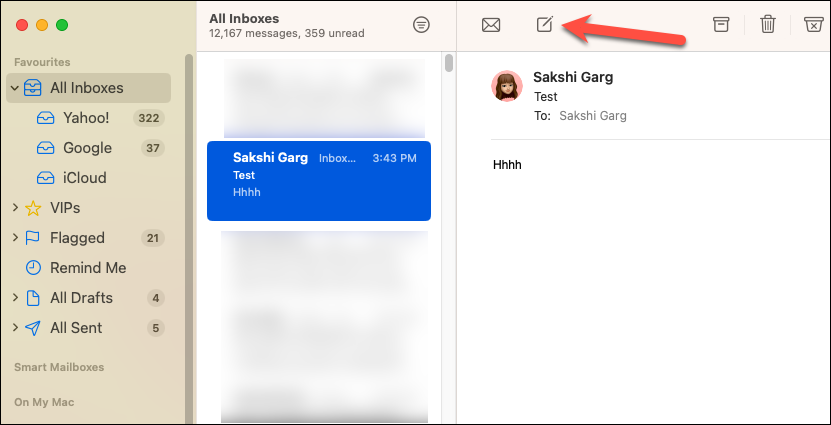
Then, click the ‘Compose’ button to start a new email.
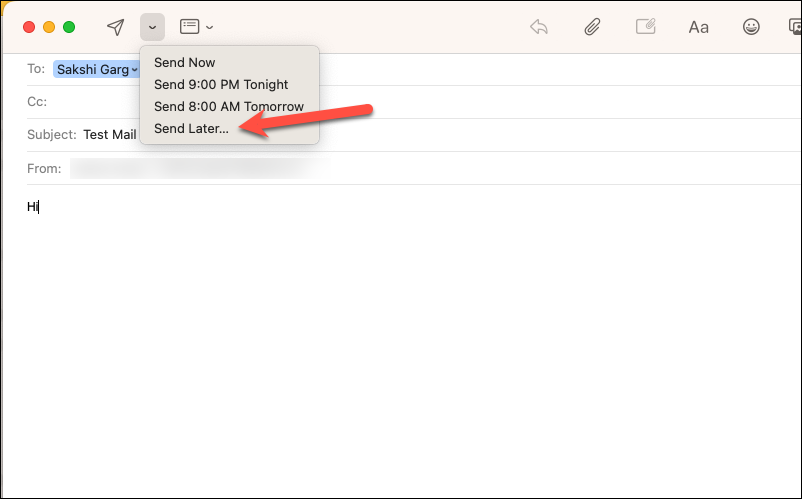
Compose the email how you want to send it. Then, go to the ‘Send’ button at the top but don’t click it. That would send the email right away. You’ll find a small ‘downward arrow’ to the right of the Send button; click it.

An overflow menu will open with these scheduling options: ‘Send Now’, ‘Send 9:00 PM Tonight’, ‘Send 8:00 AM Tomorrow’, and ‘Send Later’.

The options are rather self-explanatory. The first isn’t a scheduling option at all. The next two offer some pre-defined scheduling times. Clicking either of these will schedule the mail for the set time right away. To have a custom schedule where you can set the date and time yourself, choose the last.
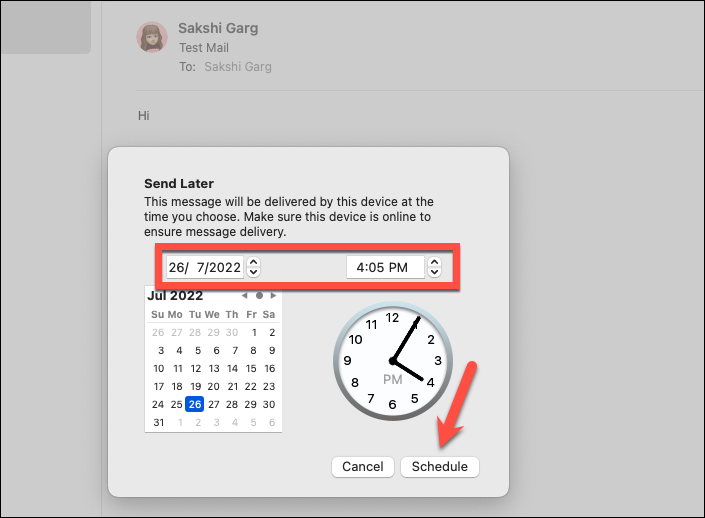
When you choose the last, an overlay window will appear where you can select a date and time that suits you. Click the ‘Schedule’ button to send the mail on the selected date and time.
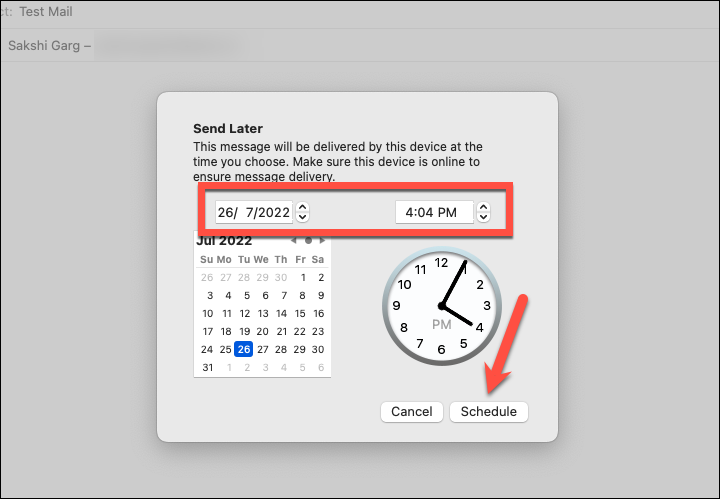
And that’s it. Your mail will be scheduled. Once you have scheduled the mail, you cannot edit its contents. But you can edit the schedule itself.
Editing the Send Schedule
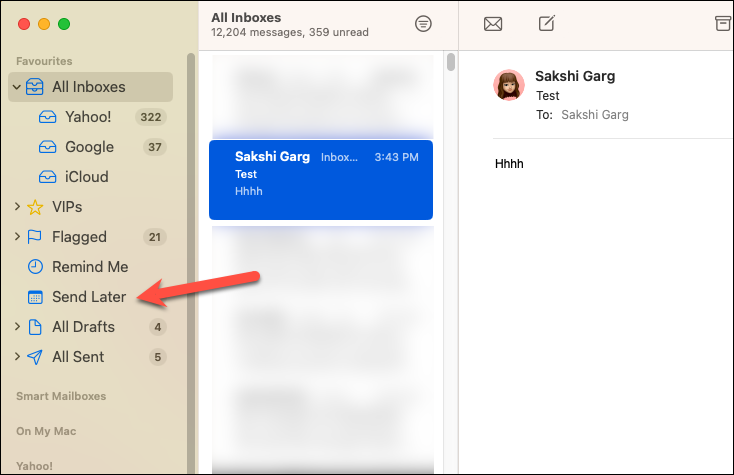
You can find the emails you have scheduled in the ‘Send Later’ mailbox in the leftmost section from where you can edit these emails.
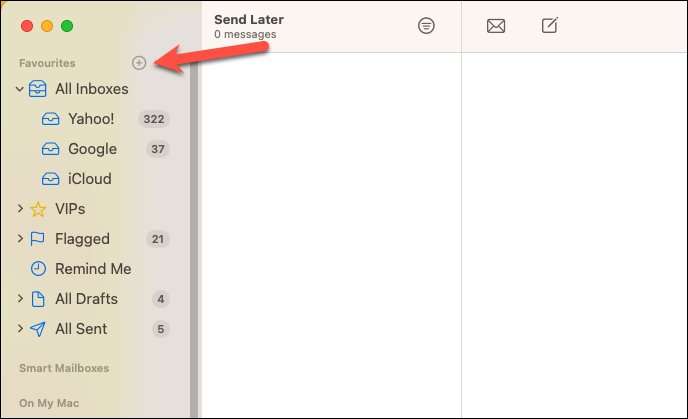
If you can’t find the mailbox, hover over the ‘Favorites’ option and click the ‘+’ icon that appears.
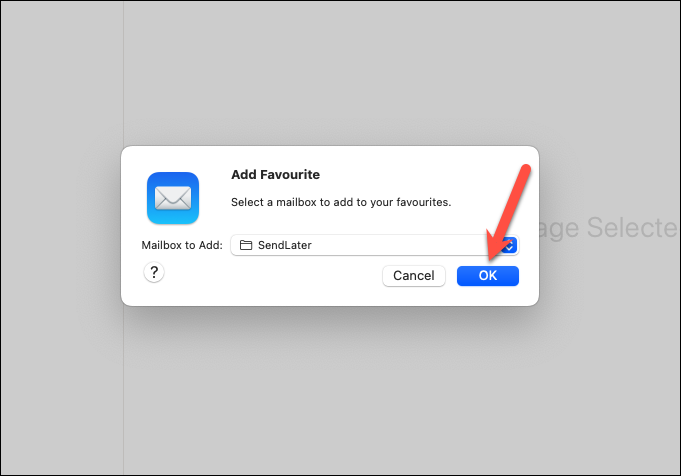
A dialog box will appear. Click the drop-down field and select ‘Send Later’ from the menu.
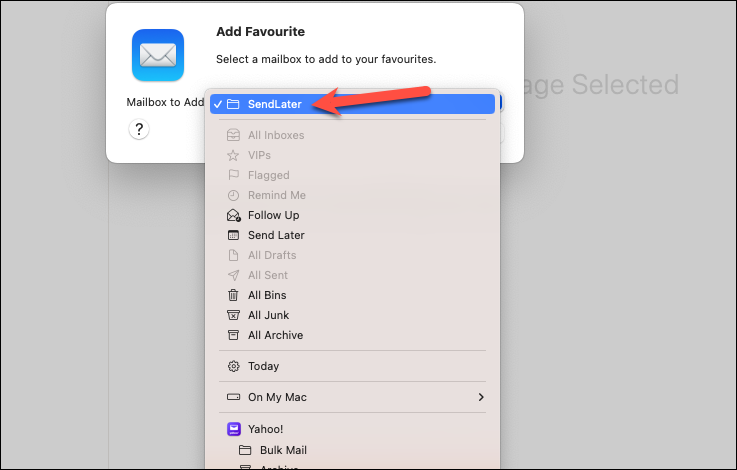
Finally, click ‘OK’ to add the mailbox.
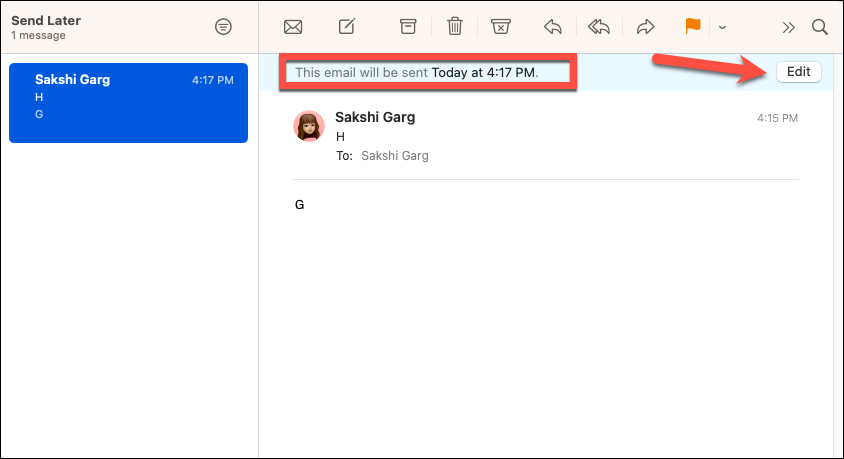
Now, go to the ‘Send Later’ mailbox to view and edit your scheduled emails. You’ll find all your scheduled emails in the middle pane. Click the email you want to edit. In the viewing pane on the right, you’ll find a banner saying, “This email will be sent at [Date and Time].” Click the ‘Edit’ button on the far right to make changes to the schedule.
Edit the date and time from the overlay window that appears. Then, click the ‘Schedule’ button to save the changes.
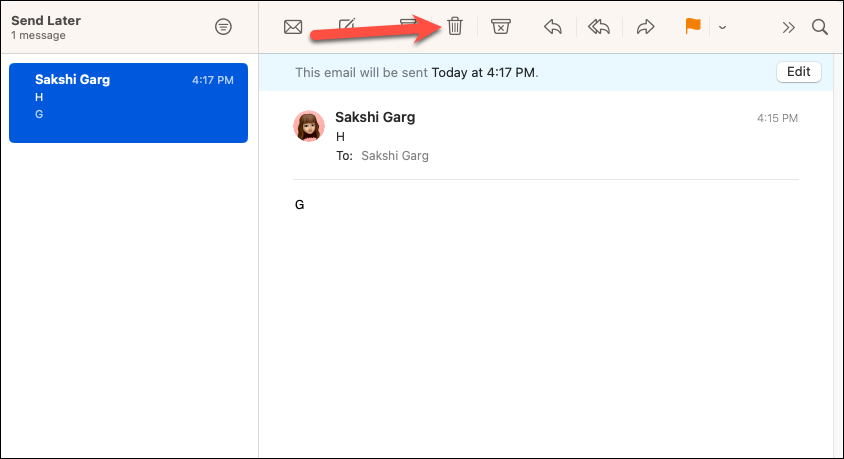
To cancel sending the email altogether, click the ‘Delete’ button to delete the mail from the Send Later mailbox.
The Mail app might not have been one of your favorites before this, but it was always convenient to use which was why many people stuck with it till now. Finally, with the serious improvements it has got in macOS Ventura, it won’t feel like you’re just sticking with the app anymore; it’ll be worth it!