
iOS 16 touts a great number of features. And while the more prominent ones, like Lock Screen customization, Shared Photo Library, and Passkeys, to name a few, made headlines, there are always many hidden gems that go under the radar. And discovering these hidden gems is a joy in itself.
One such app that has gotten quiet upgrades is the Contacts app. If you go looking, you’ll find many changes in the Contacts app, from the detection of duplicate contacts to the ability to export your contacts in one fell swoop. Another upgrade in the Contacts app includes the introduction of Contact Lists. Intriguing, right? Let’s see exactly what these lists entail and how you can use them in iOS 16.
What is a Contact List?
Lists allow you to organize your contacts and make them easier to find. You can have different lists for work, friends, family, etc. Before iOS 16, Contacts used to have Groups that served a similar function. But there was one big flaw with them. There was no way to create a group on iPhone.
You would either have to create a group from the Contacts app on Mac or icloud.com on your PC. Once created using a Mac or PC, these groups would sync and become available for use on your iPhone as well.
Then, you could use them to find the contacts easily or send them a mail in one go, given that those contacts had an email address in them, obviously. (Previously, they used to work for sending messages as well, but not anymore. You had to create a group separately in the Messages app for a group text.)
But when it came to managing the group, it was back to finding your way to a Mac or a PC.
Lists have a similar function, but their biggest advantage is that you can create, edit, or remove them from your iPhone itself. And just like groups, they don’t simply allow you to organize your contacts. You can email, and even text, all the contacts in a list in one fell swoop.
They also sync across your Apple devices using the same Apple ID. You can also create lists from your Mac running the latest macOS Ventura; lists have completely replaced groups in the new ecosystem. But if you have devices running the older OS versions, lists you create on iOS 16 will appear as groups on those devices.
Lists are also responsible for introducing the feature to export your contacts. They’re all around a piece of good news.
Now that we know exactly what they are, let’s see how to go about using them.
Adding a Contact List
Adding a contact list from your iPhone is a piece of cake on iOS 16. You can add it either from the ‘Contacts’ or the ‘Phone’ app by going to the ‘Contacts’ tab.
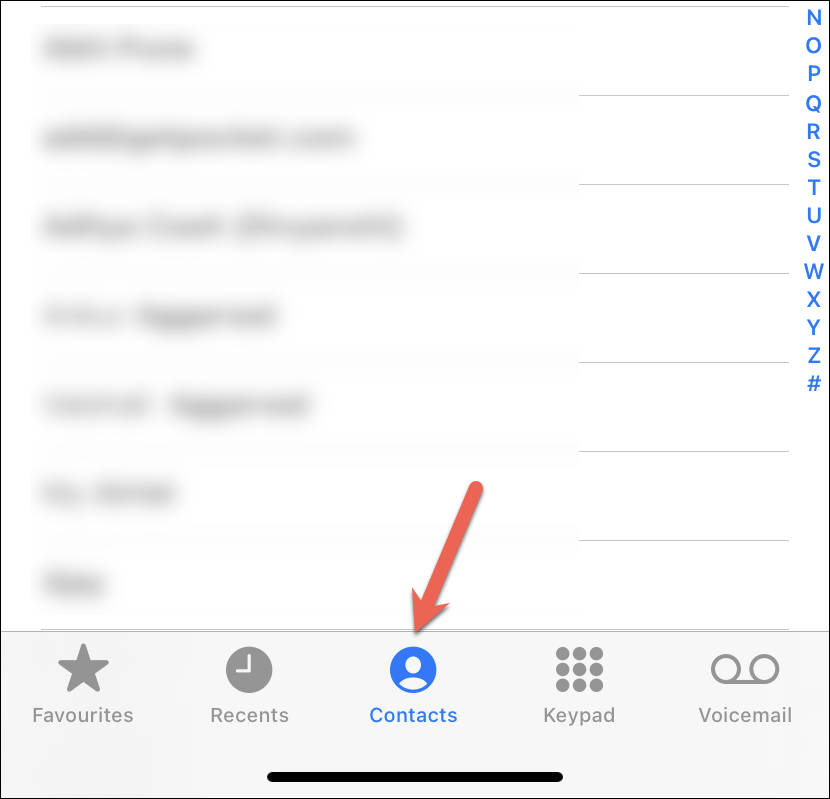
Once the contacts are open, tap the ‘Lists’ option in the top-left corner of the screen.
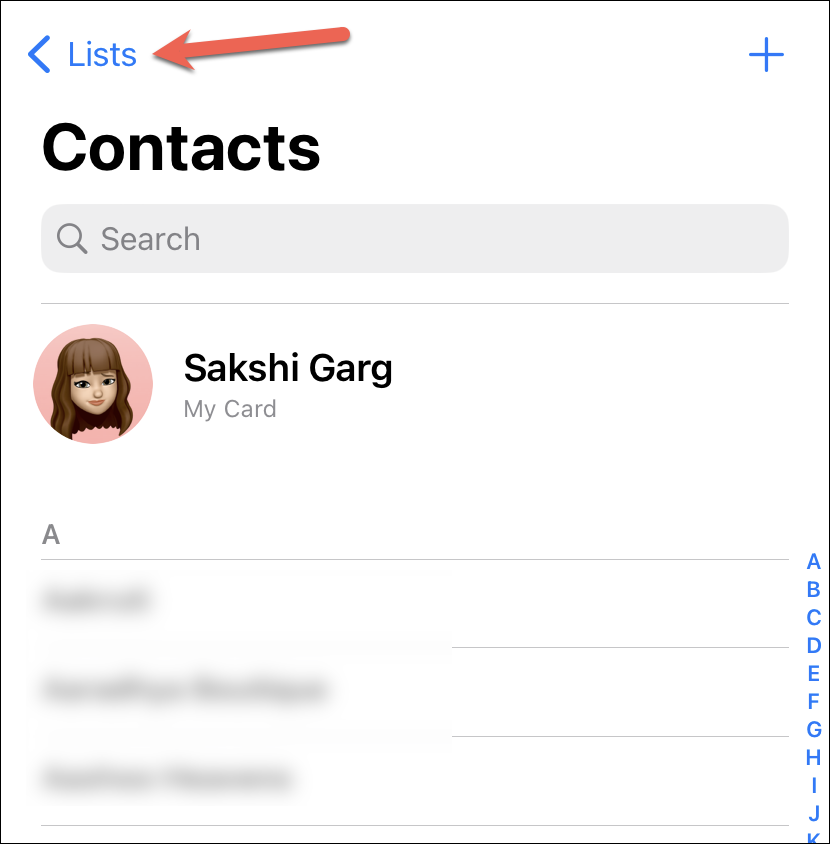
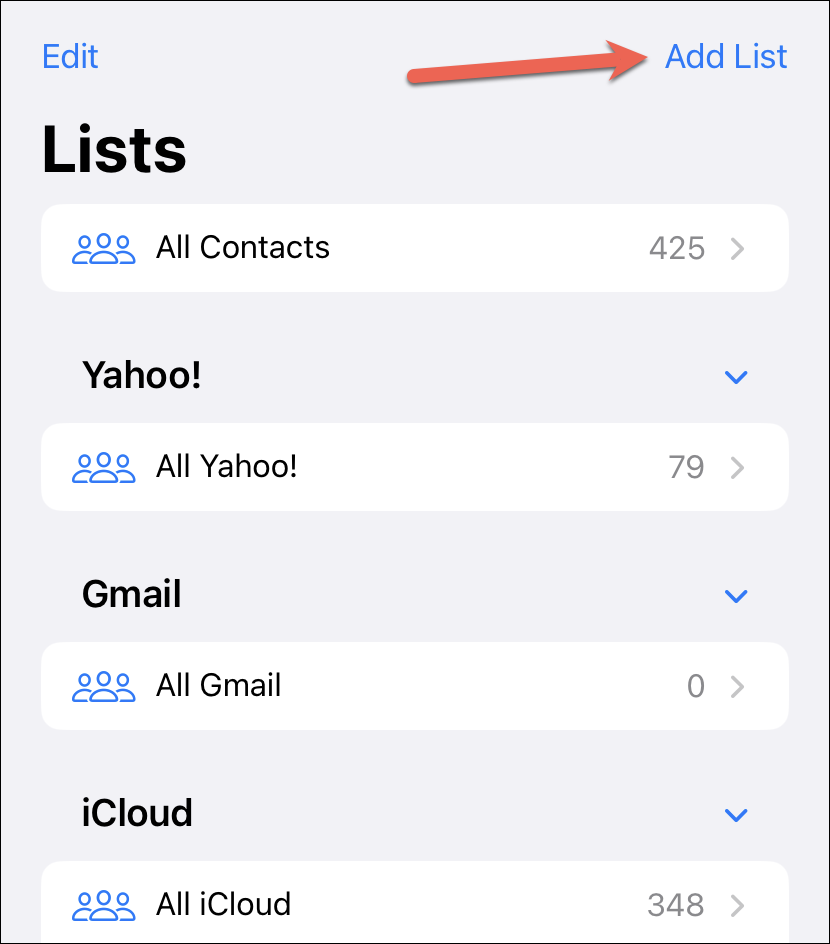
Depending on the accounts on your iPhone, there might already be a few lists, like iCloud, Google, etc, in addition to the ‘All Contacts’ list. You cannot modify any of these linked lists. But you can create a new one for either account.
To create a new list, tap the ‘Add List’ option in the upper-right corner of the screen.
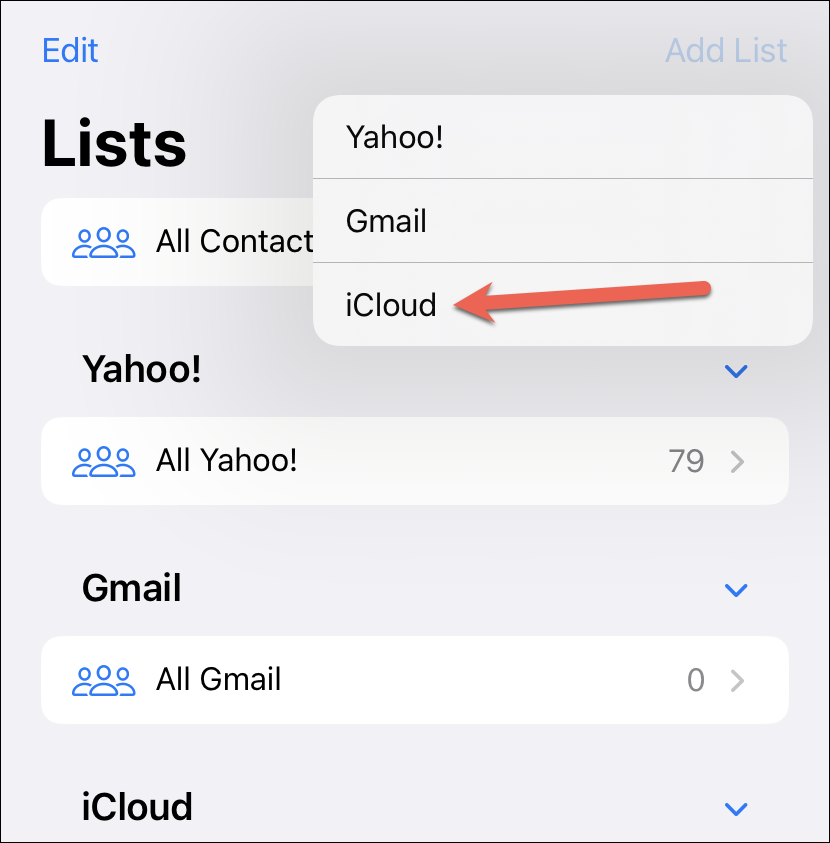
Then, select the account you want to create the list for from the overflow menu.
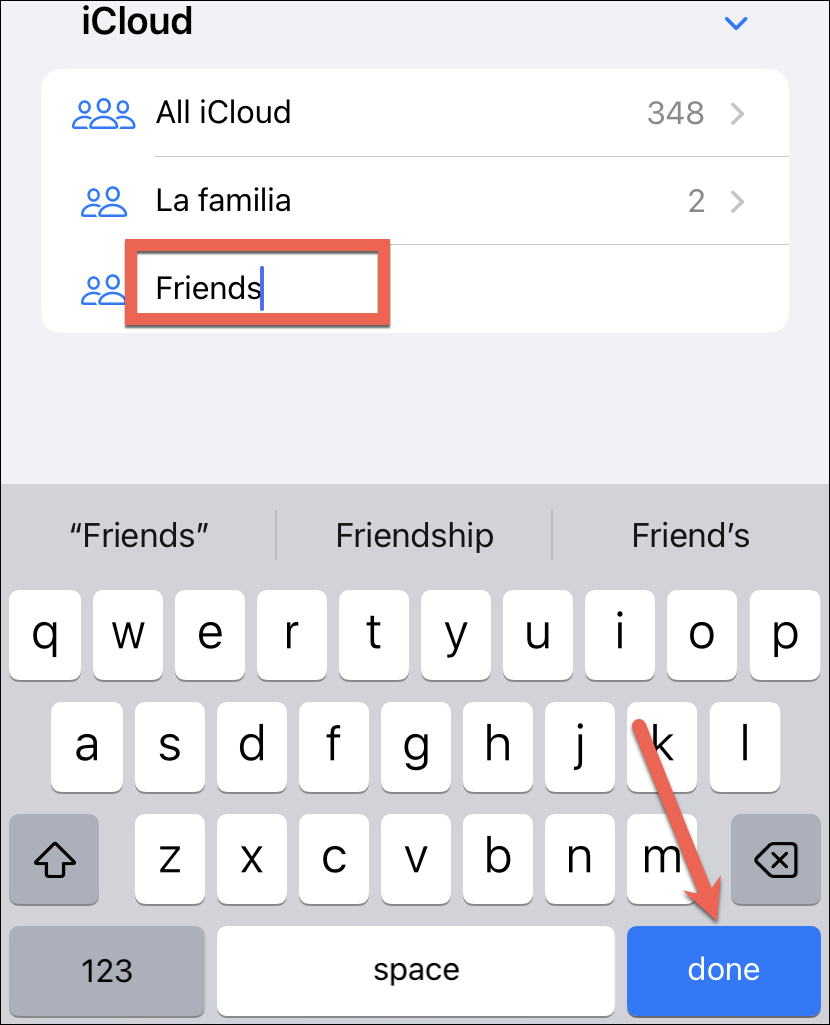
A new list will appear underneath the account you selected. Enter a name for your list. and tap ‘Done’ from the keyboard. An empty list will be created.
Adding or Removing Contacts from the List
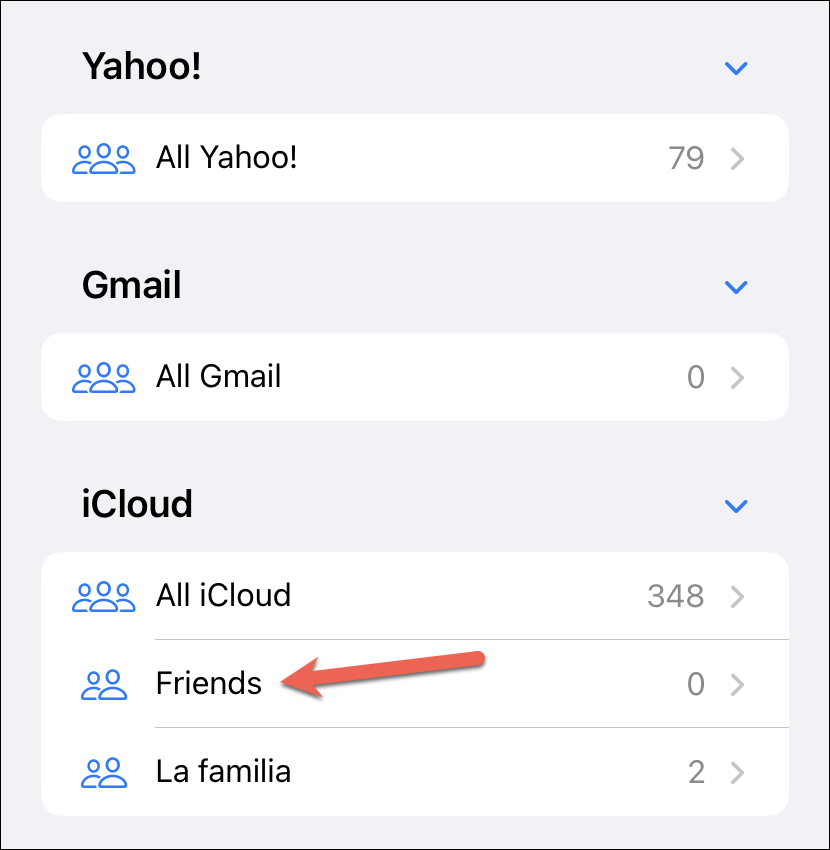
Tap the empty list to add contacts to it.
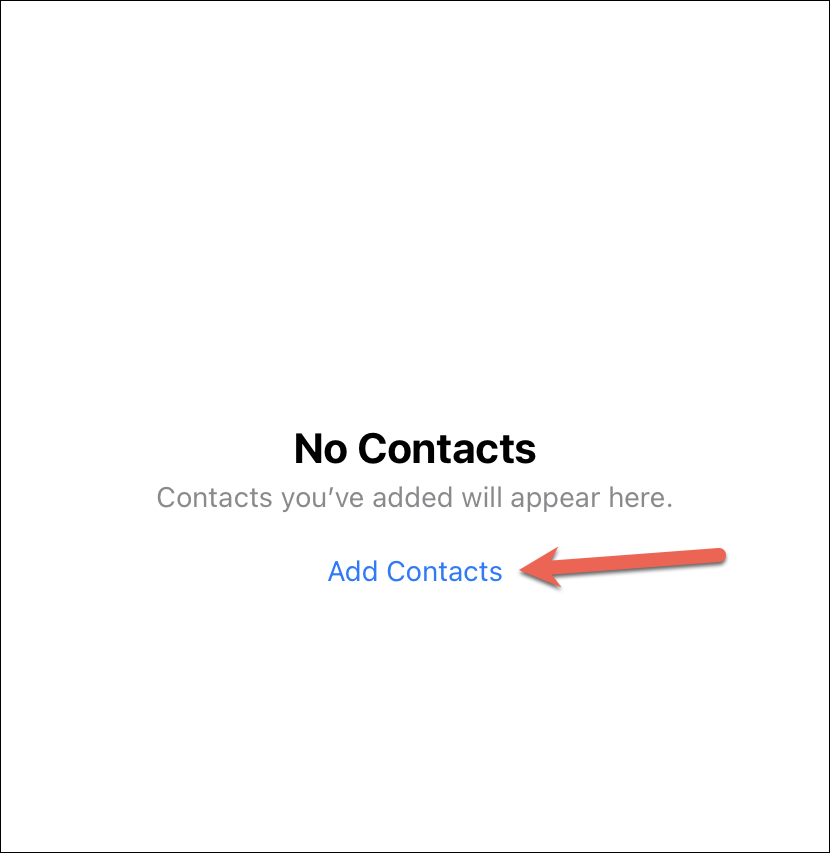
Then, tap the ‘Add Contacts’ option from the screen.
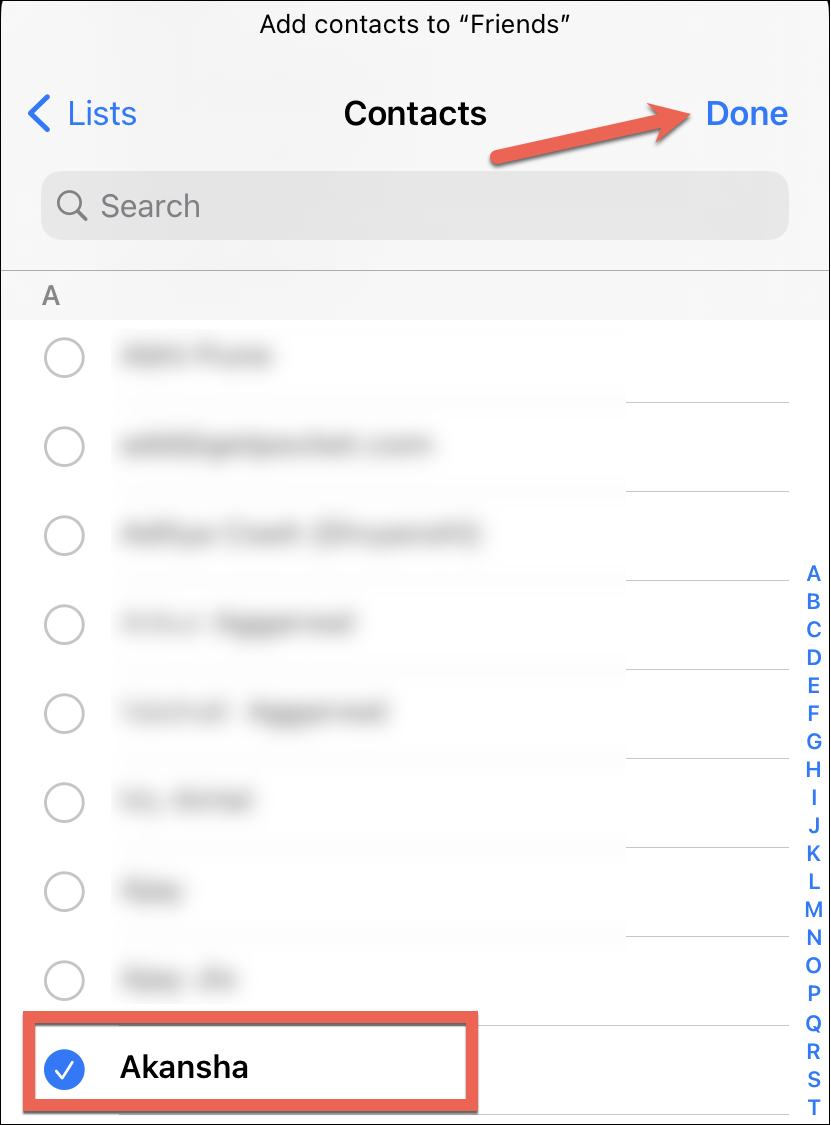
The contacts available in that account will appear. Either use the search bar to search for the contacts you want to add or simply scroll through them. Tap the contacts you want to add to select them. Finally, tap ‘Done’ in the upper-right corner of the screen.
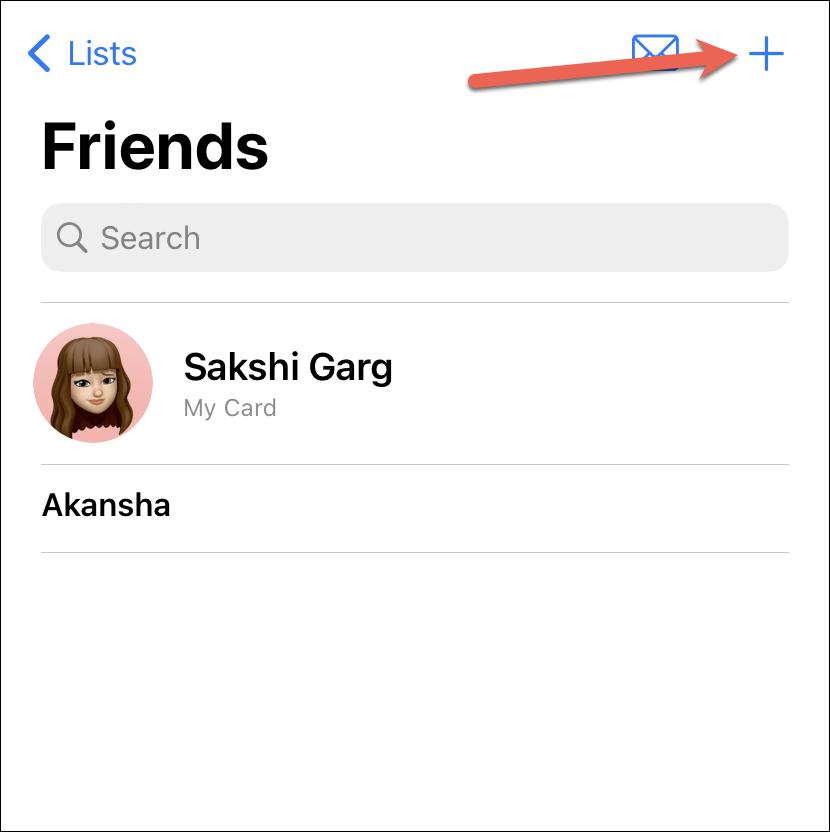
Selected contacts will appear in the list. To add more contacts to the list later, tap the ‘+’ icon in the upper-right corner and select more contacts.
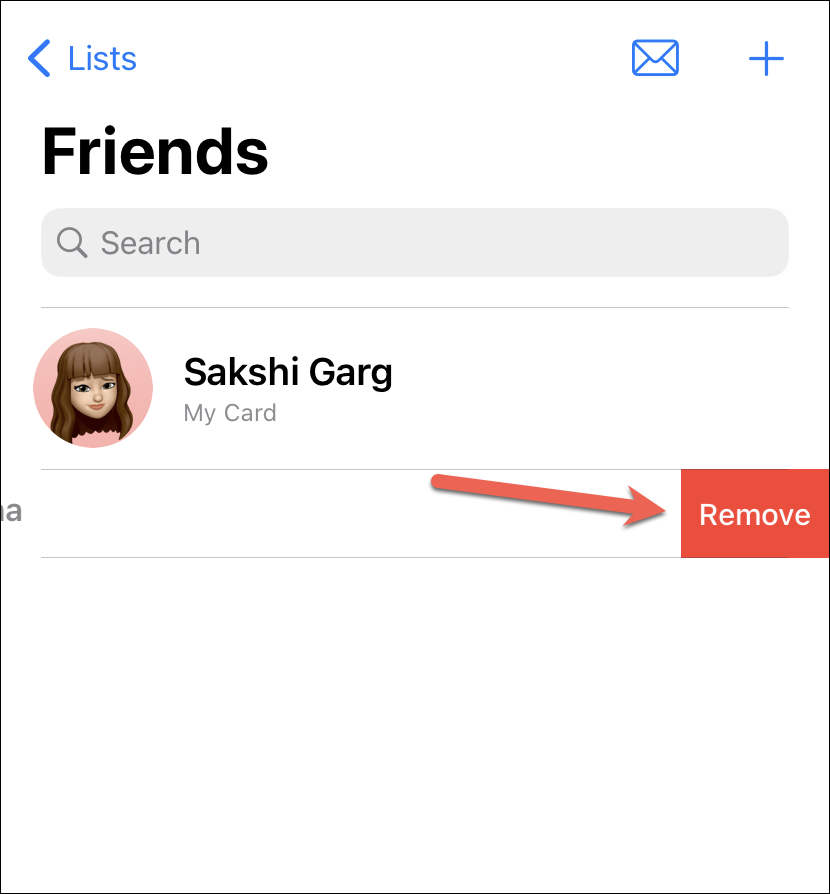
To remove a contact from the list, swipe left on the contact and tap the ‘Remove’ option that appears.
Using the Contact List
Once you’ve created a contact list, you can use it to email or message all members at once. You can either do it from the Contacts app itself or the individual apps.
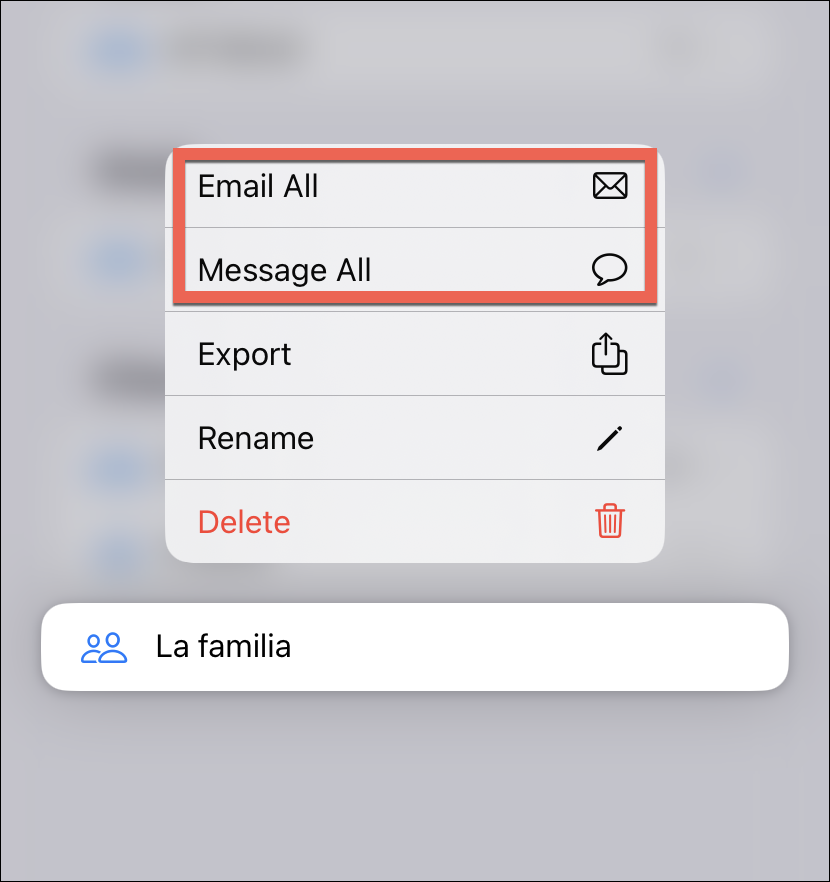
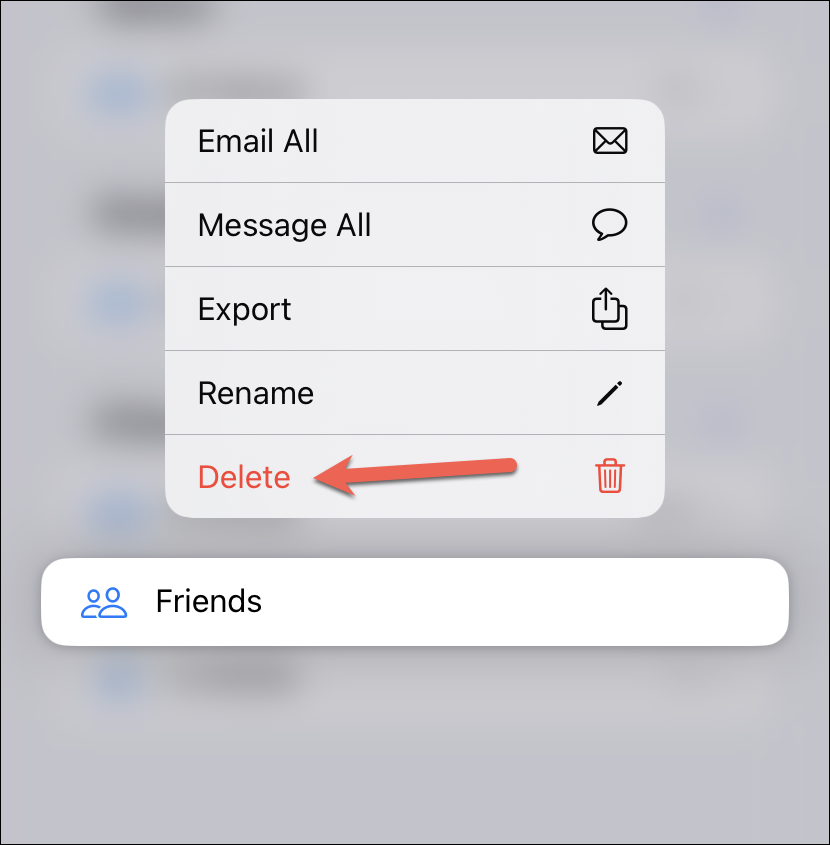
To send a mail or message to all the contacts in the list from the Contacts app, go to the lists screen. Then, long press the list until you receive haptic feedback and a haptic menu appears.

Then, tap ‘Email All’ or ‘Message All’ as per the action you intend.
To send an email to the list from the Mail app, compose a new mail and in the ‘To’ section, type the name of the list and select it from the search results.
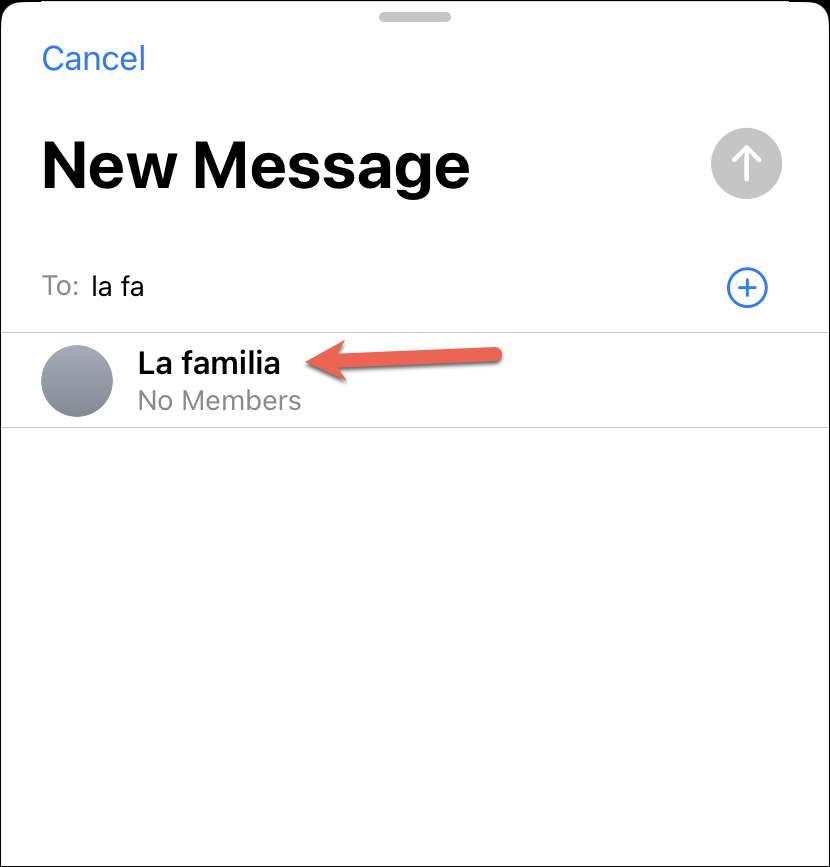
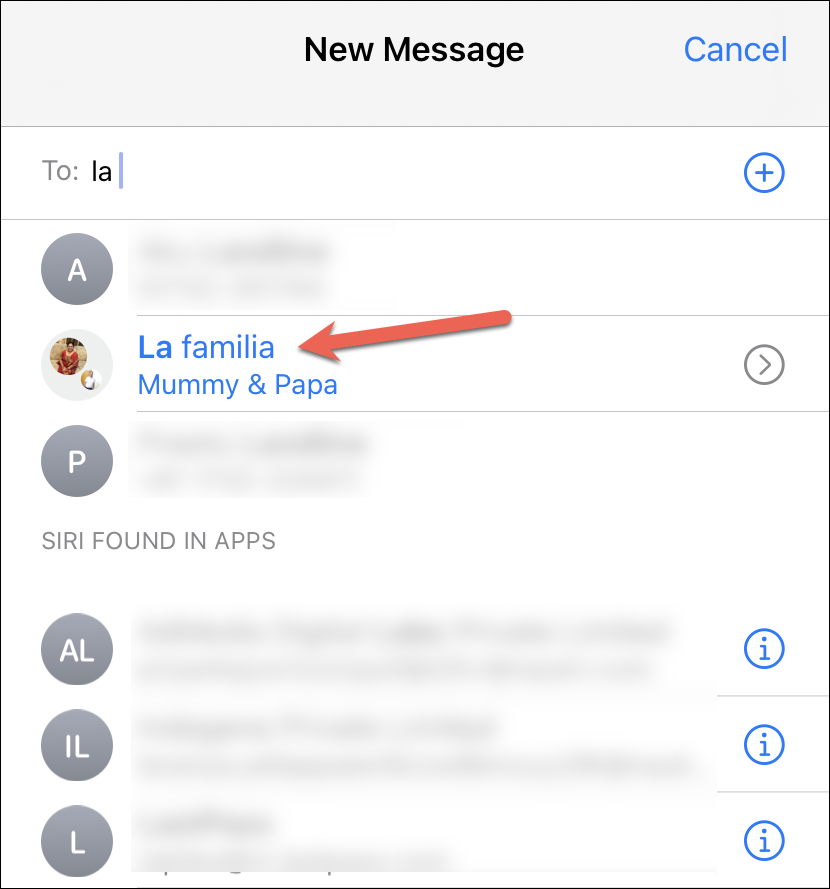
Similarly, to send a text message to the contacts in the list, open the Messages app and start a new message. Then, type the list name in the ‘To’ field and select it from the search results.
Removing a Contact List
To remove a list from your contacts list, open contacts, either from the Contacts app or the Phone app. Then, go to ‘Lists’.

Now, long-press the list you want to delete.
Note: Lists for the linked accounts, i.e., iCloud, Google, etc., cannot be deleted. You can only delete a list you created.

Then, tap the ‘Delete’ option from the menu.
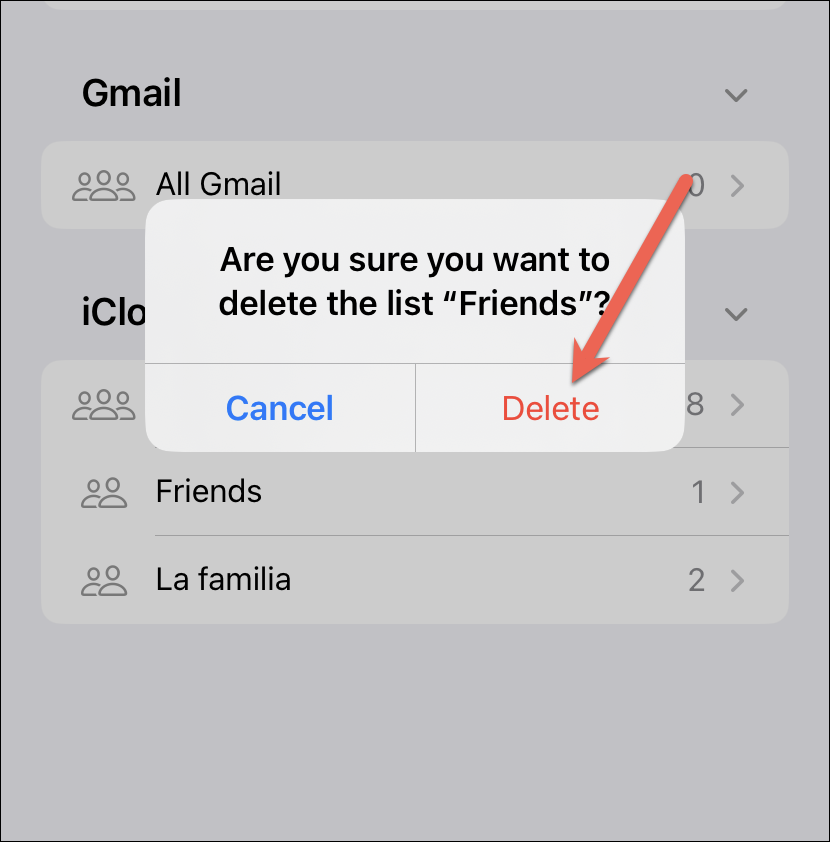
A confirmation prompt will appear. Tap ‘Delete’ from the prompt to remove the list from your contacts.
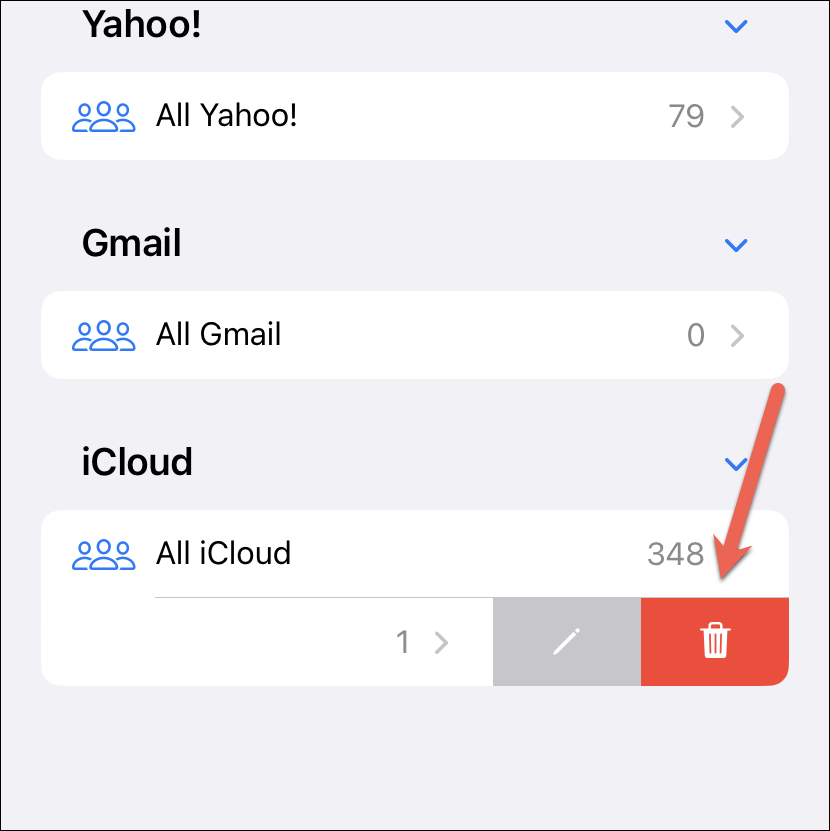
You can also swipe left on a list and tap the ‘Delete’ icon from the options that appear.
Contact lists can make it extremely easy to organize your contacts according to their respective social bracket in your life. With iOS 16, you can finally achieve this task from your iPhone itself.


