Printers are indispensable when it comes to producing hard copies of documents, photos, and other digital content. If you often switch between different printers or connect to various printers frequently, setting a default printer in Windows 11 can save you time and prevent unintended print jobs. Here’s how you can set a default printer using several methods in Windows 11.
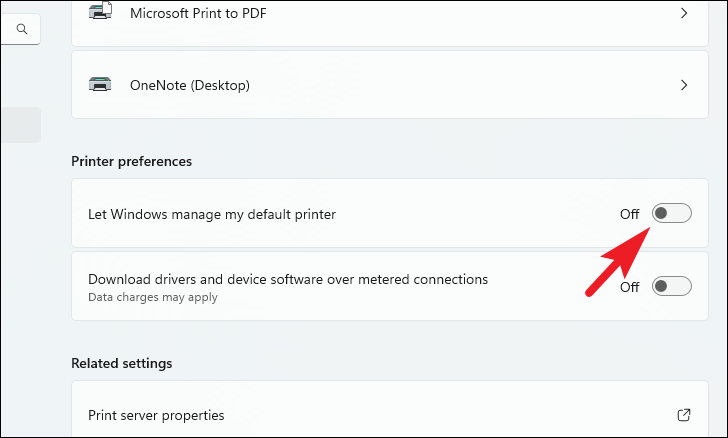
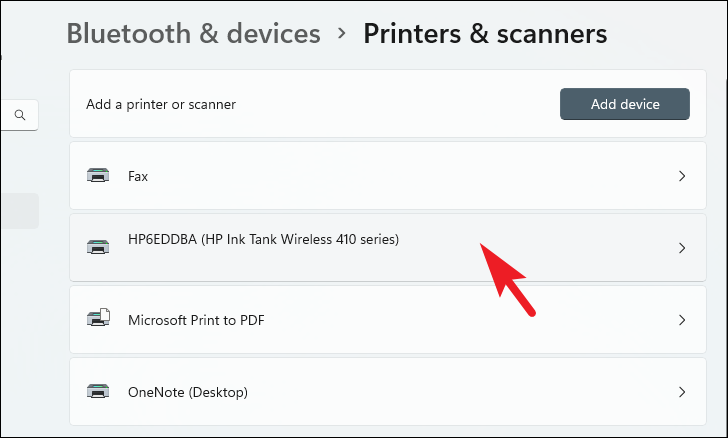
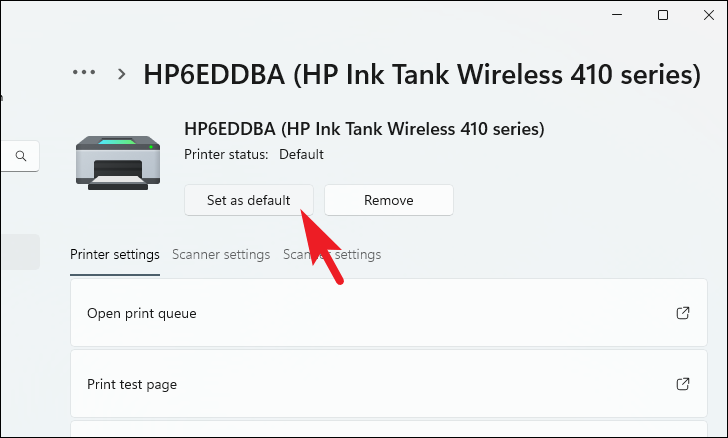
Method 1: Set a Default Printer from the Settings App
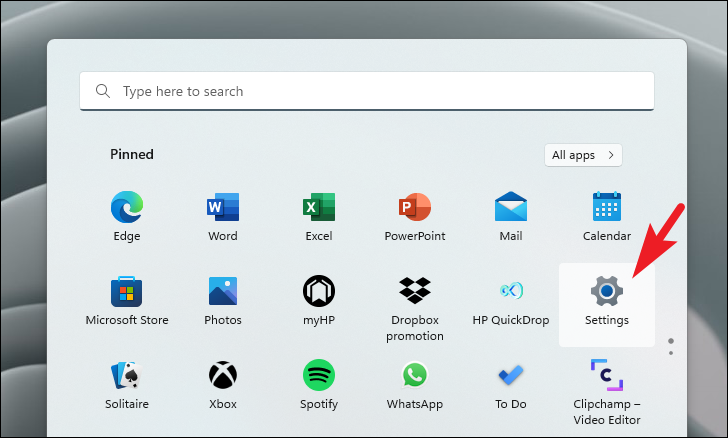
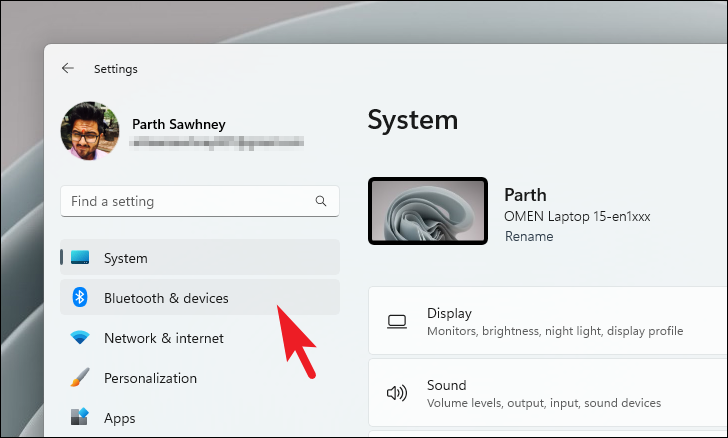
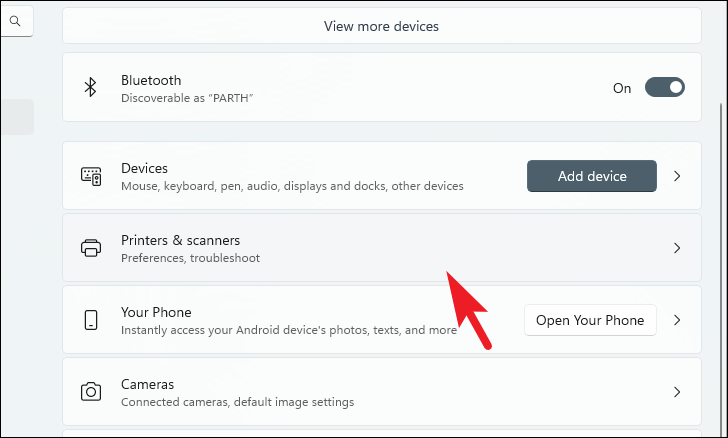
One of the simplest ways to designate a default printer is through the Settings app.
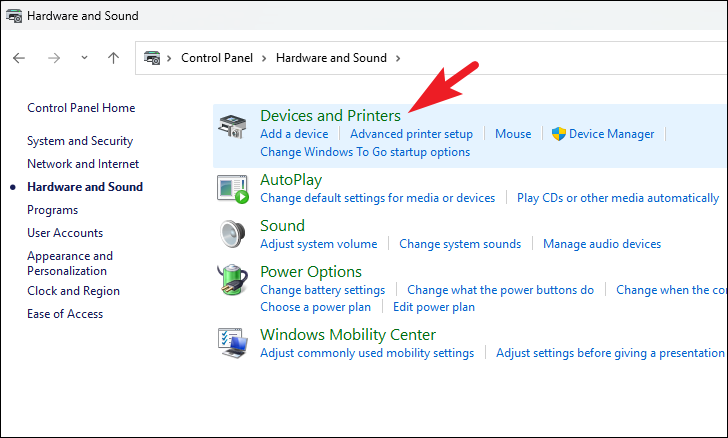
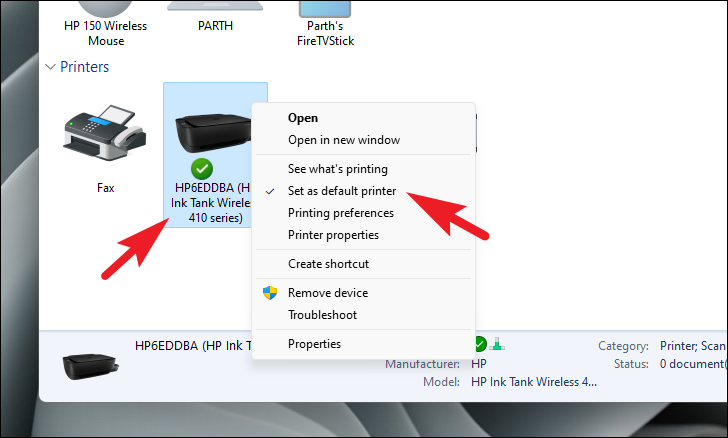
Method 2: Set a Default Printer from the Control Panel
If you prefer using the Control Panel, you can set your default printer through it as well.
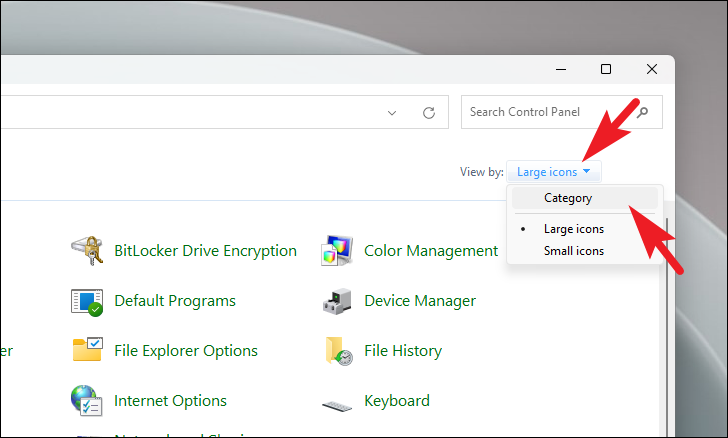
Control Panel in the search bar. Click on the Control Panel app from the search results.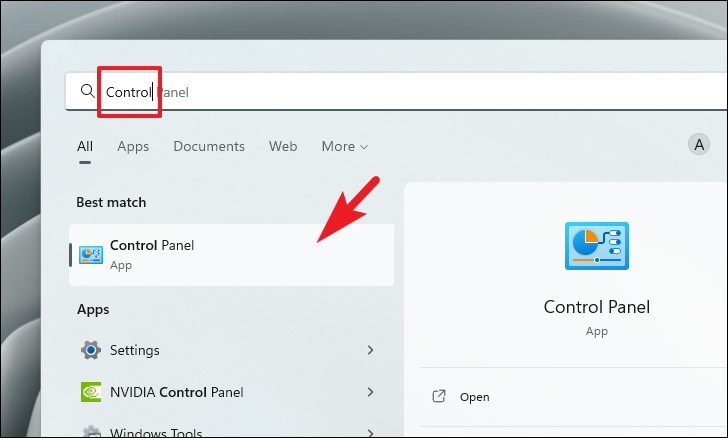
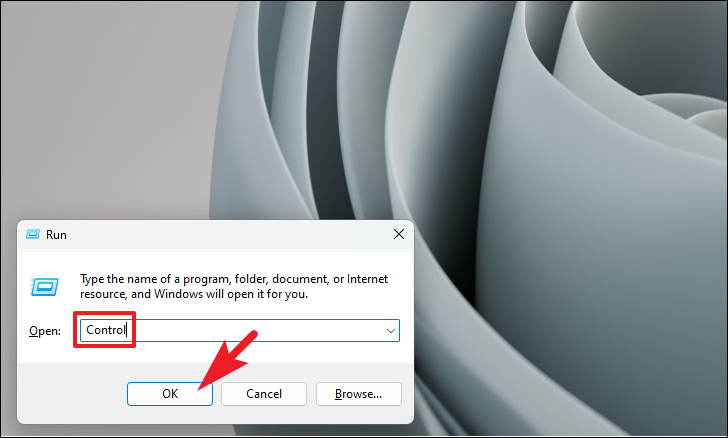
Alternatively, press Windows+R to open the Run dialog box, type Control, and press Enter to launch the Control Panel.

Method 3: Set a Default Printer Using the Command Prompt
For advanced users, the Command Prompt offers a quick way to set a default printer.
Command Prompt. Right-click on the Command Prompt app and select Run as administrator.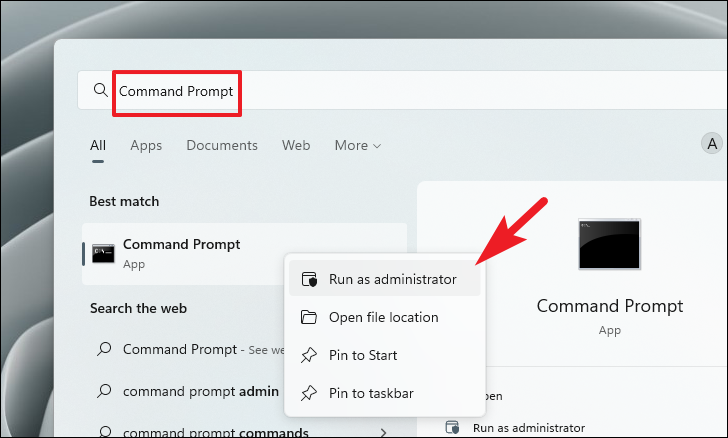
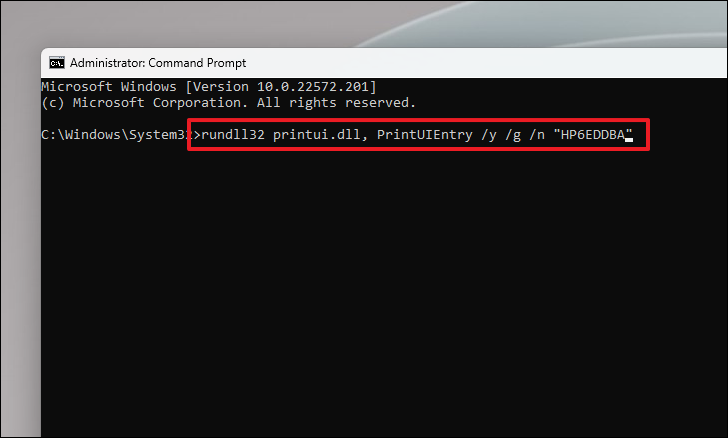
rundll32 printui.dll,PrintUIEntry /y /q /n "<Printer name>"Replace <Printer name> with the exact name of your printer as it appears in your system’s devices.
By setting a default printer, you can streamline your printing tasks and avoid sending print commands to unintended devices.


