
Windows 11 offers a variety of gesture controls for both touchscreens and touchpads, enhancing user interaction and productivity. This guide will explore the different types of gestures available on Windows 11 PCs and how to customize them to suit your needs.
Types of gestures in Windows 11
Windows 11 supports three main categories of gestures:
- Tap gestures
- Scroll and zoom gestures
- Three-finger gestures
Let’s dive into each type and learn how to configure them.
Configuring tap gestures
Tap gestures are typically enabled by default on Windows PCs with precision touchpads. However, you can customize these settings if needed.
To modify tap gestures on your Windows 11 laptop:
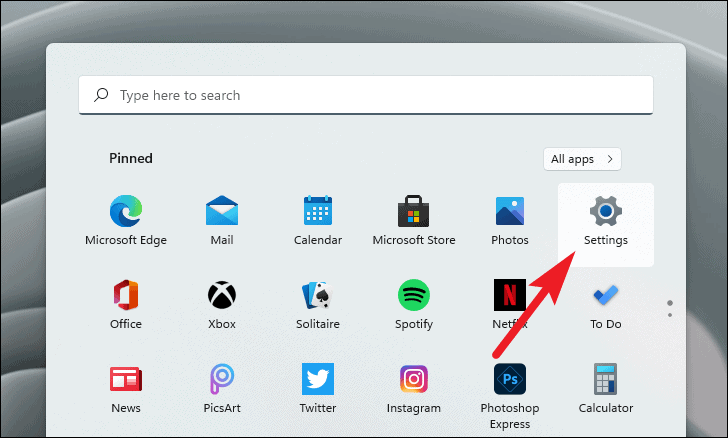
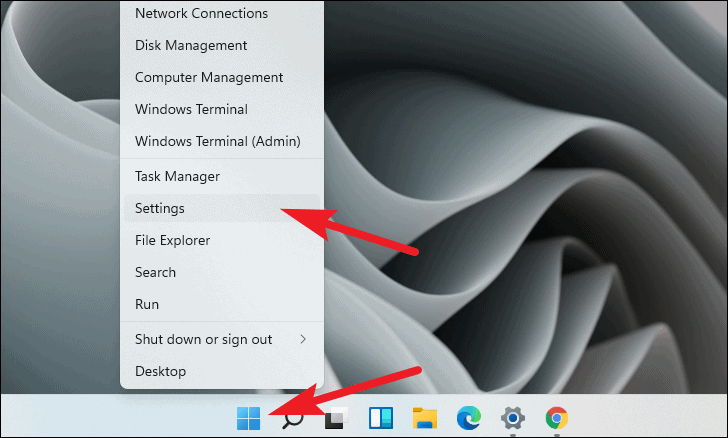
- Open the Settings app from the Start Menu.
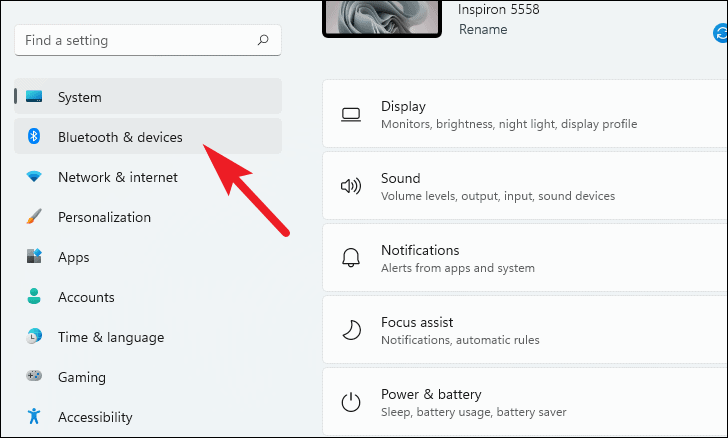
- Click on the ‘Bluetooth & devices’ tab in the sidebar.

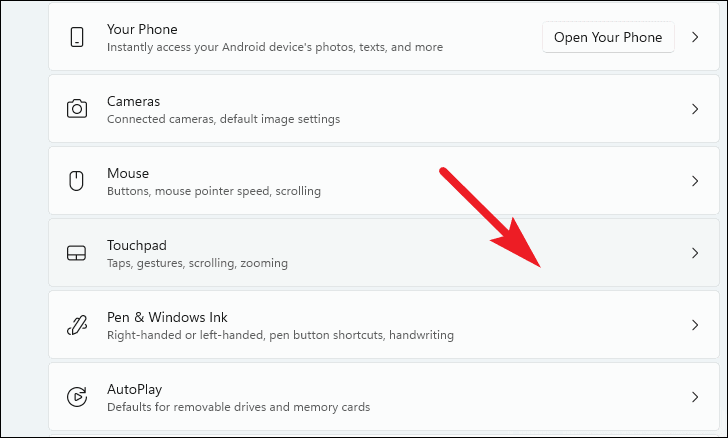
- Scroll down and select the ‘Touchpad’ option.

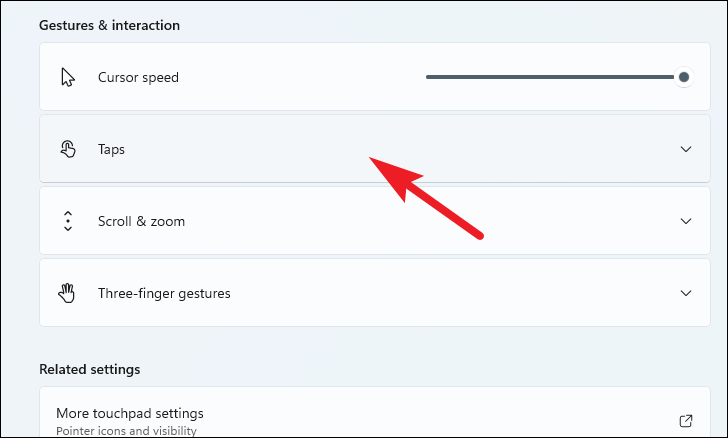
- Click on the ‘Taps’ tile to reveal all available gestures.
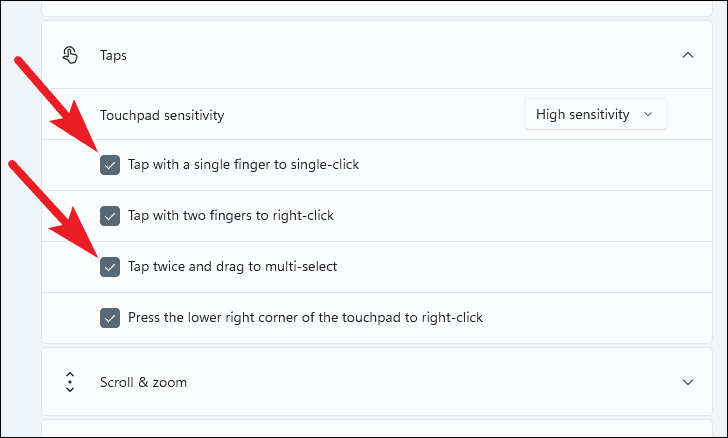
- Enable or disable individual gestures by clicking the checkboxes next to each option.
You can also adjust the touchpad sensitivity:
- Click the drop-down menu next to ‘Touchpad sensitivity’.
- Choose your preferred sensitivity level from the options provided.
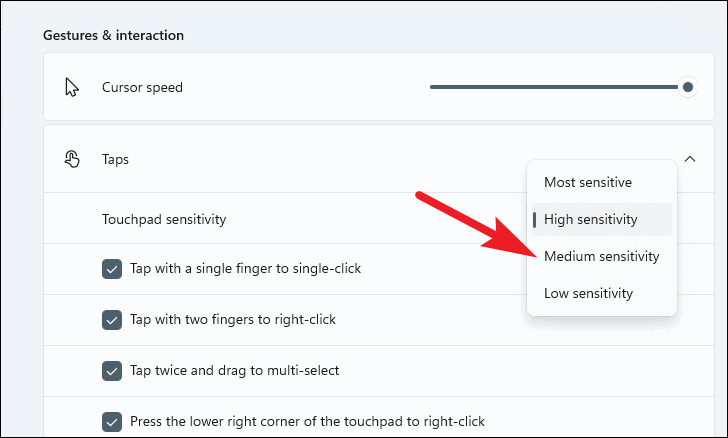
Note: The ‘Most Sensitive’ option might misinterpret accidental palm touches as taps. If this occurs, consider switching to the ‘High Sensitive’ option.
Adjusting scroll and zoom gestures
Scroll and zoom gestures allow for easy navigation and content manipulation. While these gestures are enabled by default and not extensively customizable, you can adjust the scrolling direction.
To modify scroll and zoom settings:
- Open the Settings app using the Start Menu or by pressing Windows+I.

- Navigate to ‘Bluetooth & devices’ in the sidebar.

- Select ‘Touchpad’ from the options.
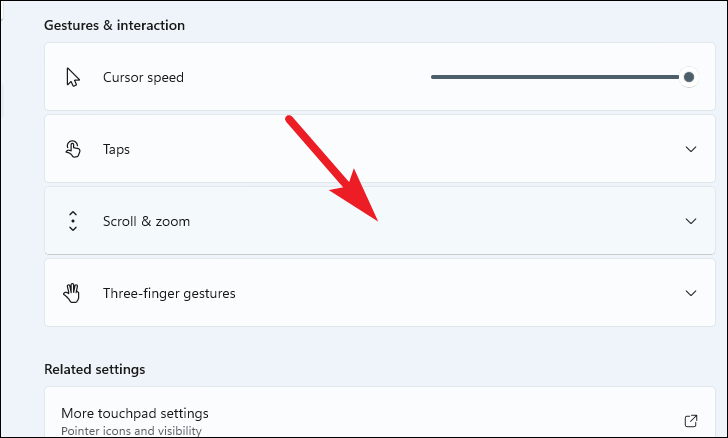
- Click on the ‘Scroll & zoom’ tile to access related options.
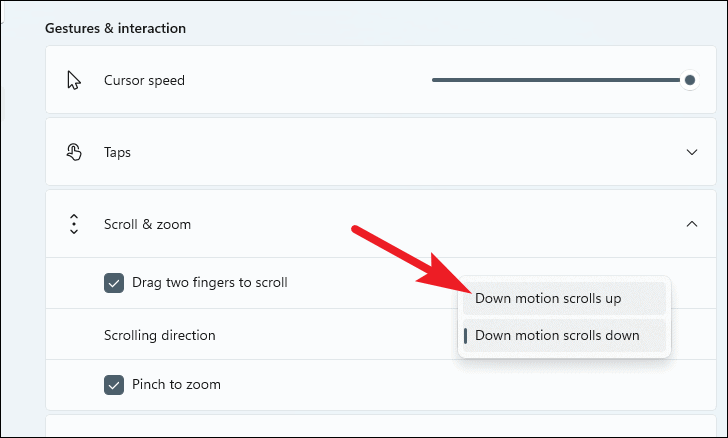
- To change the scrolling direction, click the drop-down menu under ‘Scrolling direction’ and select your preferred option.
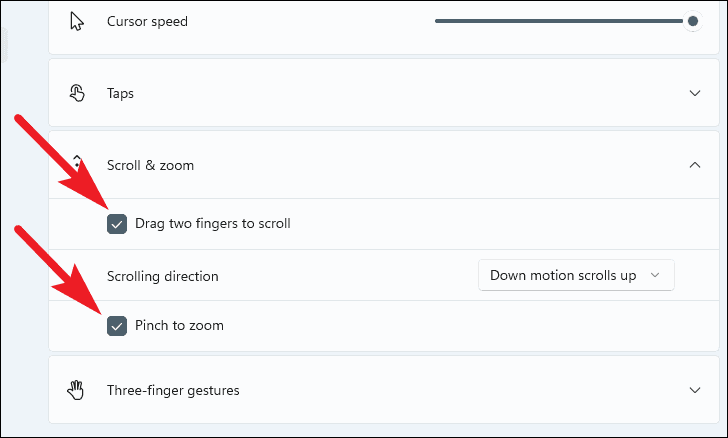
You can also disable ‘Pinch to zoom’ or ‘Drag two fingers to scroll’ by unchecking the respective boxes.
Note: Disabling ‘Drag two fingers to scroll’ will require you to use scroll bars for navigation within windows.
Customizing three-finger gestures
Three-finger gestures offer the most customization options in Windows 11. You can configure both swipes and taps to perform various actions.
To set up three-finger gestures:
- Open Settings by right-clicking the Start Menu icon and selecting ‘Settings’, or by pressing Windows+I.
- Click on ‘Bluetooth & devices’ in the sidebar.
- Select ‘Touchpad’ from the list of options.

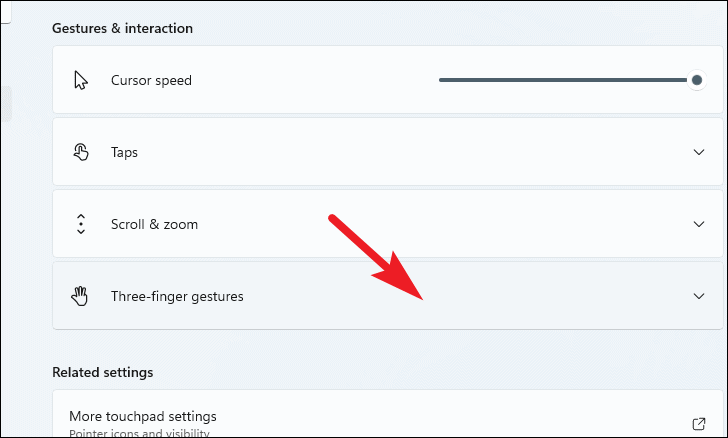
- Scroll down and click on the ‘Three-finger gestures’ tile.
Configuring three-finger swipes
Windows offers three preset options for three-finger swipes:
- Switch apps and show desktop (Default)
- Switch desktops and show desktop
- Change audio and volume
To select a preset:
- Click the drop-down menu in the ‘Swipe’ section.
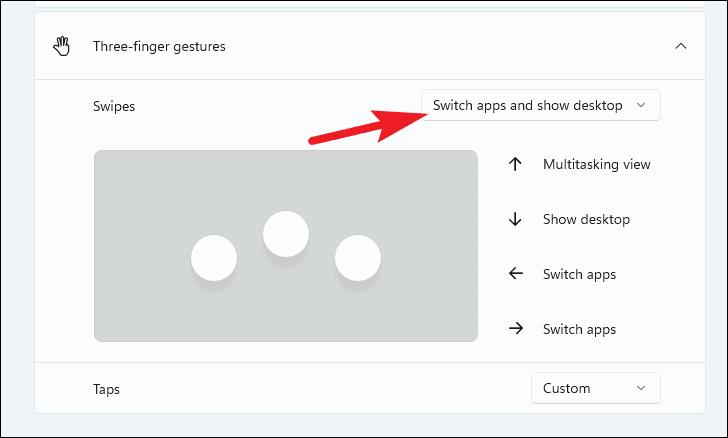
- Choose your preferred option from the list.

Note: Selecting ‘Nothing’ will disable three-finger swipe gestures.
Setting up three-finger taps
To configure three-finger taps:
- Click the drop-down menu in the ‘Taps’ section.
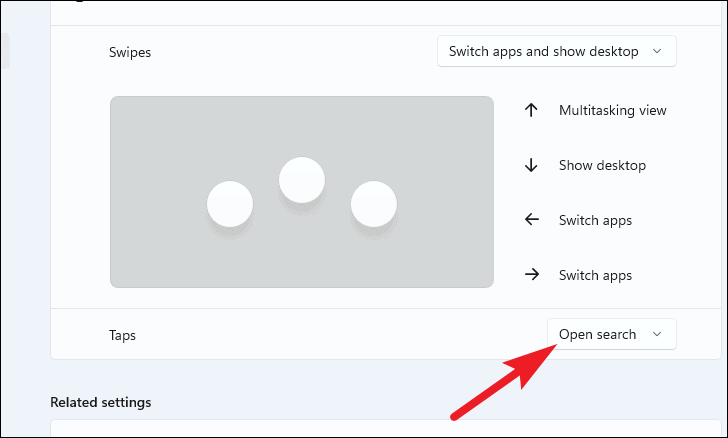
- Select your desired action from the list.
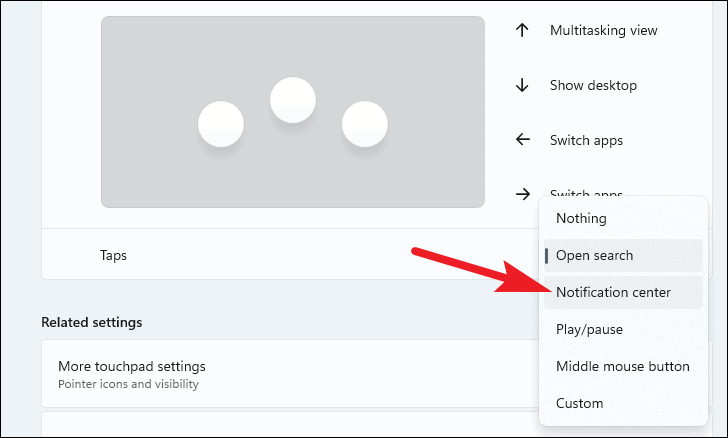
Note: Choosing ‘Nothing’ will turn off three-finger tap gestures.
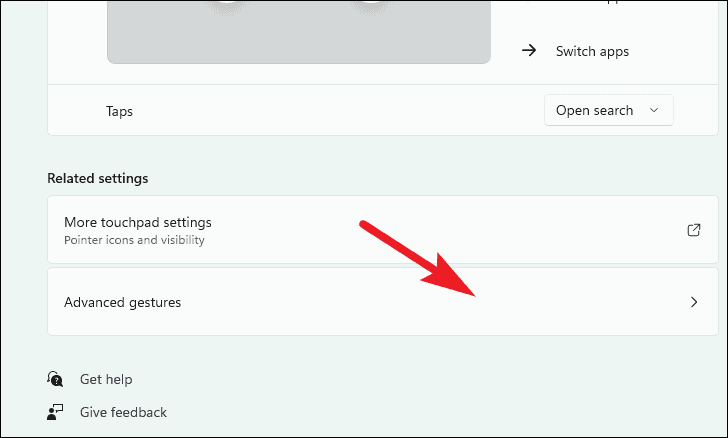
Advanced customization of three-finger gestures
For more granular control over three-finger gestures:
- Scroll to the bottom of the ‘Touchpad’ settings and click on ‘Advanced gestures’.
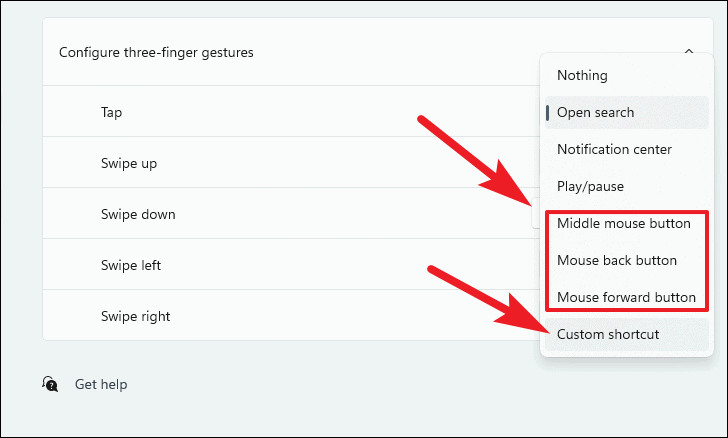
- Click the drop-down menu for the gesture you want to customize.
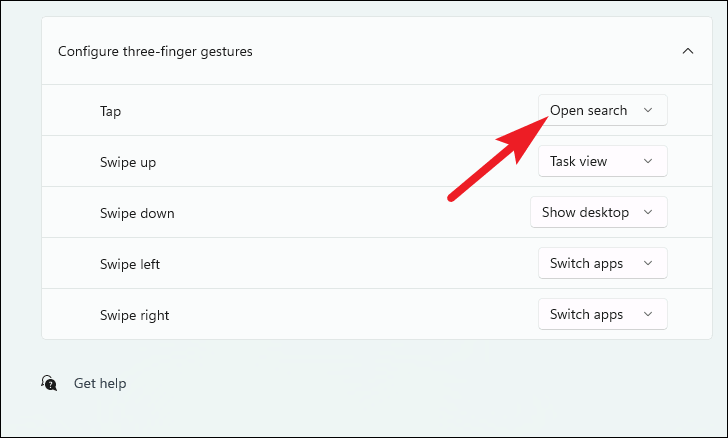
- To assign a mouse action, select one from the list. For a keyboard shortcut, choose ‘Custom shortcut’.
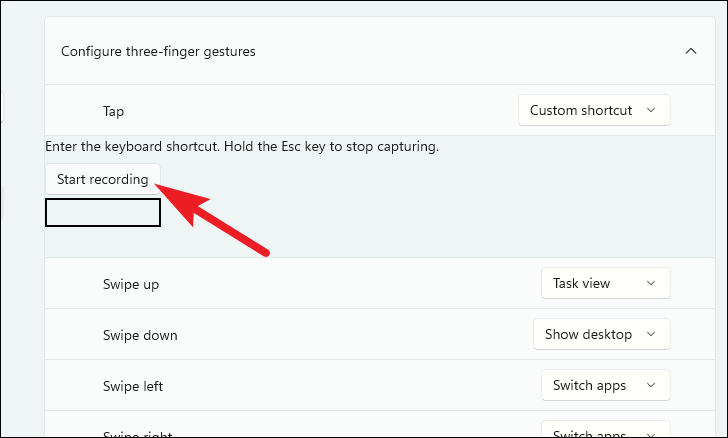
- If setting a custom shortcut, click ‘Start recording’ and press the desired key combination.
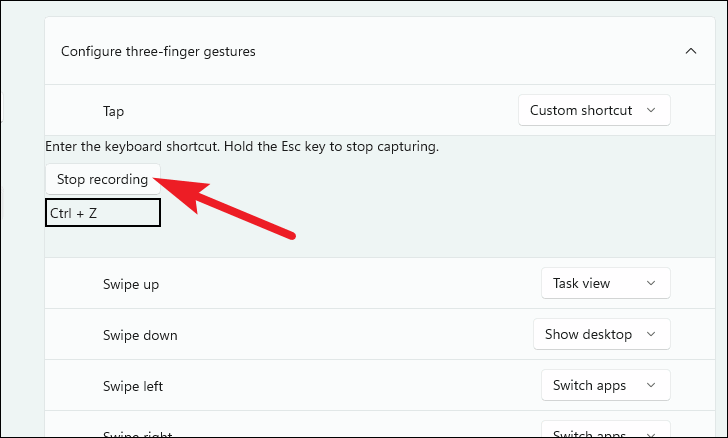
- Once your shortcut appears in the box, click ‘Stop recording’ or press and hold the Esc key to confirm.
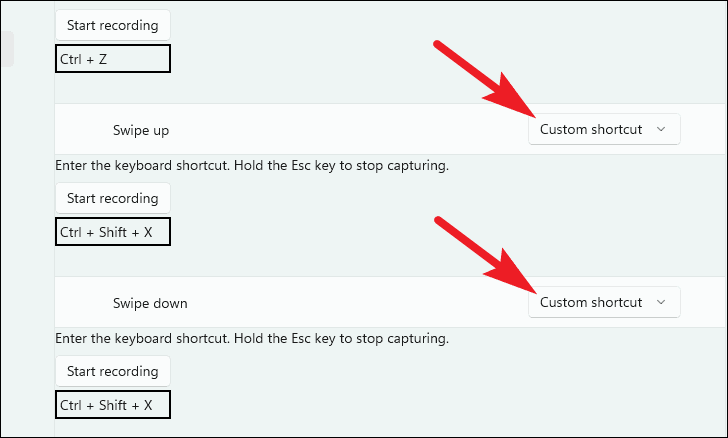
Repeat this process for any other gestures you wish to customize.
By following these steps, you can tailor Windows 11’s gesture controls to enhance your productivity and create a more personalized computing experience.


