Windows 11 now offers an easy way to back up and restore your files, applications, settings, and credentials using the new cloud-based Windows Backup app. Similar to macOS's Time Machine, this tool simplifies the process of safeguarding your data. Currently available in Windows Insider preview builds, it will be widely accessible with the upcoming Windows 11 23H2 update. This guide provides detailed steps to set up, back up, and restore your PC using the Windows Backup app.
Setting up Windows Backup App
With the Windows Backup app, keeping your data secure is straightforward and convenient. Before starting the backup process, you can customize which files and settings you want to protect. Follow these steps to configure your backup preferences:
Step 1: Launch the Windows Settings app, select 'Accounts' from the left-hand menu, and then click on 'Windows Backup' in the right pane.
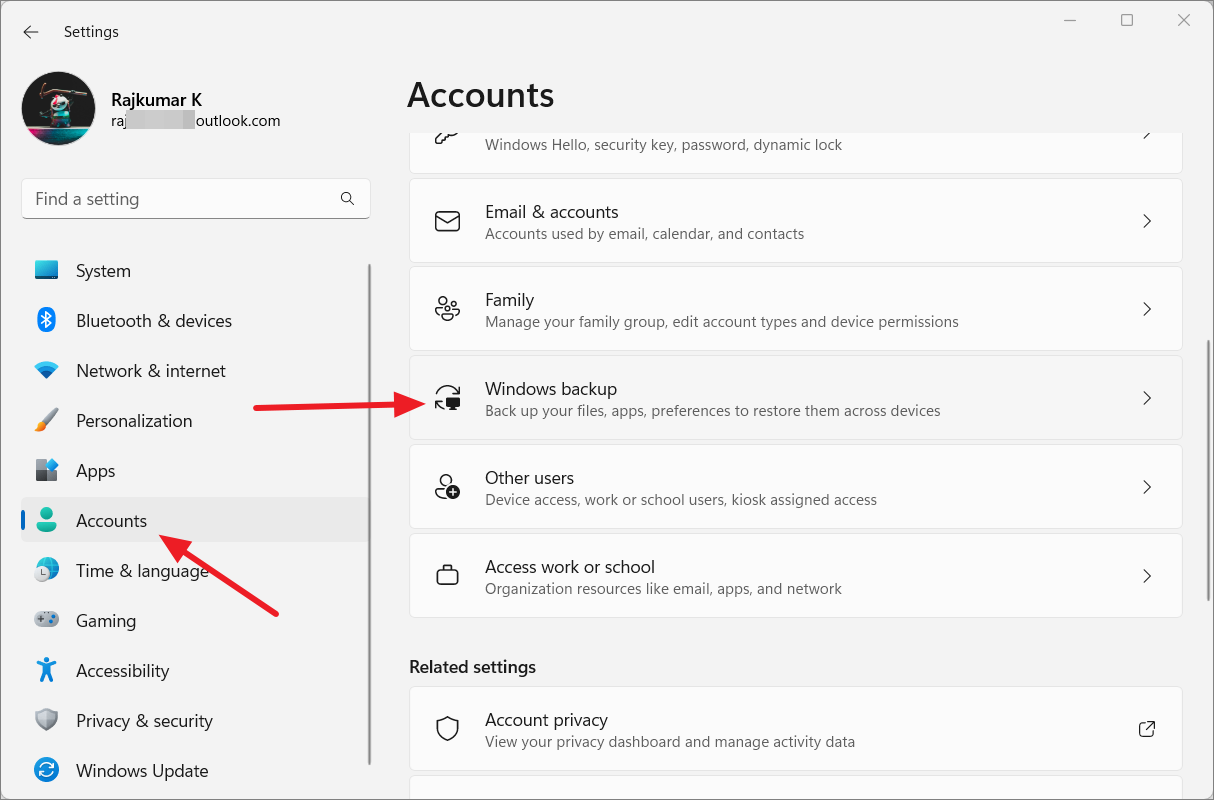
Step 2: In the Windows Backup settings, you can choose which folders, apps, settings, and credentials to back up. To specify the library folders you want to include, click on 'Manage sync settings'.
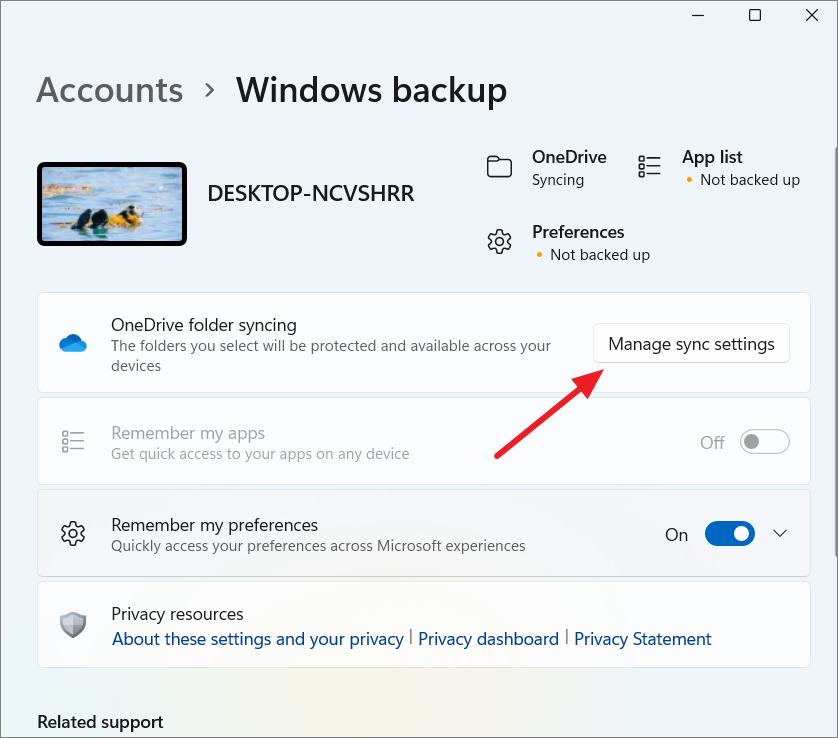
In the Microsoft OneDrive window that opens, toggle on the switches next to the folders you wish to back up, such as Desktop, Documents, and Pictures. Then, click on 'Start backup' to begin the process.
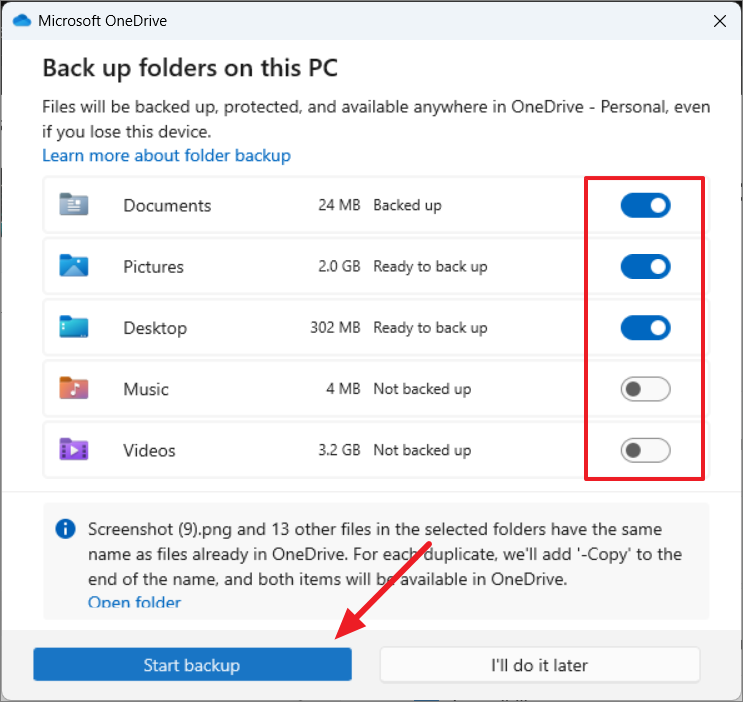
Next, enable the 'Remember my preferences' option and expand it to view additional settings.
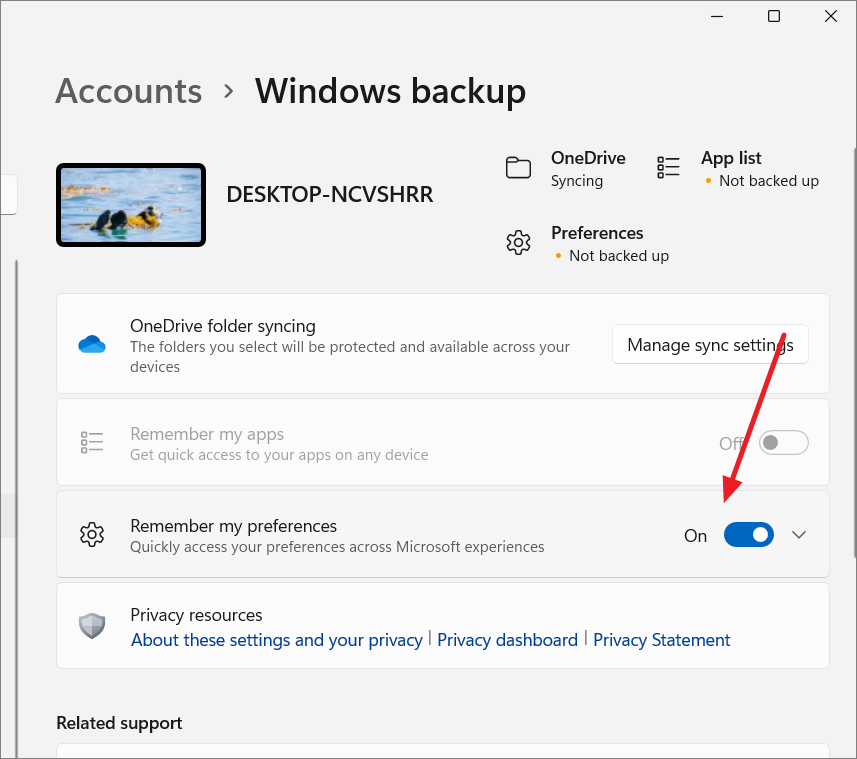
Now, select the specific settings you want to back up across your Microsoft devices. This ensures a consistent experience if you're using multiple devices.
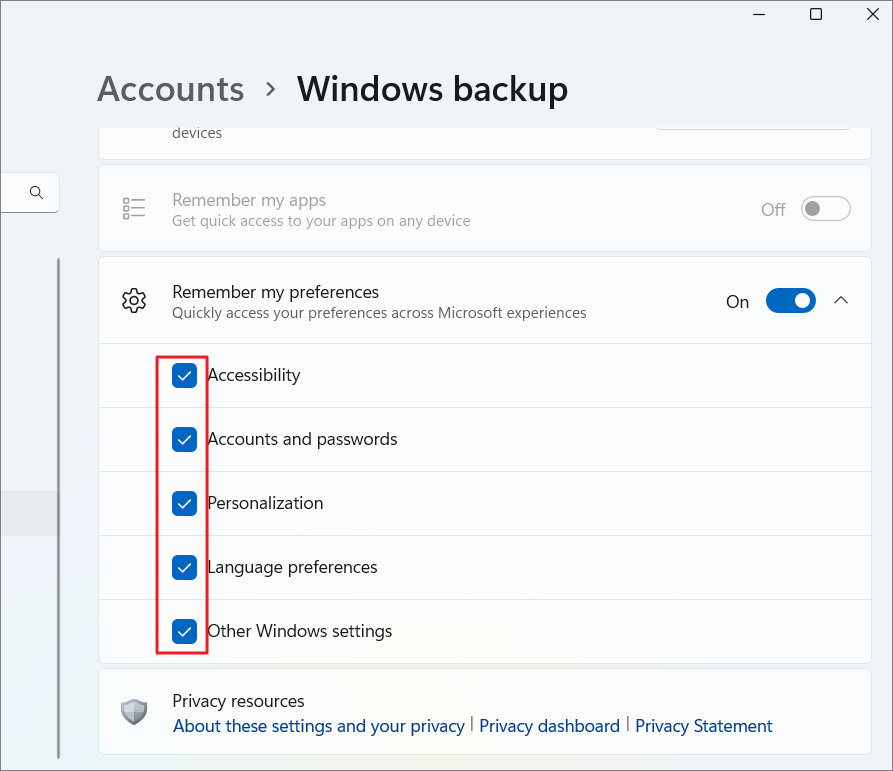
You can opt to back up all your files, apps, and settings or select specific items according to your needs. Once you've made your selections, you're ready to start backing up your data.
Backing Up Your PC Using Windows Backup App
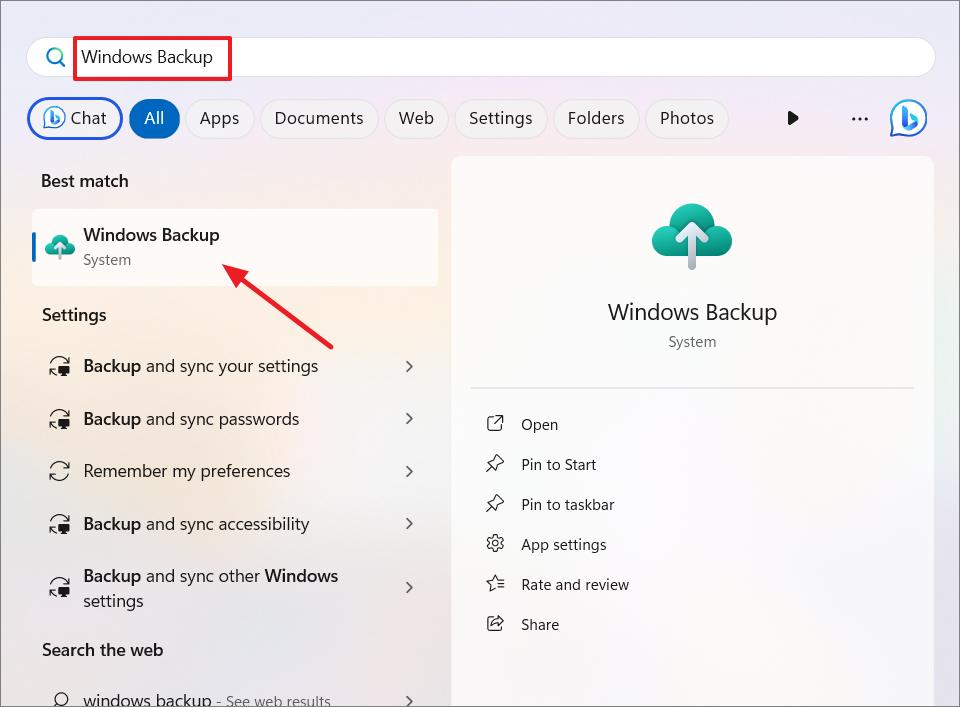
Step 1: Open the Windows Backup app on your PC. You can find it by typing 'Windows Backup' into the Windows Search bar and selecting it from the results.
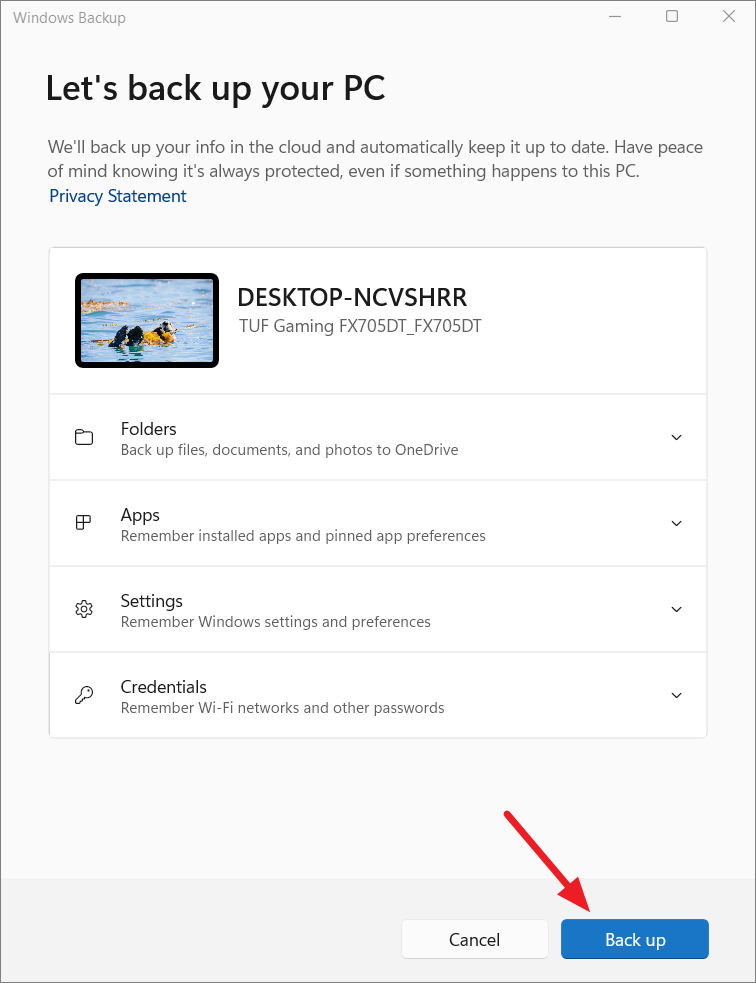
Step 2: When the app launches, you'll see the 'Let’s back up your PC' window, divided into four sections: Folders, Apps, Settings, and Credentials.
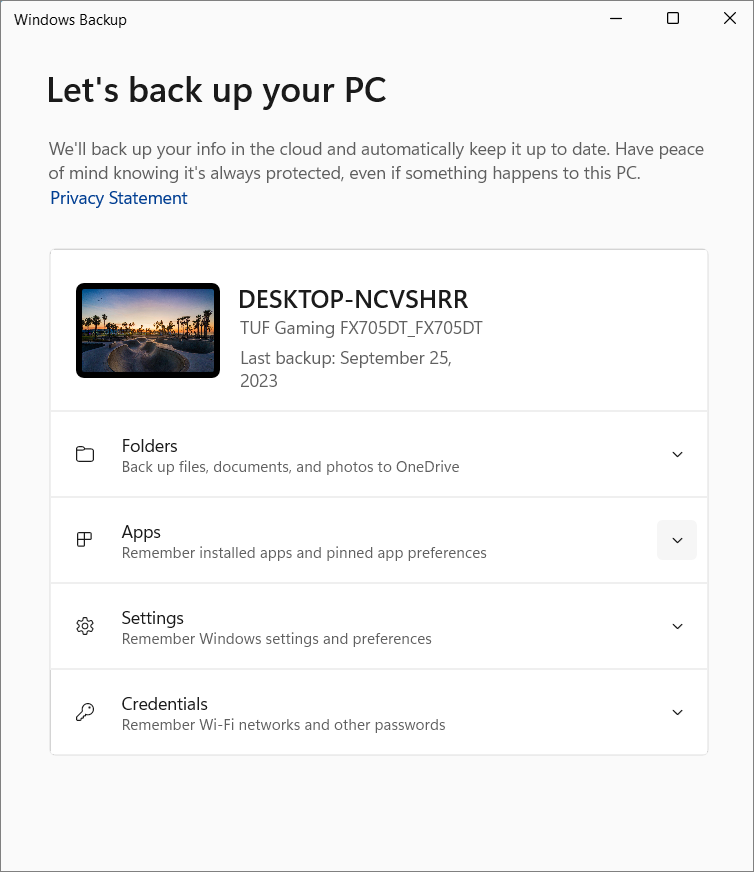
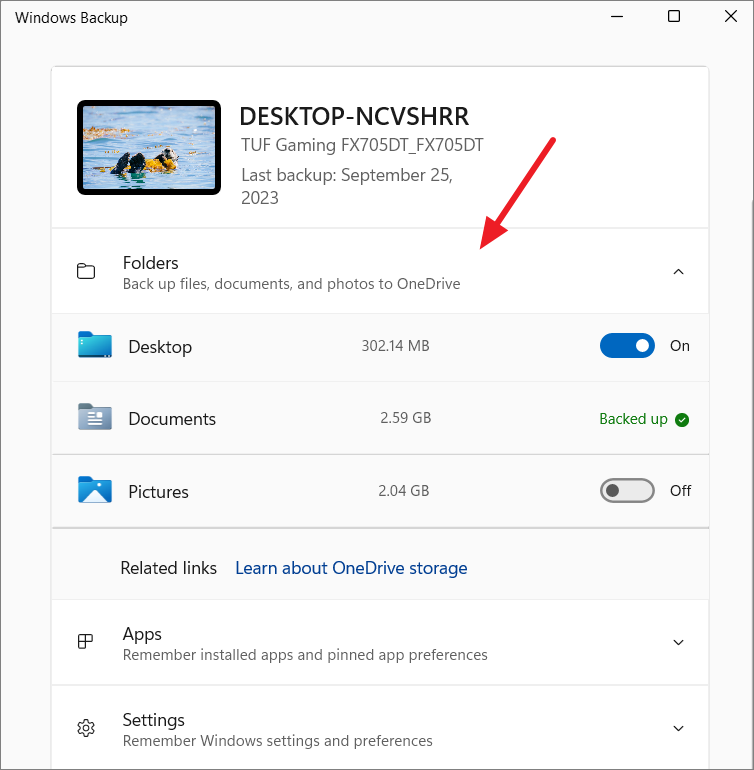
The Folders section lets you choose library folders like Desktop, Documents, Pictures, Videos, and Music to back up. The Apps section remembers the applications you've installed along with their preferences. In the Settings section, you can select which system settings and personal preferences to back up. The Credentials section allows you to preserve your Wi-Fi networks and other passwords.
Step 3: Expand each section and select or confirm the items you want to include in your backup.
Step 4: After making your selections, click on 'Back up' to start the backup process.
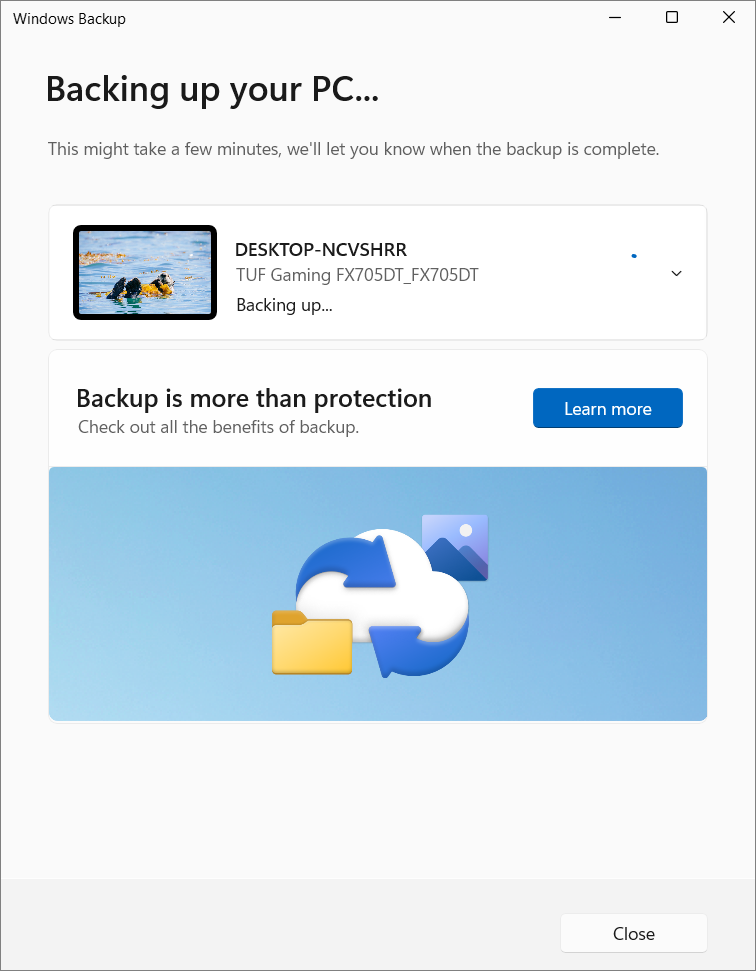
Step 5: The Windows Backup app will begin backing up your data based on your specified preferences.
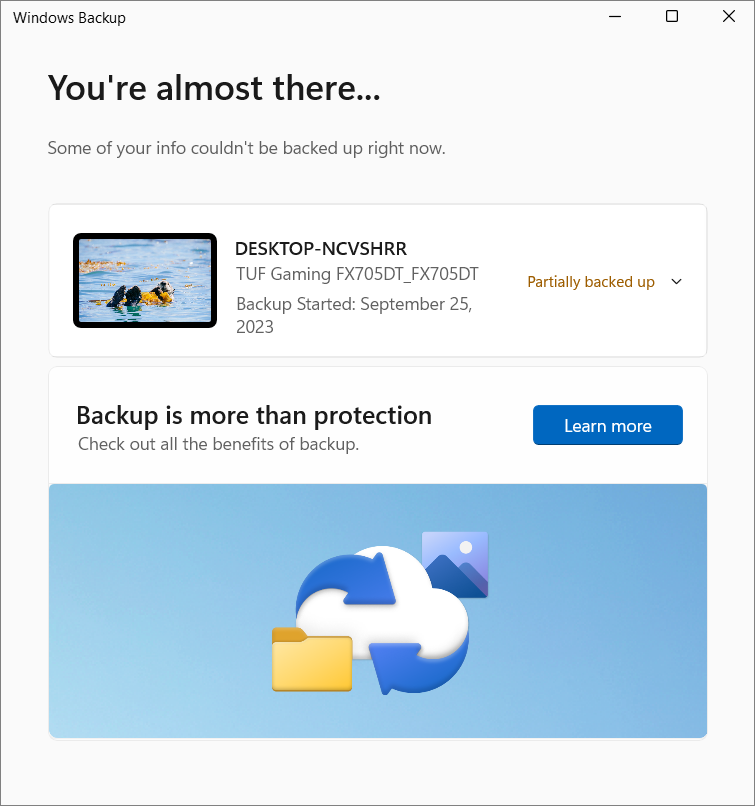
Step 6: Once the backup is complete, your data and settings are securely stored and can be restored when needed.
This feature is particularly useful when you're setting up a new computer or resetting your current one, as it allows your new setup to mirror your previous configuration seamlessly.
Note that desktop applications not available through the Microsoft Store and Android apps installed on your computer are not included in the backup. This means you'll need to reinstall these specific apps manually after restoring your backup.
The Windows Backup app is designed for personal Microsoft accounts and does not support work or school accounts. If you need to back up work-related apps or accounts, you'll need to use a third-party backup solution.
How to Restore Your PC from Windows Backup App
After setting up a new Windows 11 PC or resetting an existing one, you can restore your files, apps, and settings using the backup you created earlier. Keep in mind that restoration can only be performed during the Out-of-Box Experience (OOBE) phase, and your system must be running Windows 11 Build 23466 or higher.
To restore your settings, files, and apps during the initial setup of a new Windows 11 installation, follow these steps:
Step 1: Choose your region and keyboard layout when prompted during the setup process.
Step 2: Assign a name to your computer and click 'Yes' to confirm.
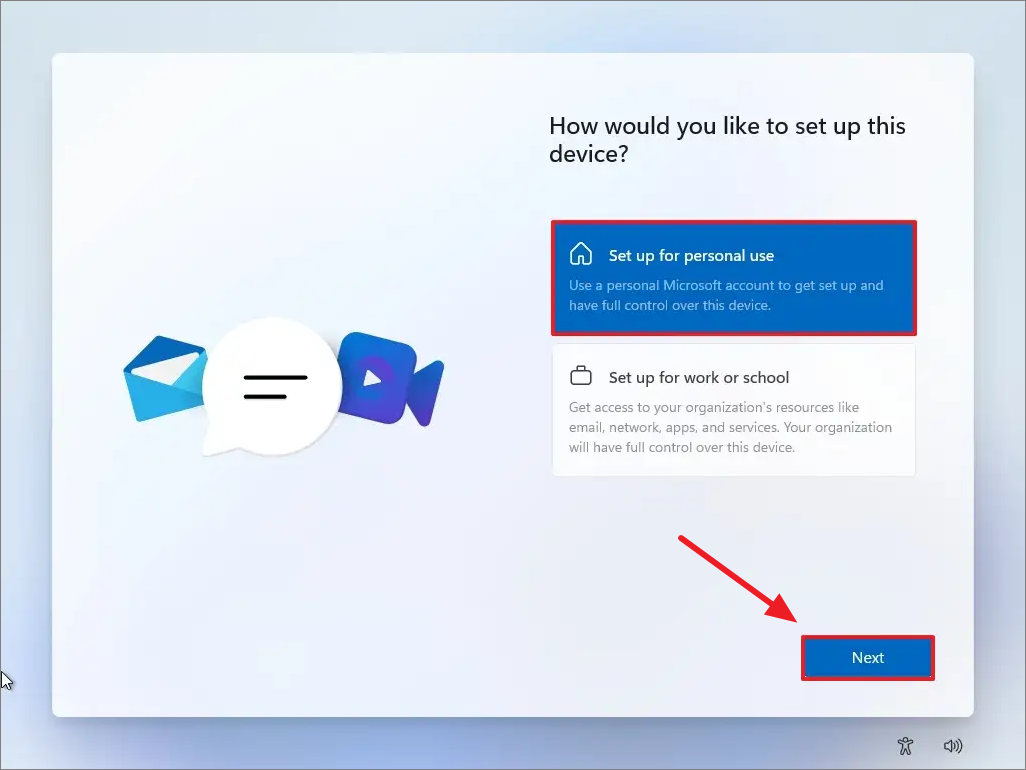
Step 3: On the 'How would you like to set up this device' screen, select the 'Set up for personal use' option.
Step 4: Click 'Sign in' and log in using the same Microsoft account you used to back up your device.
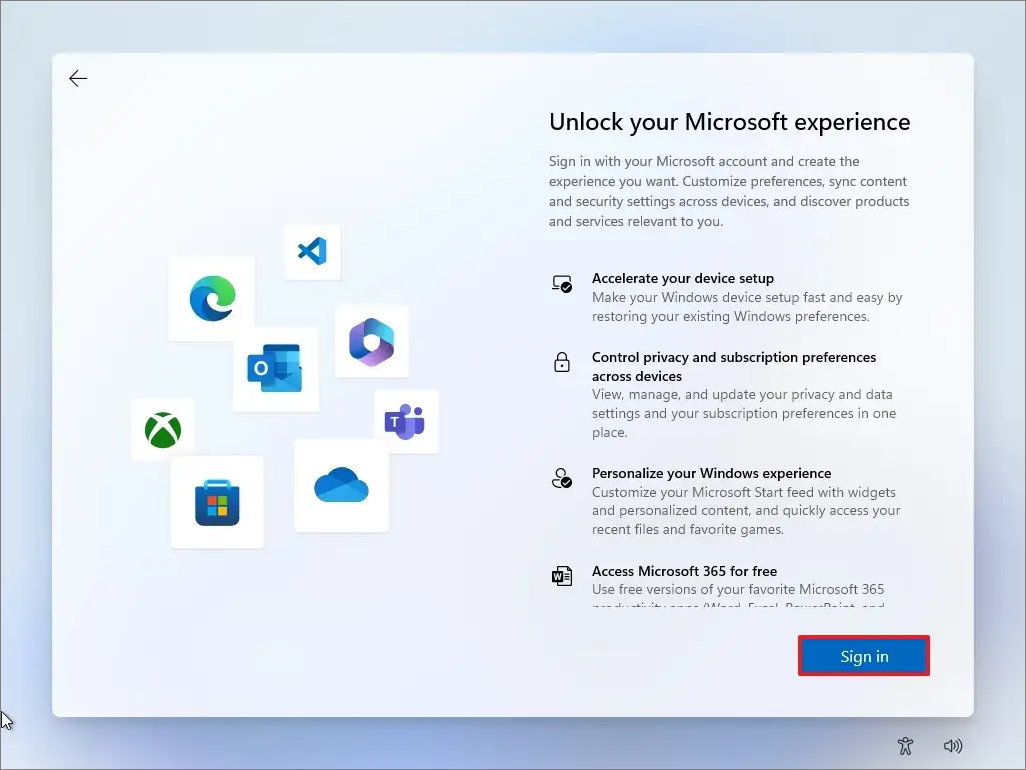
Step 5: Confirm your Microsoft account details and click 'Next'.
Step 6: On the 'Select a device to restore from' screen, choose the backup you want to restore and click on 'Restore from this PC'.
After completing these steps, your files, settings, and apps will be automatically restored during the setup process. Even your taskbar pins will remain the same, providing a familiar environment on your new or reset PC.
It's important to note that Windows Backup does not allow you to restore individual items or recover your entire system in cases of hardware failure or file corruption. Your files remain accessible via OneDrive, but you can only retrieve your apps, settings, and credentials during a Windows reinstallation.
If you need to create a complete backup of your system, you can still use the legacy System Image Backup tool available in Windows.

With the Windows Backup app, protecting and restoring your Windows 11 system is simple and efficient. By following these steps, you can ensure your important data and settings are securely backed up and easily retrievable whenever you need them.

