Microsoft’s Dev Home is a powerful application designed to simplify the workflow for Windows developers. It offers a comprehensive suite of tools to manage development environments, projects, and tools, while seamlessly integrating GitHub activities. With Dev Home, developers can streamline their coding process, focusing more on development and less on configuration. This guide will walk you through the steps to install, set up, and make the most of Dev Home to enhance your development experience.
Why Use Dev Home?
Dev Home is an essential tool for Windows developers aiming to optimize their workflow and kickstart new projects efficiently. It comes packed with vital features like advanced GitHub integration, customizable dashboard widgets, the robust Dev Drive, and a collection of other developer utilities. By reducing the time spent on configuration and setup, Dev Home allows developers to concentrate more on coding and less on managing environments.
One of the standout advantages of Dev Home is its ability to simplify project setup. With minimal effort, developers can utilize an existing WinGet configuration file to establish a new project, clone Git repositories, install all necessary dependencies, and configure their development environment.
The seamless integration with GitHub enables users to manage codebases, monitor pull requests and issues, handle SSH keys, and set up cloud coding environments like GitHub Codespaces and Microsoft DevBox directly from Dev Home.
Another significant feature is the Dev Drive file system—a dedicated storage space optimized for developers. Utilizing the Resilient File System (ReFS), Dev Drive enhances performance and security when dealing with large directories and codebases.
Additionally, Dev Home simplifies application installation, allowing users to find and install software effortlessly. Whether installing a single app or multiple applications simultaneously, Dev Home streamlines the process, saving valuable time.
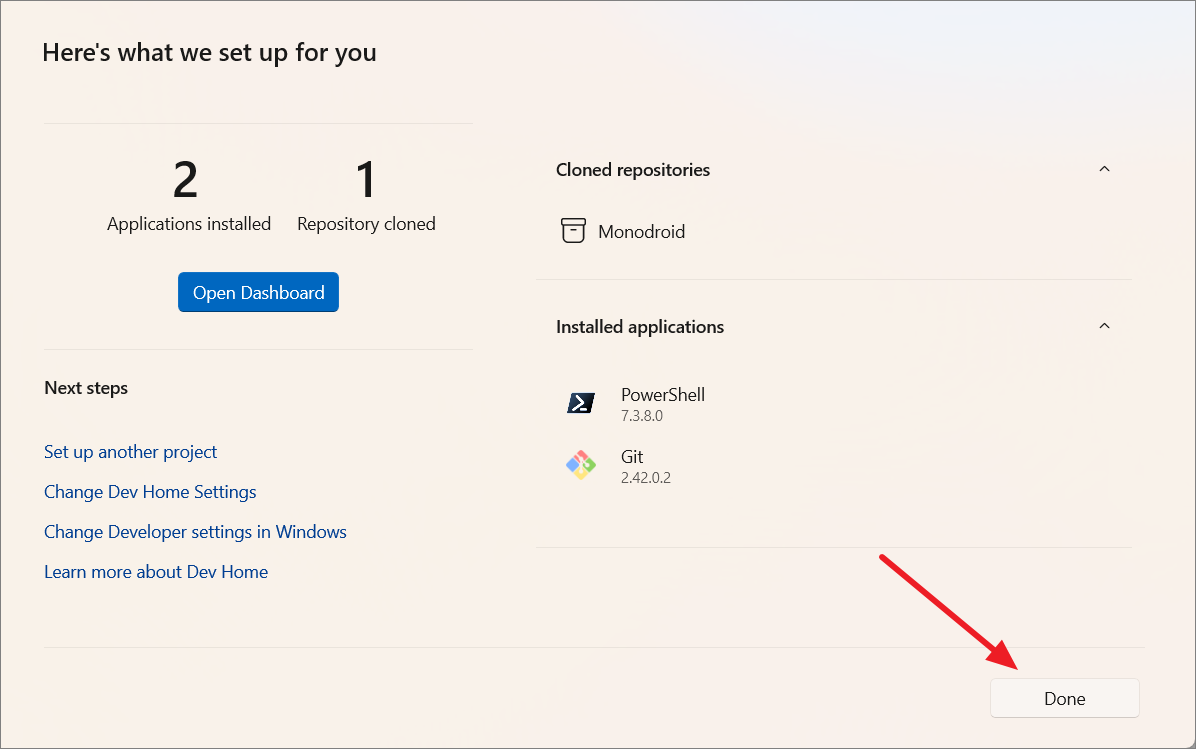
The end-to-end setup feature further enhances productivity by enabling a complete setup of the development environment from scratch. This includes installing applications, cloning repositories, and configuring essential settings, all in one place.
Beyond these core features, Dev Home offers customizable widgets for the dashboard, support for various developer tools, and more, all designed to boost productivity and streamline the development process.
Download and Install the Dev Home App on Windows 11
Before you can begin using Dev Home, you’ll need to install it on your Windows 11 computer. The app requires Windows 11 version 21H2 (build 22000) or newer. There are several methods to install Dev Home: through the Microsoft Store, manually via the GitHub releases page, or using the WinGet command-line tool.
Installing Dev Home via WinGet Command
One of the quickest ways to install Dev Home is by using the WinGet command-line tool. If you have WinGet installed on your PC, you can install Dev Home with a single command.
winget install --id Microsoft.DevHome -e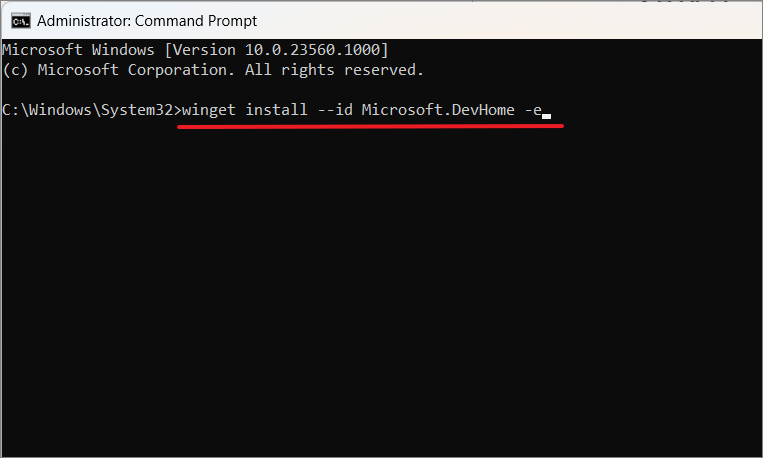
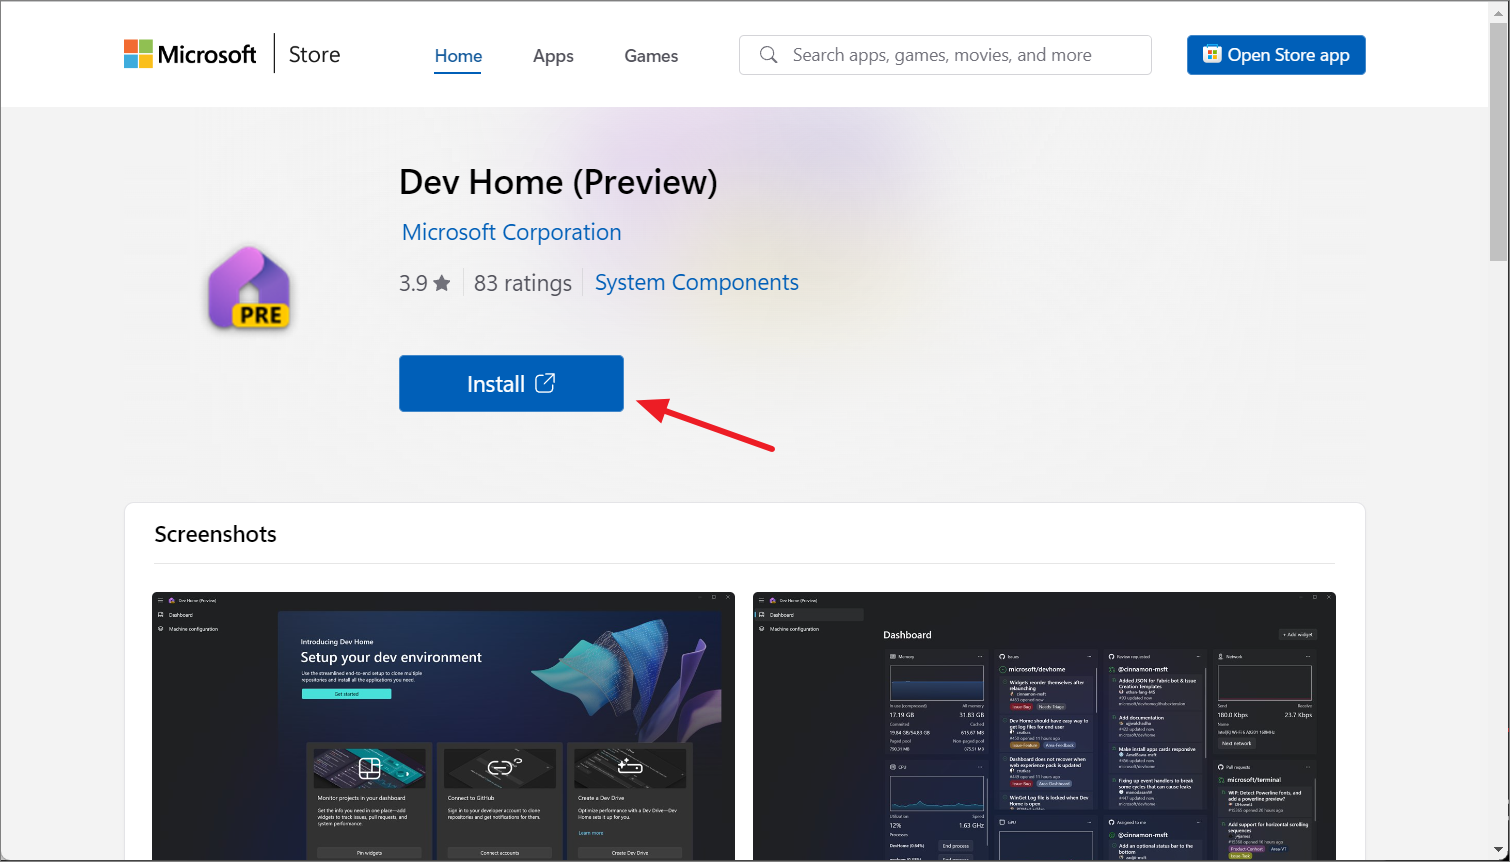
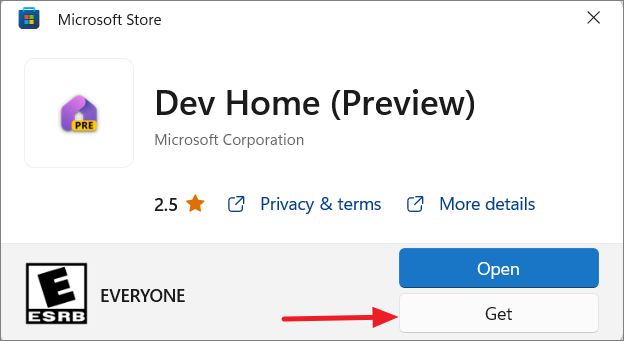
Installing Dev Home via the Microsoft Store
Alternatively, you can install Dev Home through the Microsoft Store, which provides a user-friendly interface for installation.
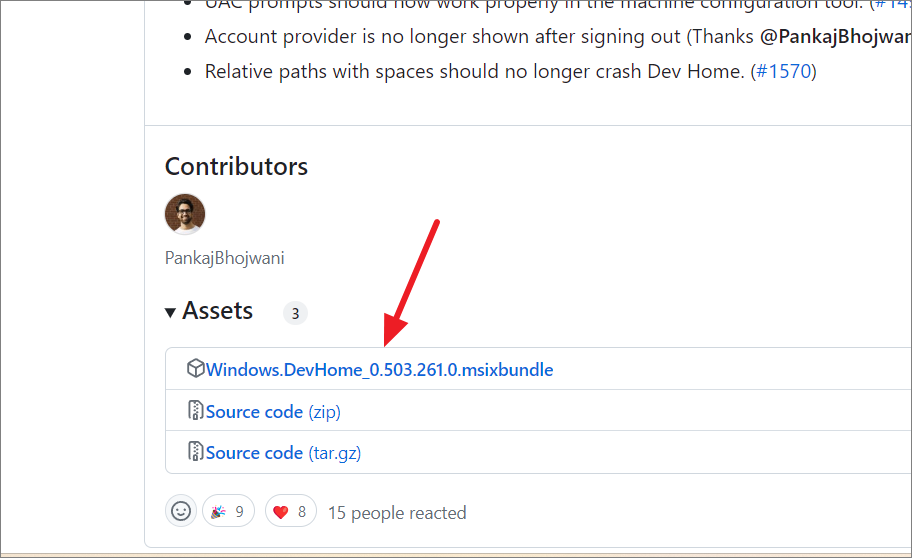
Installing Dev Home Manually
If you prefer, you can also install Dev Home manually by downloading it from the GitHub Releases page.
Setting Up Your Dev Environment on Dev Home
After installing Dev Home, it’s time to set up your development environment. The app is organized into three main sections: ‘Dashboard’, ‘Machine configuration’, and ‘Extensions’.
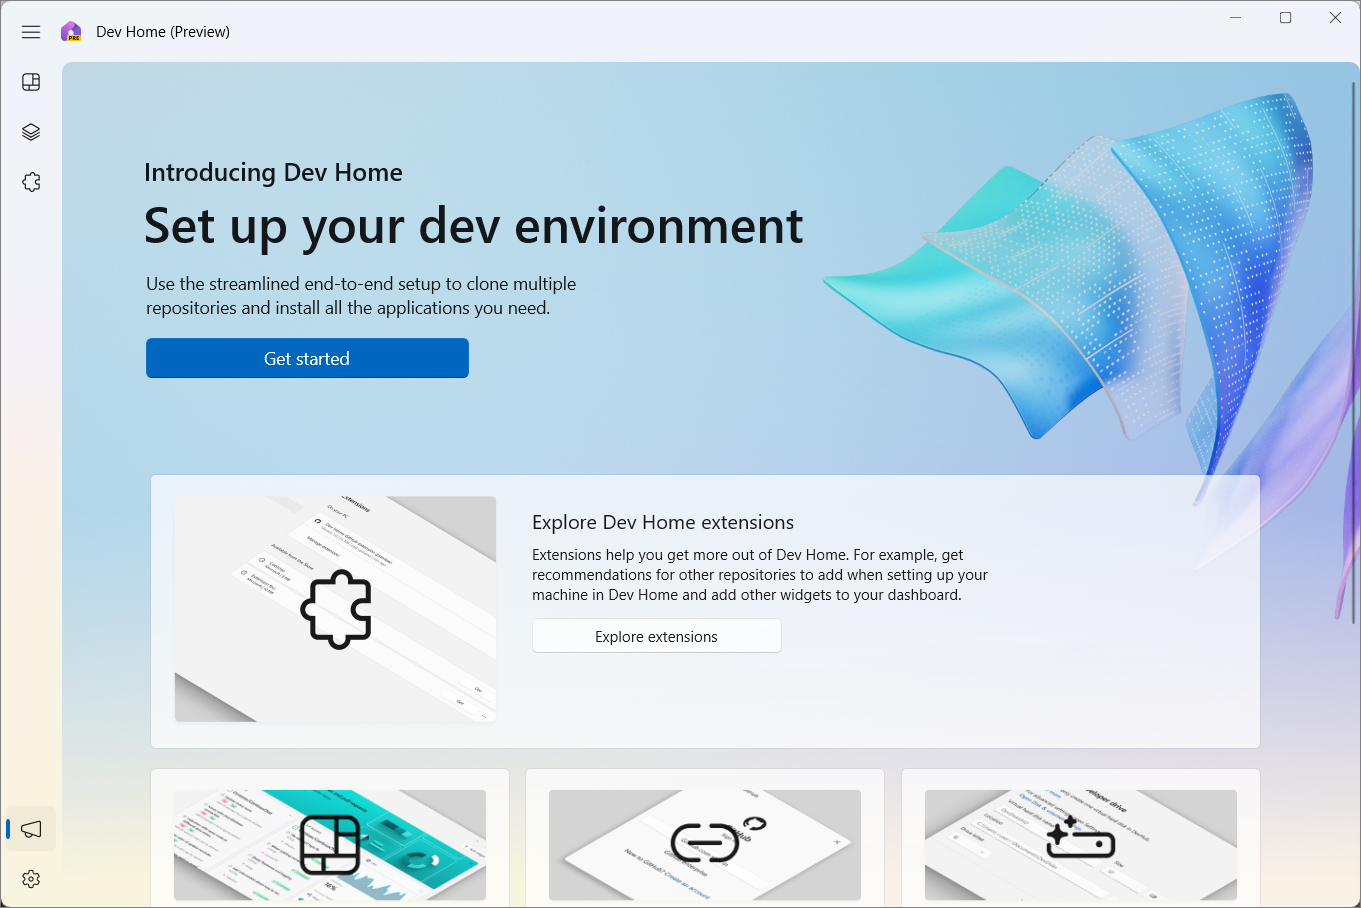
Here are the initial steps to configure Dev Home for your development needs.
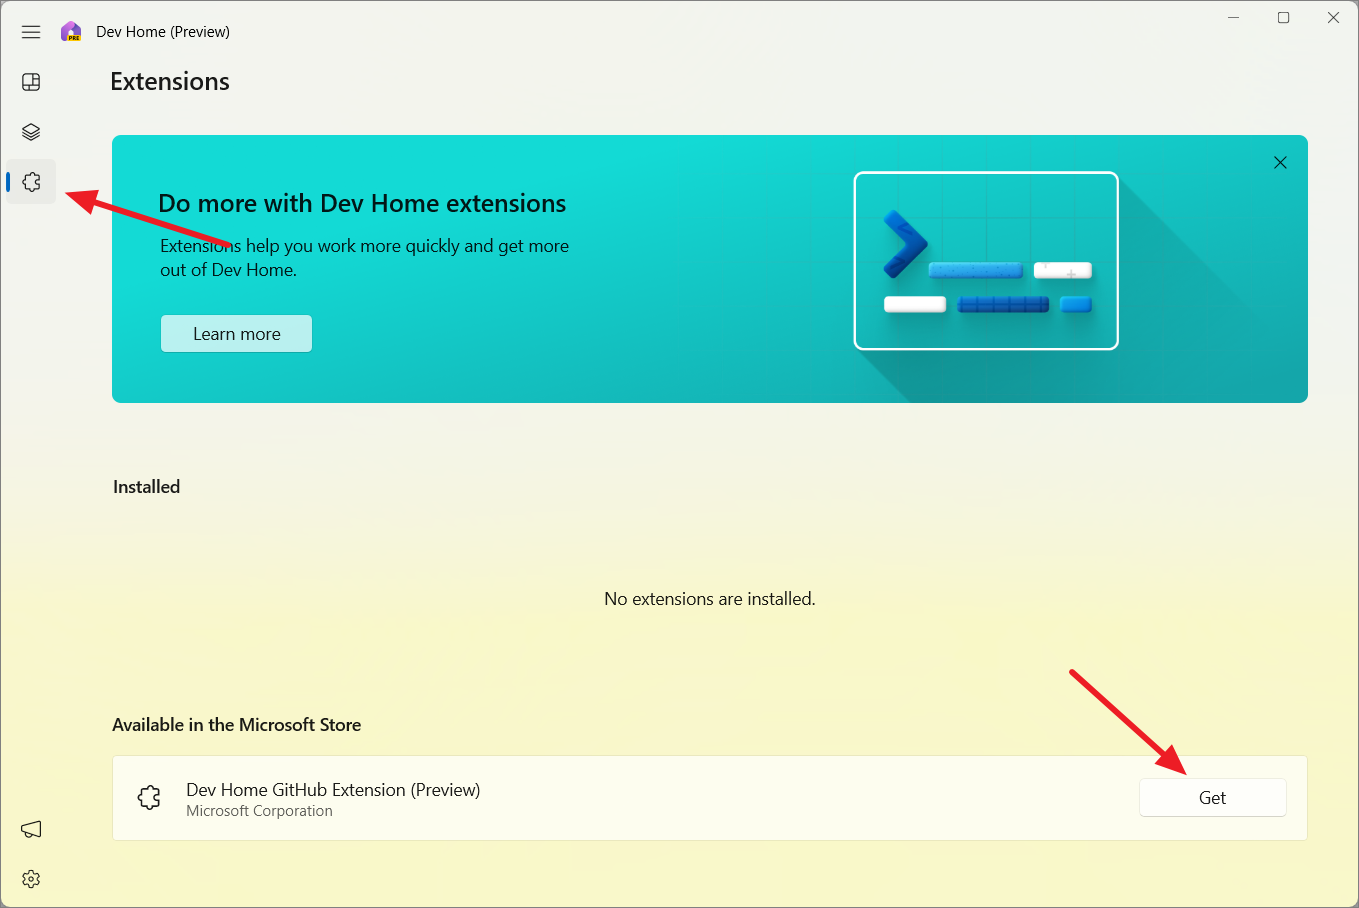
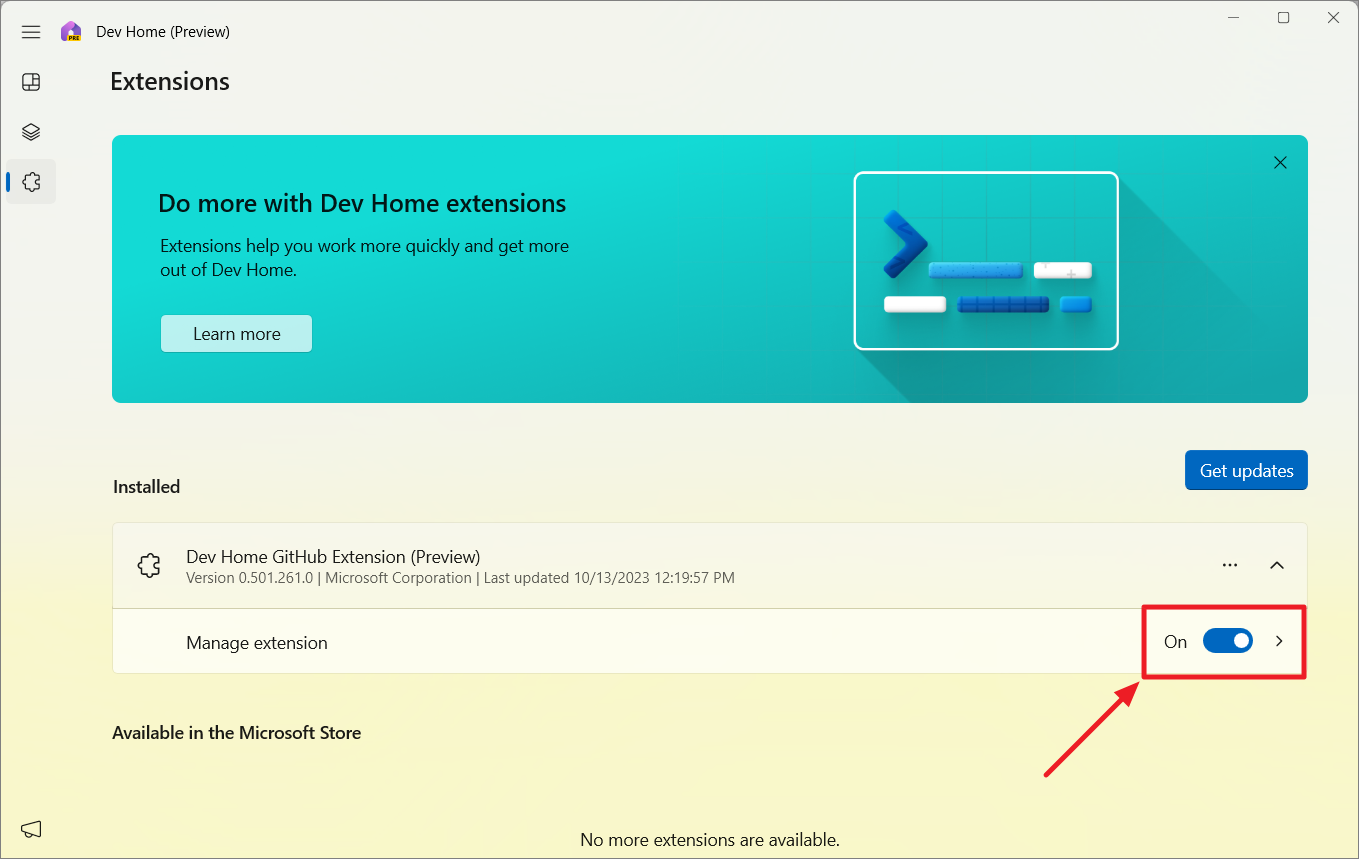
Install GitHub Extensions
Extensions in Dev Home enhance its functionality by adding new features, displaying additional information on the dashboard, and integrating with other tools and services. Examples include GitHub extensions, Azure DevOps extensions, Docker, and more.
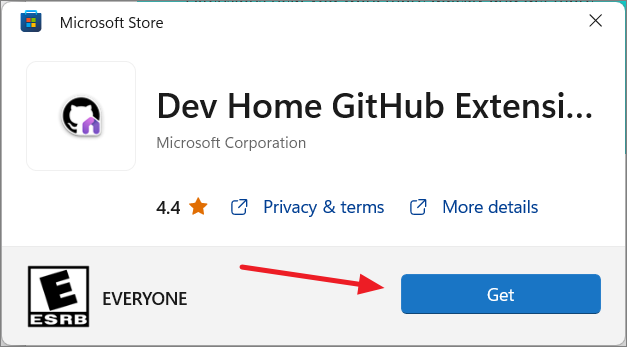
To begin, you’ll want to connect your GitHub account to Dev Home. For this, you need to ensure the GitHub Extension is installed.
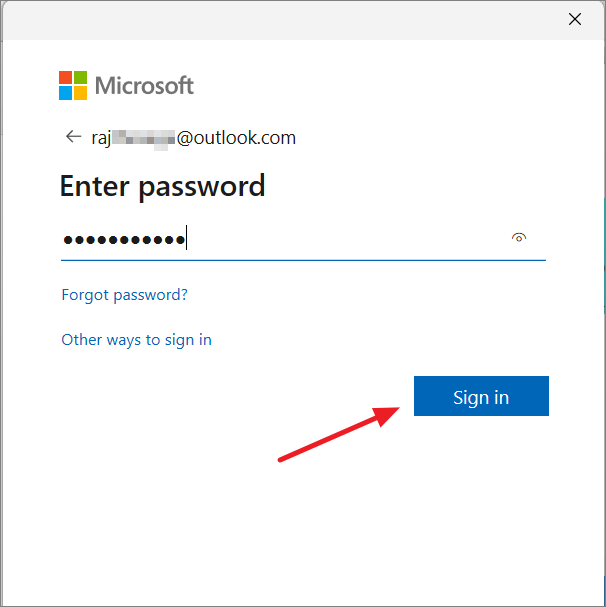
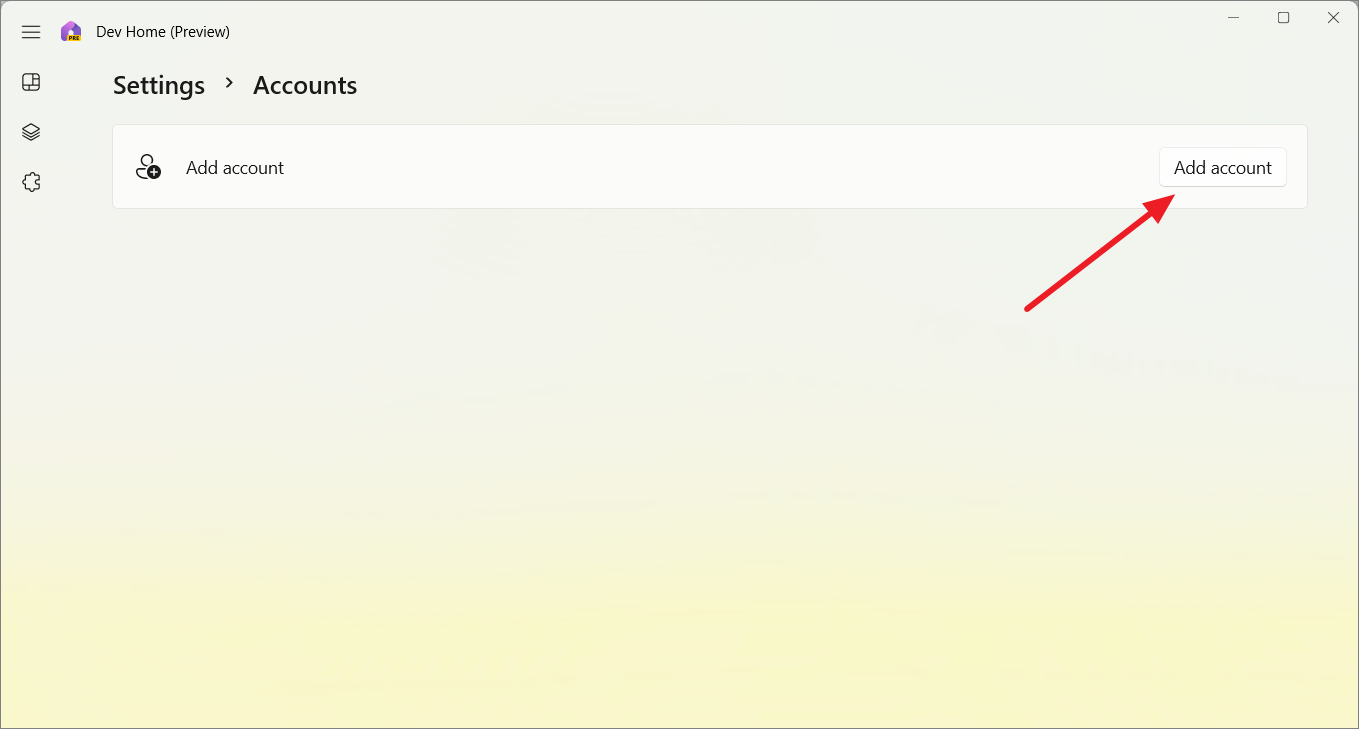
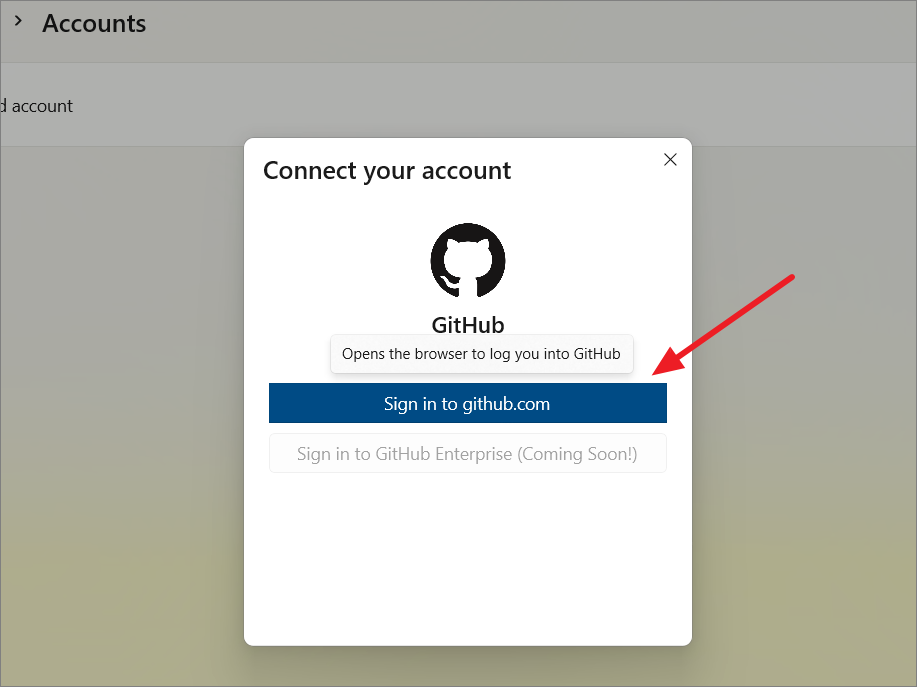
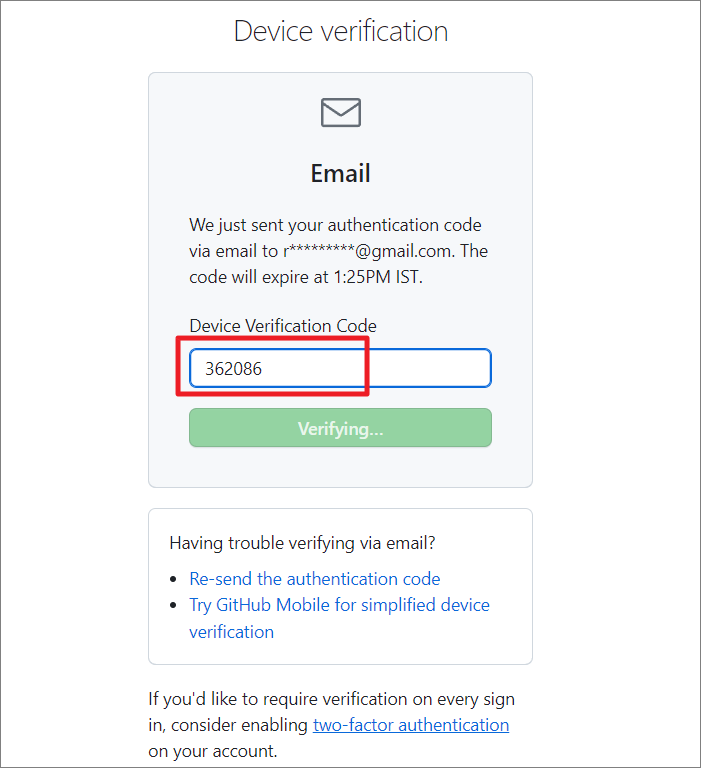
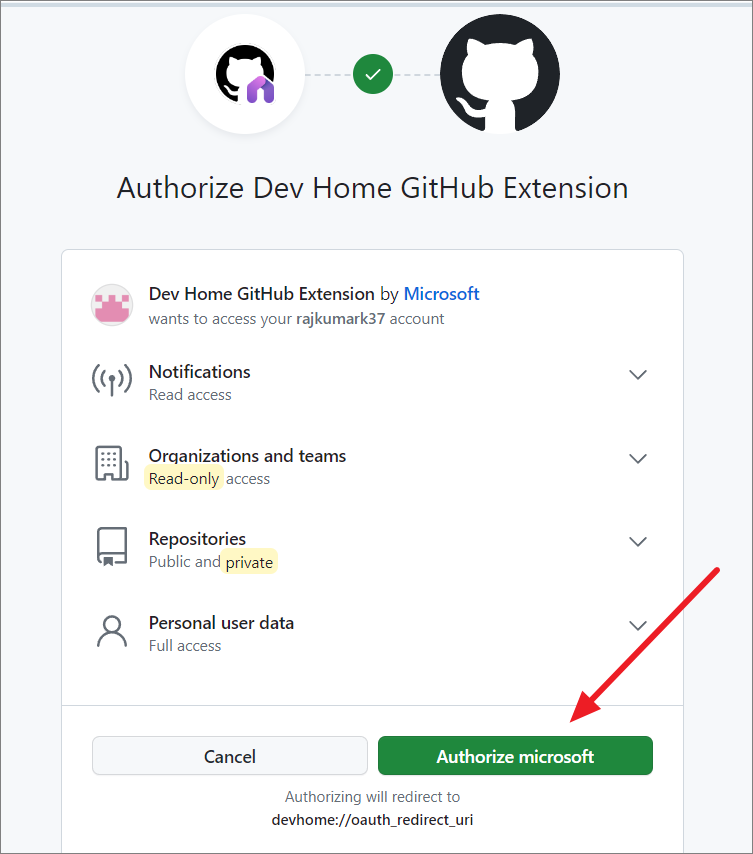
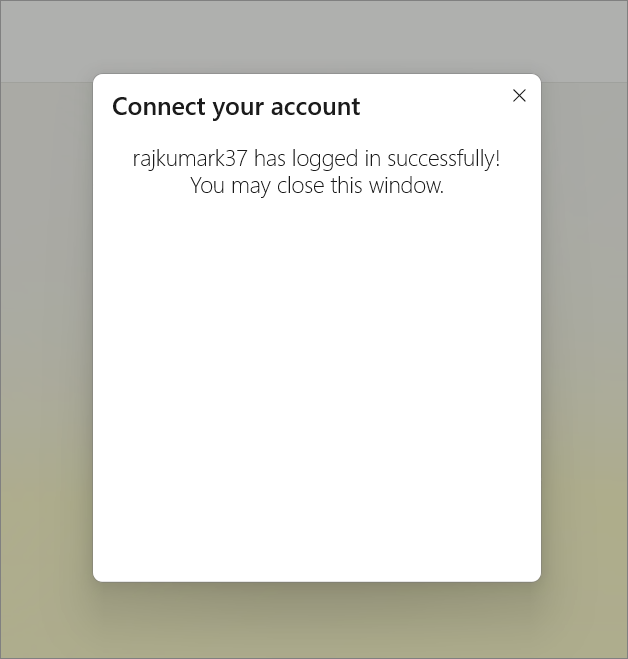
Connect Your GitHub Account
After installing the GitHub Extension, you need to connect your GitHub account to Dev Home.


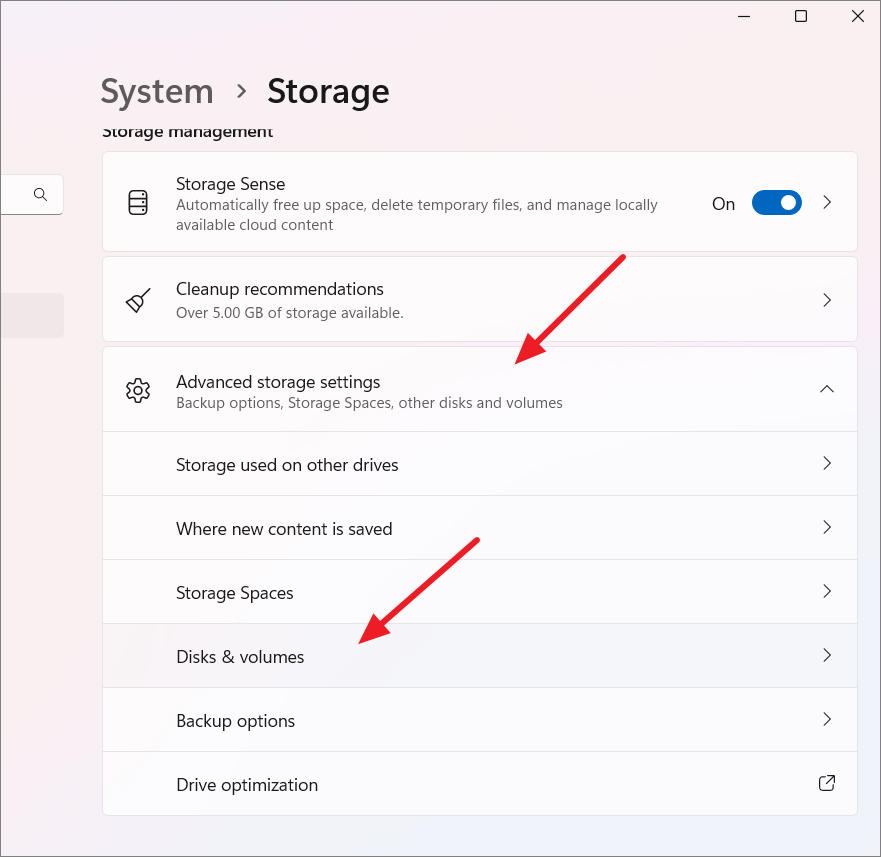
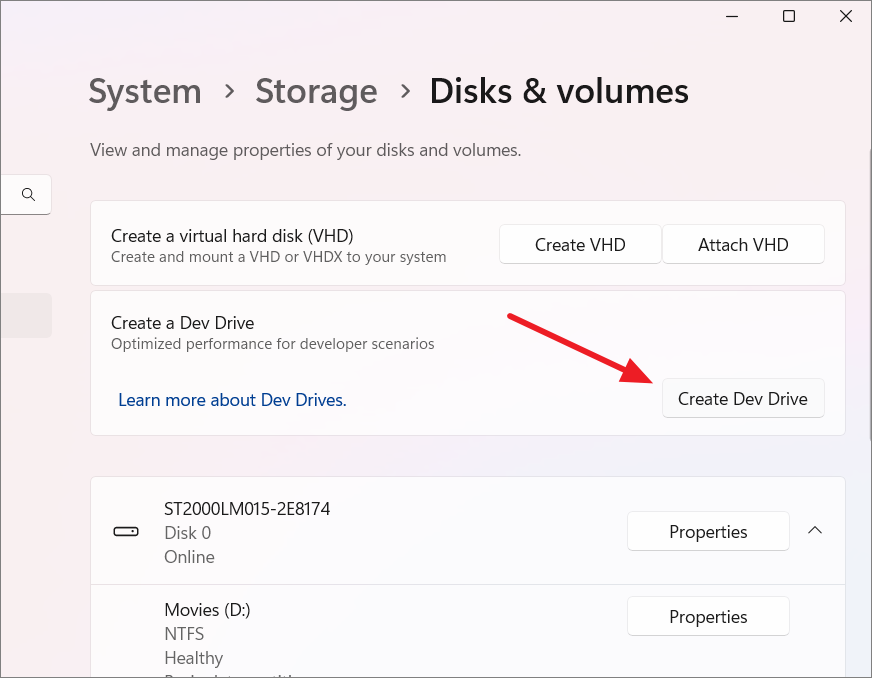
Creating Dev Drive on Windows 11
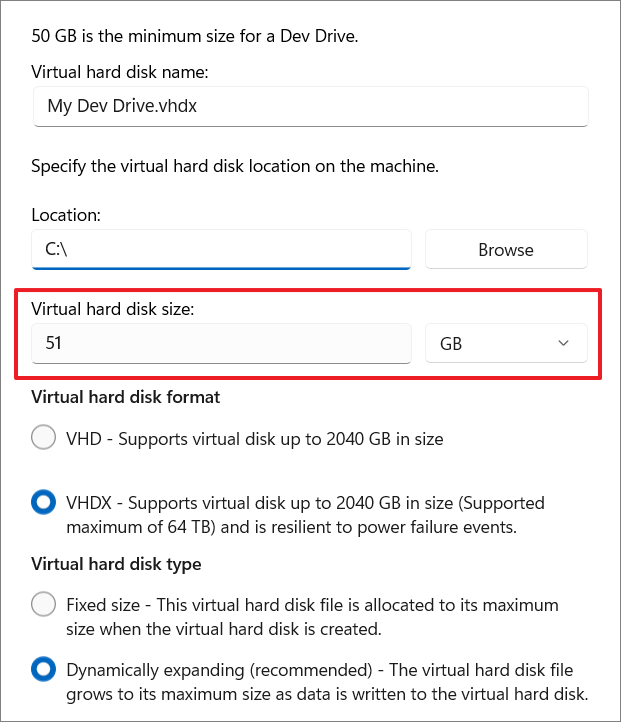
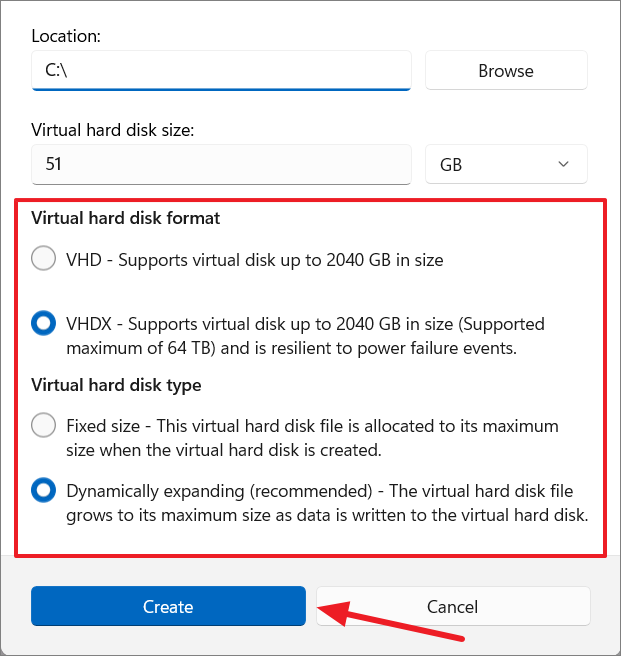
To leverage the full capabilities of Dev Home, it’s recommended to create a Dev Drive—a dedicated storage space optimized for development tasks.
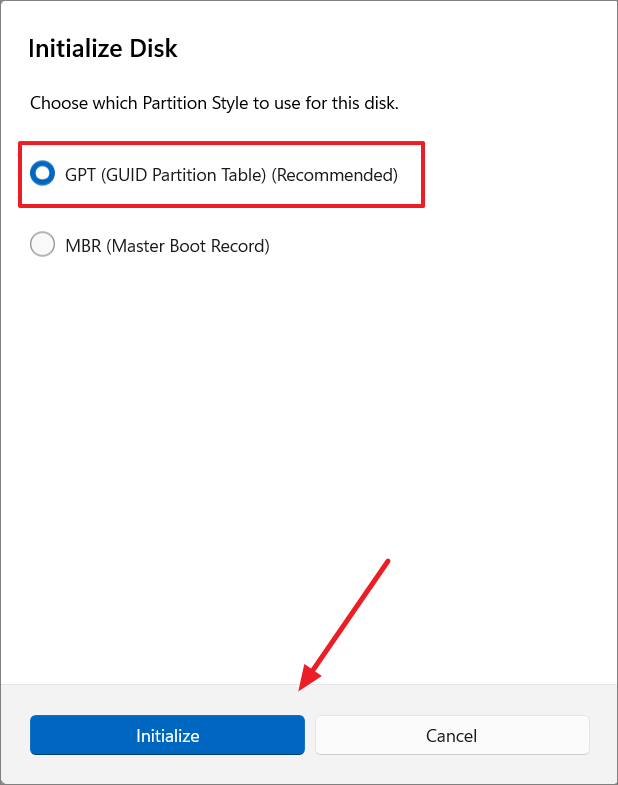
Dev Drive uses the Resilient File System (ReFS) to provide improved performance and security, especially when working with large codebases and directories. Here’s how to set one up:
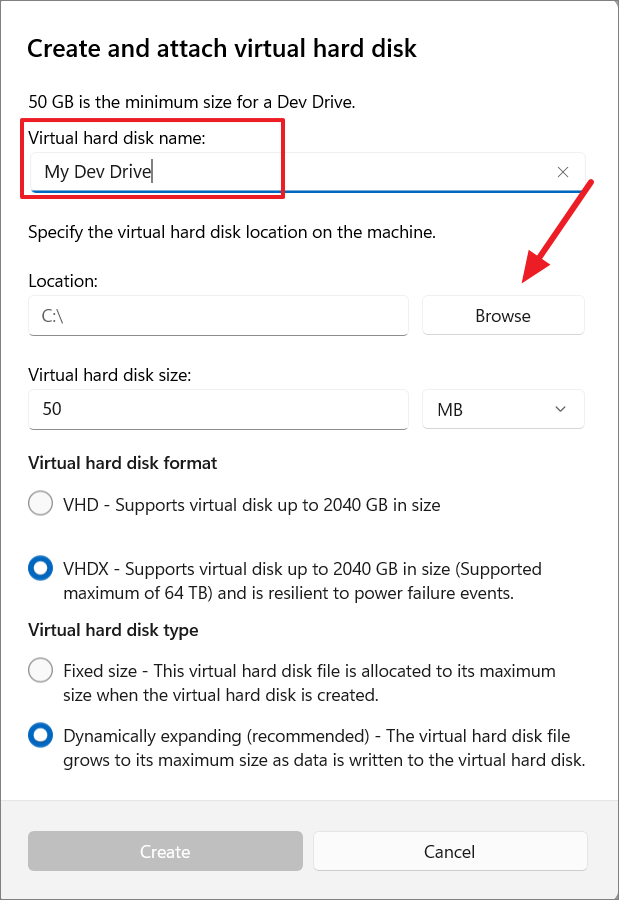
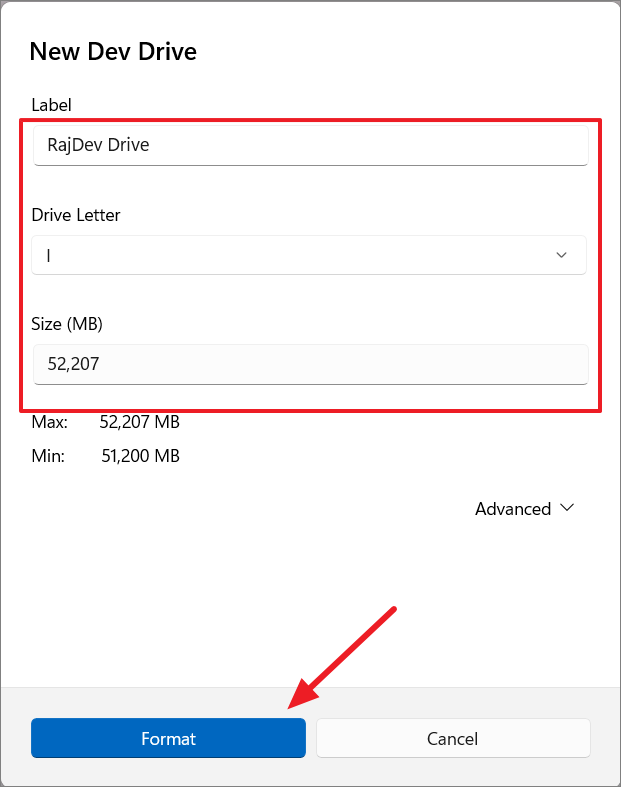
After formatting, you will see your new Dev Drive listed at the bottom of the ‘Disks & volumes’ settings page.
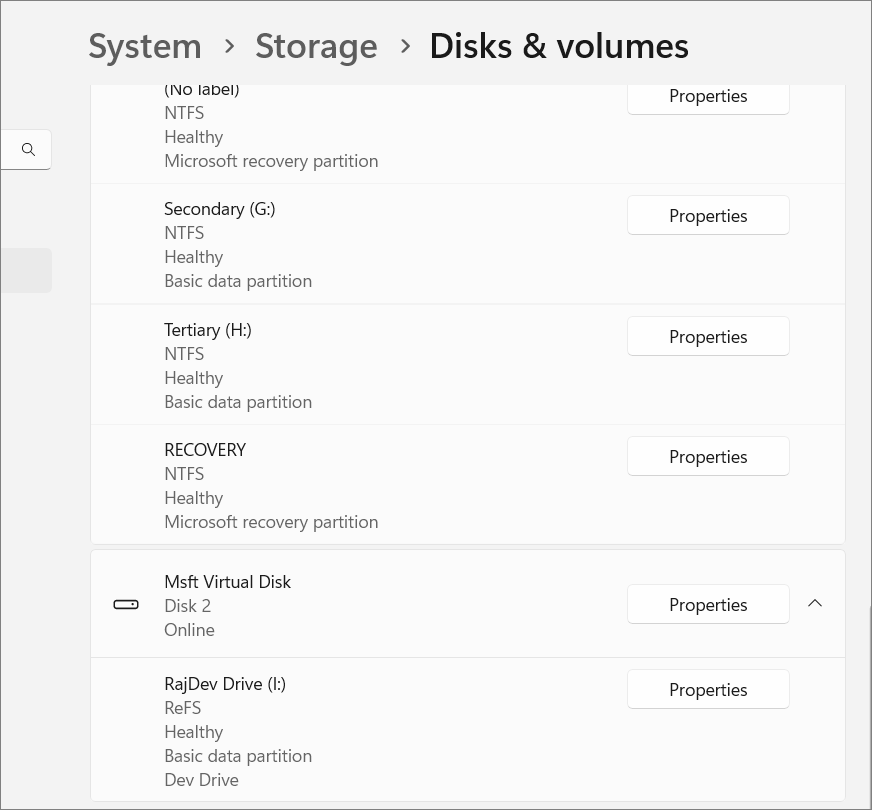
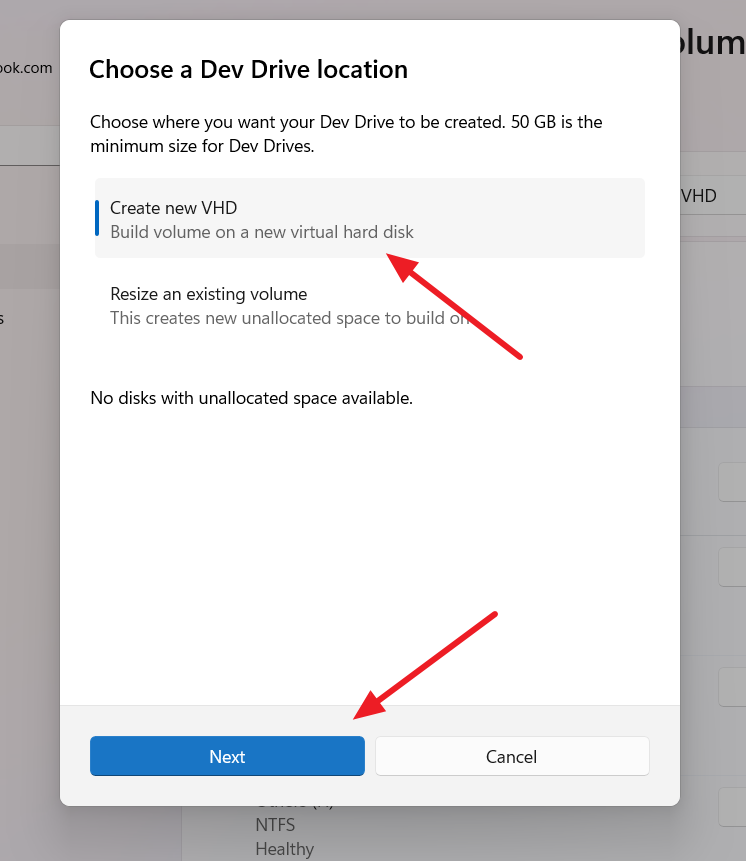
Note: You need administrative privileges and at least 50 GB of free space on your selected drive to create a Dev Drive. If you set up Dev Drive after installing applications and cloning repositories, you can move your existing projects to the new drive or keep them in their current location.
Configuring Dev Home Machine
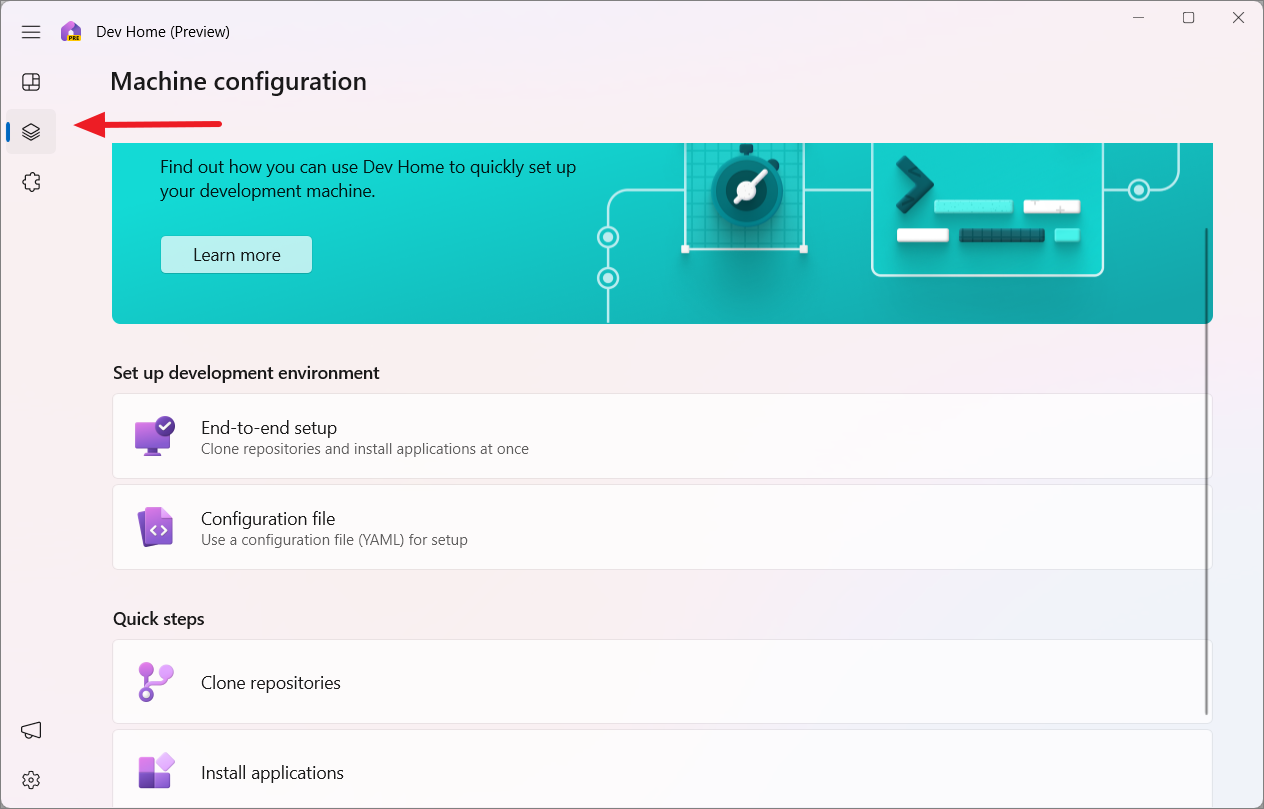
With your GitHub account connected and Dev Drive set up, you can now configure your development environment using Dev Home’s ‘Machine configuration’ section. This feature centralizes all your setup tasks, bringing your machine to a ready-to-code state efficiently.
You can access ‘Machine configuration’ from the left-hand panel or by clicking ‘Get started’ in the ‘Introducing Dev Home’ section.
Let’s explore how to set up your development environment using the various options available.
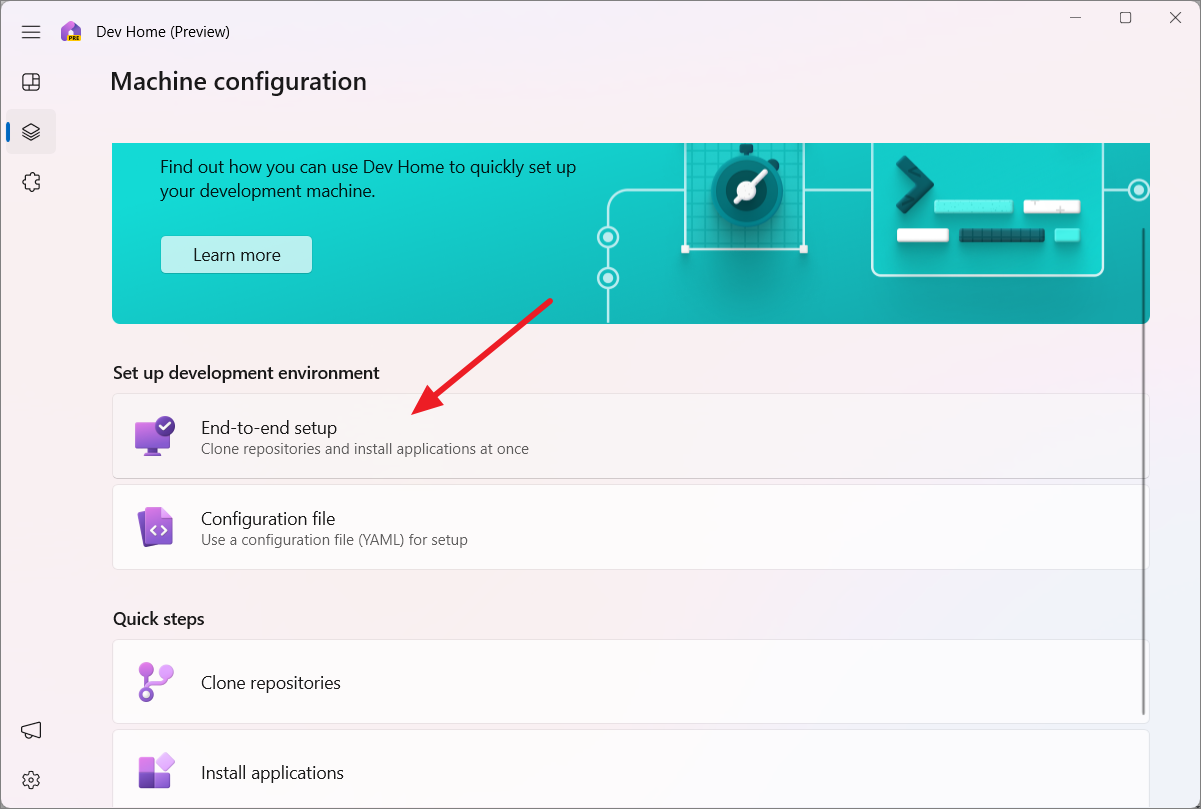
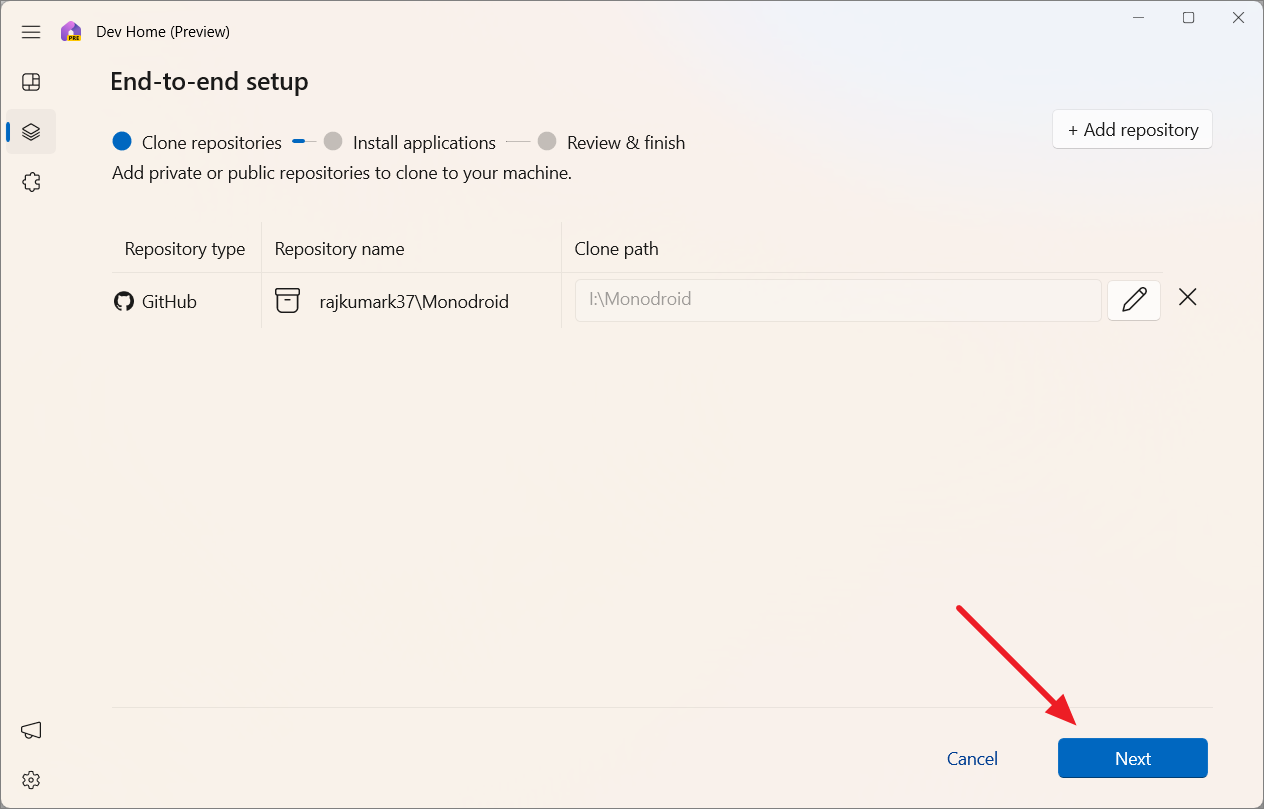
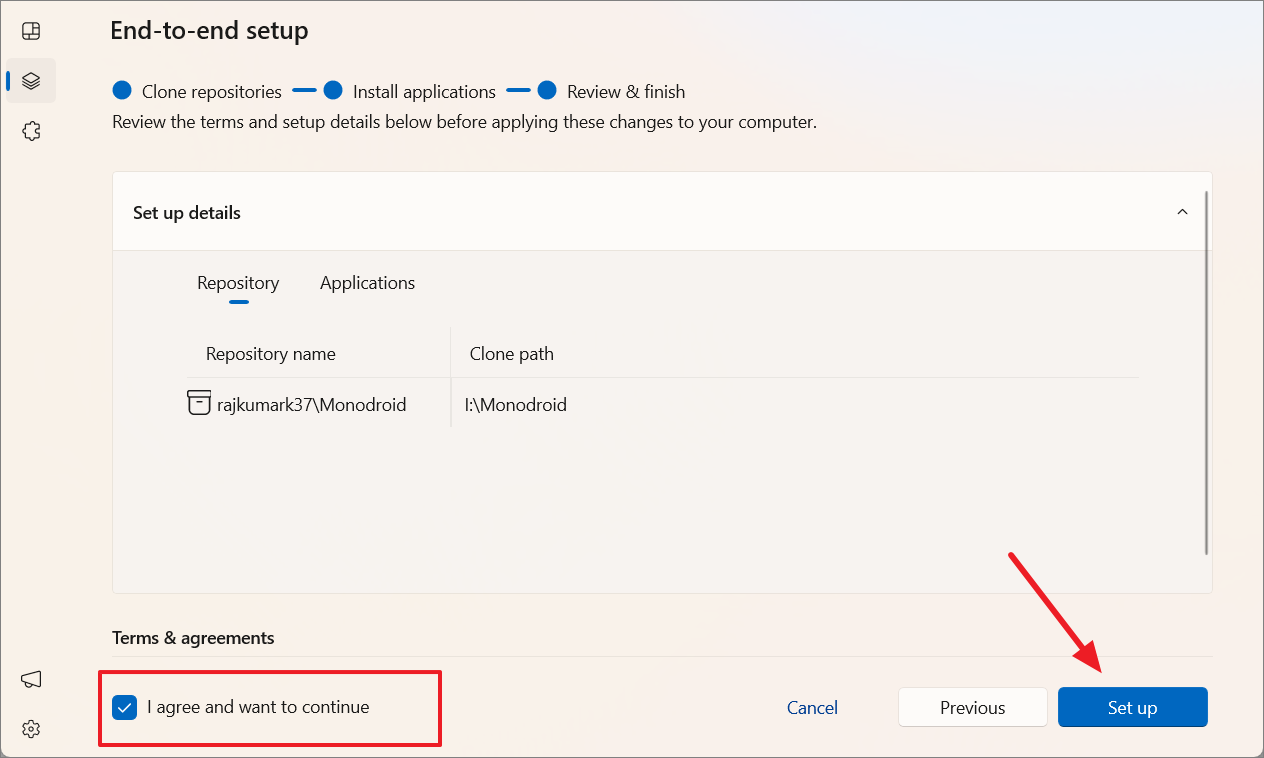
End-to-End Setup
The ‘End-to-end setup’ is a powerful feature that allows you to prepare your development environment comprehensively. It enables you to install applications, clone repositories, and add all necessary requirements for a new project in one streamlined process.

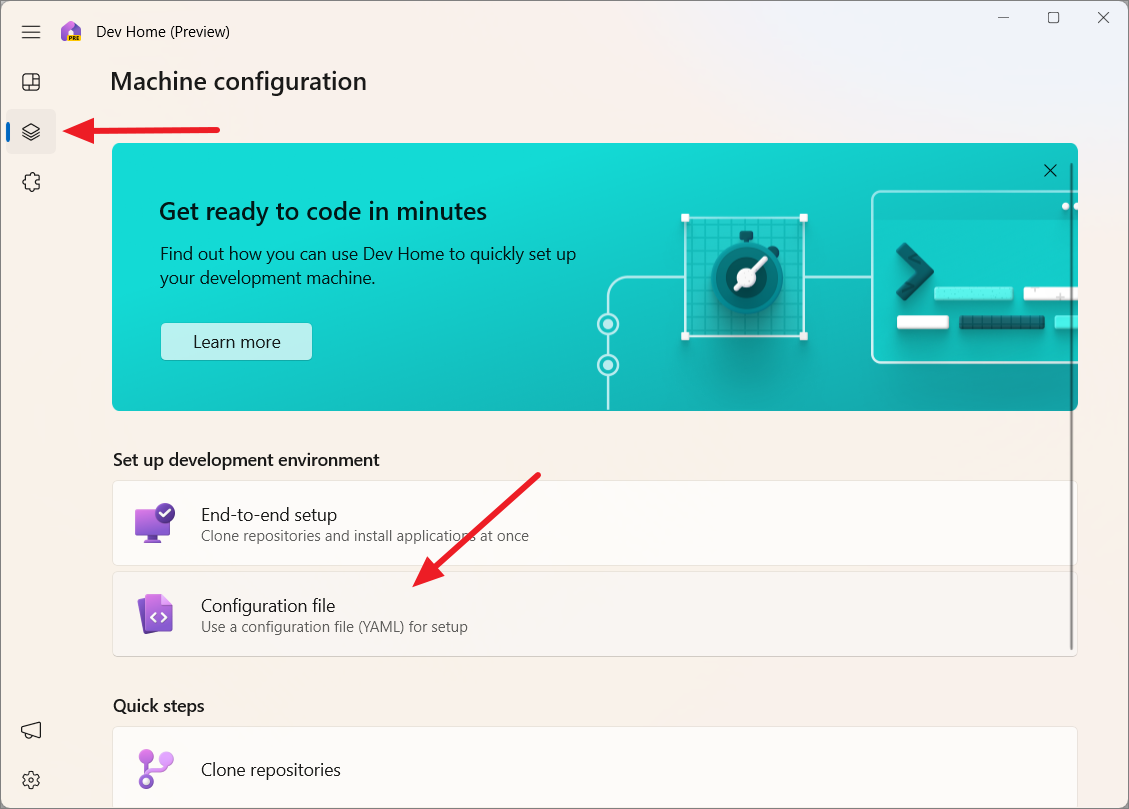
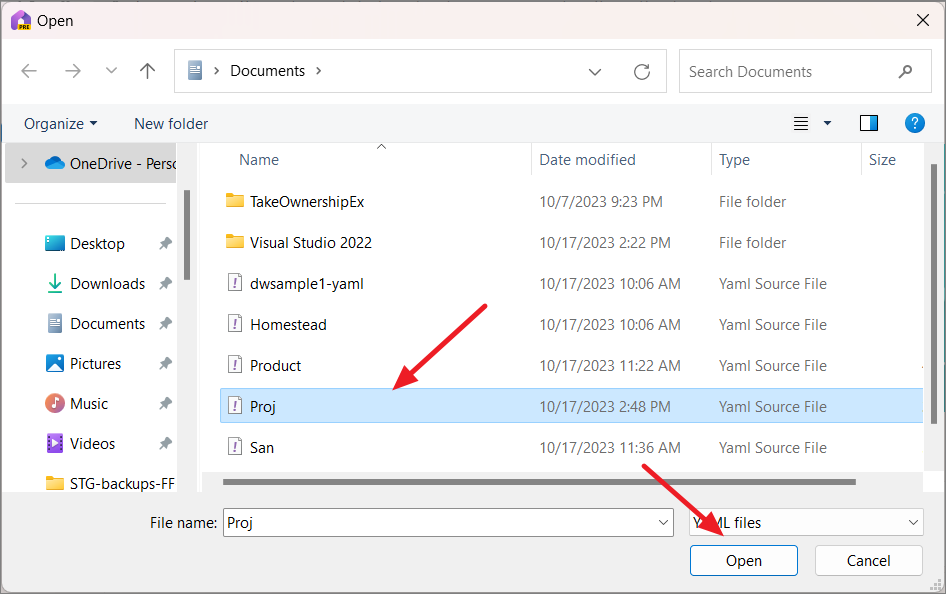
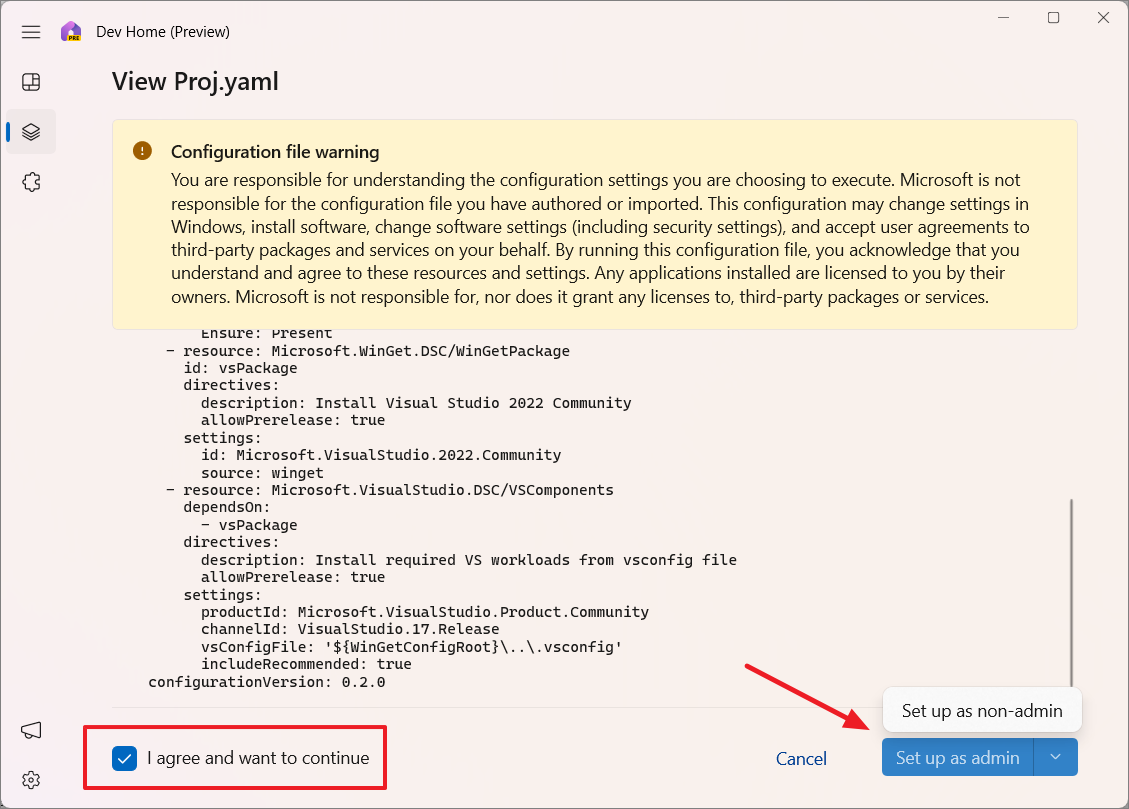
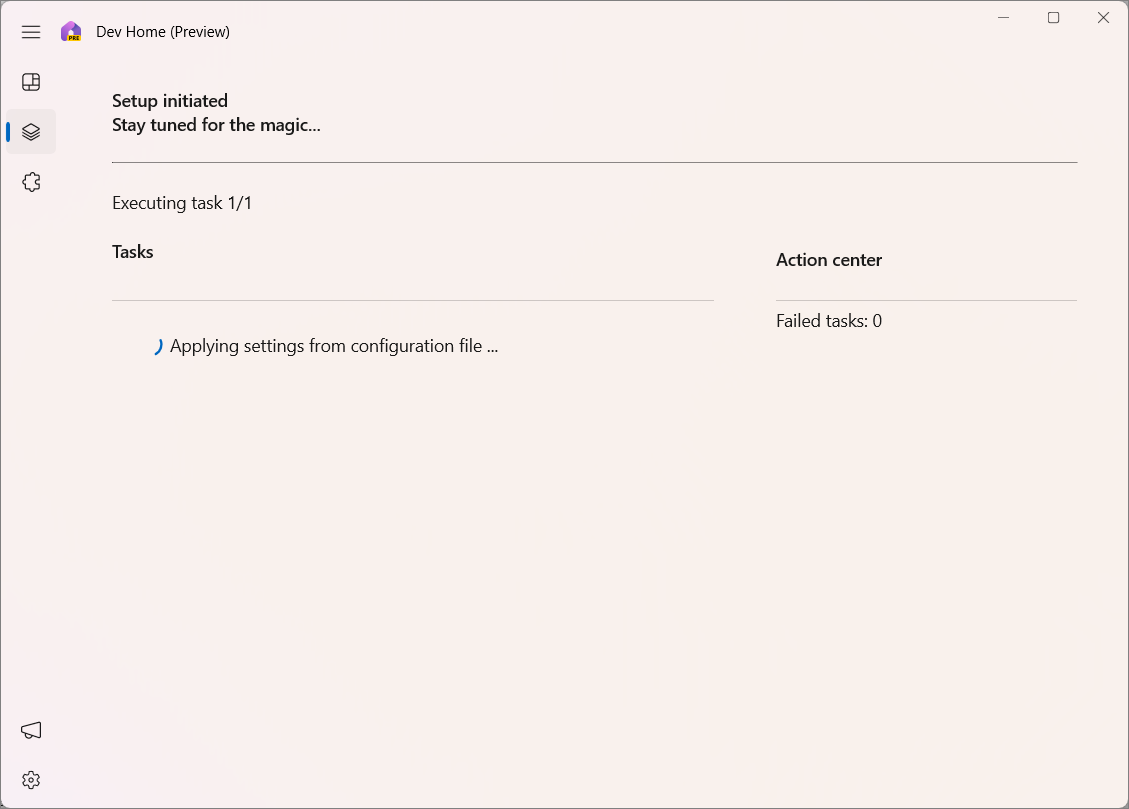
Using the WinGet Configuration File to Set Up Your Machine
You can also use a Windows Package Manager (WinGet) configuration file to automate the setup of your development environment. This YAML-formatted file contains all the software versions, packages, tools, dependencies, and settings you need.
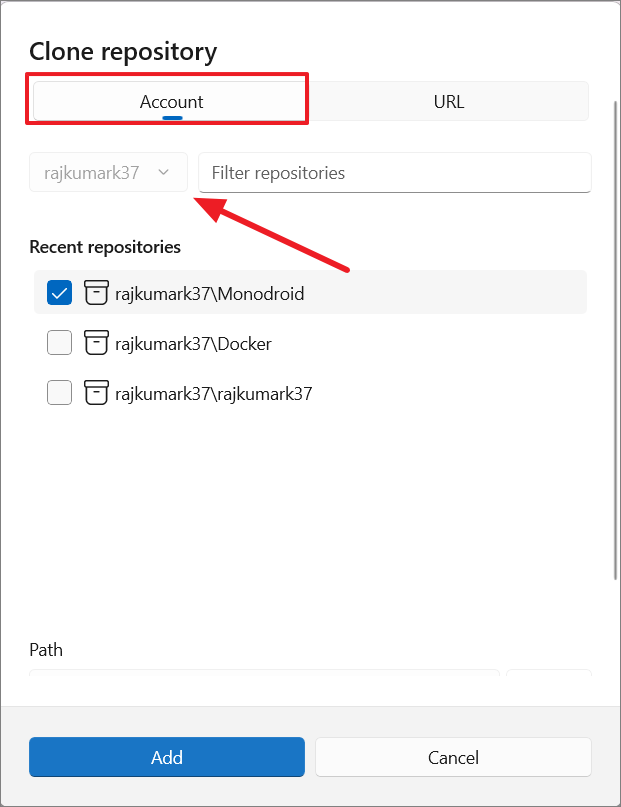
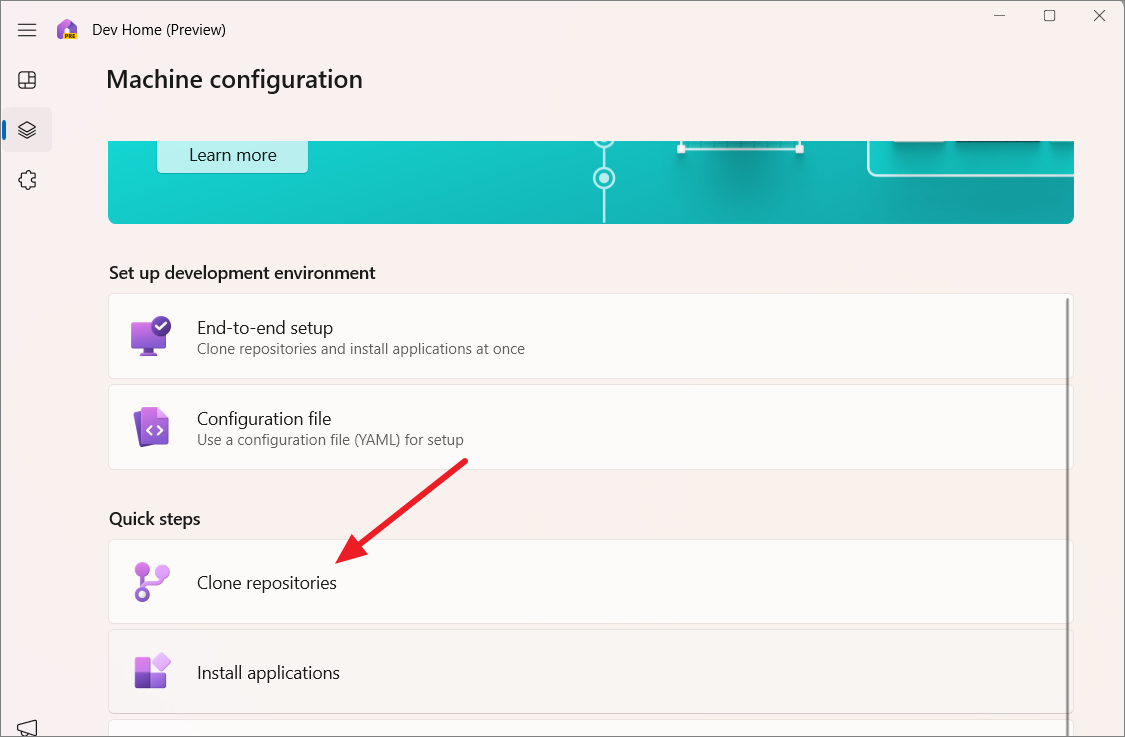
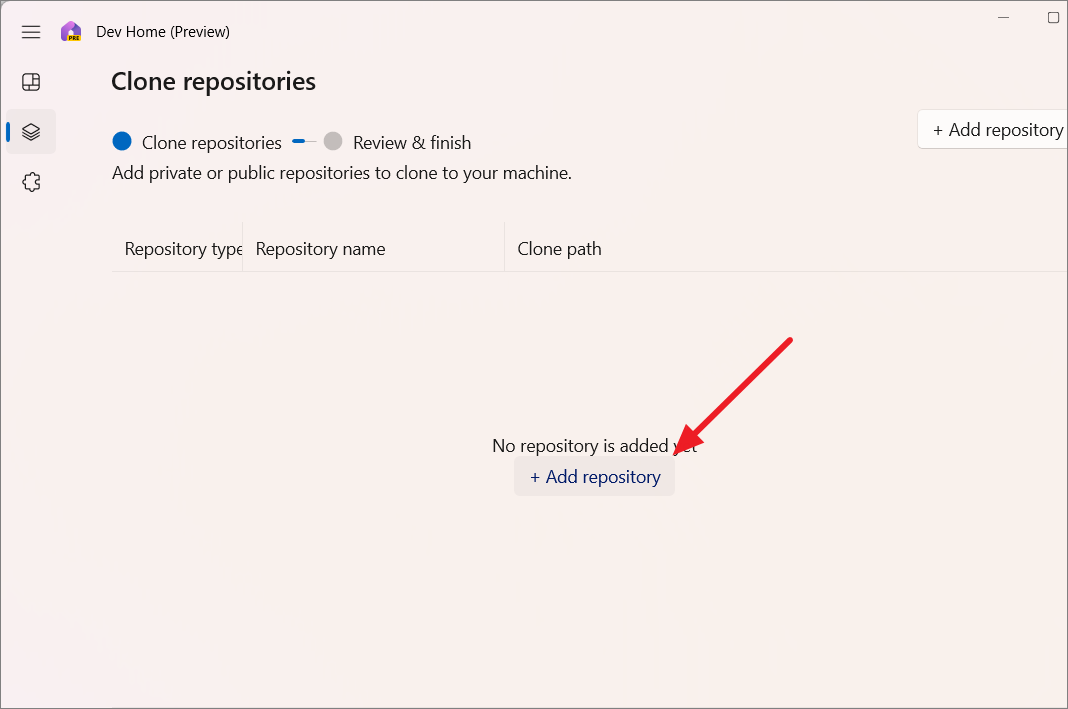
Clone Repositories
If you prefer not to use the ‘End-to-end setup’ or wish to add more repositories later, you can clone repositories directly using the ‘Clone repositories’ option.
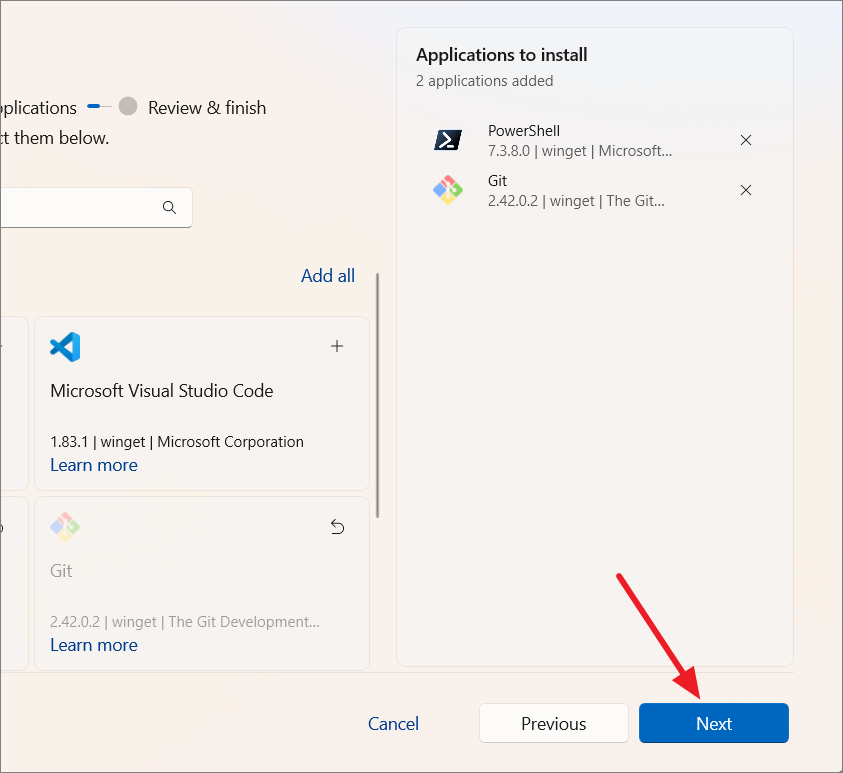
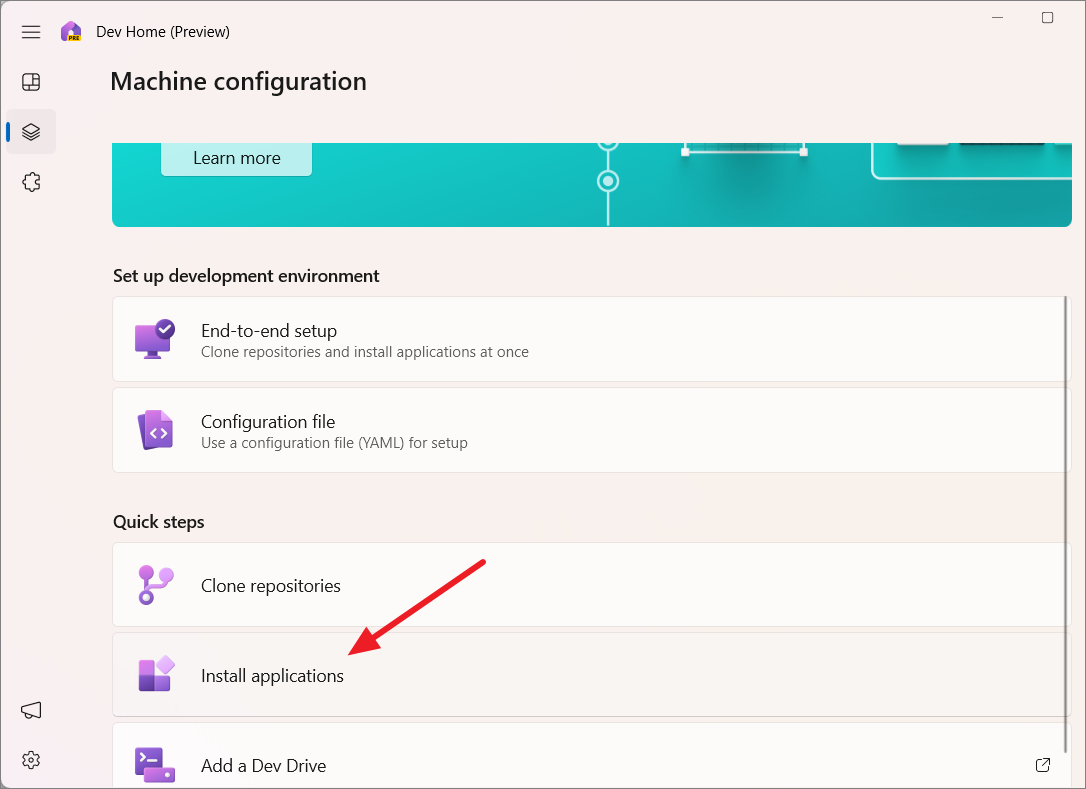
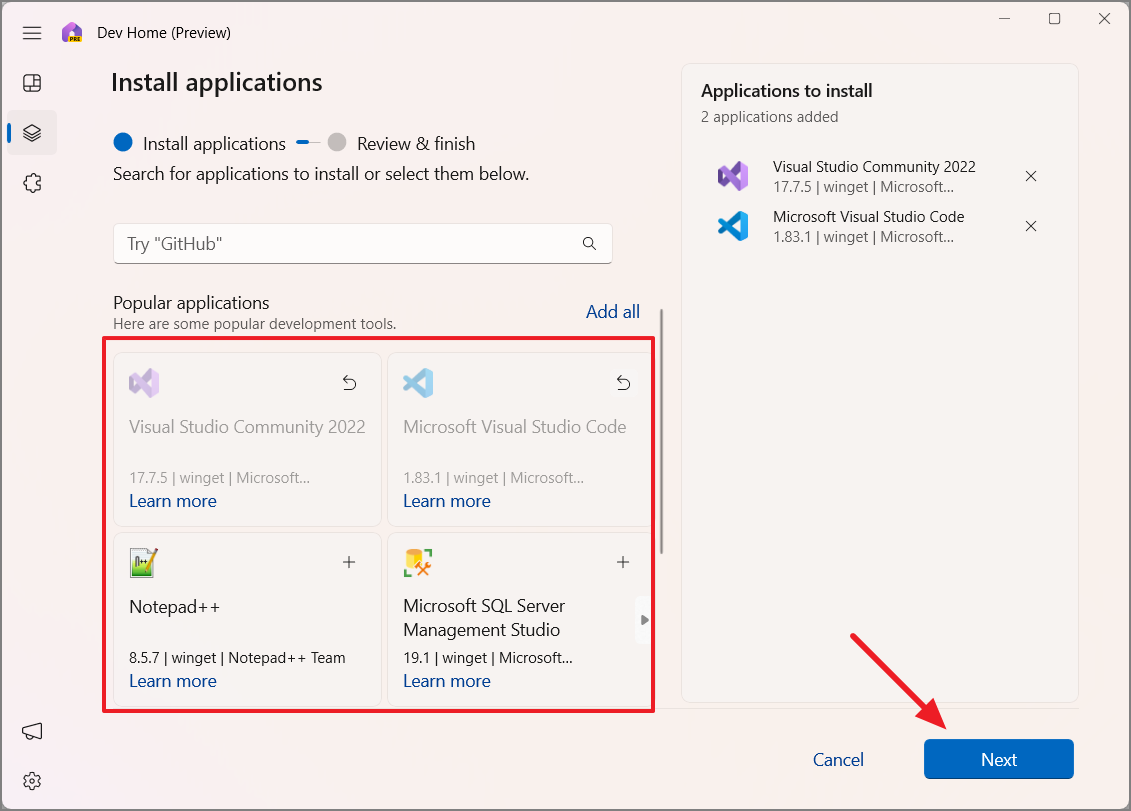
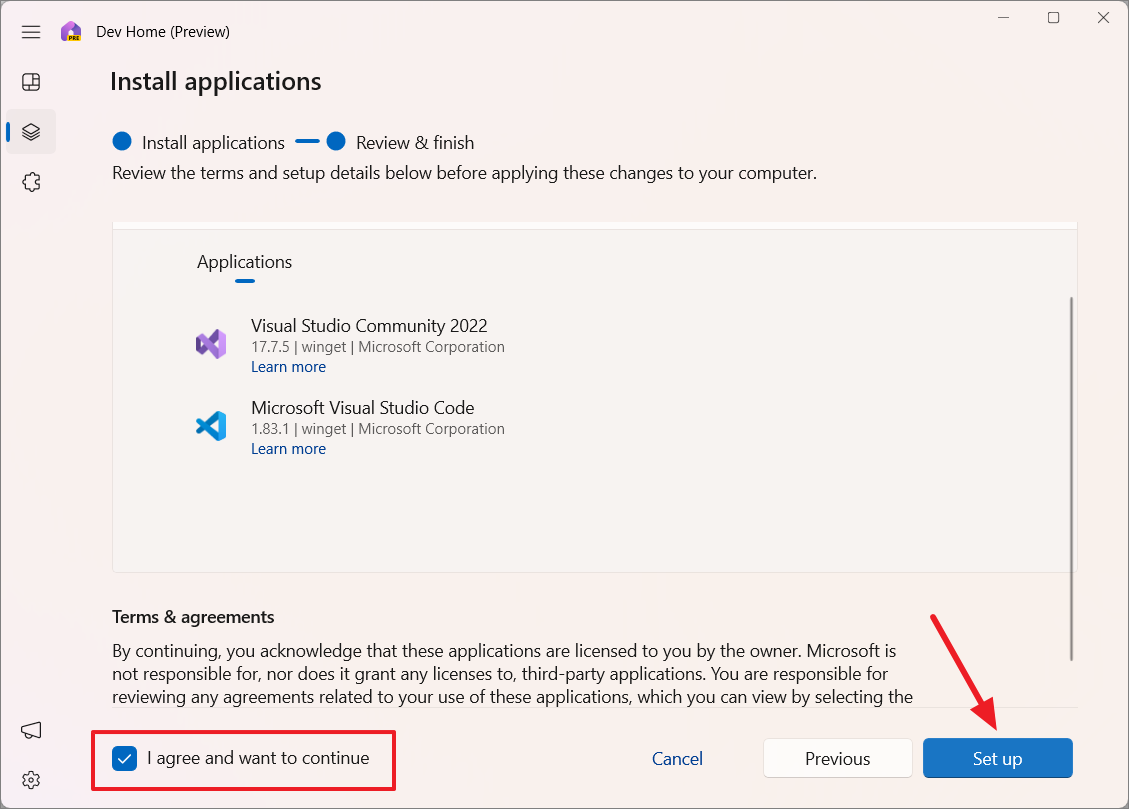
Installing Applications on Dev Home
You can also install applications individually using the ‘Install applications’ option, which is handy if you need to add specific tools without a full environment setup.
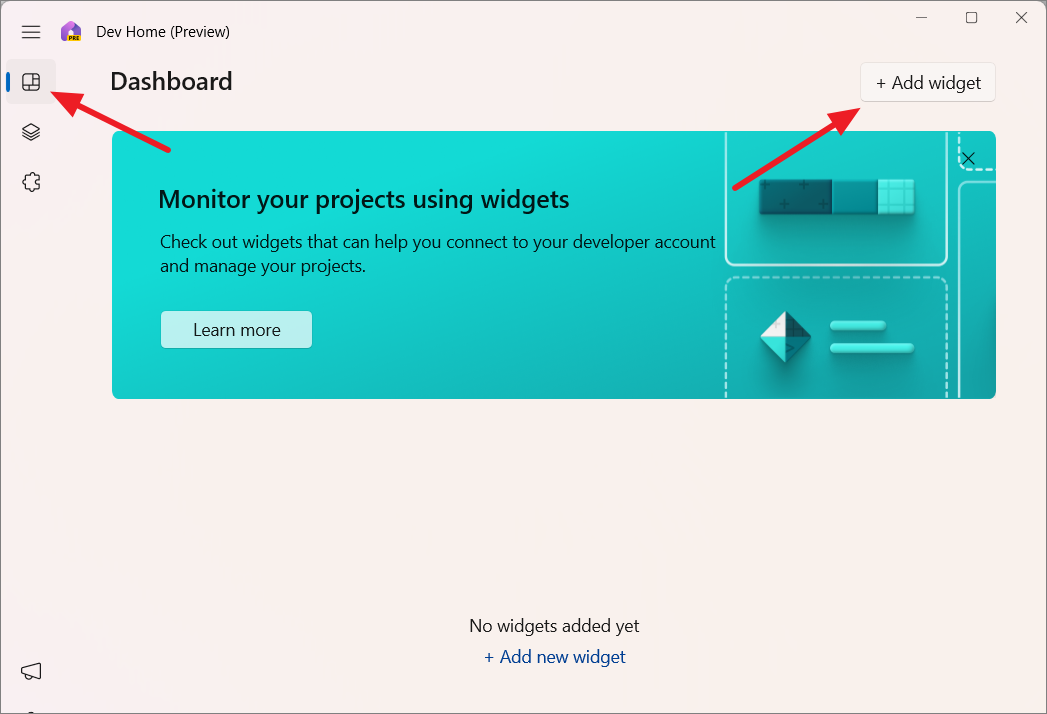
Using Widgets in Dev Home Dashboard
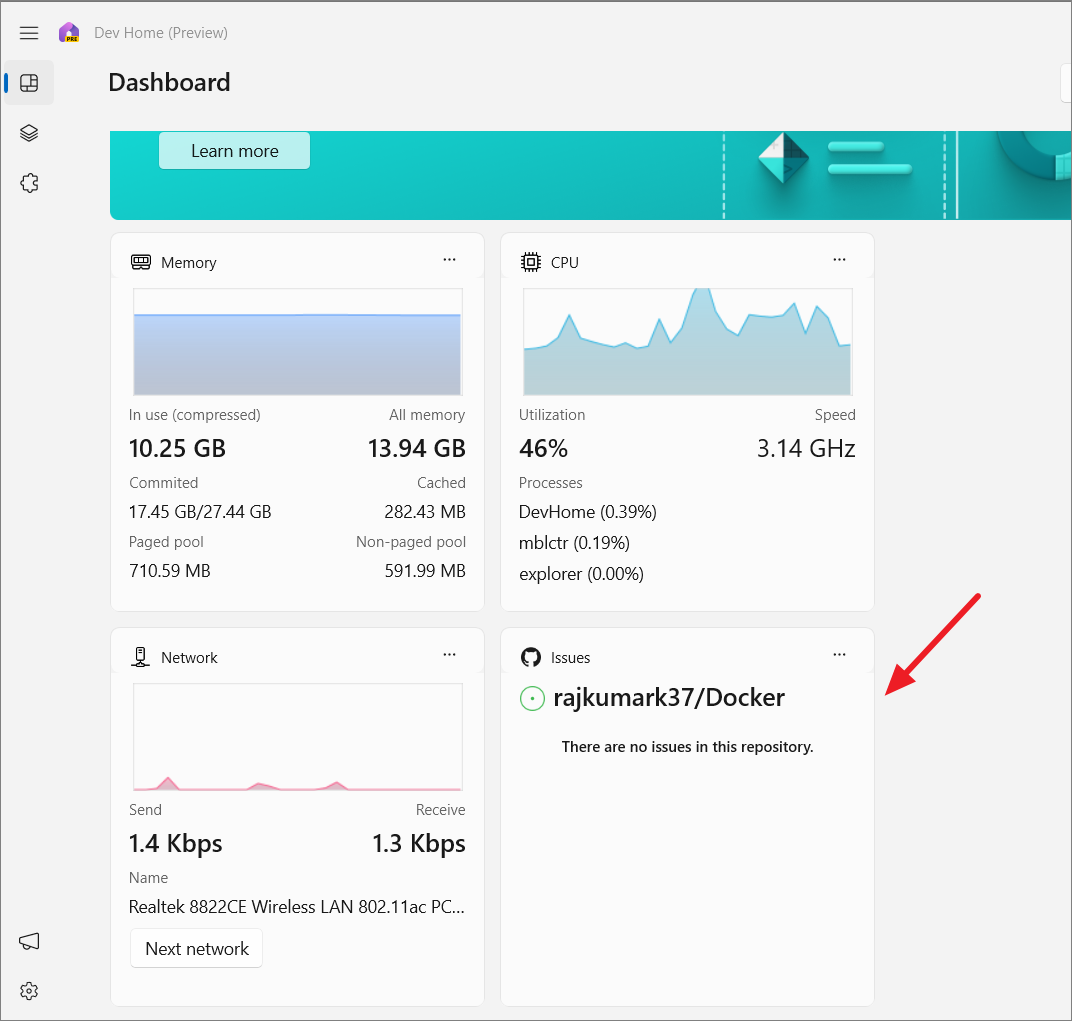
The Dev Home dashboard offers a customizable workspace where you can monitor your workflows using various widgets. These widgets allow you to track system resources and GitHub activities directly from the dashboard.
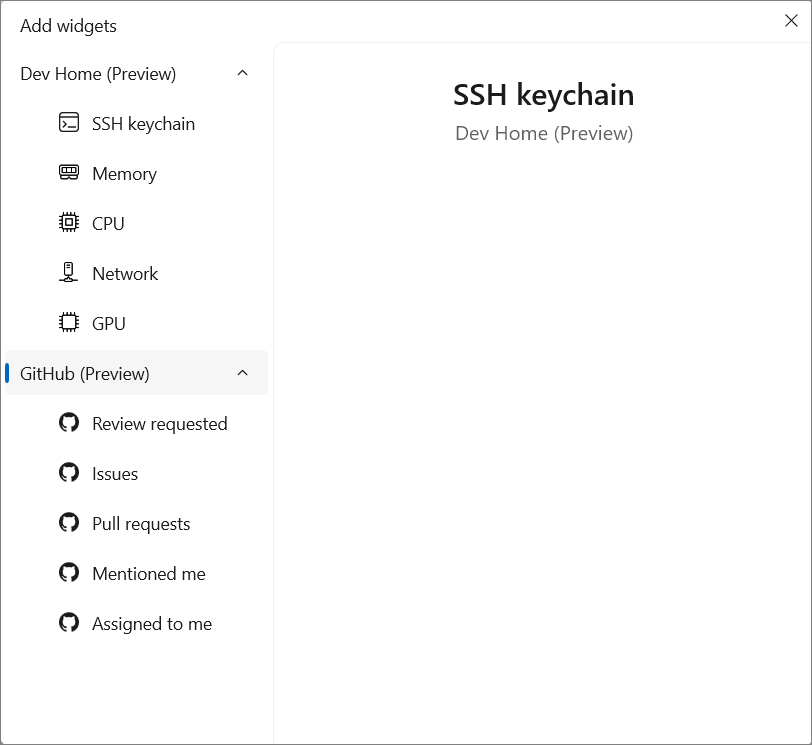
Dev Home Widgets (System Widgets)
The system widgets allow you to monitor the health of your hardware components, such as CPU, memory, network, and GPU statistics.
To add a system widget:
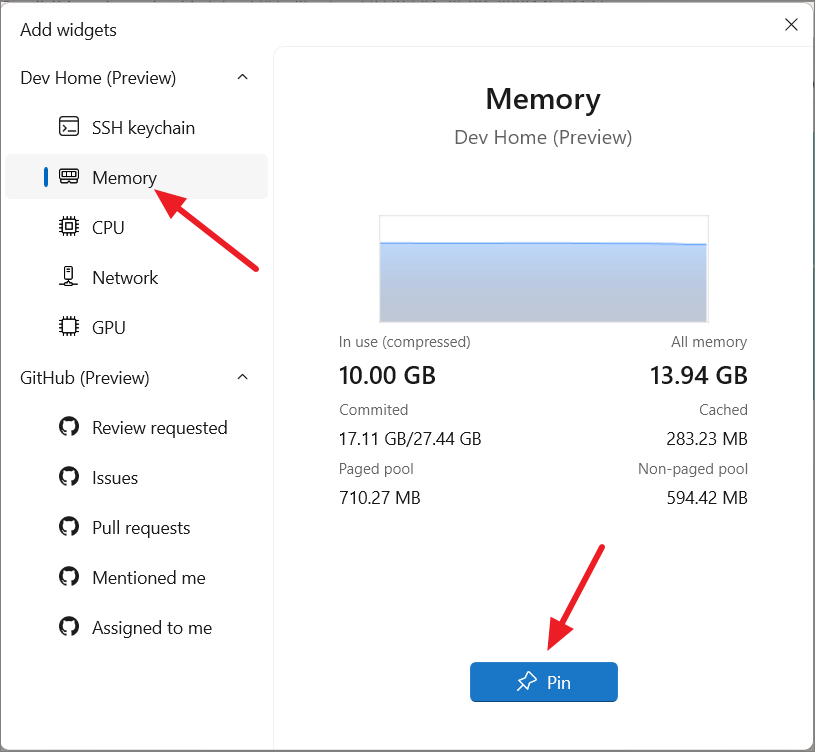
The widget will now appear on your dashboard, providing real-time information.

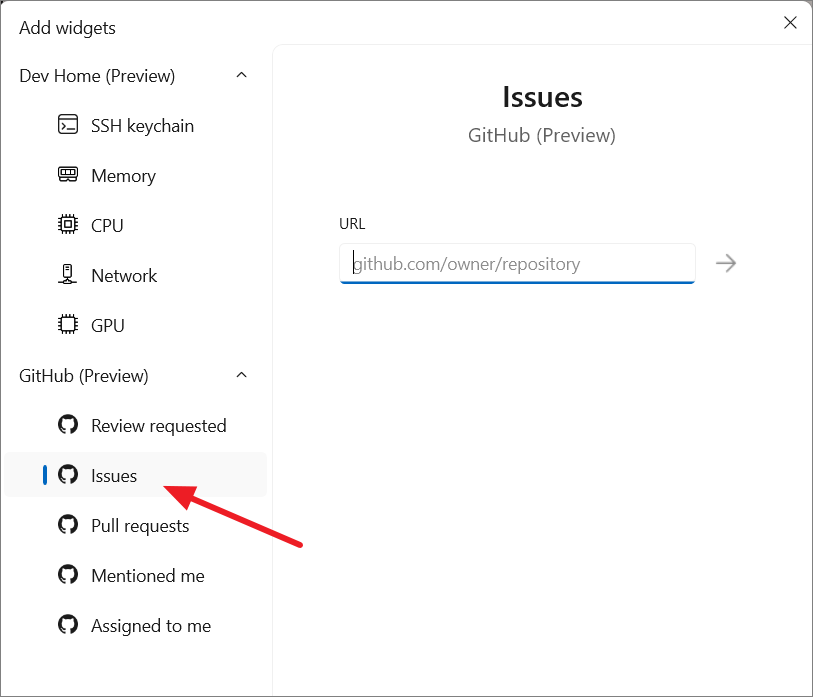
GitHub Extension Widgets
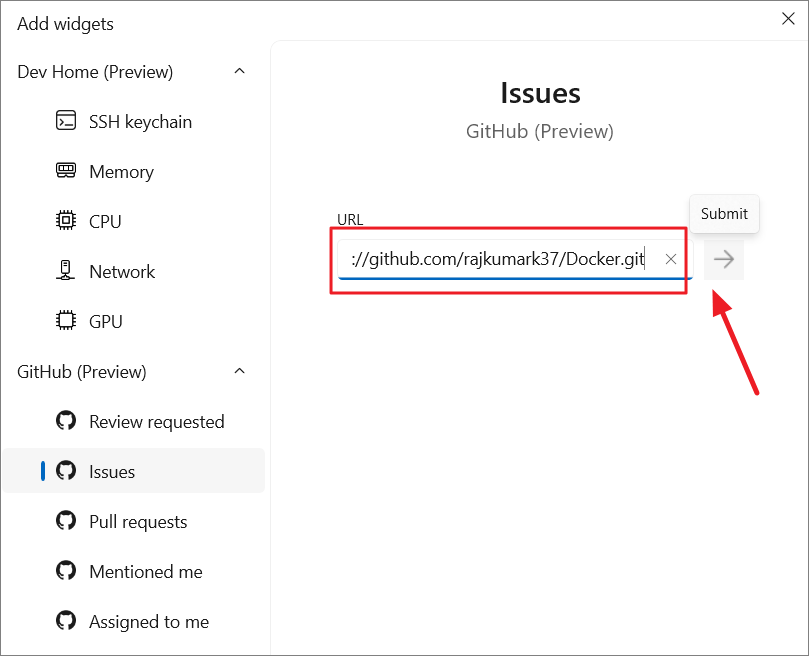
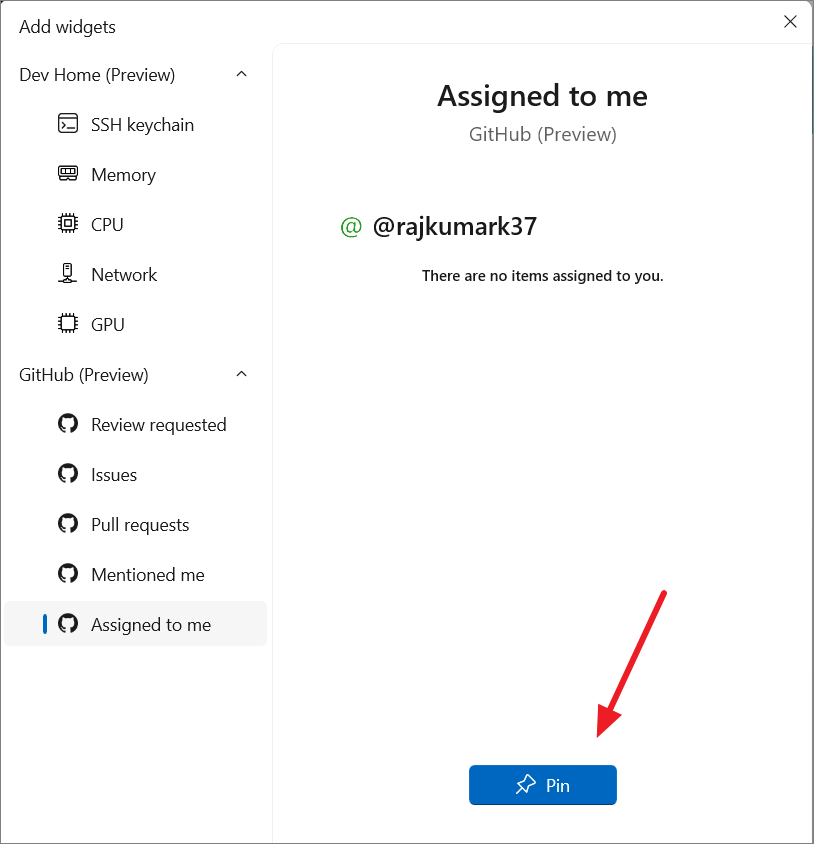
With the GitHub extension, you can add widgets that integrate with your GitHub repositories, allowing you to track notifications, pull requests, issues, reviews, and assignments.
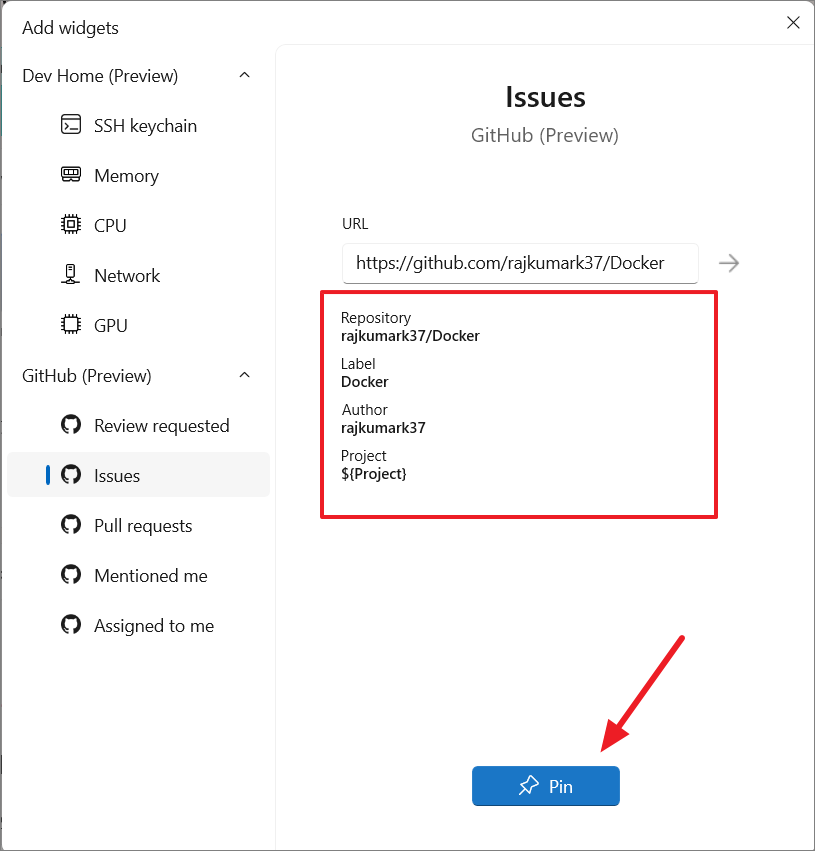
The widget will now display information such as open issues for that repository.
You can also add ‘Mentioned to me’ or ‘Assigned to me’ widgets to stay updated on tasks assigned to you or when you’re mentioned in comments.
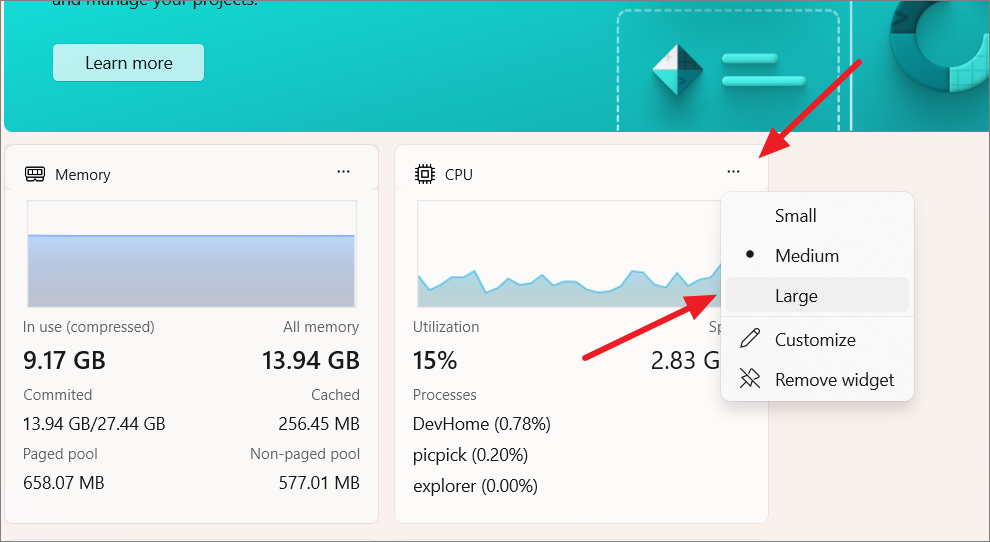
Customizing Widgets
To customize a widget:
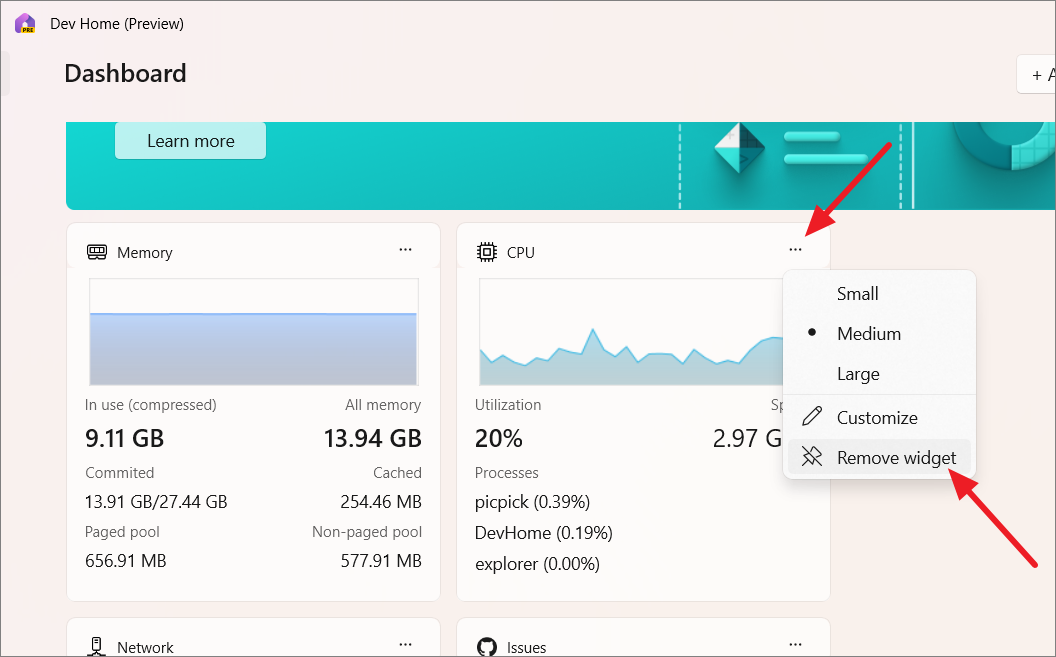
To remove a widget, select ‘Remove widget’ from the menu.
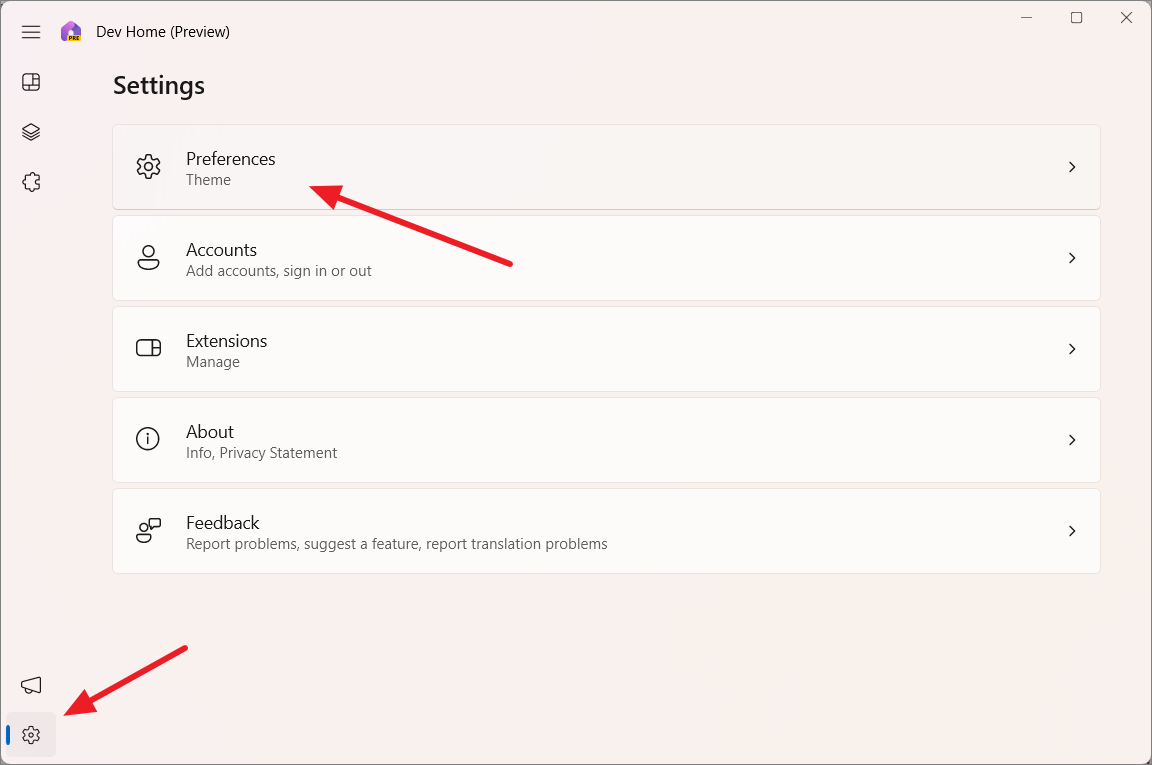
Change Dev Home Settings
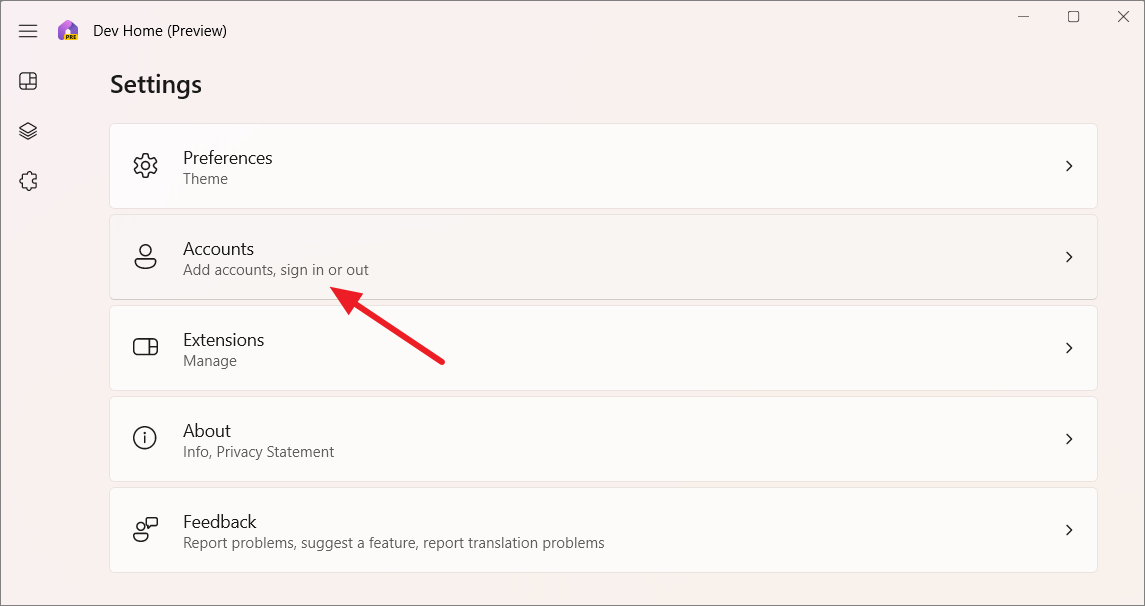
Dev Home offers settings to customize your experience further. You can manage preferences, accounts, and extensions through the ‘Settings’ page.
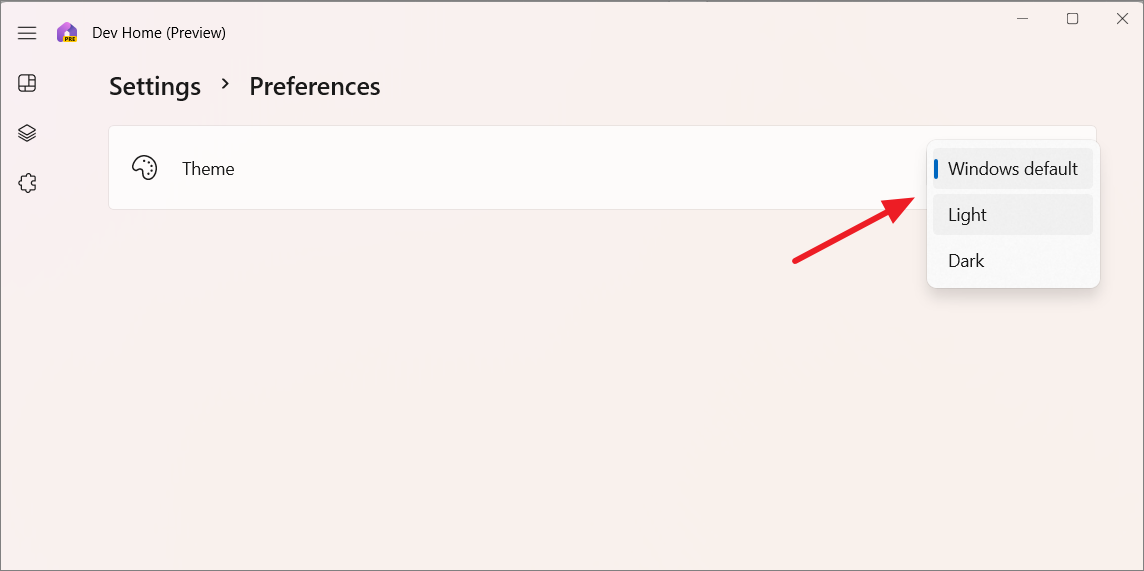
To change preferences, such as the app’s theme:
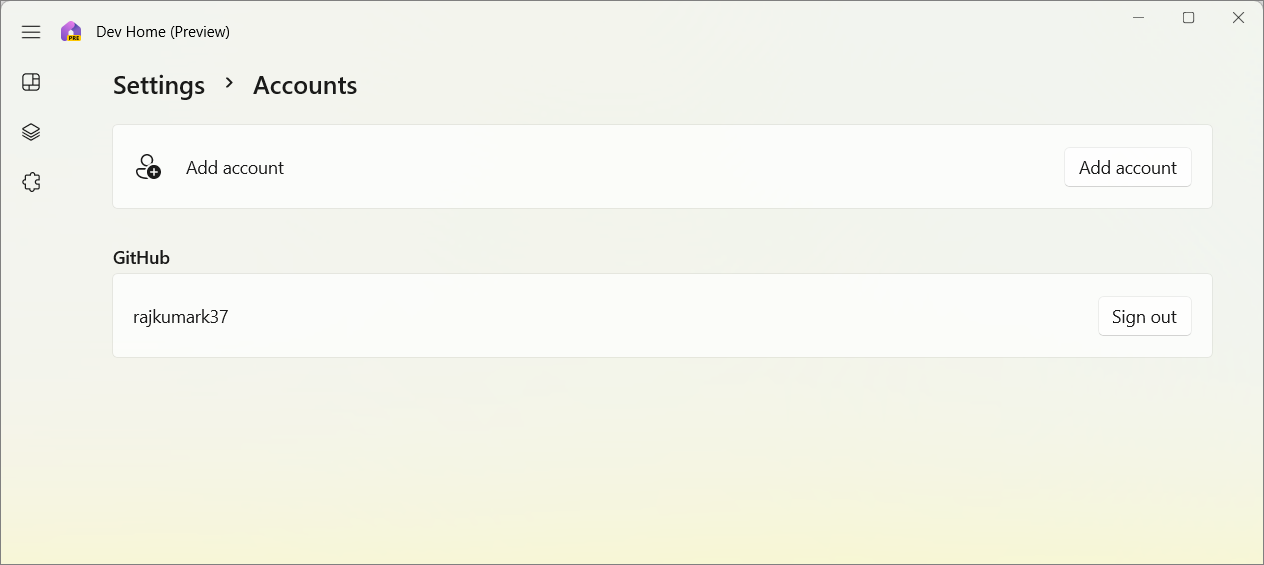
You can manage your GitHub accounts from the ‘Accounts’ settings. All connected accounts appear here, and you can add or remove them as needed.
Currently, the GitHub extension is the only available extension for Dev Home, but Microsoft plans to add more in the future.
With Dev Home, setting up a Windows 11 development environment becomes a seamless process. By utilizing its various features and tools, you can customize your setup to meet your specific development needs, streamline your workflow, and focus more on writing code.


