Microsoft Edge has made significant strides in recent years, offering features like Sleeping Tabs and Edge Collections to enhance the browsing experience. However, some users on Windows 11 may find that Edge isn’t performing as swiftly as they’d like. The good news is that there are several ways to optimize Edge for better speed and responsiveness.
Method 1: Remove Unused Extensions
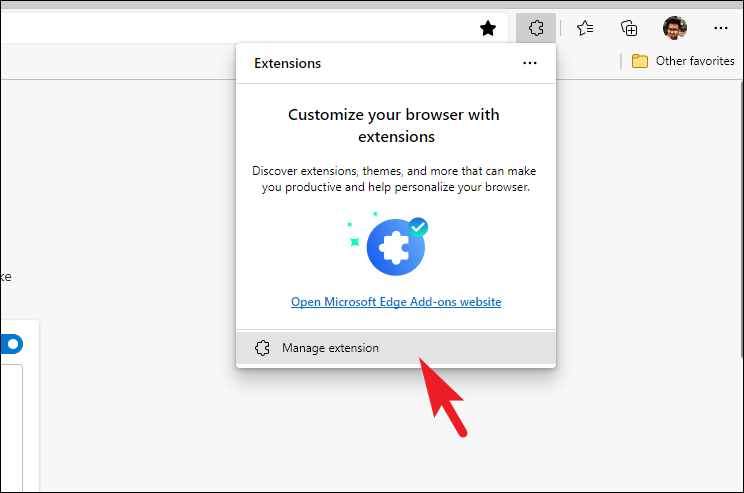
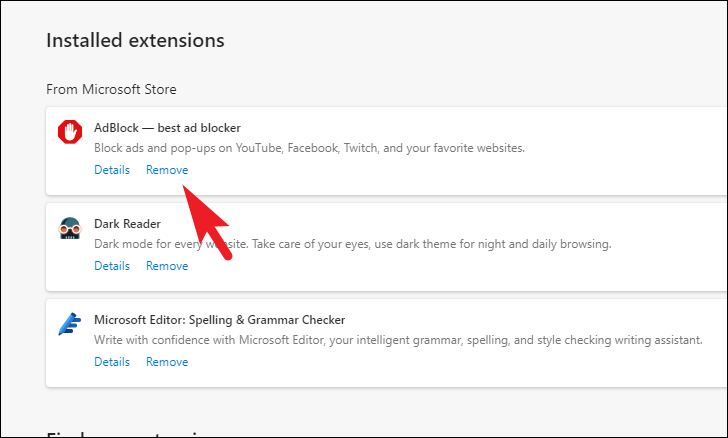
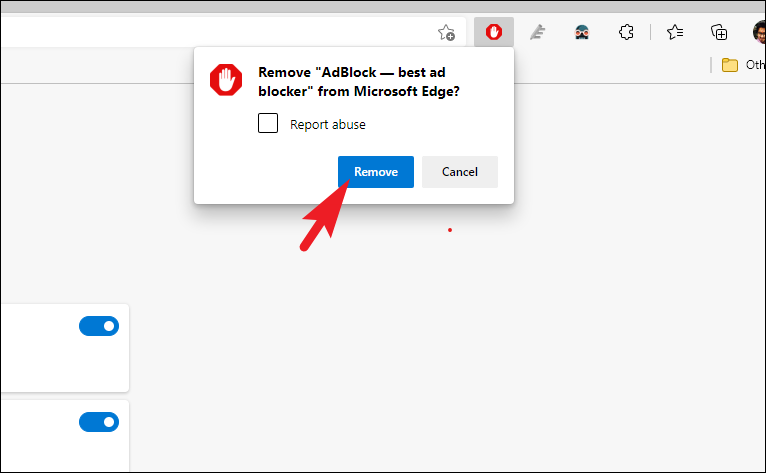
Extensions can greatly enhance your browsing capabilities, but having too many—especially outdated ones—can slow down your browser. Removing extensions you no longer use can help improve Edge’s performance.
⋮) in the top-right corner to open the menu. From the dropdown, select Extensions. This will bring up a prompt.
Method 2: Disable Edge on Startup and Restart Edge
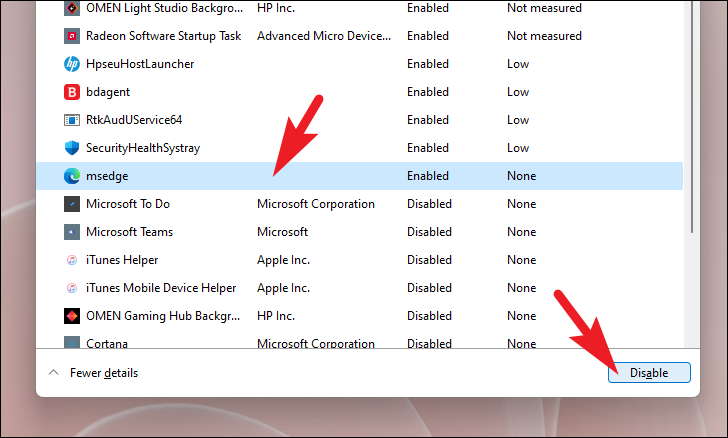
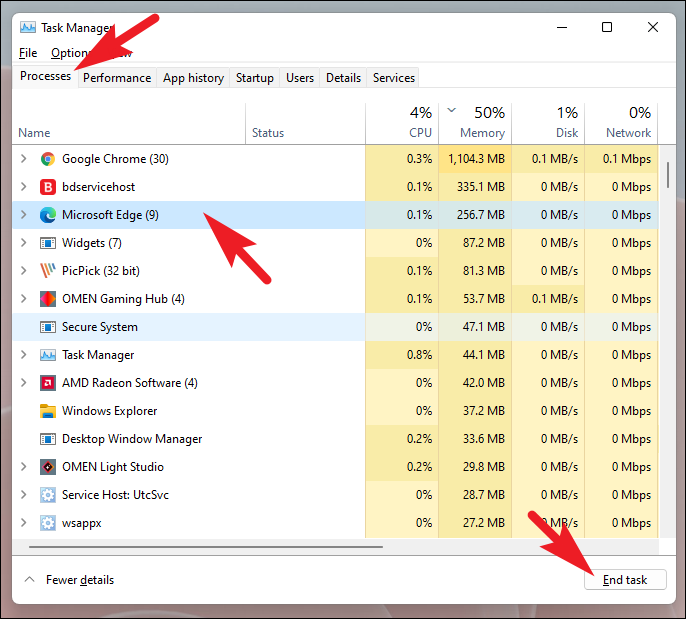
Edge may start running in the background when you sign into Windows 11, which can consume resources and slow down performance. Disabling Edge from starting automatically and restarting the browser can help.
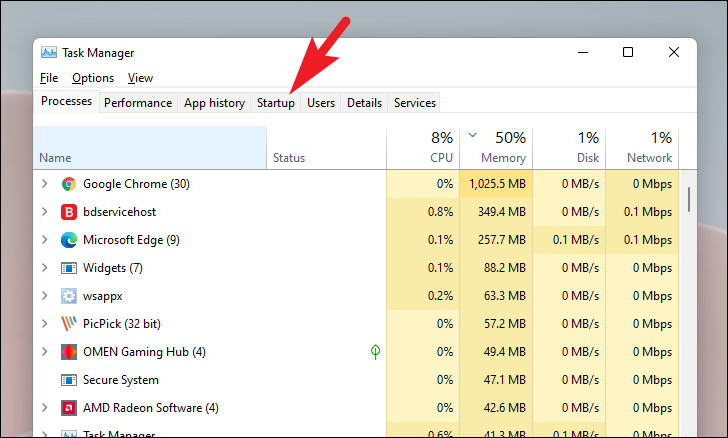
Ctrl + Shift + Esc to open the Task Manager. Alternatively, you can search for Task Manager in the Start Menu.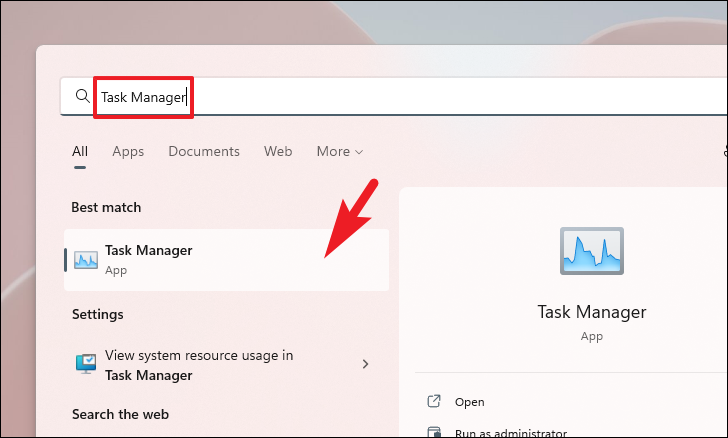
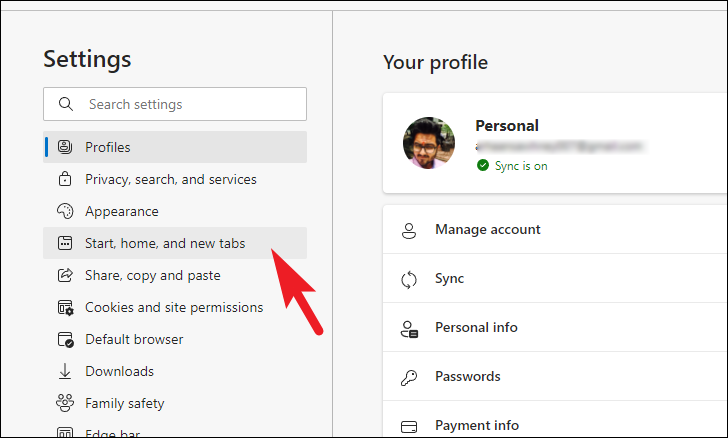
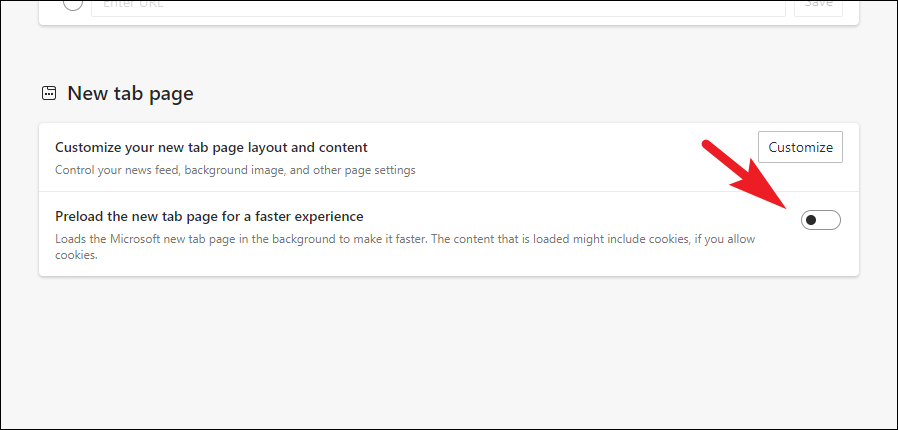
Method 3: Disable Preload New Tab Feature
Edge preloads the new tab page, which includes content like Microsoft News and background images. Disabling this feature can reduce resource usage and speed up the browser.
⋮) in the top-right corner. Select Settings from the menu.
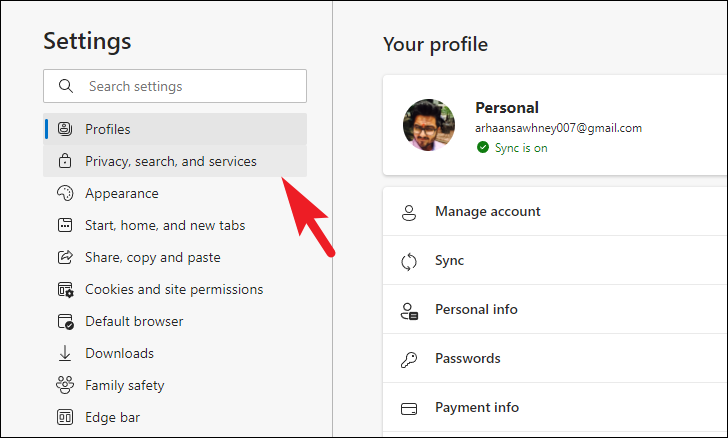
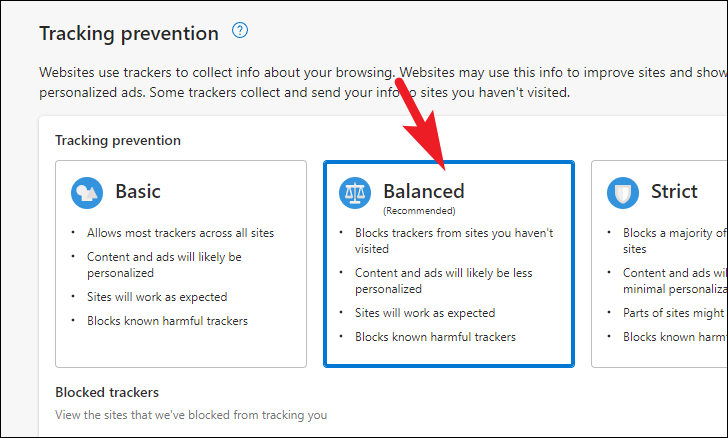
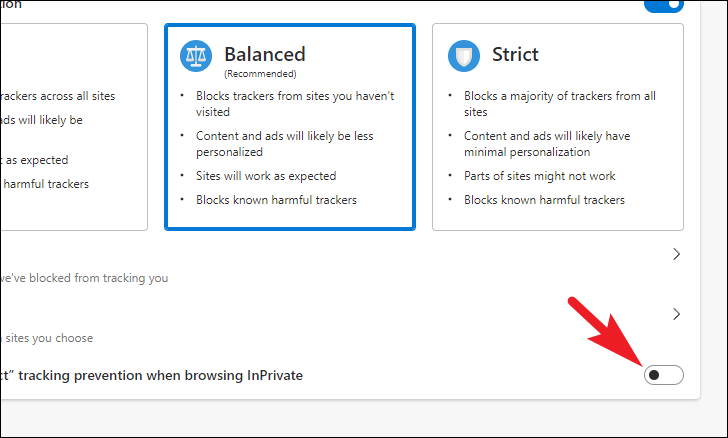
Method 4: Tweak Tracking Prevention Settings
Edge’s tracking prevention can sometimes interfere with website performance. Adjusting these settings may help pages load more smoothly.

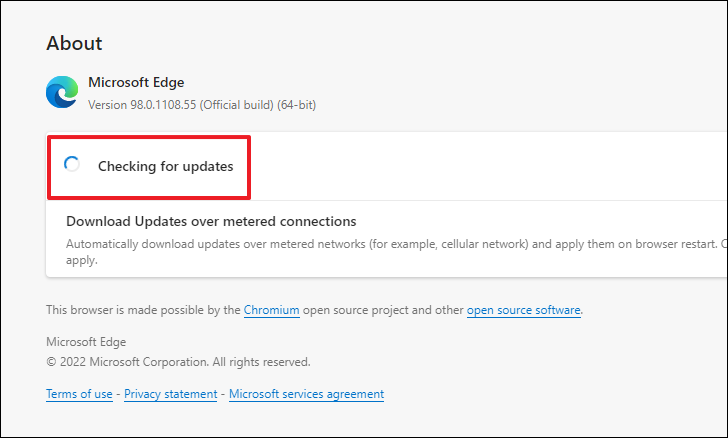
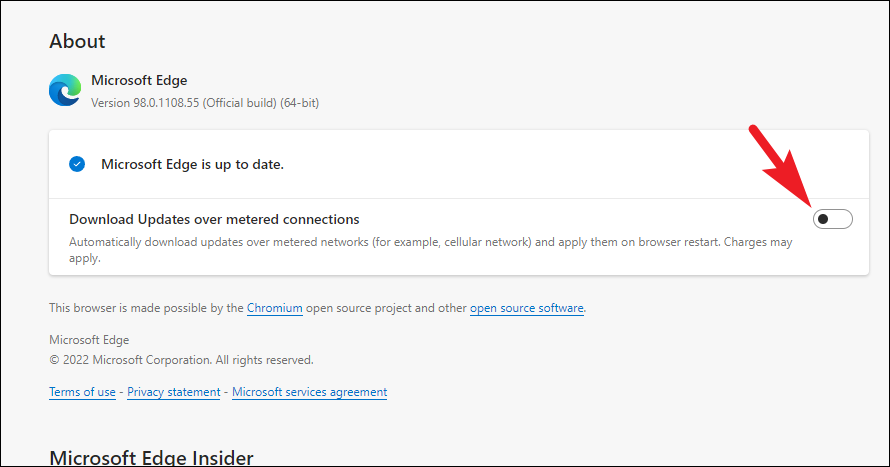
Method 5: Check for Updates Manually
Ensuring that Edge is up to date can resolve performance issues caused by bugs or compatibility problems.
⋮). Hover over Help and feedback and select About Microsoft Edge.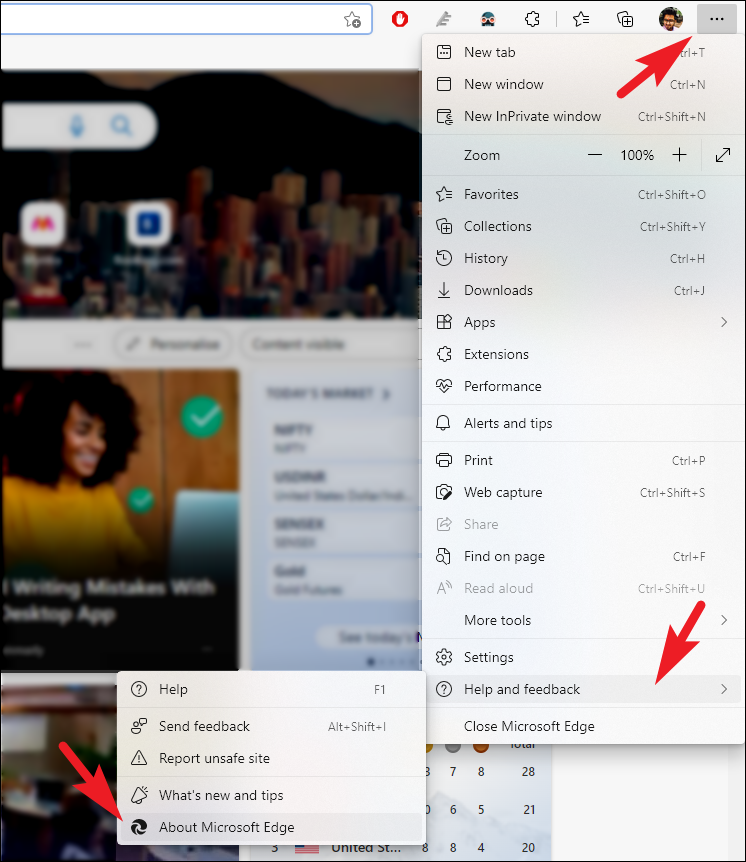
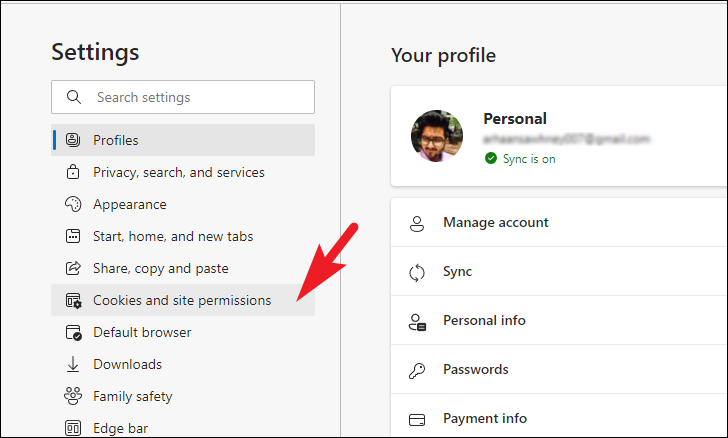
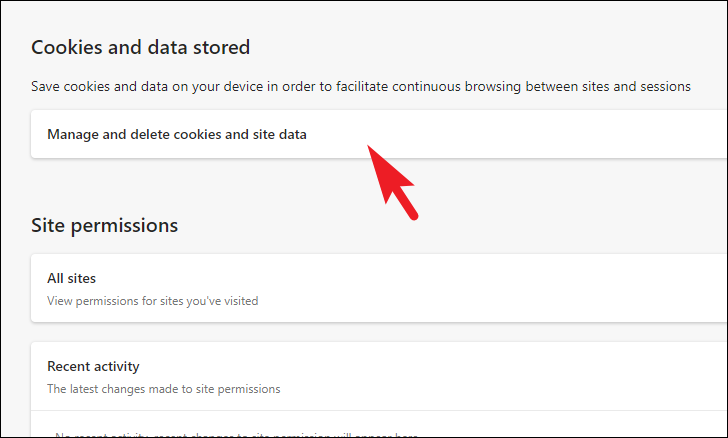
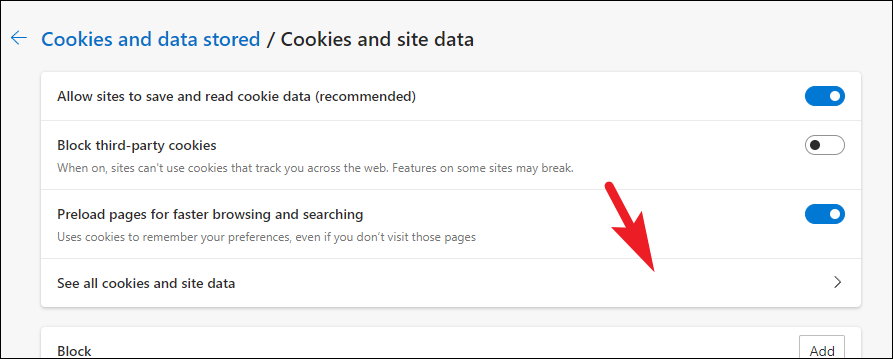
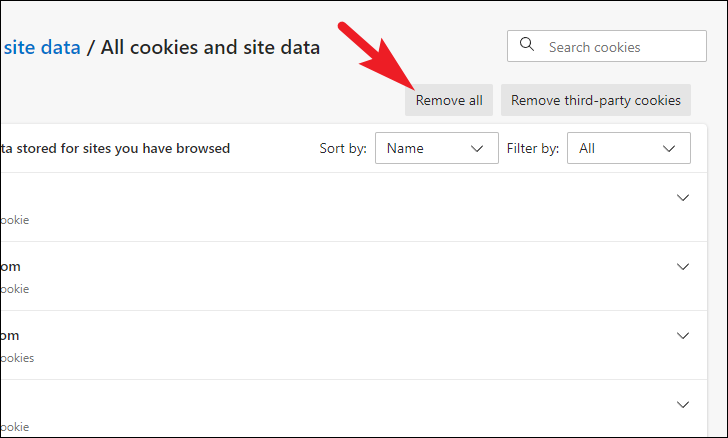
Method 6: Delete Cookies and Site Data
Accumulated cookies and site data can sometimes slow down your browser. Clearing this data can help, but keep in mind it will log you out of websites and reset site preferences.

By following these methods, you can enhance the performance of Microsoft Edge on your Windows 11 system and enjoy a smoother browsing experience.


