
If you are a developer or an editor and you feel that one screen does not perform your tasks efficiently. For example, you require one screen to type, and the other to read. Thankfully, Windows 10 comes with a built-in feature called ‘Snap Assist’ that allows a user to multitask.
The snap feature was introduced in Windows 7, which allowed the users to split the screen into two halves, each application taking half of the screen. It was useful when we had to move files from one place to another or compare two documents. But this feature has now been upgraded in Windows 10, which enables the users to split their windows and add up to four applications on the screen.
Enabling Snap on Windows 10
Windows 10 by default has this feature enabled, but you can always make sure it’s turned on.
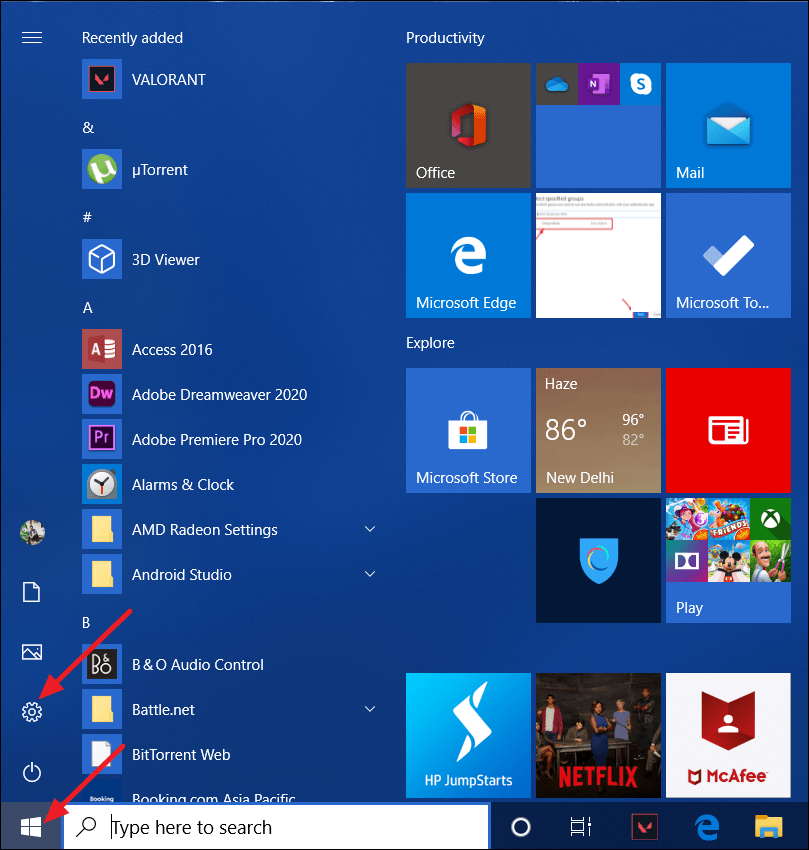
To enable Snap windows, head to Windows settings by clicking on the Windows icon on the taskbar, and then click on the Settings gear icon on the left side. Or you can simultaneously press Win + I on your keyboard.
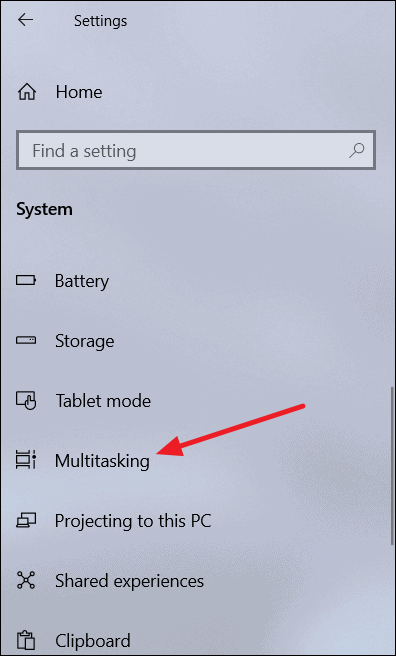
On the Windows Settings screen, click on the ‘System’ option.

Scroll down and access the ‘Multitasking’ section on the left side, present inside ‘System’ settings.
Under the ‘Work with multiple windows’ section, make sure the ‘Snap windows’ toggle is enabled, and also tick the checkboxes all the sub-settings of the Snap windows feature.

How to Split Screen using Snap on Windows 10
After enabling the Snap windows feature, launch all the apps you want to use while multitasking.
Then click and hold on the title bar of any app’s window and drag it to either right or left side of your screen. A transparent overlay will appear, showing a preview of the window’s placement. Release your mouse button to snap the window into that space.
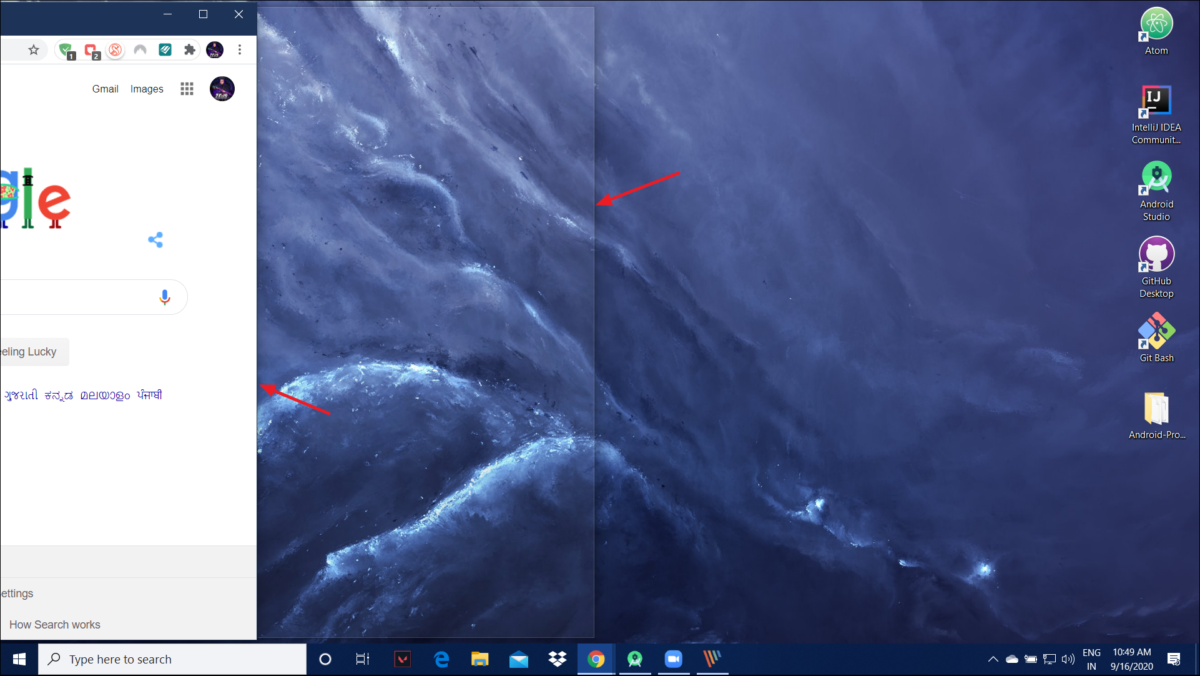
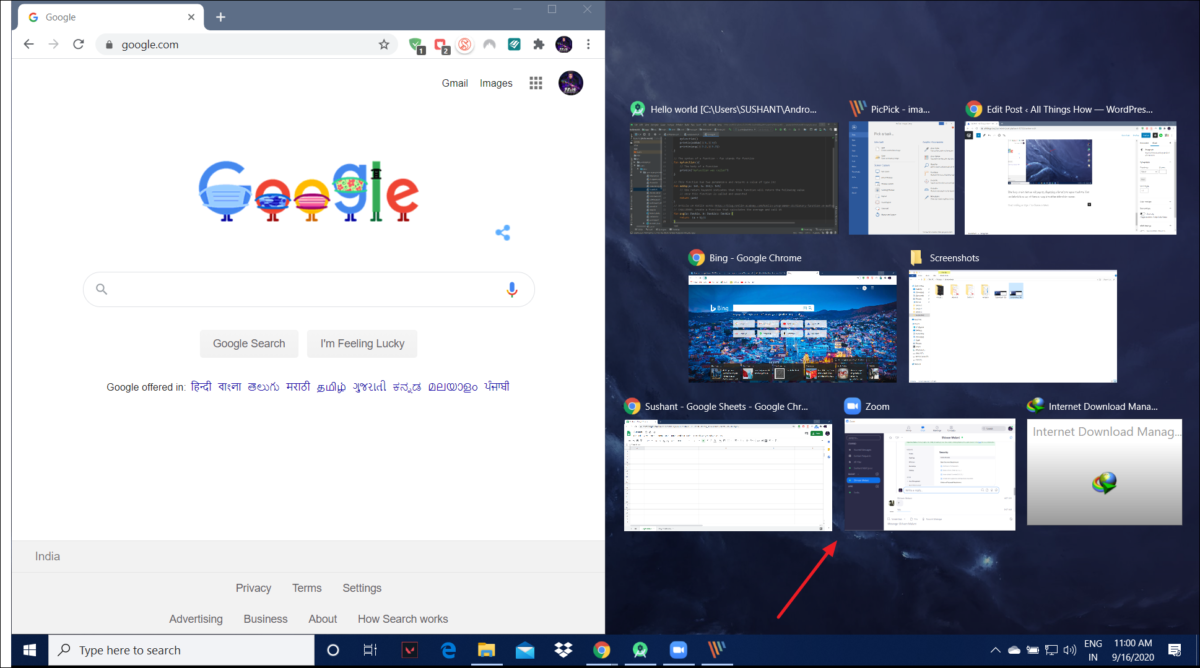
The Snap feature will take over the screen, with your snapped window on one side and all your other open windows on the other side. You can drag and drop any other Window similarly and snap it into the opposite corner of the screen.
How to Split Four Windows at Once in a 2 x 2 Grid
The Snap feature in Windows 10 allows you to snap up to four windows together in a 2 x 2 grid. You can also refer to it as 2 × 2 snapping.
To split screen into four windows, drag a window by clicking and holding it from the title bar and drop into one of the four corners of the screen. Follow the same step for the other three windows to get a 2 × 2 grid.
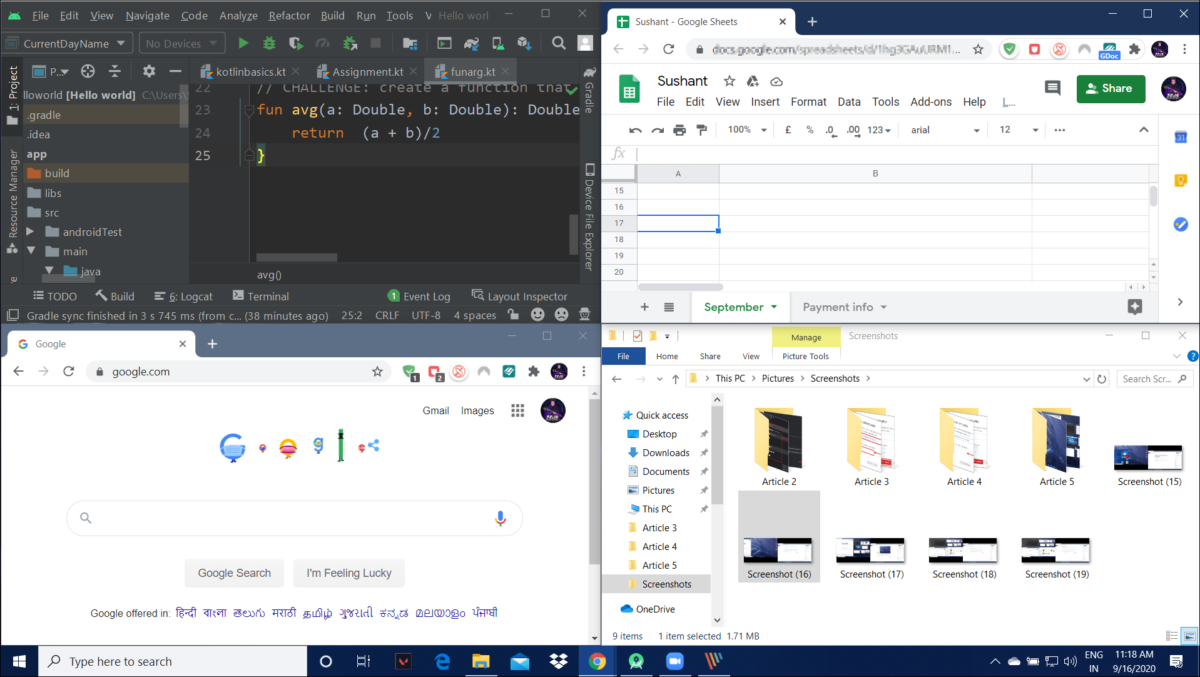
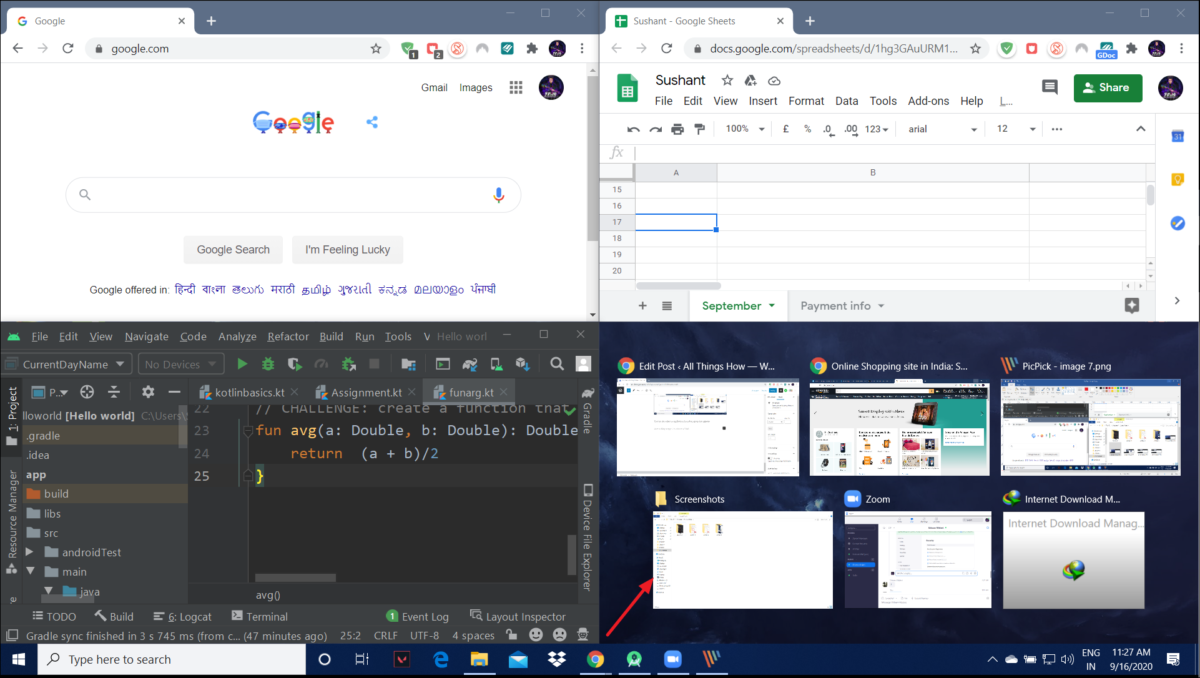
You can also select an application from the window selector interface that appears to fill the empty parts of your screen.
If you prefer using keyboard shortcuts, you can press these keys simultaneously to perform the desired operation:
- Windows key + Right Arrow: Move the application window to the right side of the screen.
- Windows key + Left Arrow: Move the application window to the left side of the screen.
- Windows key + Right Arrow + Up Arrow: Move the application window to the top right.
- Windows key + Left Arrow + Up Arrow: Move the application window to the top left.
- Windows key + Right Arrow + Down Arrow: Move the application window to the bottom right.
- Windows key + Left Arrow + Down Arrow: Move the application window to the bottom left.
Note: If you want one tall window and the other two short or one wide window at the bottom and two narrows at the top you can resize the window’s in 2 × 2 mode accordingly.


