Whether you want to trim or crop a video, this guide will help you with it all.
Whether you want to trim or crop a video, this guide will help you with it all.
by Sakshi Garg
Cutting, trimming, or cropping a video can enhance its quality by removing unwanted sections or focusing the viewer’s attention on specific areas. Windows 11 offers several tools that make this process straightforward, whether you’re editing home movies or professional content.
Using Clipchamp to Trim and Crop Videos
Clipchamp is a built-in video editor in Windows 11 that provides robust video editing capabilities in an easy-to-use interface. Here’s how you can use Clipchamp to trim and crop your videos.
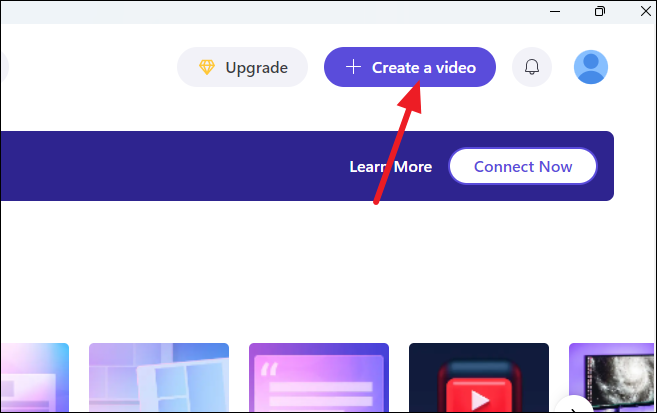
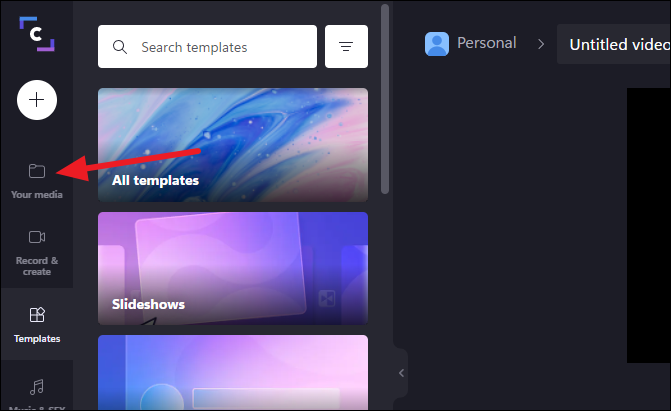
Import the video you want to edit by clicking the + icon on the left toolbar. You can browse files from your computer or drag and drop the video into Clipchamp. You also have the option to import videos from cloud storage services like Google Drive or OneDrive.
After importing, your video will appear under Your media. Add it to the timeline by hovering over the video thumbnail and clicking the + icon or by dragging it onto the timeline.
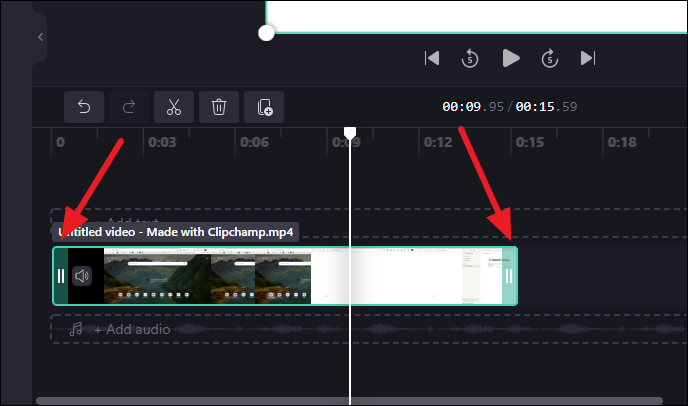
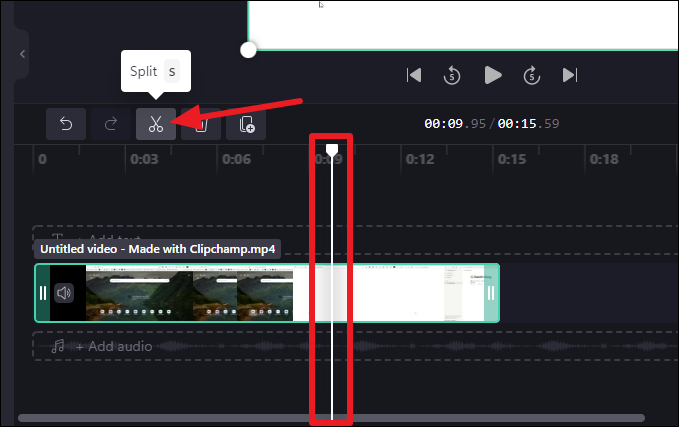
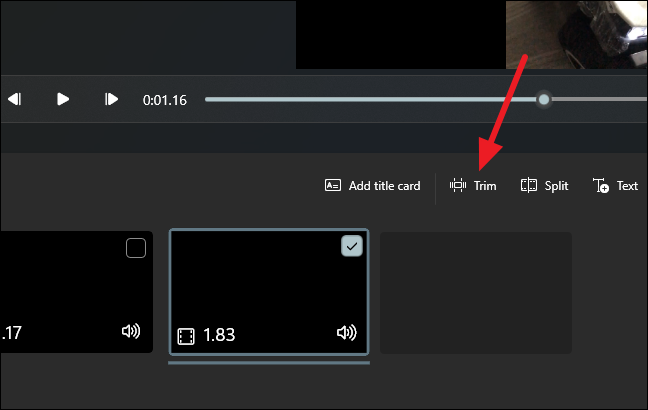
To trim parts from the middle of the video, move the white scrubber to the point where you want to make a cut and click on the Split tool from the toolbar above the timeline. Repeat this process to isolate the unwanted section, then select it and press the Delete key to remove it.
To crop the frame of the video, select the video clip in the timeline. In the preview window, click on the Transform option. Here, you can adjust the scale and position of the video to crop out unwanted areas. You can also choose from preset aspect ratios or manually adjust the crop by dragging the corners of the video frame.
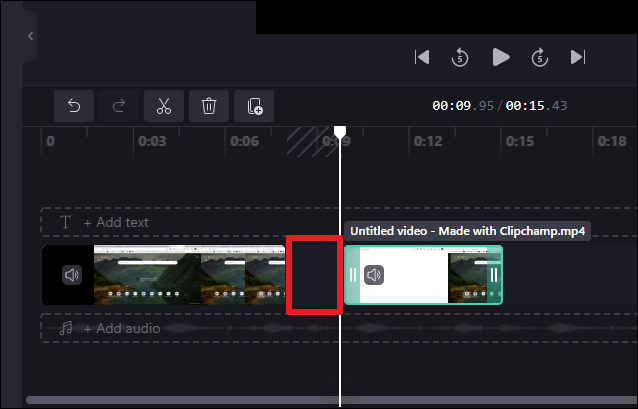
After making all the edits, ensure there are no gaps between video segments in the timeline to avoid black screens in the final video. Drag the clips next to each other if necessary.
Move the element on the right to the left so the gap above is covered.
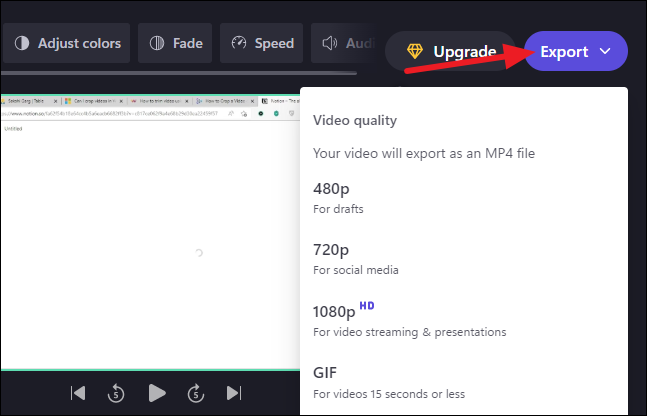
When you’re satisfied with your edits, click on the Export button in the top-right corner. Select your desired video quality, and Clipchamp will process your video. Once done, the video will be saved to your Downloads folder, and you can also choose to save it to cloud storage or share it directly on social media.
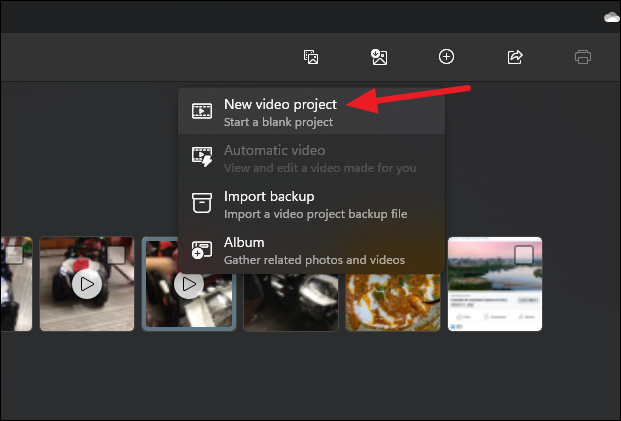
Using the Photos App to Trim a Video
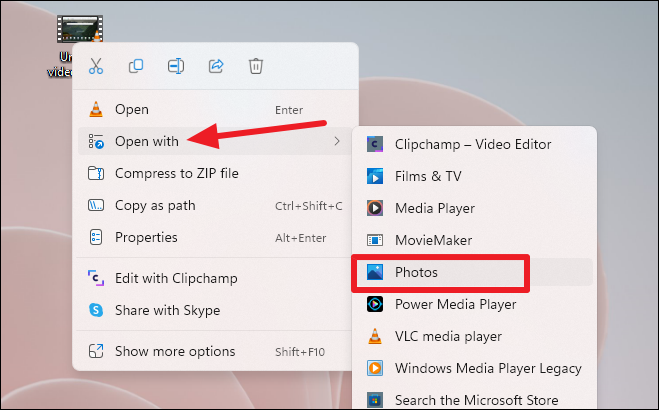
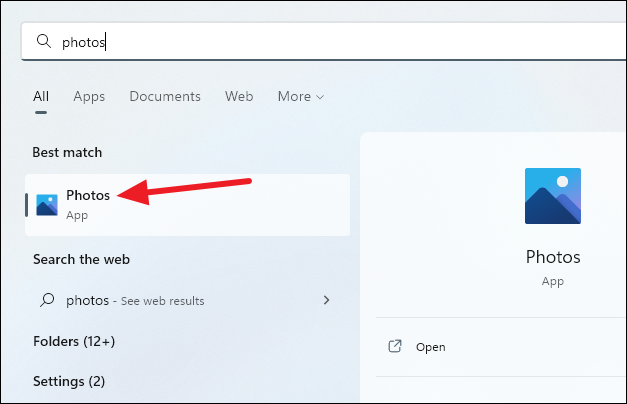
Windows 11’s built-in Photos app provides a quick and easy way to trim videos without the need for additional software.
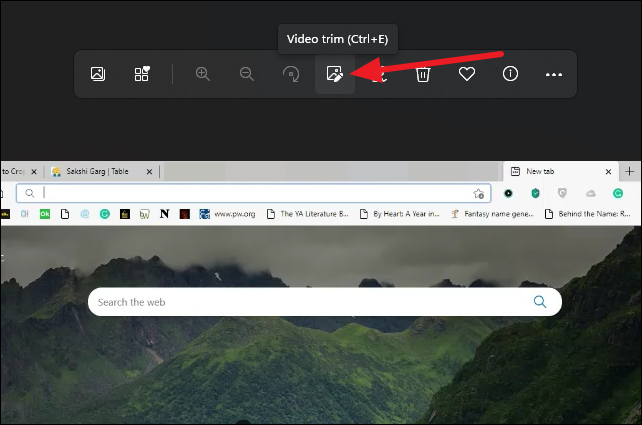
Once the video opens in the Photos app, click on the Video trim button in the toolbar at the top. You can also use the keyboard shortcut Ctrl + E to open the trimming tool.
Adjust the blue sliders at the ends of the video timeline to select the portion of the video you want to keep. The area outside the sliders will be trimmed away. Play the video preview to ensure you’ve selected the correct segment.
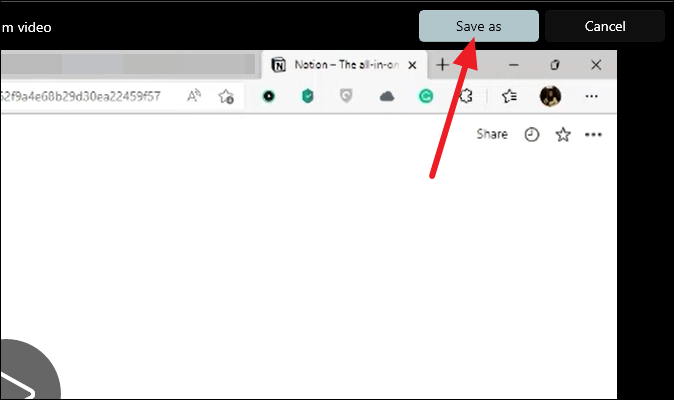
After setting the desired trim points, click on Save as in the top-right corner. Choose a location to save the trimmed video. The Photos app saves the trimmed video as a new file, preserving the original video.
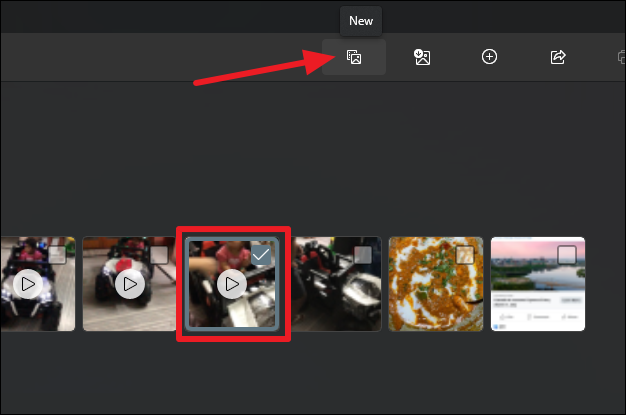
Using the Photos App to Trim Multiple Parts of a Video
If you need to remove multiple sections from within a video, the Photos app’s built-in video editor can help.
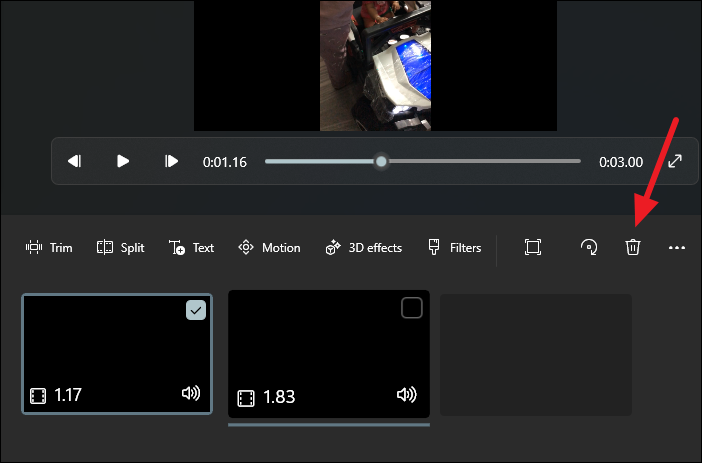
Use the slider to navigate to the point where you want to split the video and click Done. Repeat this process to split the video into multiple segments around the parts you want to remove.
Once satisfied with your edits, click on Finish Video in the top-right corner. Choose the video quality and click Export to save the edited video to your computer.
Note: If you don’t export the video immediately, your project will be saved in the Photos app, and you can return to it later.
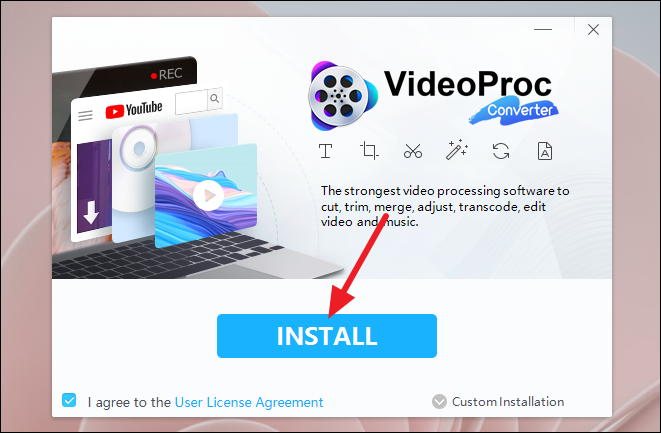
Cropping a Video Using VideoProc
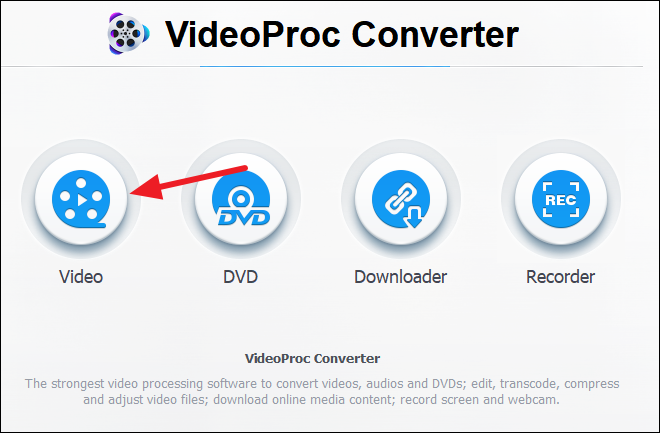
To crop the frame of a video and remove unwanted visual elements, you’ll need a dedicated video editing tool like VideoProc.
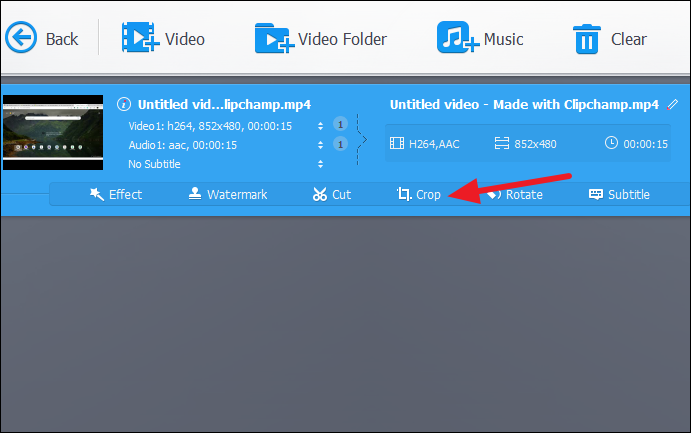
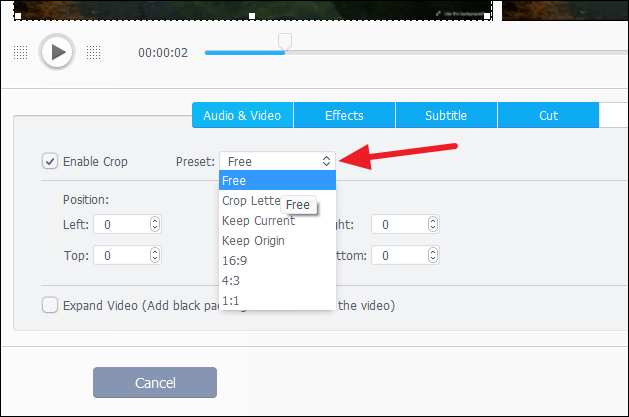
In the cropping window, check the Enable Crop option. You can choose a preset aspect ratio from the dropdown menu or select Free to manually adjust the crop area.
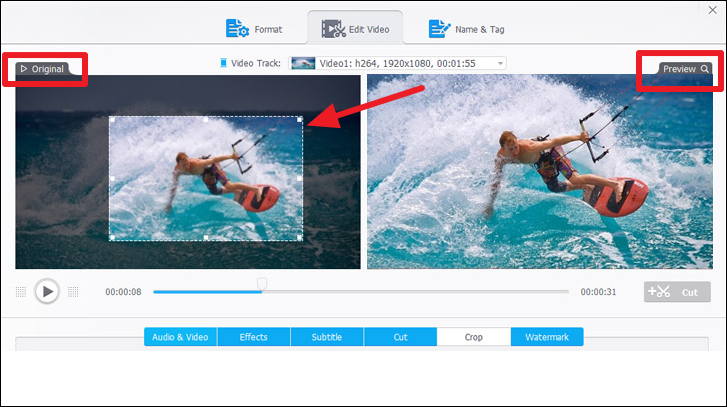
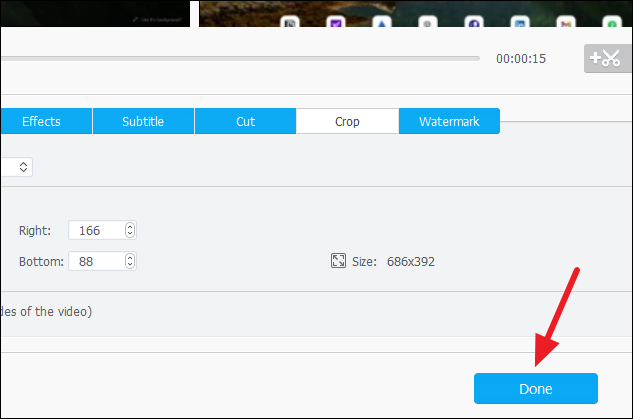
Drag the corners of the crop box on the Original preview to select the area of the video you want to keep. The Preview window will show how the cropped video will look.
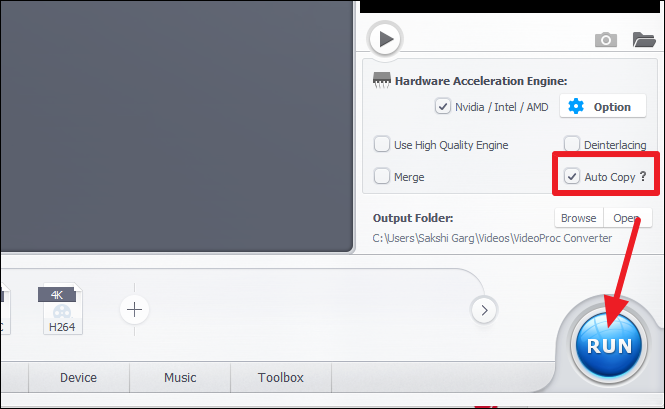
Check the Auto Copy option to retain the original video and audio quality. Then click on Run to process and export the cropped video.
Trimming or cropping videos on Windows 11 is straightforward with the right tools at your disposal. Whether you use the built-in apps or third-party software, you can easily edit your videos to perfection.