Turn off background apps if you are facing extensive resource usage or excessive battery drain on your Windows 11 computer.
Turn off background apps if you are facing extensive resource usage or excessive battery drain on your Windows 11 computer.
by Parth Sawhney
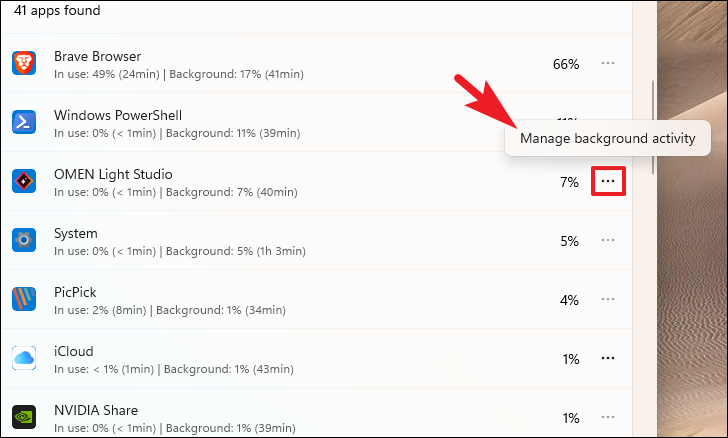
Background apps in Windows 11 can consume valuable system resources and drain battery life, especially on laptops. Even after closing an app, it might continue running in the background to perform tasks like fetching data or sending information. Fortunately, Windows 11 offers several methods to manage and disable these background apps to enhance performance and extend battery life.
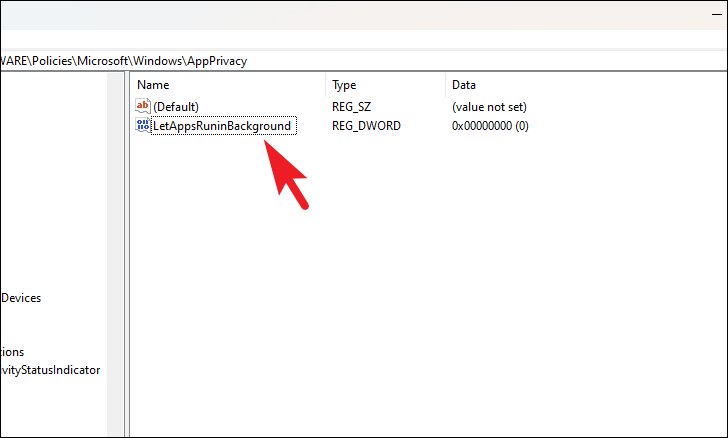
1. Use Registry Editor to Disable Background Apps for All Users
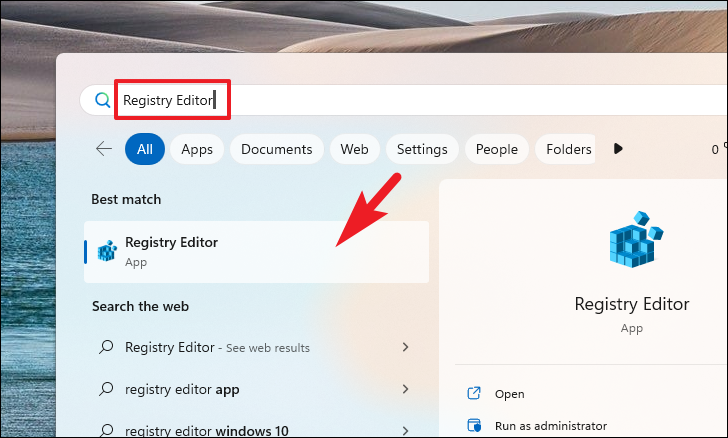
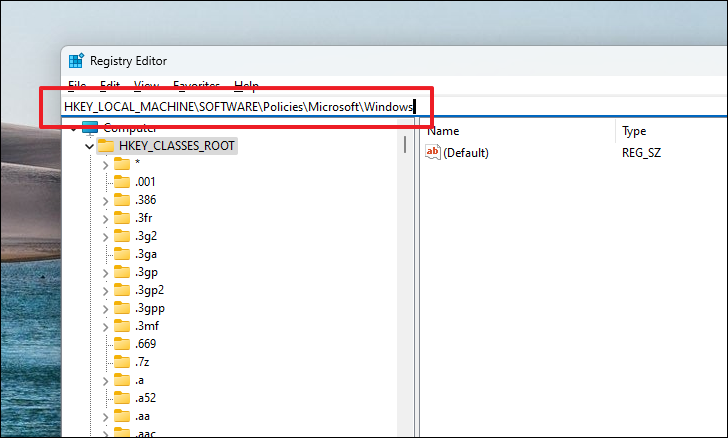
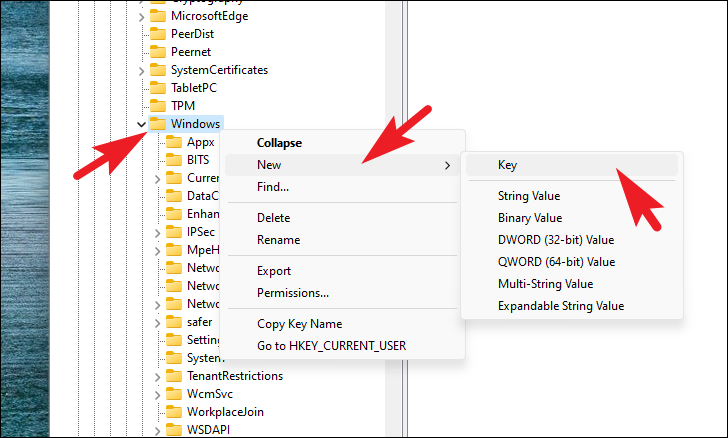
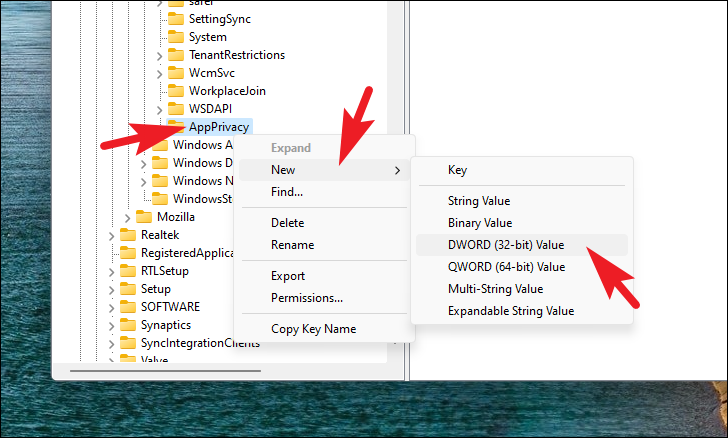
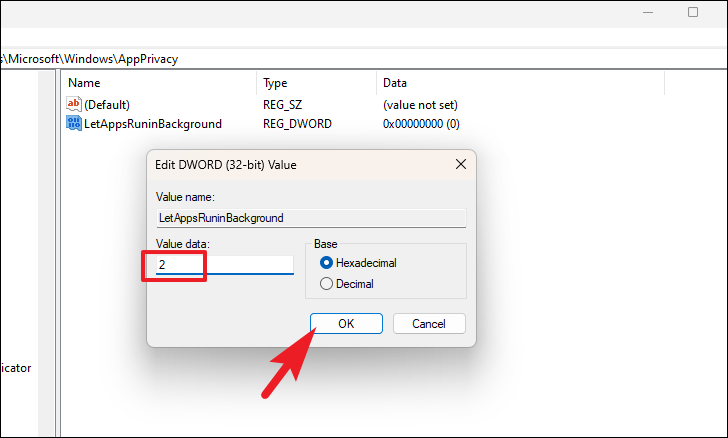
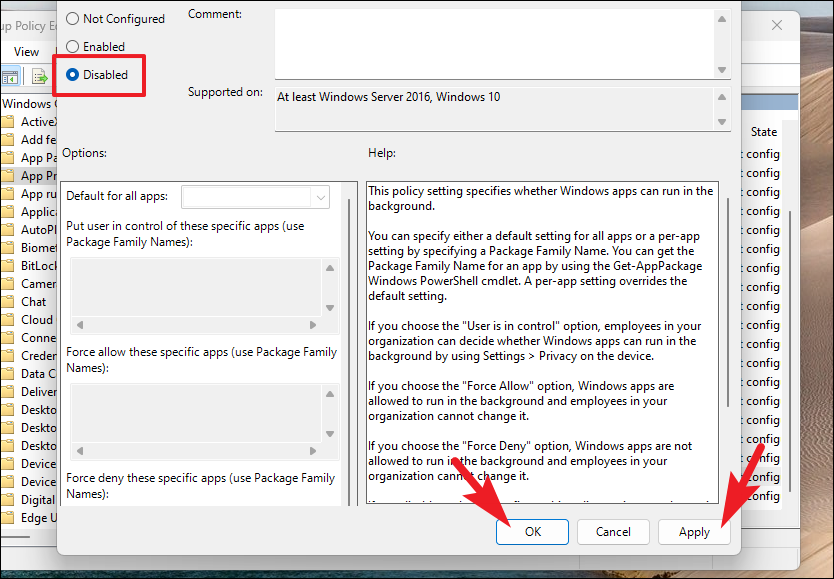
To prevent all apps from running in the background for every user on your computer, you can modify a setting in the Registry Editor.
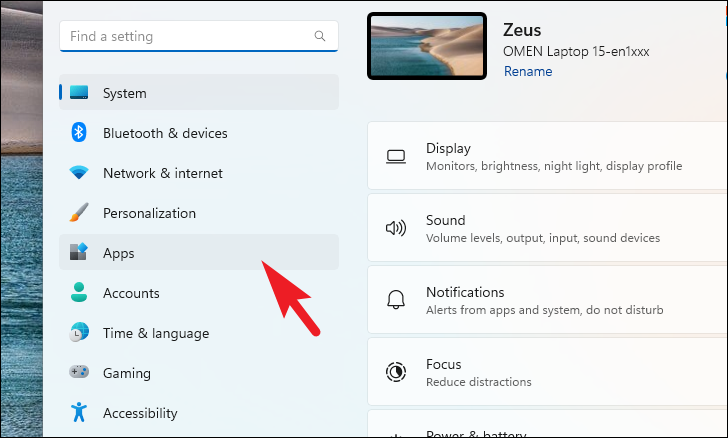
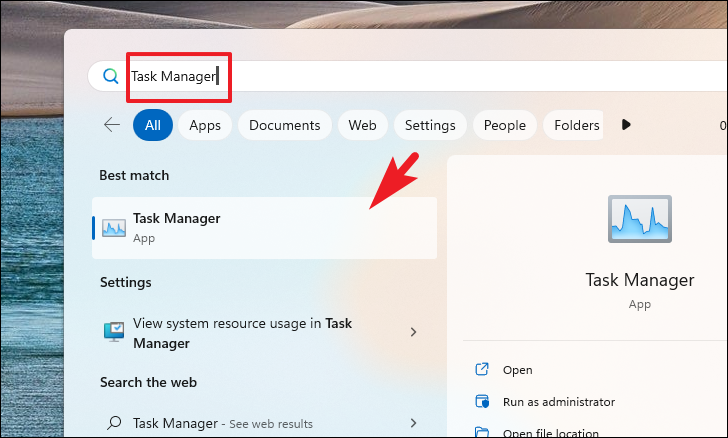
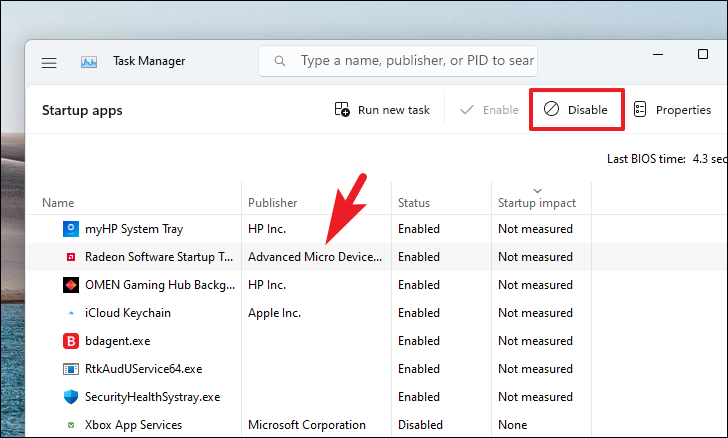
Some apps automatically launch when you sign in and continue running in the background. Disabling unnecessary startup apps can free up system resources.
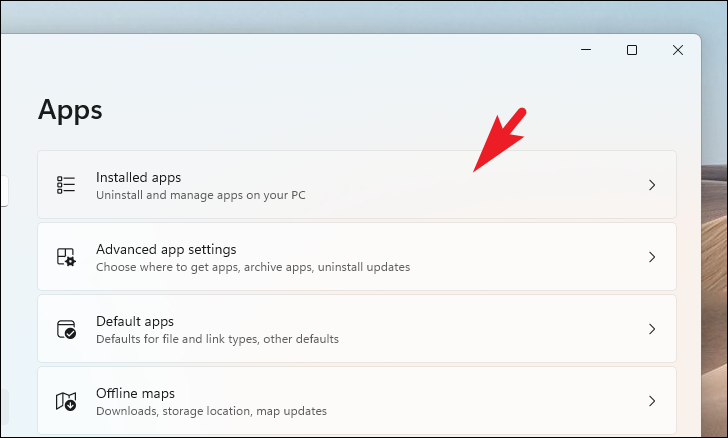
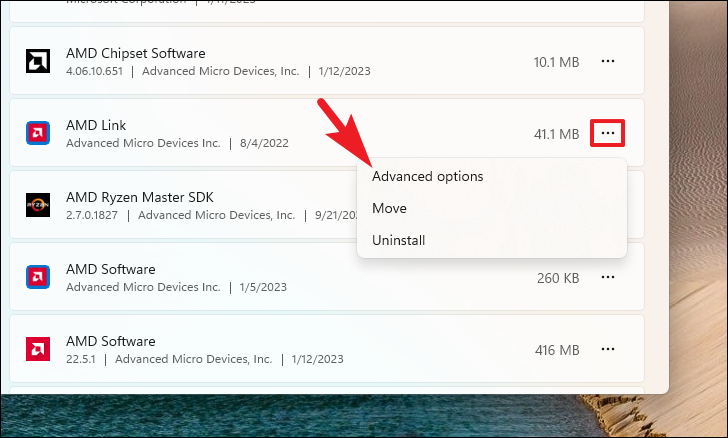
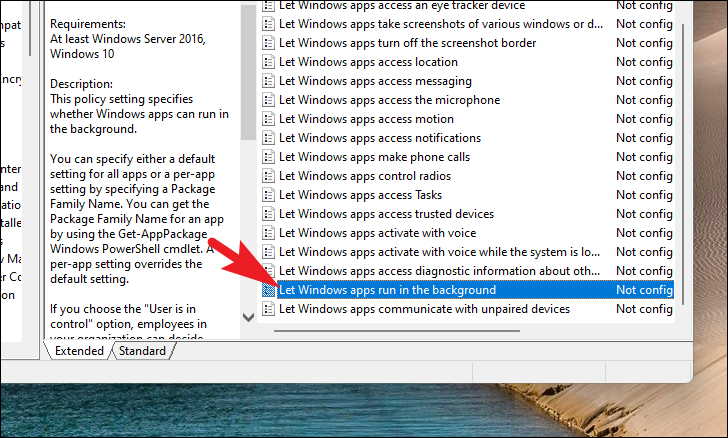
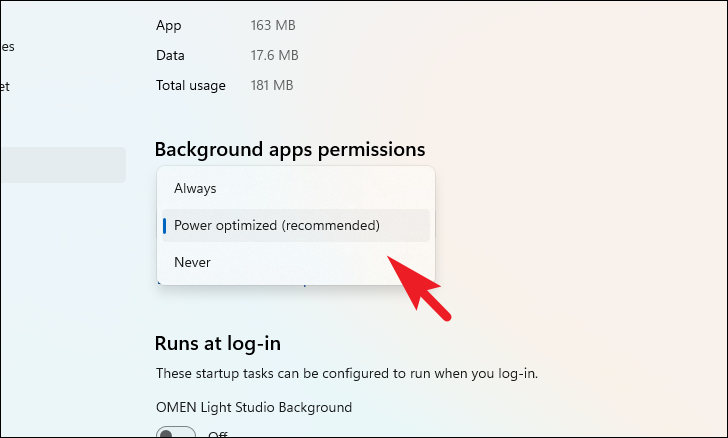
Under ‘Background apps permissions’, choose ‘Never’ from the dropdown menu to stop the app from running in the background.
By implementing these methods, you can effectively manage background apps in Windows 11, enhancing your system’s performance and extending battery life.