Notifications are a great way to stay up-to-date with everything that’s happening on your system. It could be notifications from applications or notifications directly from your device. These little alerts help you stay informed about your device’s overall health. However, when notifications keep coming in, they pile up and can cause clutter. Constant notifications can also be an annoyance especially if they are regular. Turning off notifications is the best way forward in such situations. They’re not disabled but merely switched off for the time being. Which can last however long the user wants it to.
With these easy steps, you can turn off notifications on Windows 11 and free yourself from the clutches of persistent notifications.
Turning Off All Notifications on Windows 11
Begin the process by clicking on the ‘Start’ button and thereafter the ‘Settings’ icon that shows on the Start menu.

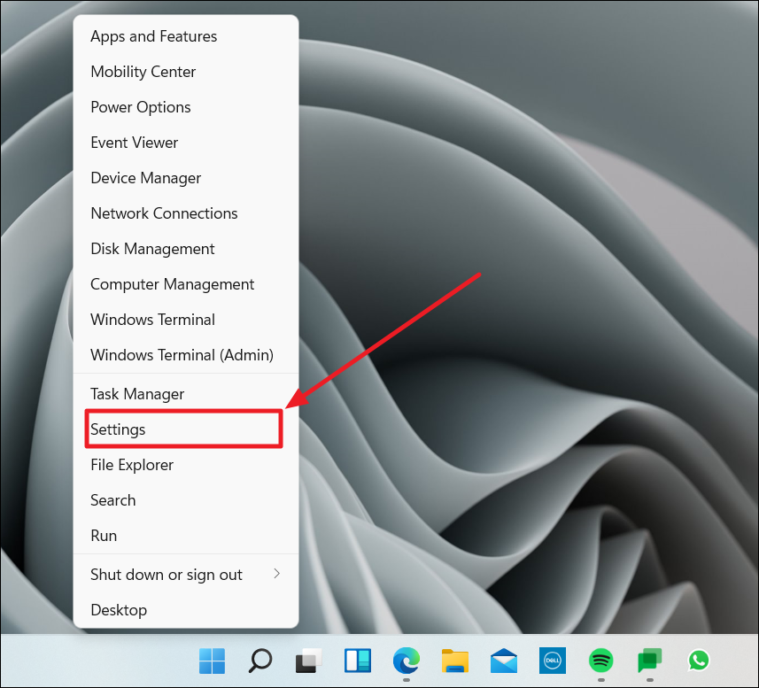
You can also reach the ‘Settings’ page by right-clicking the Windows or ‘Start’ button and choosing ‘Settings’ from the pop-up.
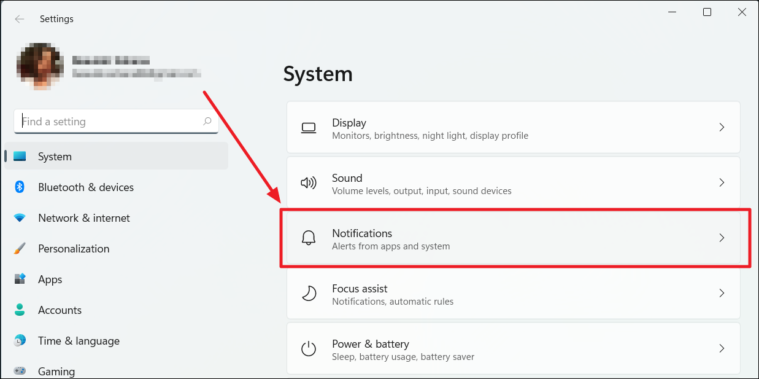
The ‘Settings’ would open to the ‘System Settings’ page by default. Remain on this page and look to the right section of the same. You will see the ‘Notifications’ option. Click it.
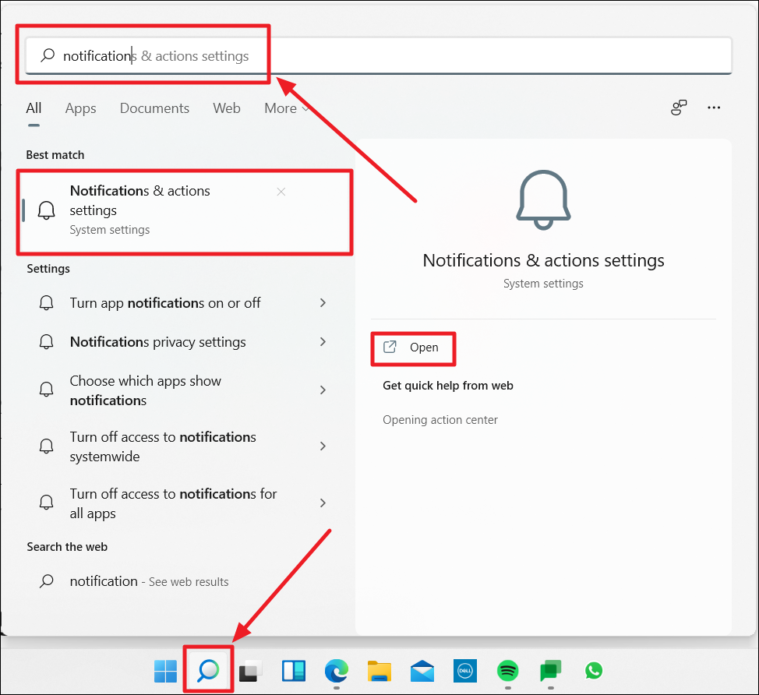
Alternatively, click on the magnifying glass icon or the ‘Search’ icon in the taskbar and type ‘notification’ in the ‘Search bar’. You can click on the ‘Notifications and actions settings’ under the ‘Best Match’ section on the left or the ‘Open’ option below the ‘Notification and actions settings’ icon on the right to reach the System Notifications settings page.
On the Notifications settings page, click on the toggle bar in the ‘Notification’ option to turn off notifications. It will be the first option on the page. The toggle must show ‘OFF’.
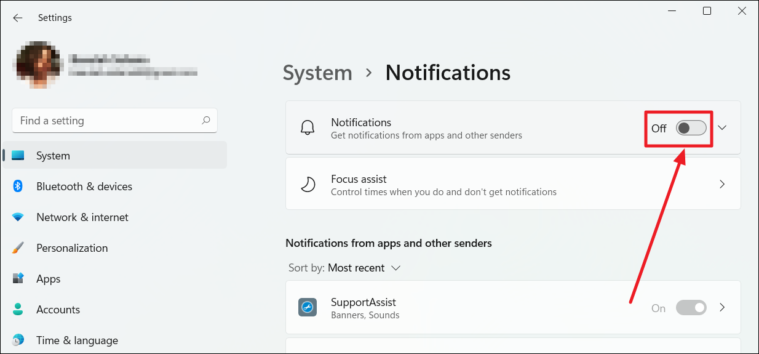
All notifications will now be turned off.
Turning Off Notifications for Select Applications on Windows 11
If you don’t wish for all your app notifications to be turned off, you can choose the notifications you don’t want to see. This way, you can continue actively receiving notifications from other applications. For this, ensure the ‘Notifications’ at the top of the System Notifications page is switched ON.
On the Notifications settings page, scroll down to find ‘Notifications from apps and other senders’. Here, you can deselect the apps and senders you do not want to receive notifications from. Click the toggle bar of those apps/senders such that it turns to ‘OFF’ from ‘ON’.
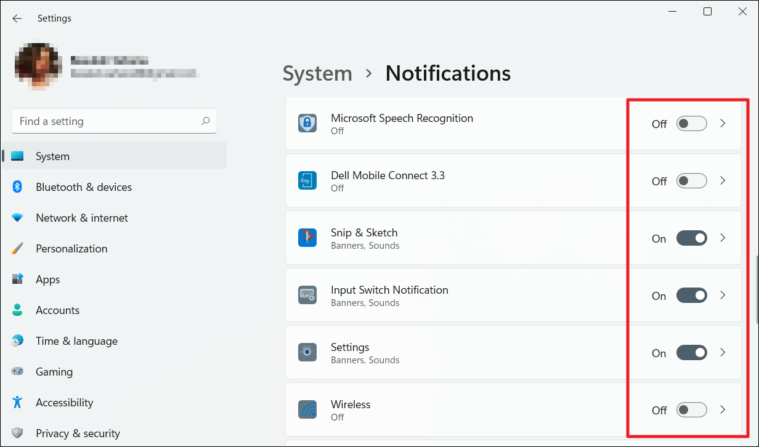
You will no longer receive notifications from the deselected applications and senders.


