


Stone Breathing is the heaviest style in Project Slayers 2, and it is the only one that refuses to teach you anything until you are already carrying its weapon. The trainer sits on a plateau you cannot reach on foot, the Axe and Mace comes from a respawning NPC with a stingy drop rate, and the training itself is six separate tasks rather than a single fee. The Gyomei Himejima look on top of it — the clan, the haori, the prayer beads — is a much longer grind that starts only after the style is already on your keybinds.
Quick answer: Hit level 25, take the Axe and Mace from the Stone Trainee at Stone Sanctuary, bring Stone Trainer Gyorei 5 Beast Cores, then clear all six training trials.
Stone Breathing requirements in Slayers 2
Sort all four of these before you set off. The walk to Stone Sanctuary is long, there is no shortcut back, and Gyorei will simply refuse the conversation if something is missing.
- Level 25, the same milestone every Breathing style uses right now.
- Wall Climb from your skill tree, because the sanctuary entrance is a vertical rock face.
- The Stone Trainee at the plateau’s summit drops the Axe and Mace.
- Defeat Beast Born Demons to obtain 5 Beast Cores.
The material count has appeared as four in some runs and five in others, and Gyorei also shows up under the name Kore in dialogue. Trust the number printed on your own quest prompt, and farm five so you are never short.
Stone Trainer Gyorei location: route to Stone Sanctuary
Stone Sanctuary sits on a raised plateau at the end of a cliffside trail in the mountain region. The approach below starts from Windy Farm, but anyone spawning at Bamboo Grove can join it at Step 2.
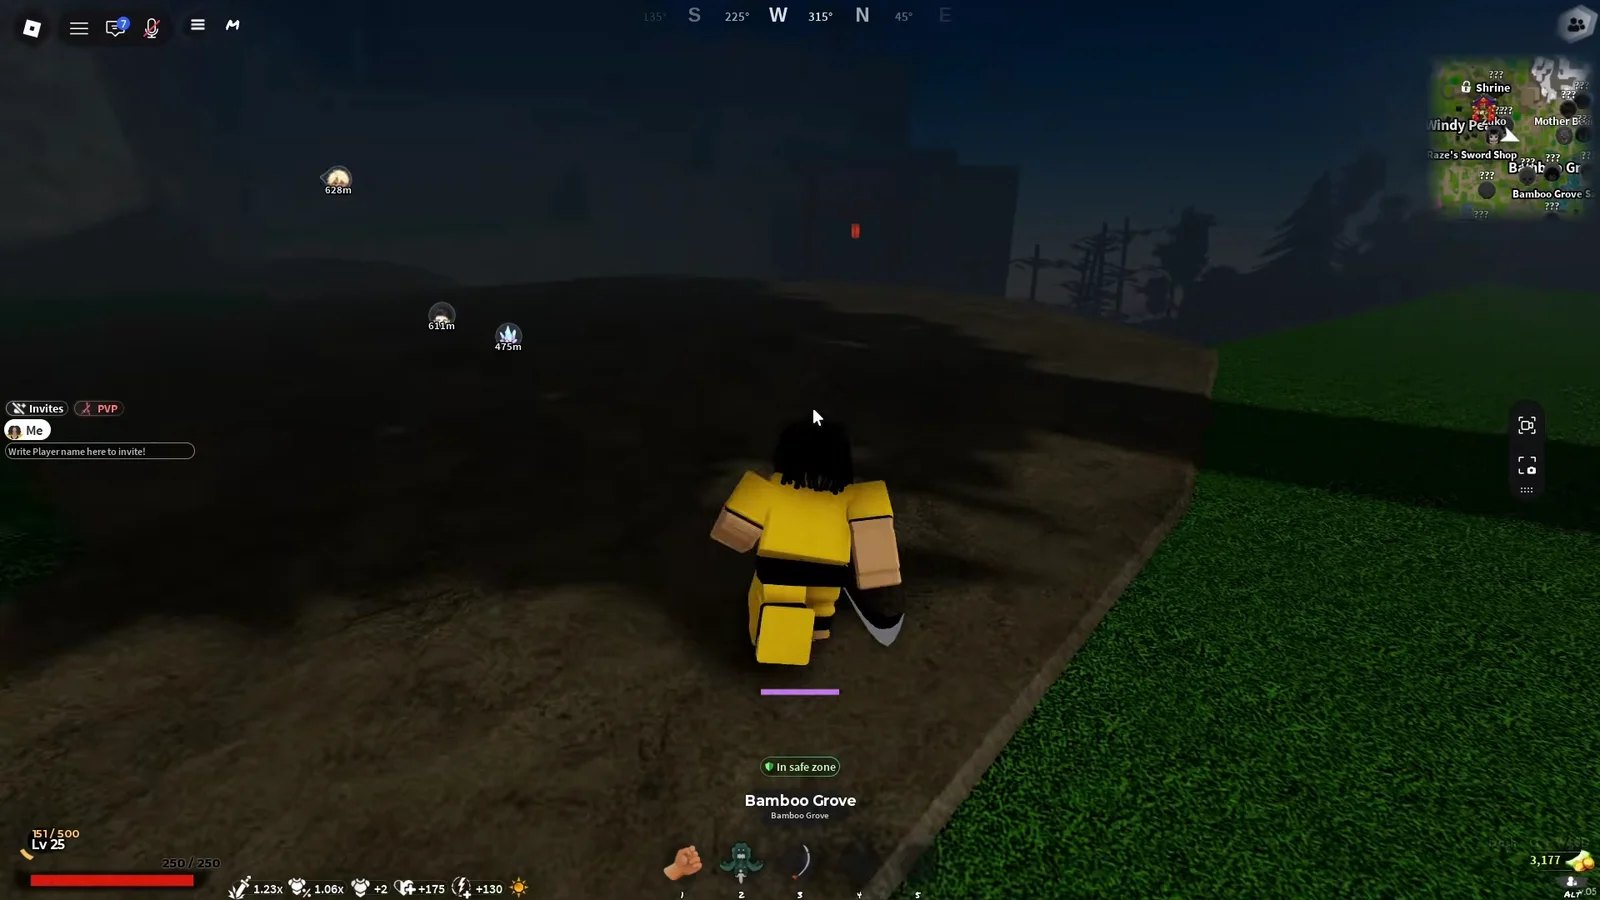
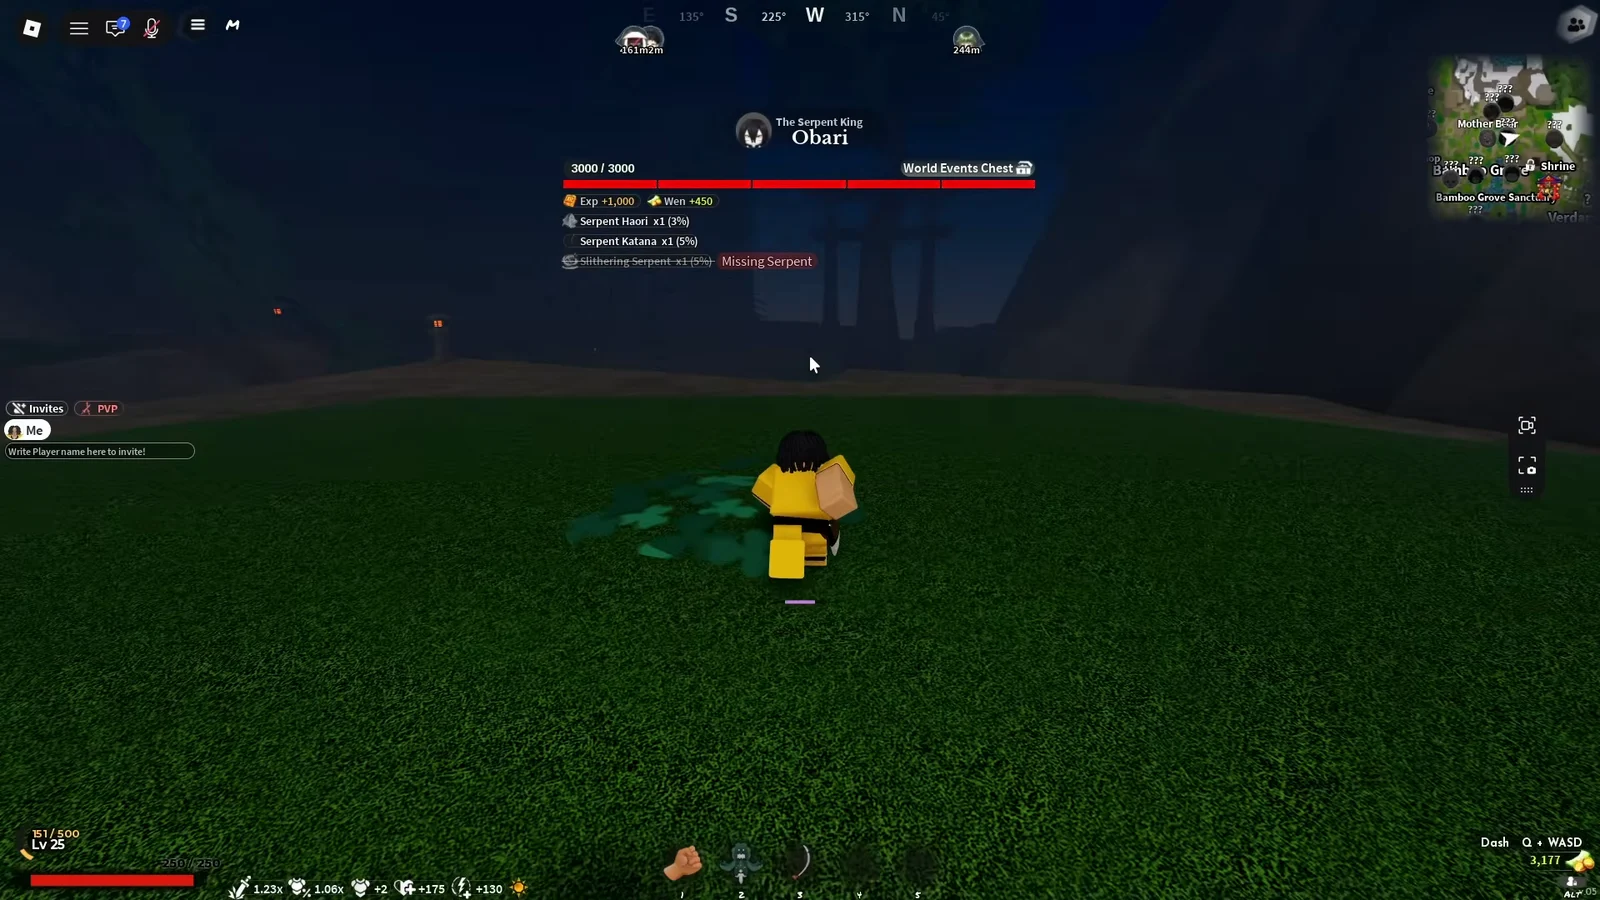
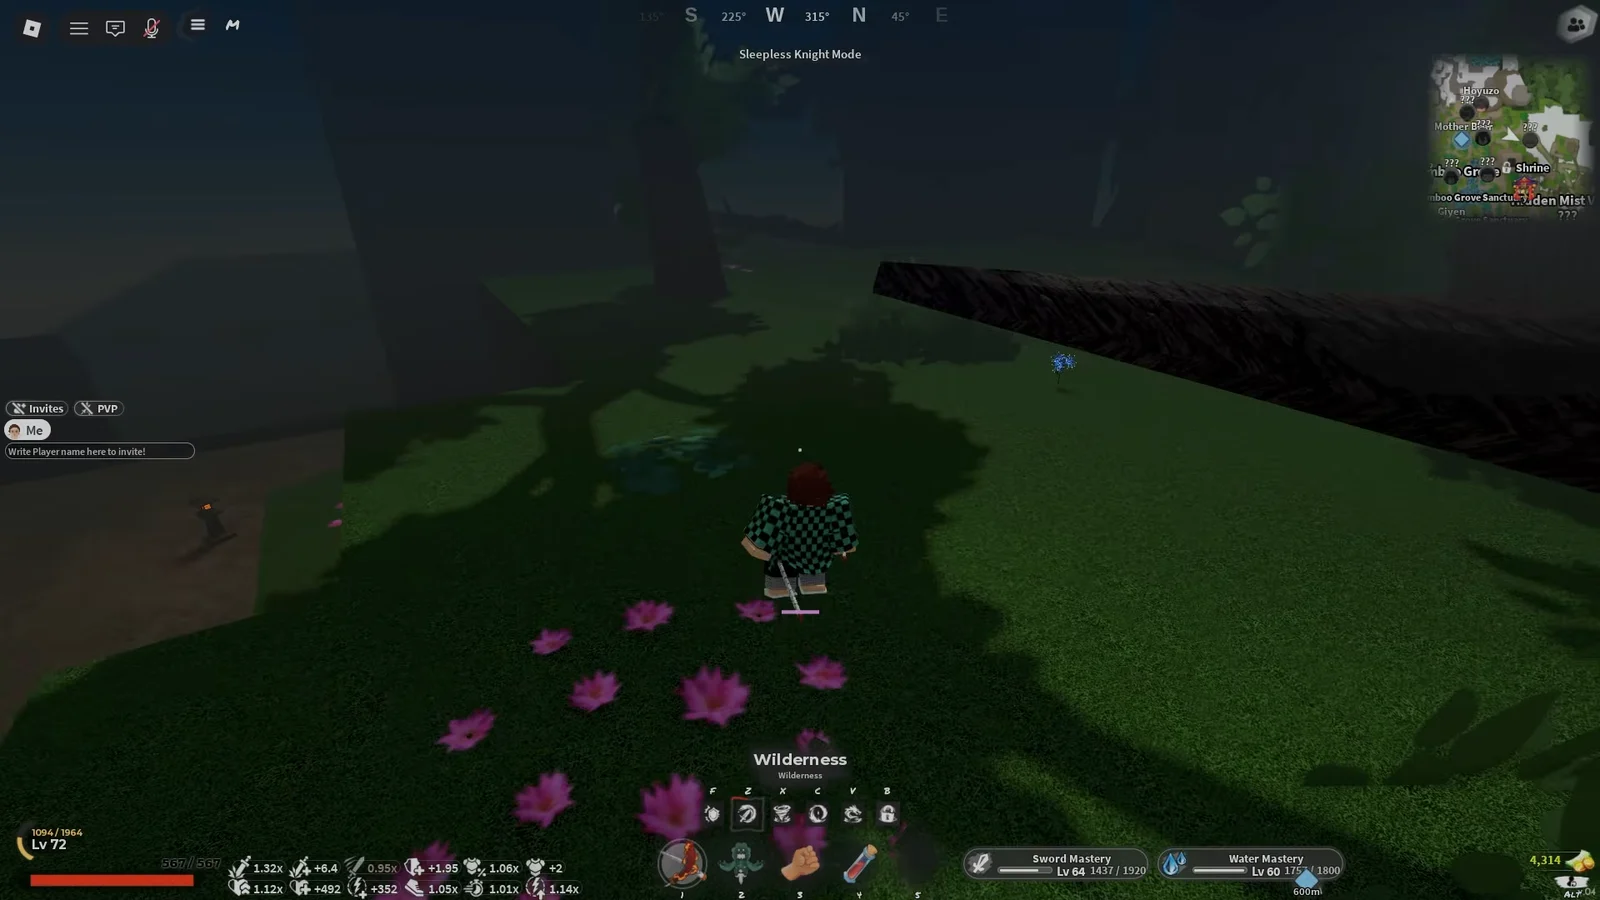
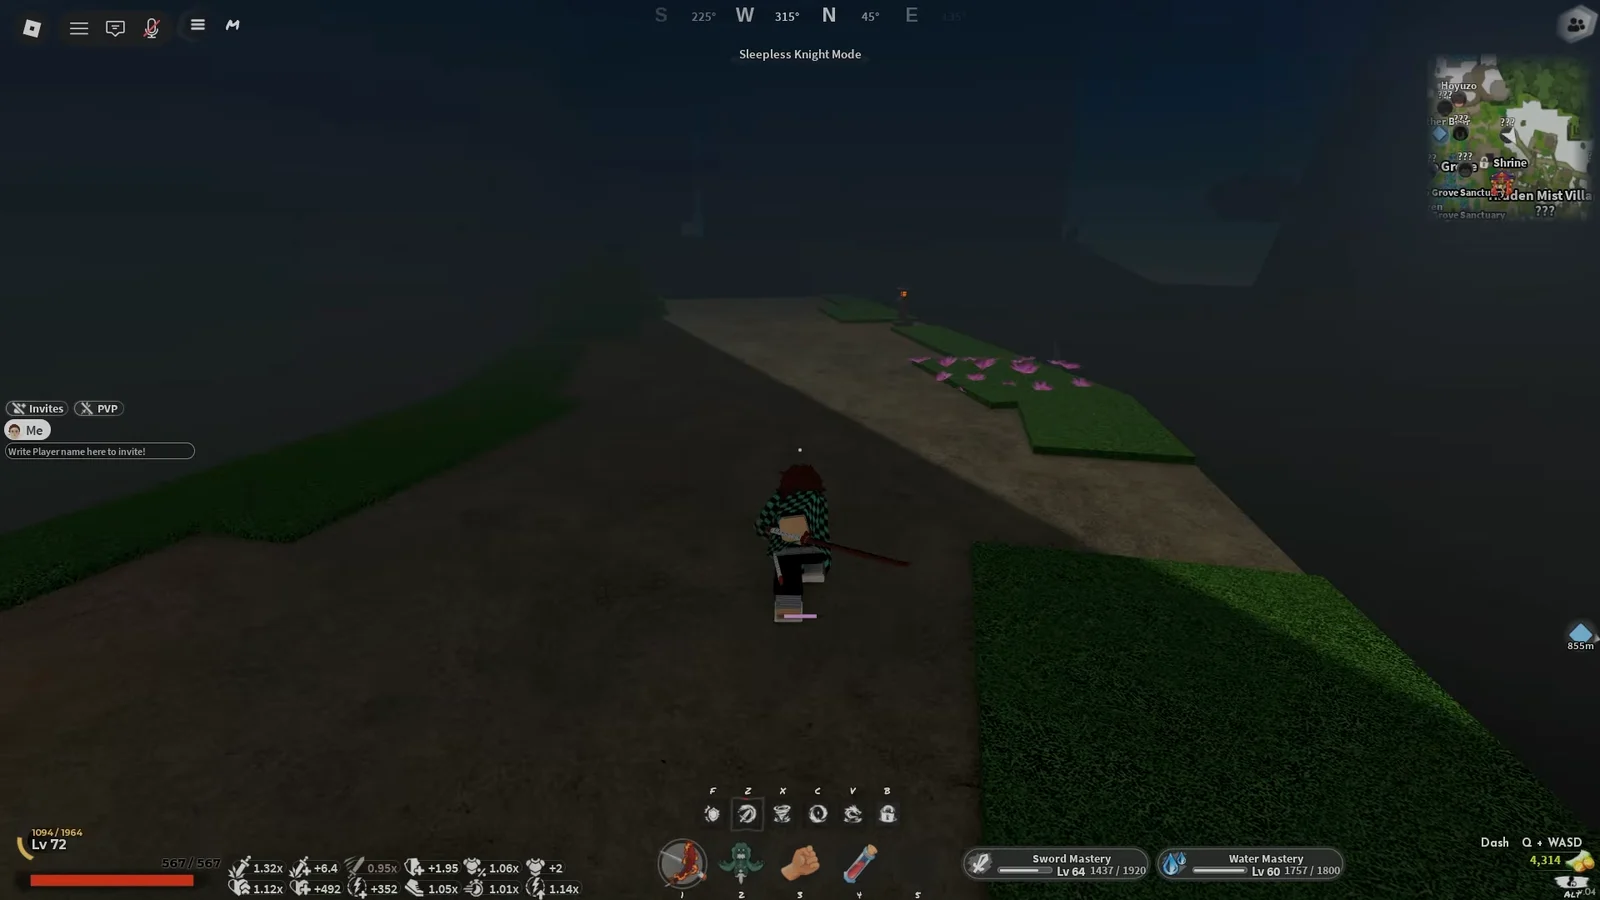
The Gyorei World Boss beneath the torii gate is not the trainer. It is listed at level 3000 and will flatten anyone who arrives at the level 25 requirement, so do not attack it while farming nearby.
When the trainer seems missing, zoom out and walk around the building before deciding he did not spawn — the wall can conceal him from the normal camera view. In the less common case of an incomplete area load, rejoin the server.
How to get the Axe and Mace from the Stone Trainee
The weapon is the real gate. Gyorei will not move past his opening line while your hands are empty, and the Axe and Mace only comes from the Stone Trainee standing on the grassy hill a short dash from him. Clear the trainee before you talk to the trainer so you are not climbing the cliff twice.
| Detail | Value |
|---|---|
| Source | Stone Trainee, Stone Sanctuary |
| Drop chance | 7% |
| Trainee health | Around 600 HP |
| Inventory tab | Uncategorized / miscellaneous weapons |
The battle is easy at about 600 HP, yet the 7% drop rate makes repeated clears expected, not a sign of unusual bad luck. Defeat the trainee, loot the chest it leaves, and reset for another run. It may drop on attempt two, or only after a much longer grind.
When it finally lands, it will not sit with your katana. Open your inventory, find it under Uncategorized Weapons, and equip it there. It is oversized enough to drag along the ground on every sprint and swing, and it has its own M1 chain, so get a feel for the timing before heading back.
Refiner Hagane at Hidden Mist Village can improve the Axe and Mace. Raising it to about level 6 makes the training battles and later boss runs shorter.
Where to farm Beast Cores
With the weapon equipped, speak to Gyorei again and he hands over the Beast Core request. Cores drop from Beast Born Demons, and the mobs along the foggy path around Mistfall Harbor are the convenient farm because they spawn in groups. The drop is random, so plenty of kills will give you nothing.
These enemies deal more damage than the trainee, and you still lack a breathing style, so maintain distance and defeat them individually instead of aggroing a group. Hand over the cores, and the tracker changes to Stone Breathing Training (0/6).
All six Stone Breathing training trials
The six trials are individual objectives that proceed in sequence, with almost no need to retrace your route. A failed trial only uses that attempt; it does not cause any permanent loss.
| # | Trial | Where | What you do |
|---|---|---|---|
| 1 | Meditation | Training house mat | Slider balance minigame |
| 2 | Pushups | Training house mat | Circle click timing |
| 3 | Boulder Push | Wilderness trail | Steer the boulder to the end point |
| 4 | Boulder Split | Strapped boulder | Hit the meter marks in 30 seconds |
| 5 | Parkour Dungeon | Dungeon instance | Wall-jump and pull every lever in time |
| 6 | Stone Trainee | Stone Sanctuary | Defeat the miniboss |
Of the two indoor minigames, Meditation requires more care because its prompts may appear tiny and be overlooked. Read the instructions rather than rapidly pressing buttons. Pushups follows the same concept but allows more timing leeway. Boulder Push is simple but lengthy: remain on the marked course and continue pushing in the proper direction until the boulder arrives at the finish.
For Boulder Split, you need the Axe and Mace equipped. Re-equip them if you changed weapons, since otherwise the attack prompts will fail to register; then complete the inputs to smash the boulder.
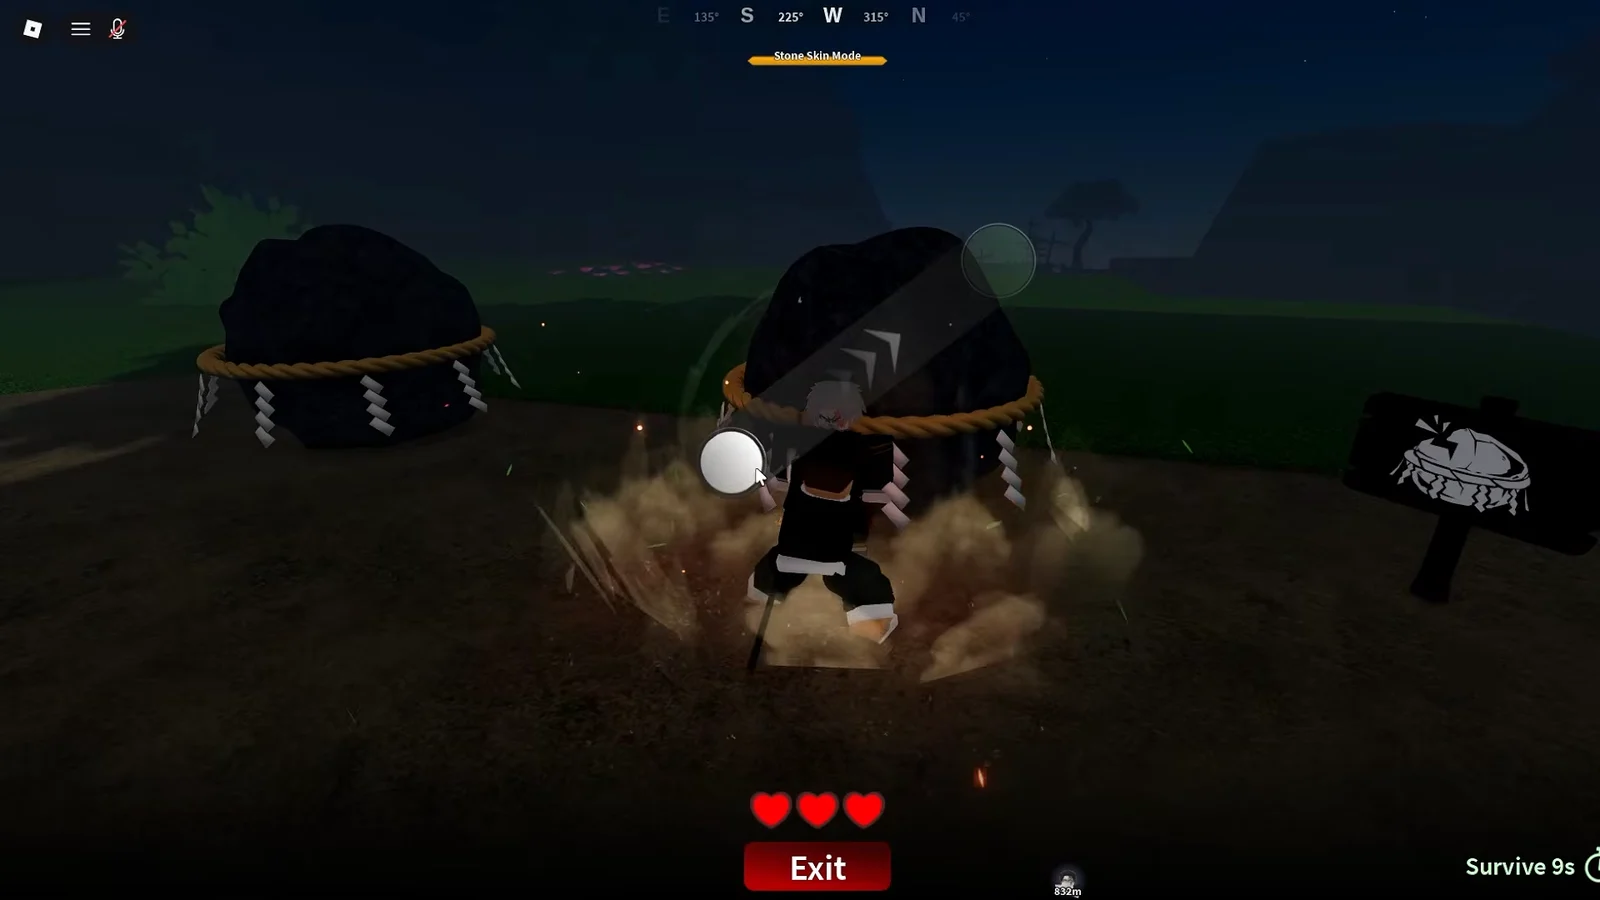
Parkour Dungeon tips
Most players get stopped by this trial. Its six-minute timer covers several sections, with levers controlling access to the next platform. Expect wall jumps, pillar-to-pillar double-jump gaps, and spike floors; the double jump’s four-second cooldown often determines whether an opposing-side gap is cleared or missed.
- At each section, head first toward whichever side contains the lever.
- Touch the blue flag at each new section to bank your progress.
- Plan the full route before you jump in the three-lever section.
- Use the double jump to get across to the far side, saving it for crossings that cannot be handled with a regular jump.
Once the final lever is activated, make it to the finish to clear the dungeon. Trial six returns you to the Stone Trainee with the Axe and Mace equipped already, so the fight is merely a formality after the parkour course.
How to confirm Stone Breathing is unlocked
Defeating the Stone Trainee advances the tracker to 6/6, finishes the unlock, and awards the Sweet Dreams Eye Mask cosmetic. Verify it in the skill tree: the Stone branch should be active instead of greyed out, and Volcanic Conquest should appear as a node costing 3 skill points. If the branch remains locked, one objective failed to register.
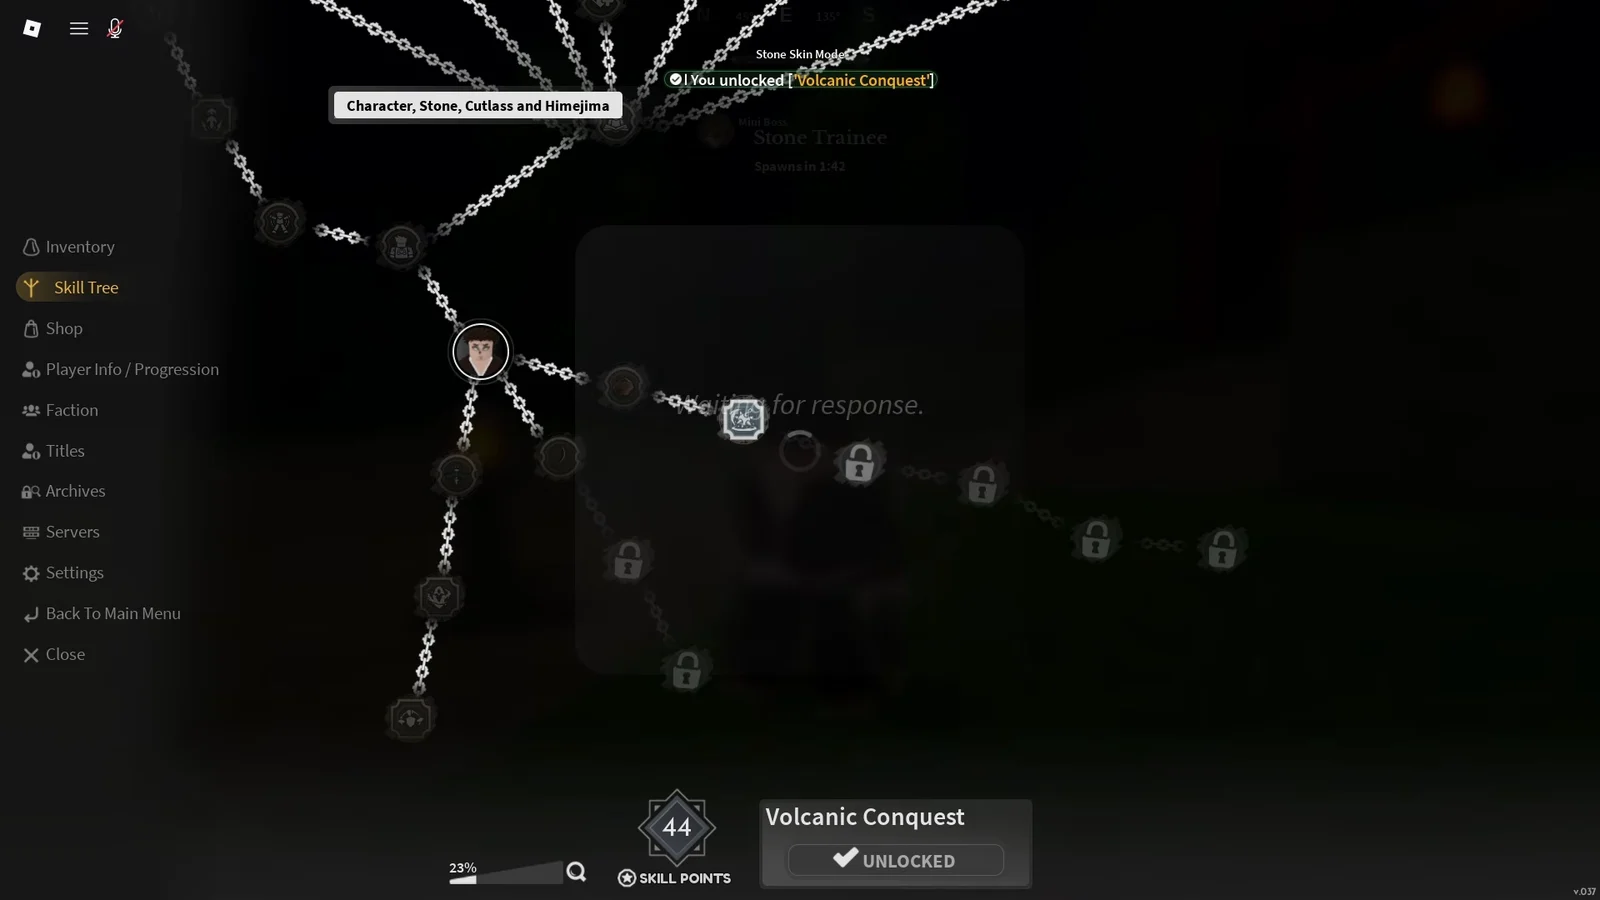
Stone Breathing moves, mastery levels, and skill point costs
The style unlock grants only its opening move. The remaining abilities require Stone mastery, earned by fighting while the style is equipped, and their nodes also demand skill points.
| Move | Skill points | Requirement |
|---|---|---|
| Volcanic Conquest | 3 | Available immediately |
| Seismic Burst | 6 | Mastery 14 |
| Upper Smash | 9 | Mastery 27 |
| Stone Wall | 12 | Mastery 40 |
| Arcs of Justice | — | Scroll drop, around Mastery 53 |
Volcanic Conquest is a long-distance smash that is effective for closing space. Seismic Burst delivers one powerful knockdown hit, with a held input extending its reach noticeably. Upper Smash strikes around your position. Stone Wall provides cover and becomes an attack when broken forward; holding it catches an enemy before the hit, making it the style’s nearest equivalent to a dependable close-range opener.
Building mastery takes the most time. Snow-region demons near the campfire provide consistent mastery, while the shop’s 2x Mastery boost substantially shortens the climb to Stone Wall. The style gives up mobility for heavier attacks, making positioning especially important compared with quicker breathings — demons may trap you in extended M1 combos while you are getting back up from the ground.
Gyomei’s mythic drops: Stone Haori, Stone Slayer Uniform, Stone Necklace, and Arcs of Justice
None of the Gyomei cosmetics come out of Gyorei’s training quest. They come from the Stone boss reward chests, and the same chest can hand over two or three pieces on a good run while giving you nothing for a dozen bad ones.
- Arcs of Justice — the ultimate scroll, with a dedicated node in the Stone skill tree.
- Stone Haori — the Gyomei outfit’s outer garment.
- Stone Slayer Uniform — the corresponding uniform item.
- Stone Necklace — the prayer beads and the set’s rarest item.
Arcs of Justice makes the entire grind worthwhile. It drives the target into the ground, follows with a lengthy chain of axe and flail blows, and ends in a powerful swing; no other part of the style offers a larger damage window. Use it on boss health bars instead of wasting it on ordinary mobs.
Buy Health Regen Elixirs from Alchemist Meku and get a Luck boost before attempting the boss repeatedly. Luck influences the reward chest’s contents, and the necklace especially may require a large number of runs.
Himejima clan perks and the Gyomei look
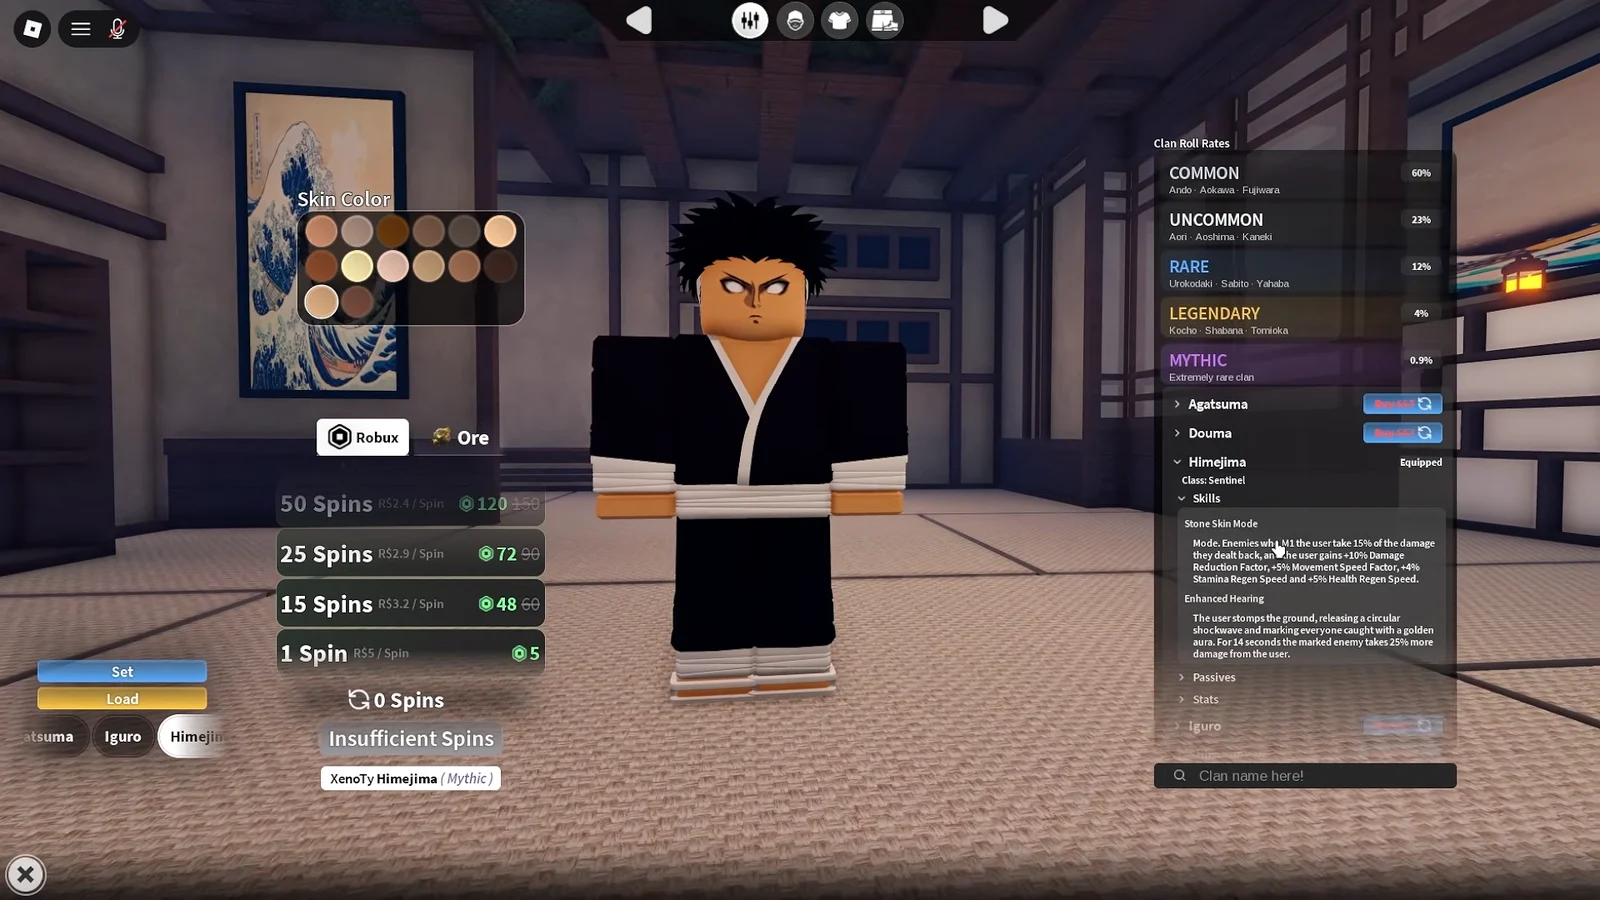
Stone Breathing is compatible with every clan, though Himejima fits the theme and belongs to the Mythic clan-roll tier, making it potentially a lengthy spin hunt. You may buy spins instead of farming them, and once the clan appears, you can save it to a slot.
Stone Skin Mode is the headline ability and it is a defensive toggle. Enemies who M1 you take 15% of their own damage back, and you gain 10% damage reduction, a 5% movement speed increase, 4% stamina regeneration, and 5% health regeneration while it is up. Enhanced Hearing is the other active — a ground stomp that sends out a shockwave and marks everything it catches with a golden aura for 14 seconds, and marked enemies take 25% more damage from you. Opening a boss fight with Enhanced Hearing and then Stone Skin Mode is the standard sequence.
The passives round it out. Pain Resistance stops you being slowed at low health, Tactical Intellect adds a 25% quest XP factor on repetitive actions, and skill damage is stored as a temporary M1 bonus — every 100 skill damage grants three extra M1 damage stacks that fade after eight to ten seconds.
For the look itself, character customization does most of the work before any drops land. A shaved head, a scarred face, the closed eyes, the slayer uniform, and sandals get you recognisably there, and the haori and beads finish it later.
For the style alone, the route has few distractions: reach level 25, keep farming the trainee until the Axe and Mace drops, give Gyorei his Beast Cores, and complete the six trials. The clan roll and mythic chest items take much longer, but Stone Breathing can remain equipped while you work on both and gain mastery at the same time.





