3 ways to manually update the Audio Drivers on your Windows 11 system
3 ways to manually update the Audio Drivers on your Windows 11 system
by Parth Sawhney
Keeping your audio drivers up to date is crucial for ensuring the best sound quality and functionality on your Windows 11 computer. Outdated or corrupted drivers can lead to various audio issues, including loss of sound output or problems with microphone input. Here are several methods to update your audio drivers and maintain a seamless audio experience.
Update Audio Driver Using the Device Manager
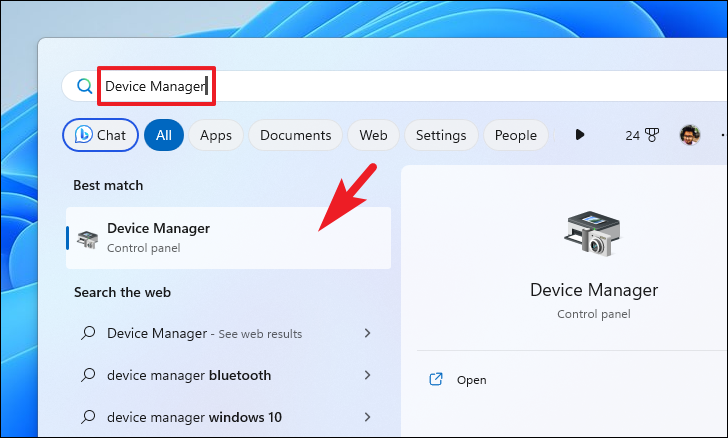
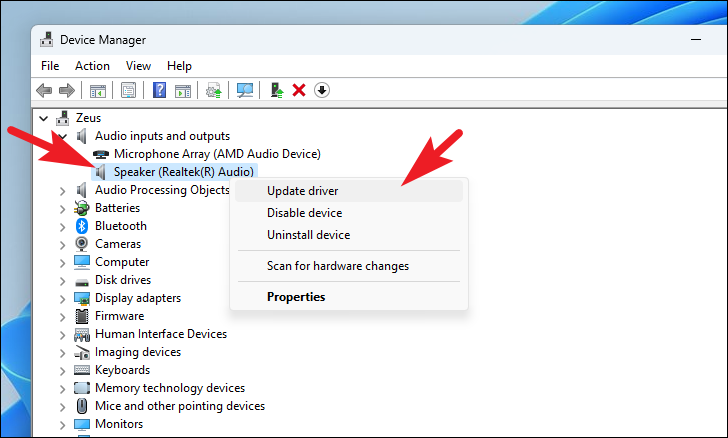
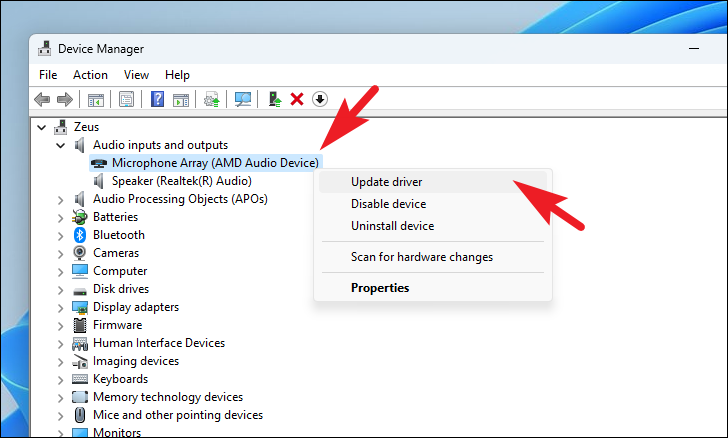
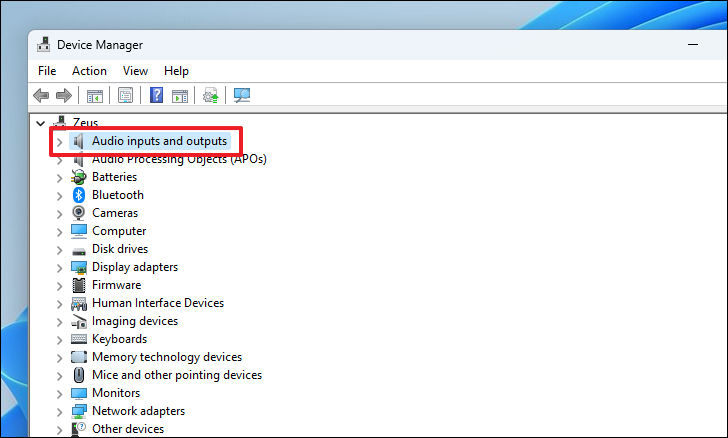
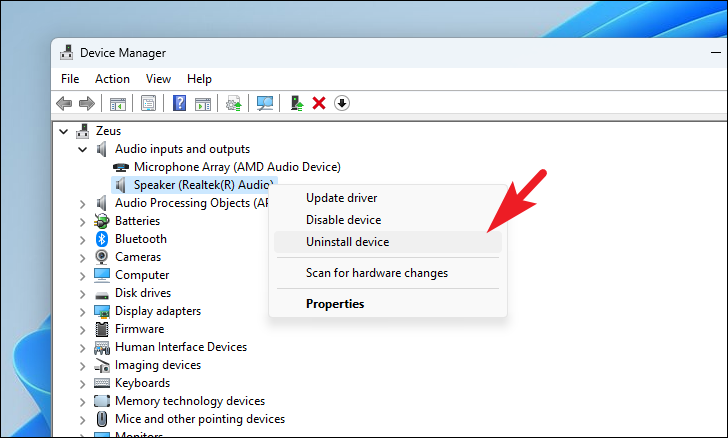
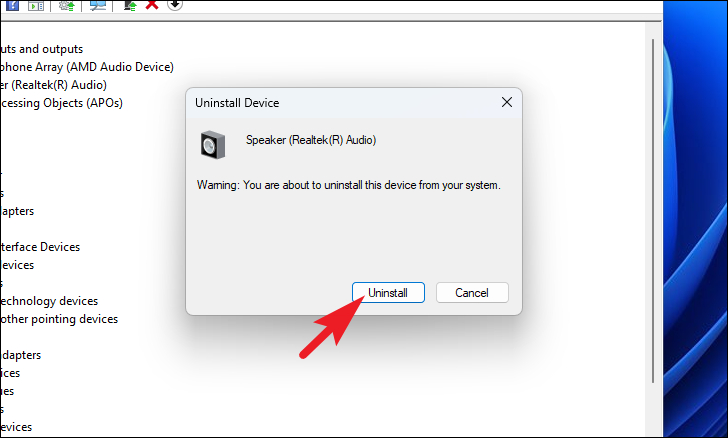
An effective way to update your audio drivers is through the Device Manager, which allows you to manage hardware devices and their drivers.
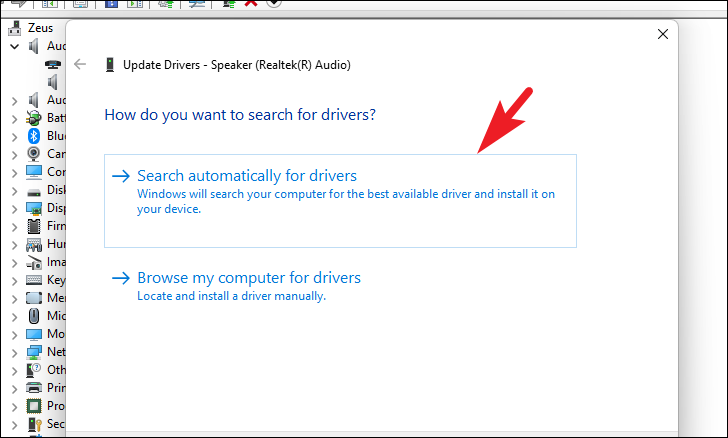
In the window that appears, choose Search automatically for drivers to allow Windows to find and install the latest driver. Alternatively, if you have downloaded the driver manually, select Browse my computer for drivers and navigate to the driver file.
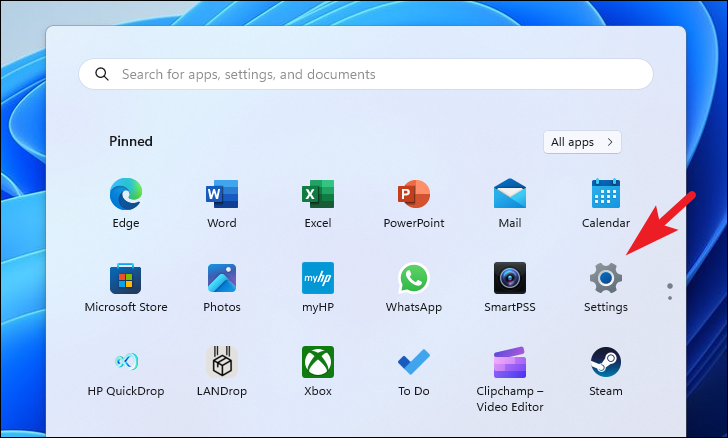
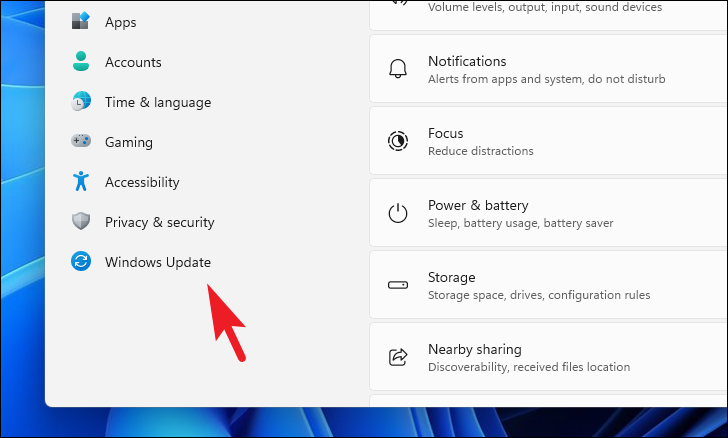
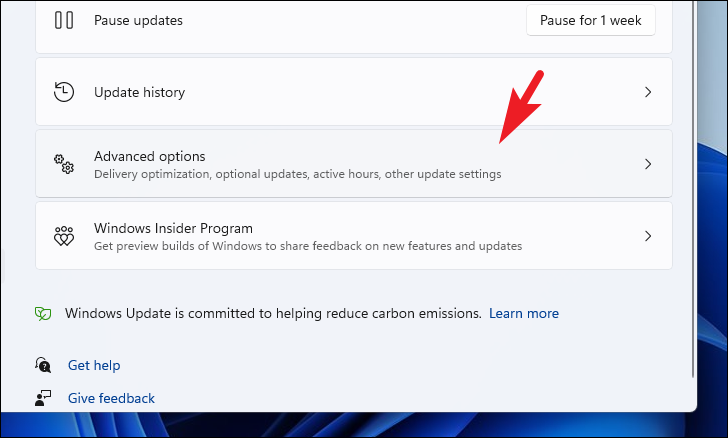
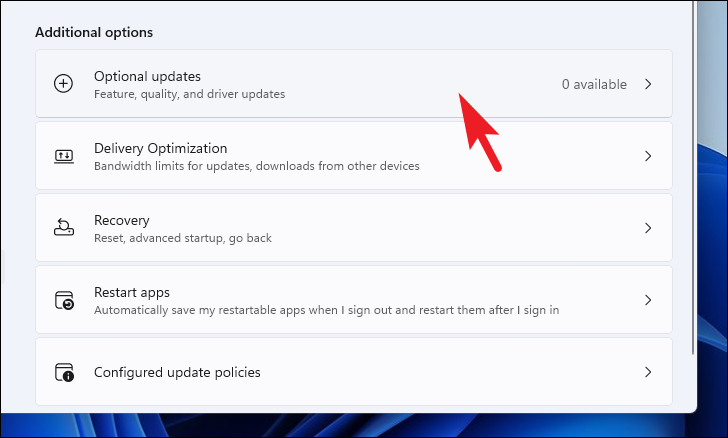
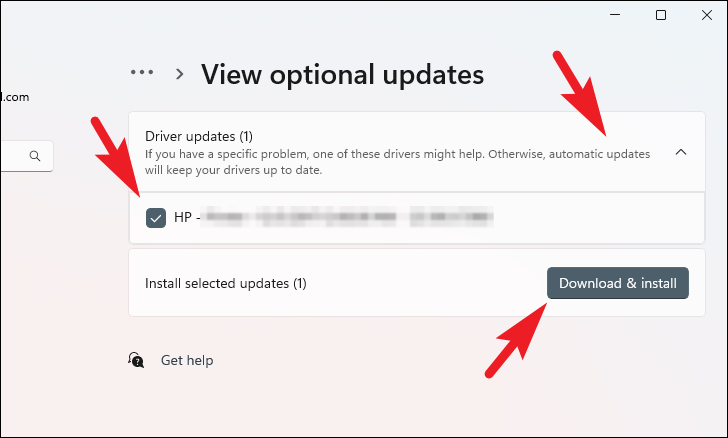
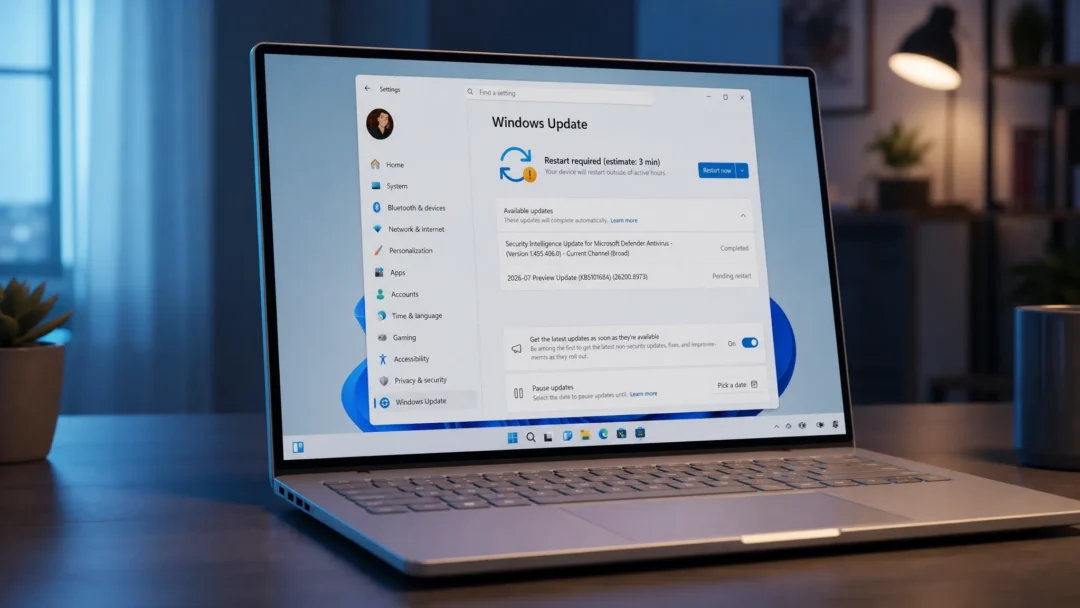
After rebooting, to ensure you have the latest driver, go to Settings > Windows Update > Advanced options > Optional updates, and install any available audio driver updates.
By keeping your audio drivers updated using these methods, you can prevent audio issues and ensure optimal sound performance on your Windows 11 system.