Windows Subsystem for Android (WSA) enables you to run Android apps seamlessly on your Windows 11 PC. Keeping WSA updated is essential for optimal performance and compatibility with Android applications. Here are some methods to ensure your WSA is always up to date.
Turn on automatic updates for WSA in Microsoft Store
Enabling automatic updates in the Microsoft Store ensures that WSA and other apps are updated automatically whenever new versions are available.
To enable automatic updates:
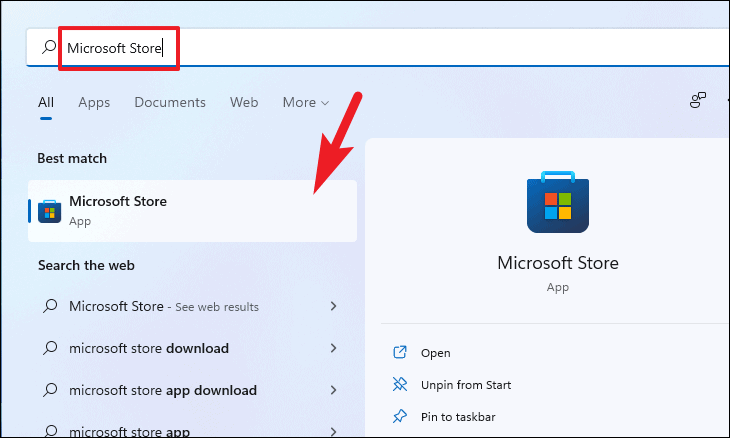
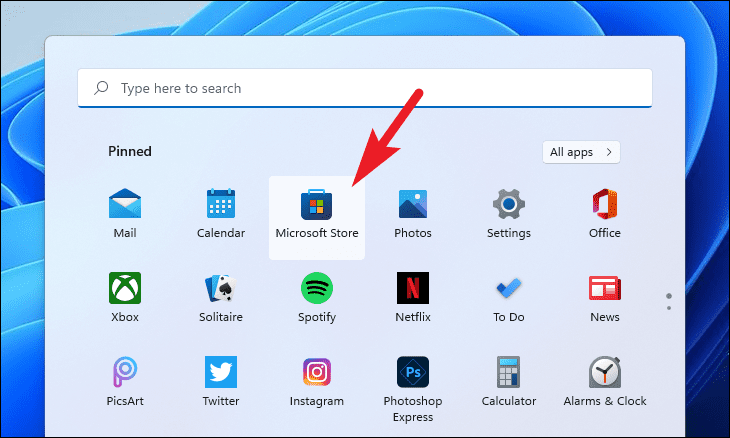
- Open the Microsoft Store from the Start Menu.
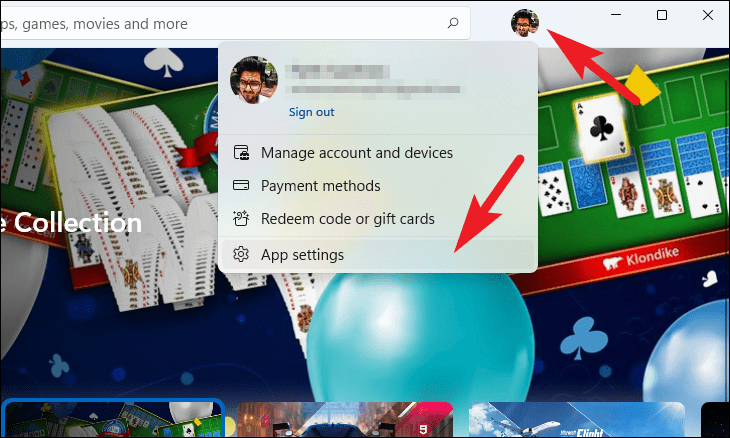
- Click on your profile picture at the top-right corner and select App settings from the dropdown menu.
- Under the App updates section, toggle the switch to On.
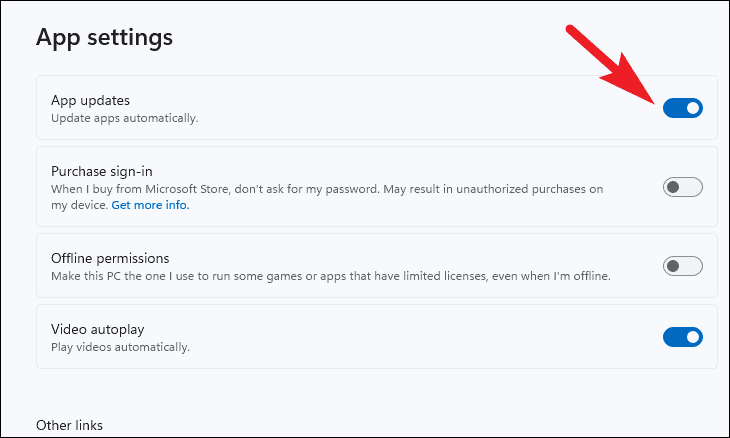
With automatic updates enabled, WSA will update automatically when connected to a non-metered network.
Manually update Windows Subsystem for Android from Microsoft Store
If you prefer to manually control app updates or have disabled automatic updates, you can update WSA directly through the Microsoft Store.
To manually update WSA:
- Launch the Microsoft Store from the Start Menu.
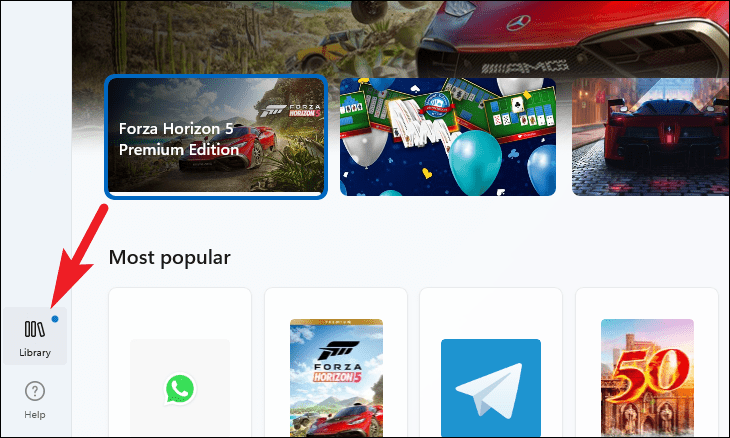
- Click on the Library option located at the bottom of the left sidebar.
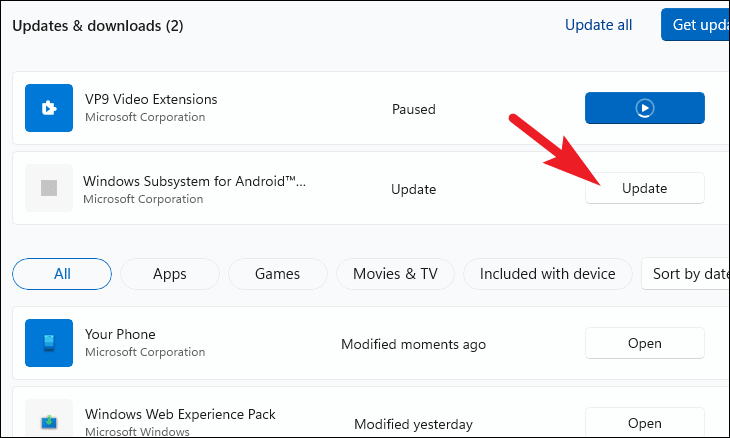
- In the Updates & downloads section, find Windows Subsystem for Android.
- Click the Update button next to it to install any available updates.
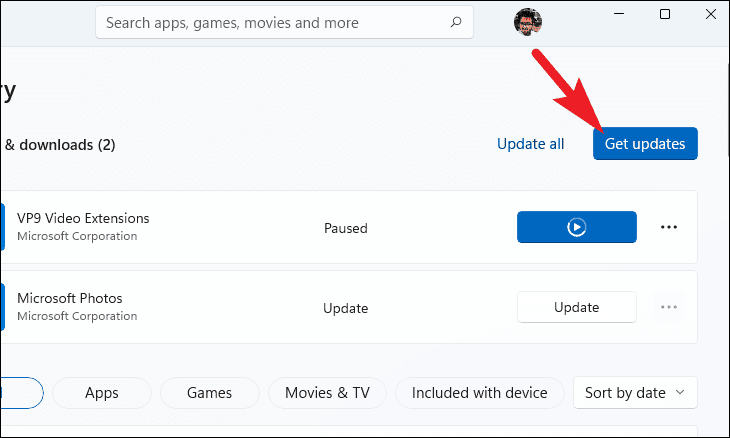
Alternatively, you can update all apps by clicking the Get updates button at the top-right corner of the Library page.
Update WSA using Windows Terminal
If you prefer using command-line tools, you can update WSA via Windows Terminal using the winget command. This method involves uninstalling and then reinstalling WSA to get the latest version.
To update WSA using Windows Terminal:
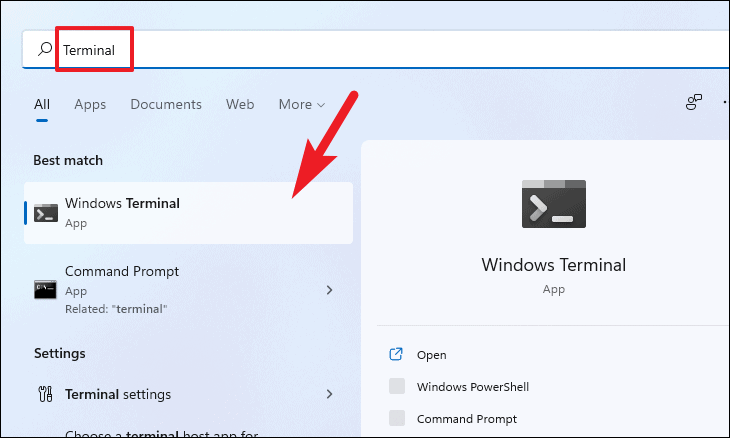
- Open Windows Terminal from the Start Menu.
- To uninstall WSA, type the following command and press
Enter:
winget uninstall "Windows Subsystem for AndroidTM"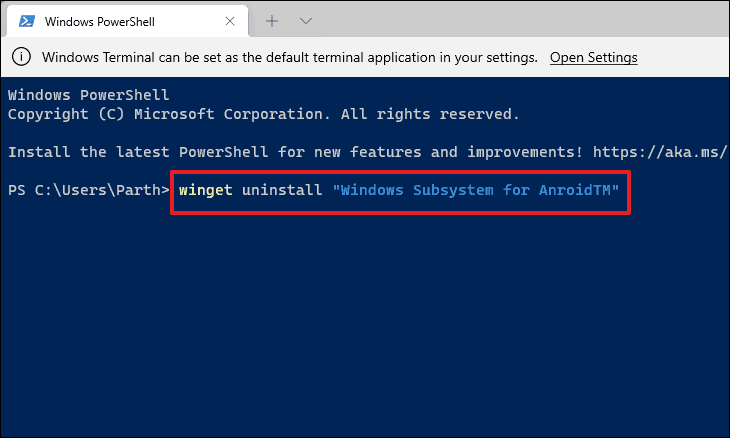
- Verify the availability of WSA by entering the command below and pressing
Enter:
winget search "Windows Subsystem for AndroidTM"
- Install the latest version of WSA with the following command:
winget install "Windows Subsystem for AndroidTM"
By keeping Windows Subsystem for Android updated, you ensure a smooth experience when running Android apps on your Windows 11 device.


