Don't have a smart speaker with Alexa built-in? Download it on your Windows 11 PC and control IoT devices, set reminders, and a lot more with just as much ease.
Don’t have a smart speaker with Alexa built-in? Download it on your Windows 11 PC and control IoT devices, set reminders, and a lot more with just as much ease.
by Parth Sawhney
Bringing Amazon’s Alexa to your Windows 11 PC allows you to enjoy the convenience of a virtual assistant directly from your desktop. With the Alexa app, you can perform hands-free commands, control smart home devices, and access many features available on Alexa-enabled devices. This guide provides detailed steps on how to download, set up, and use the Alexa app on your Windows 11 computer.
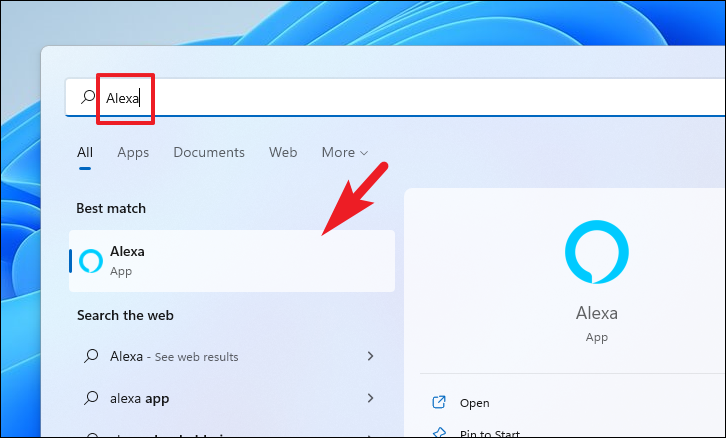
After the app has been downloaded, click the ‘Open’ button in the Microsoft Store to launch it. Alternatively, you can find the Alexa app in your Start Menu or by searching for it using the search bar.
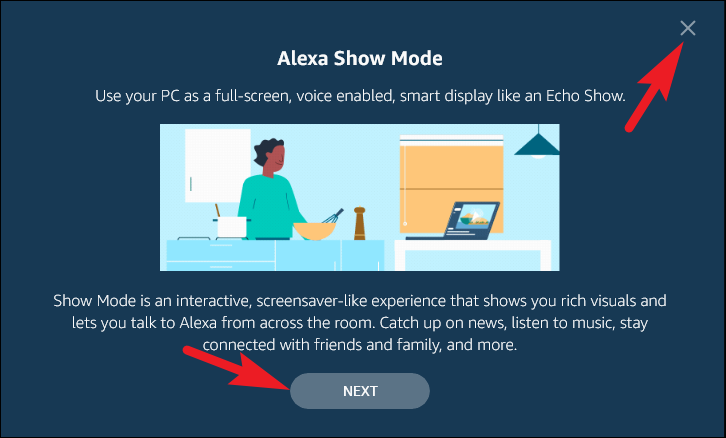
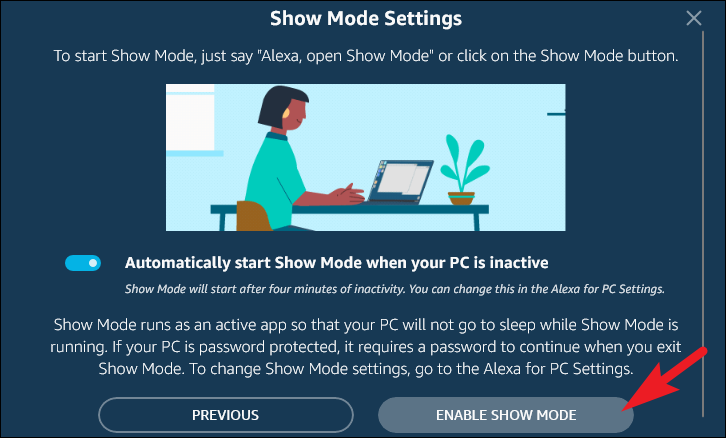
You may enable ‘Show Mode’ to turn your PC into a full-screen smart display. Click ‘Next’ to enable this feature. If you prefer not to use ‘Show Mode’, you can skip this step by clicking the ‘X’ icon at the top-right corner of the app.
If you choose to use ‘Show Mode’, you can set it to activate automatically when your PC is idle. Toggle the switch to ‘On’ and click the ‘Enable Show Mode’ button.
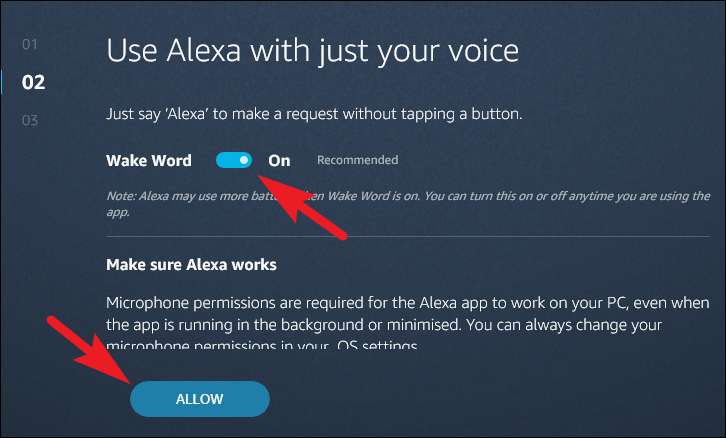
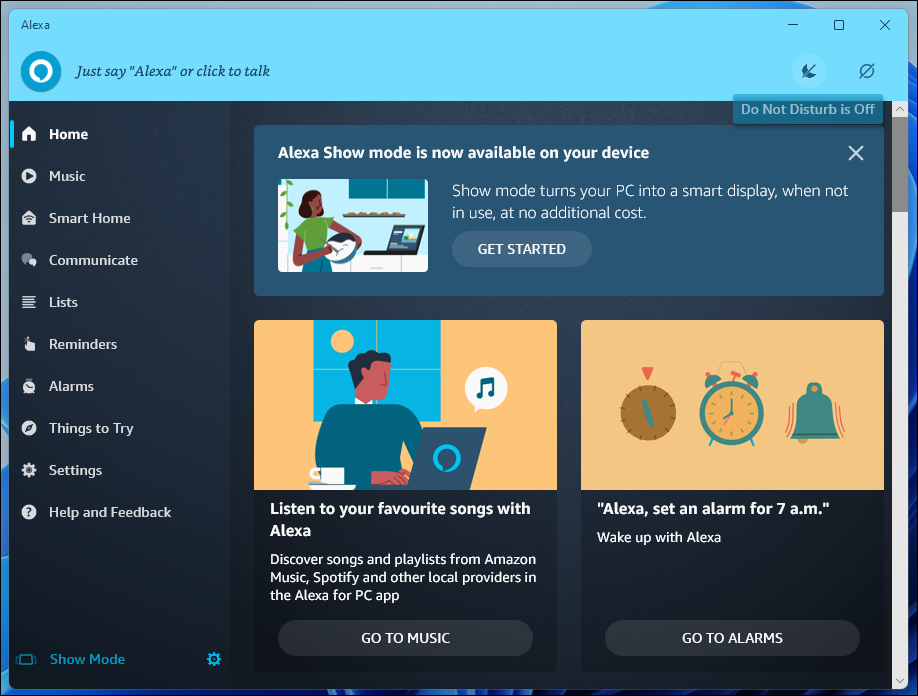
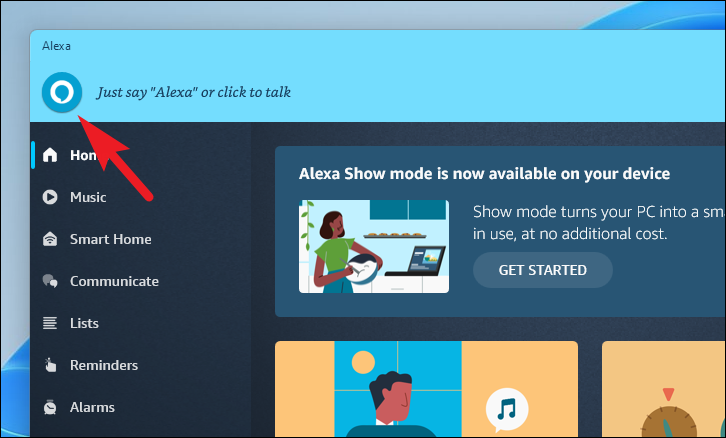
To interact with Alexa, simply say “Alexa” if you have enabled the Wake Word feature. If not, click the ‘Alexa’ icon located at the top left corner of the app to activate voice commands.
Setting Alarms and Reminders
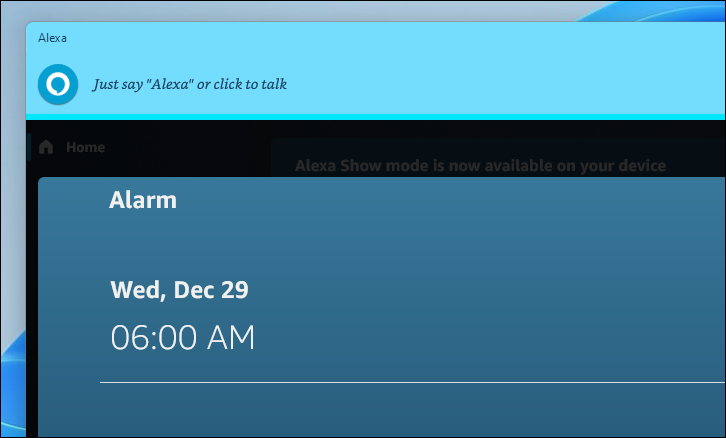
To set alarms or reminders, use voice commands like “Alexa, set an alarm for 6 AM tomorrow.” You can view and manage your alarms and reminders by clicking on the ‘Alarms’ or ‘Reminders’ tabs in the left sidebar of the Alexa app.
Playing Music
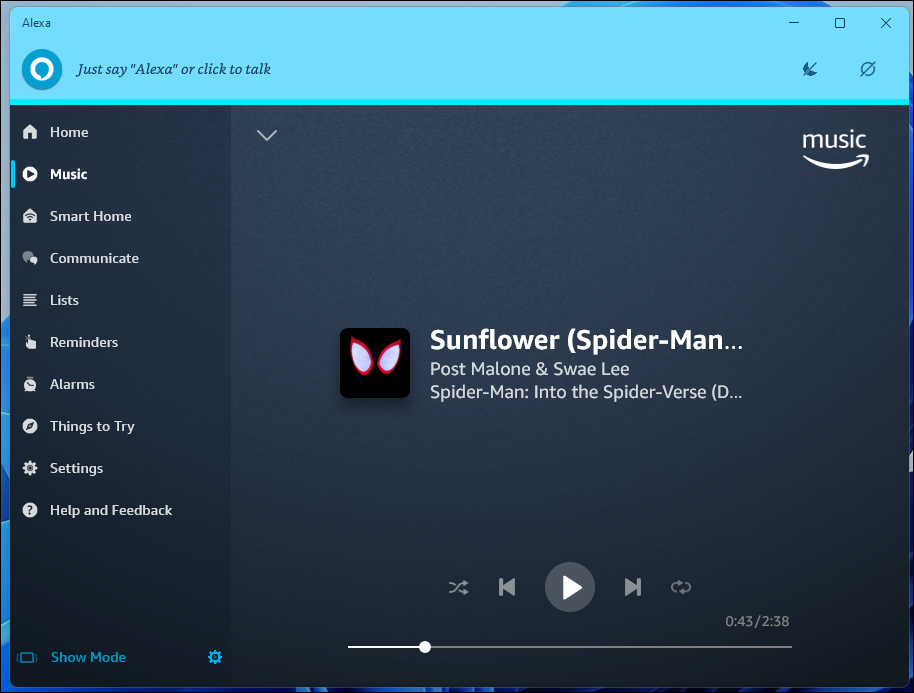
Request music by speaking commands such as “Alexa, play top 100 hip hop songs” or “Alexa, play Sunflower by Post Malone.” Alexa supports various music streaming services. Keep in mind that if you’re not an Amazon Prime subscriber, you might be limited to playing music by playlists, artists, or genres instead of specific songs.
Controlling Smart Devices
To control smart home devices, ensure they are paired with Alexa through the mobile app. Once paired, you can use commands like “Alexa, turn on the bedroom lights” or “Alexa, turn on the coffee machine” to control them directly from your PC.
Creating and Managing Lists
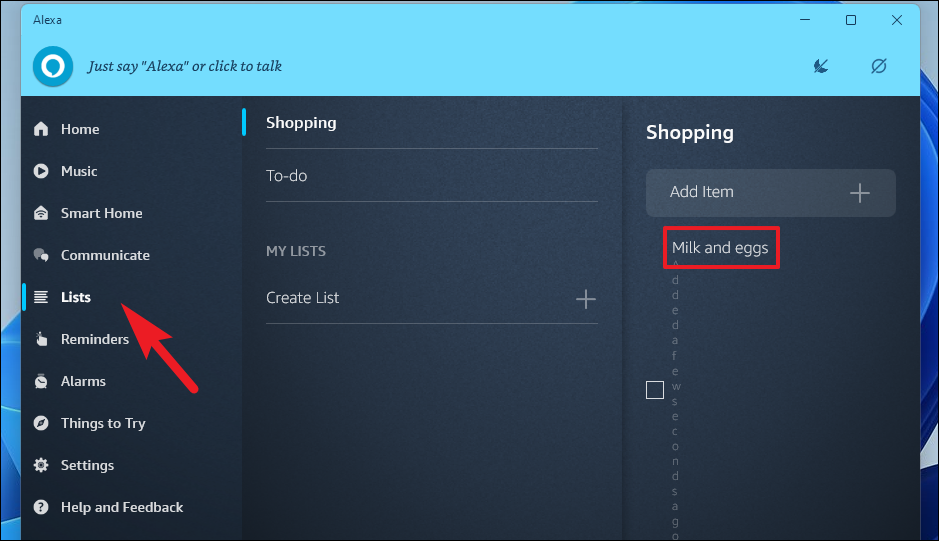
You can ask Alexa to create and manage lists for you. To add items to a list, say “Alexa, add milk to my shopping list.” If the list doesn’t exist, Alexa will create it automatically. View and manage your lists by clicking the ‘Lists’ tab in the app.
Exploring Additional Features
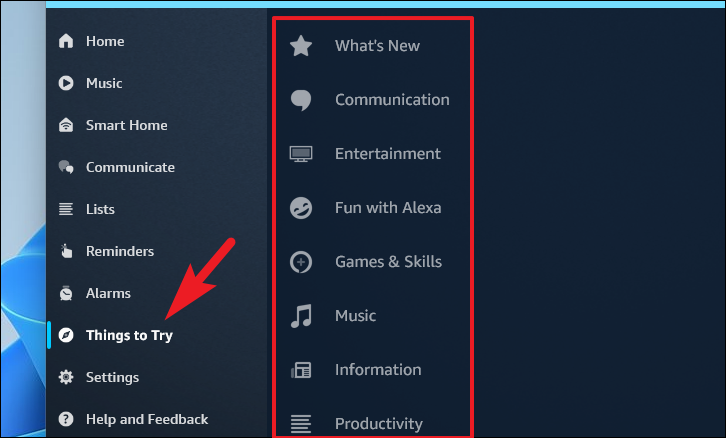
Alexa offers a vast array of features. To discover more capabilities, click on the ‘Things to Try’ tab in the left sidebar of the app. Browse through various categories to learn about new skills and commands that Alexa supports.
Customizing Alexa Settings on Windows 11
You can personalize Alexa’s settings to enhance your user experience on your PC.
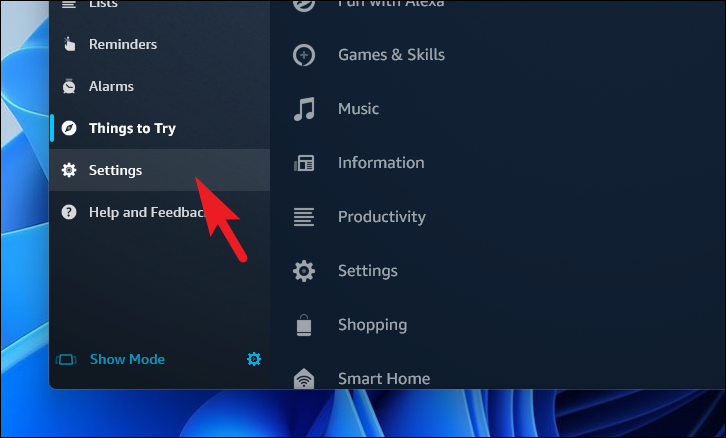
To access Alexa settings: Click on the ‘Settings’ tab located in the left sidebar of the Alexa app.
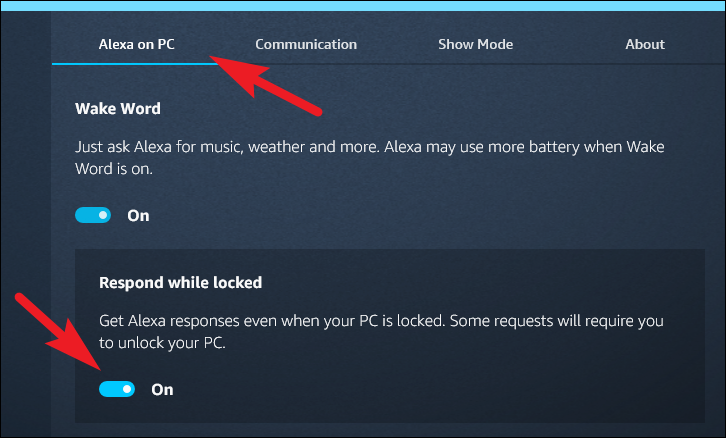
Enabling Alexa on Lock Screen
To allow Alexa to respond even when your PC is locked, navigate to the ‘Alexa on PC’ section in settings. Scroll down to the ‘Wake Word’ section and toggle the ‘Respond while locked’ option to the ‘On’ position.
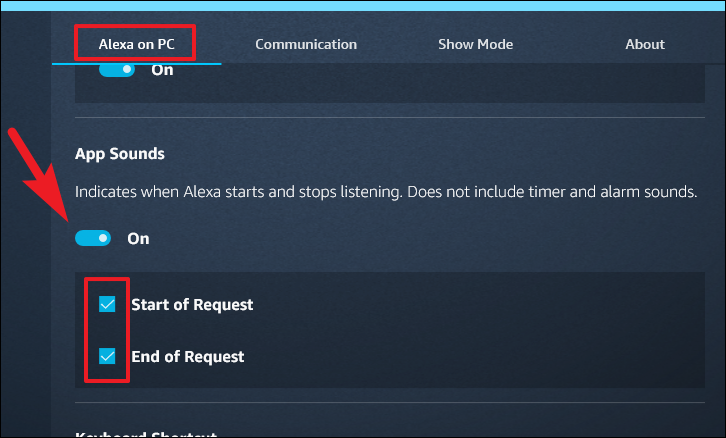
Adjusting Alexa Sounds
To customize sound settings for notifications and responses, go to the ‘App Sounds’ section under ‘Alexa on PC’ in settings. Here, you can toggle sound settings or disable specific sounds according to your preferences.
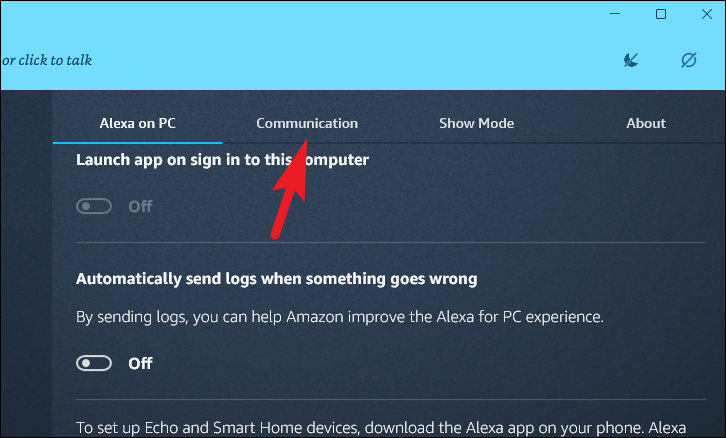
Enabling Drop In and Announcement Autoplay
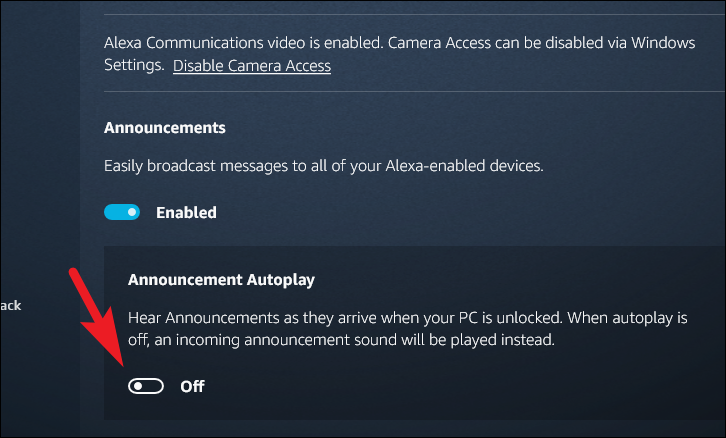
To enable the ‘Drop In’ feature and announcement autoplay, navigate to the ‘Communication’ tab in Alexa settings. Under ‘Announcement Autoplay’, toggle the switch to ‘On’ to allow automatic playback of announcements.
Then, enable the ‘Announcement Autoplay’ feature by toggling the switch.
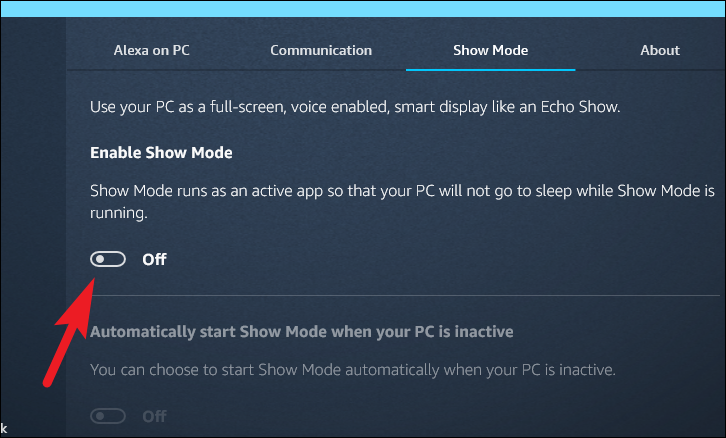
Disabling Show Mode
If you have previously enabled ‘Show Mode’ and wish to turn it off, go to the ‘Show Mode’ tab in the Alexa settings. Toggle the ‘Enable Show Mode’ switch to the ‘Off’ position to disable the feature.
By integrating the Alexa app into your Windows 11 PC, you can enjoy hands-free assistance and control over your smart home devices directly from your desktop. Customize the settings to suit your preferences, explore the wide range of features, and enhance your daily computing experience with Amazon’s virtual assistant.