Canva, a graphic design platform, is gaining a lot of traction as a design tool. Its basic premise – it’s just as easy to use for non-designers. You don’t need to be an expert in graphic designing to use Canva, and that is one of the main reasons behind its popularity.
With design becoming one of the hottest commodities for just about every field, Canva makes it accessible to everyone. Whether you’re an entrepreneur, a marketer, influencer, or a blogger, you can use Canva to make fetching content for social media, posters, graphics, design your own business cards even. If you’ve got even a little eye for design, Canva can help you cut down on the costs of hiring professional designers.
But did you know you can also use it to make just as engaging and stimulating presentations? Whether you want to make presentations for a professional environment or personal use (like a birthday surprise), Canva Presentations have got you covered. Let’s dive right into it!
Getting Started
Canva offers a web app you can immediately start using on your desktop without having to download anything. Unfortunately, the web app is your only option as there is no desktop app. So you need an internet connection to work with Canva as it stores all your work on its servers.
Canva also has a mobile app for iPhone and Android, which you can use on the go. But when getting started, using the web app is the best course of action.
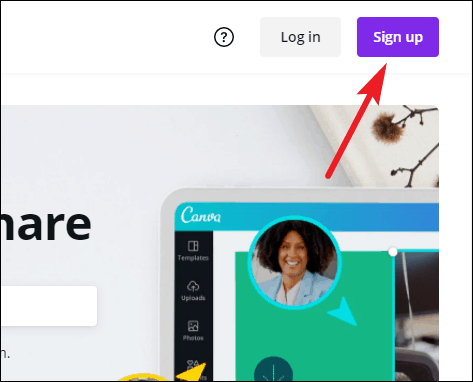
Go to canva.com and create a free account. Click the ‘Sign Up’ button to create a new account.
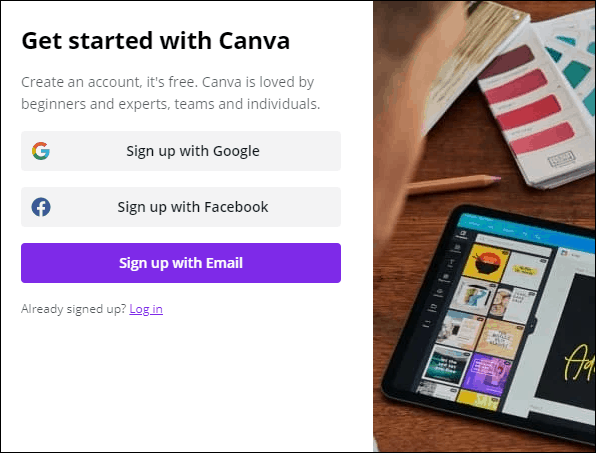
You can sign up with your Google account, Facebook account, or your email address.
Canva has a freemium structure, so you can use it for free with limited features or get a Pro or Enterprise subscription for complete access. It also offers a 30-day free trial to its Pro features, so you can try it out before deciding whether you want to convert to a paid user.
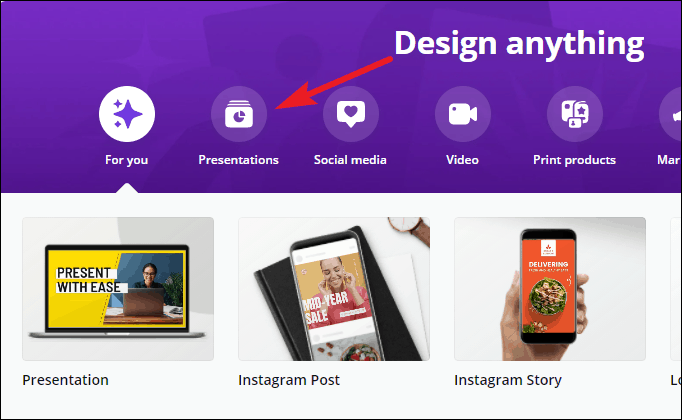
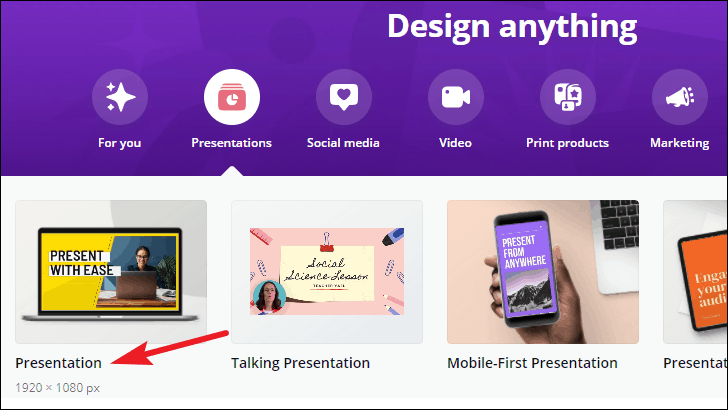
Now, from the Canva home page, click the ‘Presentations’ button under the Design anything banner. If you can’t find the option, you can also search for ‘Presentation’ from the search bar.
There are plenty of size options to choose from when creating a presentation. Let’s stick with the standard size ‘1920 x 1080 px’ here.
One of the things that makes Canva so easy to use for everyone is the sheer number of templates. The assortment of templates in existence ensures that you’ll find something to match your needs. But if not, you can also start with a blank slate and create your presentation from scratch.
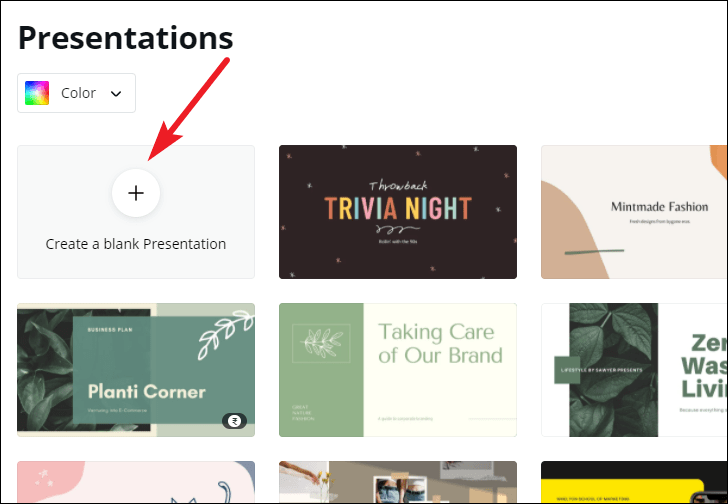
For this guide, we are selecting a template for the presentation. Before selecting a template, you can see what it has to offer by clicking the three-dot menu and selecting ‘Preview this template’.

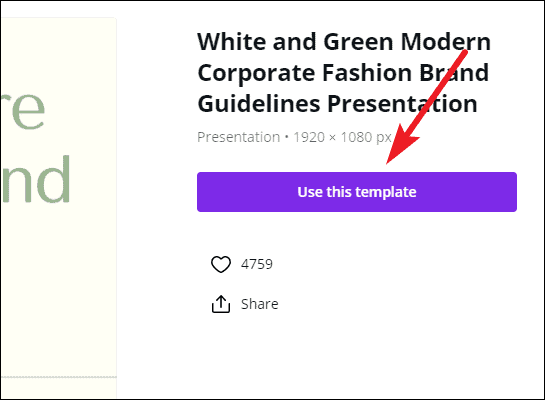
Click ‘Use this template’ to select the template if you like it or go back and select another.
Editing the Presentation
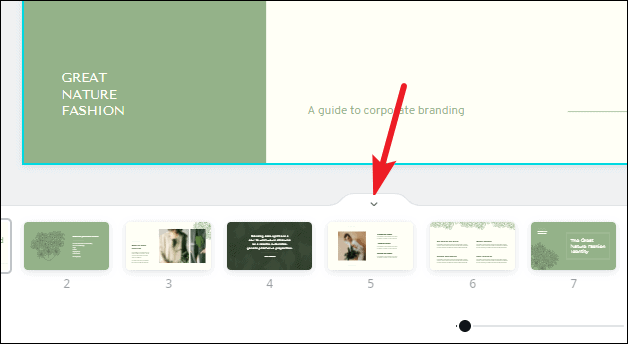
The template will load into the editing interface. Canva has an eerily easy editing interface. Let’s navigate the interface first. Below the slide is the thumbnail view where you can see all the slides in thumbnails side by side.
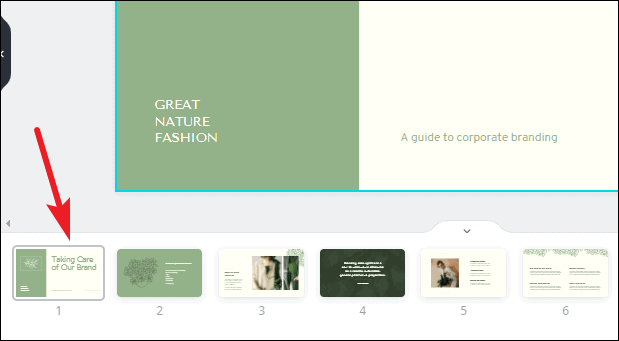
To turn off the thumbnail view, click the on/ off toggle (arrow).
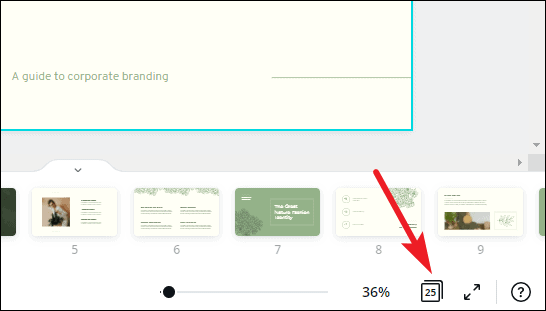
Click the grid view button to switch views.
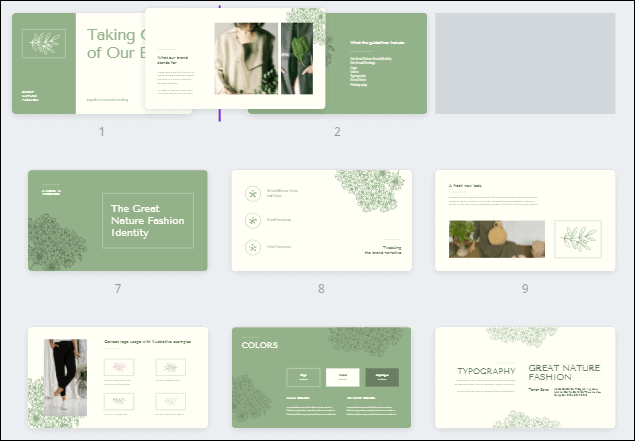
The grid view is helpful when there are a lot of slides in your presentation. Using grid view, you can get an overview of them all. You can also rearrange the slides by dragging and dropping slides into a new position. Click the ‘Grid View’ button again to switch back.
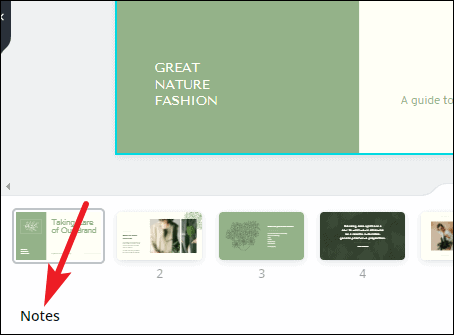
Click the ‘Notes’ option to add notes to the presentation that you can use for reference while presenting.
The name of the presentation can be edited from the top-most toolbar.
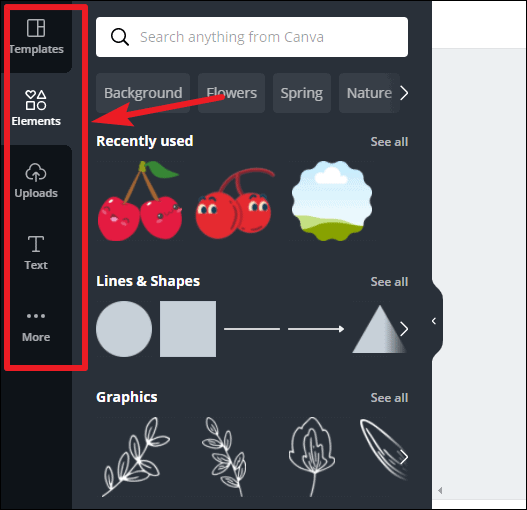
Now, on the left is the toolbar that houses all the tools for editing the design elements in the presentation.
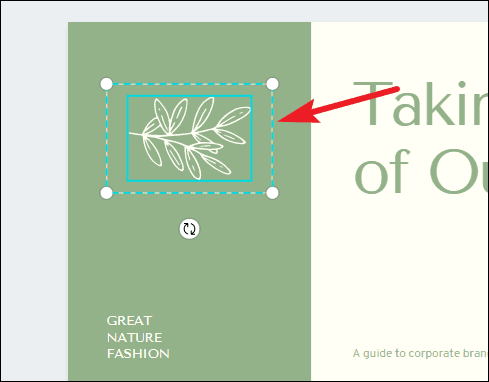
When you’re using a template, almost all of the elements can be selected and edited. You can delete an element, change color, font (for text). To select an element, hover over it. The part of that element will be highlighted in blue. Click it to select it.
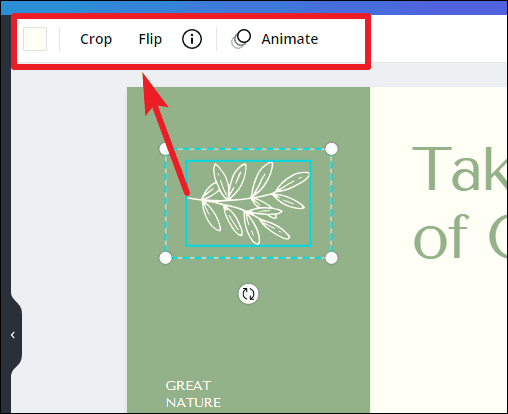
Another toolbar will appear above the slide with editing options specific to the element you have selected. Depending on the element, you can change it’s color, font, font size.
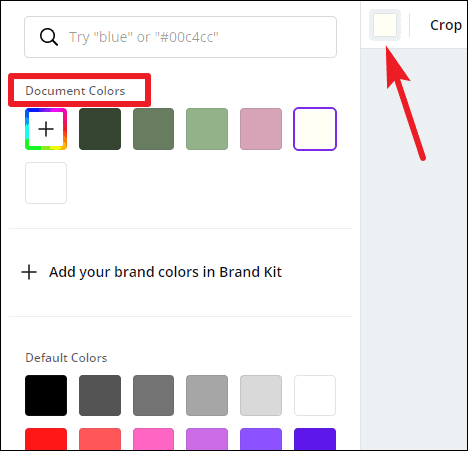
When you click the color option, a palette for document colors will appear above, followed by available default colors. For free users, only limited color options are available. If you have a Brand Kit (available only for Canva Pro users), that palette will also appear here.
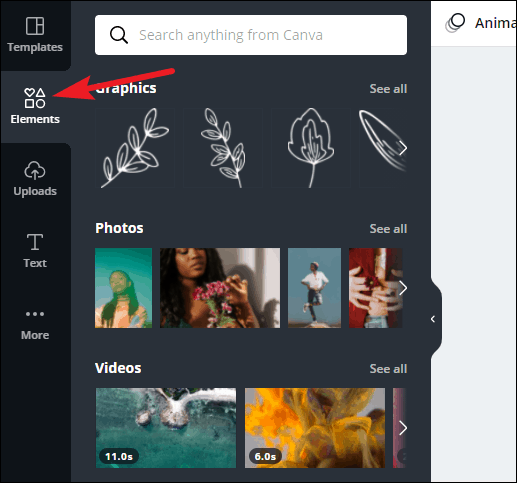
Click on the ‘Elements’ option on the left toolbar to add elements like photos, videos, graphics, audio, charts, etc. to your presentation.
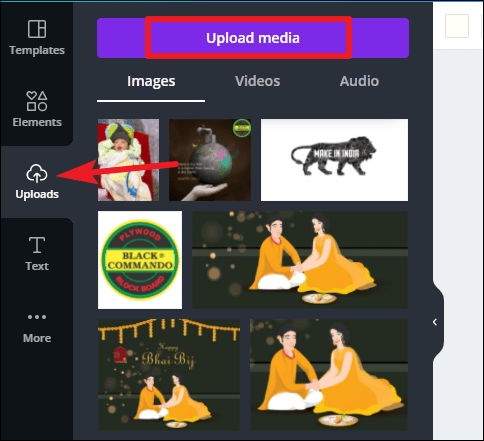
To add photos, videos, or audio from your computer, click the ‘Uploads’ button. Then, click the ‘Upload media’ button to select content. Any media you previously uploaded will also be available here.
You can also add animations to individual elements or the entire page. Select an element and click the ‘Animate’ button.
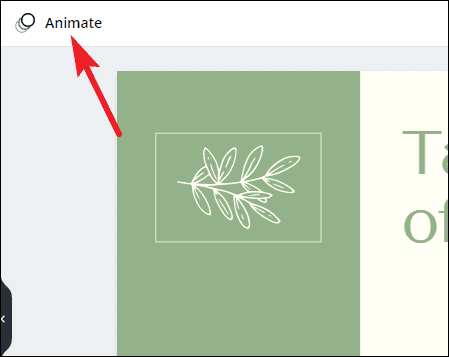
‘Element animations’ will open. To switch to page animations, click the ‘Page Animations’ tab.

Presenting your Presentation
Once your presentation is complete comes the main part – presenting it. Canva offers a lot of options for your finished presentation. You can present it right from Canva or publish or download it for various platforms.
To publish it elsewhere or download it, click the ‘three-dot’ menu on the top-right corner.
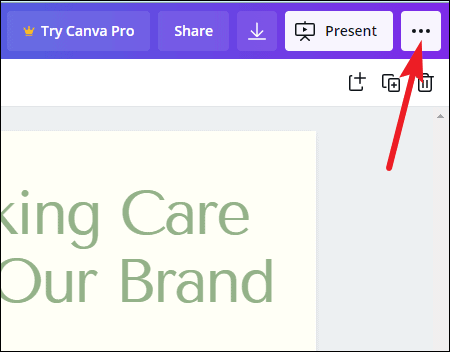
A list of options will appear. You can download it onto your computer, or as a PowerPoint presentation, share a link to the presentation, publish it as a website, embed it on your website, and much more. You can also record it while presenting with a voiceover.

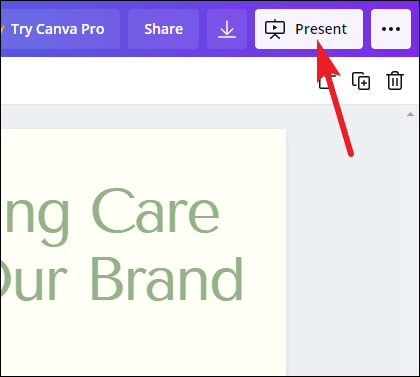
To present straight from Canva, click the ‘Present’ button.
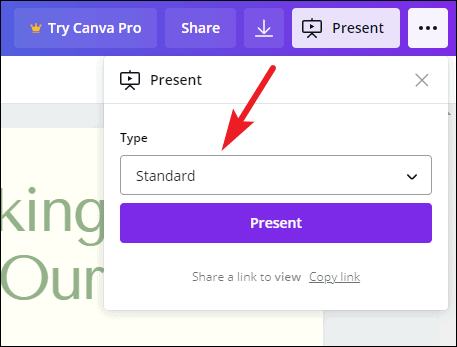
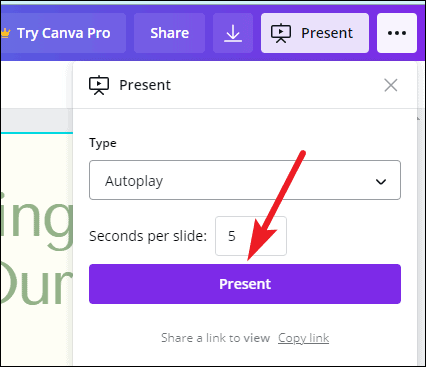
Click the drop-down menu below ‘Type’ and select how you want to present it.
There are three options to choose from: ‘Standard’ – where you present at your own pace, ‘Autoplay’ – where the presentation advances automatically, and ‘Presenter View’ – where you can view your notes and upcoming slides, but the rest of the people cannot. Presenter View is best used when you’re presenting on a projector.
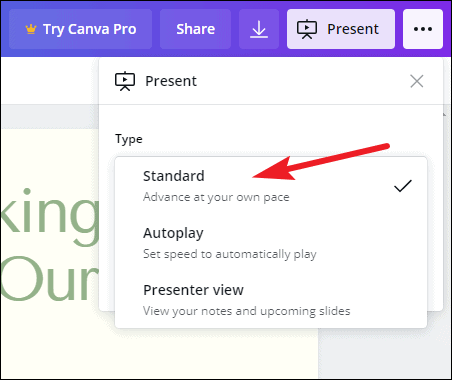
After selecting the type, click the ‘Present’ button.
Bonus Tips for your Presentation
While presenting the presentation on Canva, you can add special effects to enhance the performance with some keyboard shortcuts. All you need to do is press the associated key with each effect to bring it into action. Press the same key to stop it. You can also press multiple keys to add 2 or more special effects. With these effects, your presentation is bound to stand out to your audience and be memorable.
Drumroll : Add a drumroll before a slide by pressing the key ‘D’ before a big reveal.

Confetti : Add a shower of confetti to celebrate something with the key ‘C’.

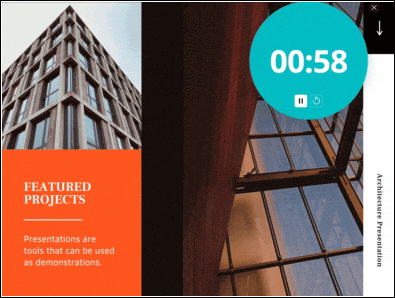
Countdown : Add a countdown from ‘1-9’ by pressing one of the keys.
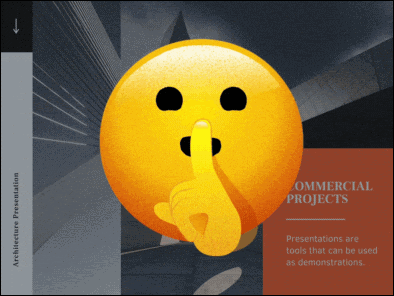
Quiet : Bring a 🤫 emoji to screen to hush your audience with the ‘Q’ key.
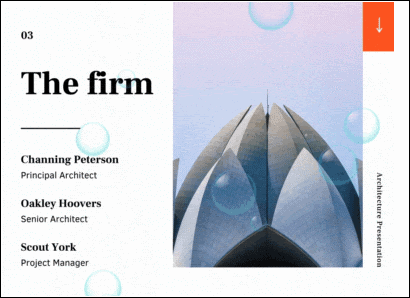
Bubbles : Press down the ‘O’ key to bring bubbles on the screen.
Blur : Build tension and add drama to the atmosphere by blurring the screen with the key ‘B’.

Presentations are a huge part of professional life, whether you’re presenting to your clients, doing a webinar, promoting your brand, to name a few. With Canva, you can make presentations that’ll leave a long-lasting impact but won’t take long to make.