While Windows 11 introduces a fresh design, some users prefer the familiarity of the Windows 10 interface. If you’re one of them, Explorer Patcher is a lightweight tool developed by Valentin-Gabriel Radu that lets you restore many Windows 10 styles without downgrading your operating system. This software is safe, straightforward to use, and immediately transforms your Taskbar to the Windows 10 style upon installation.
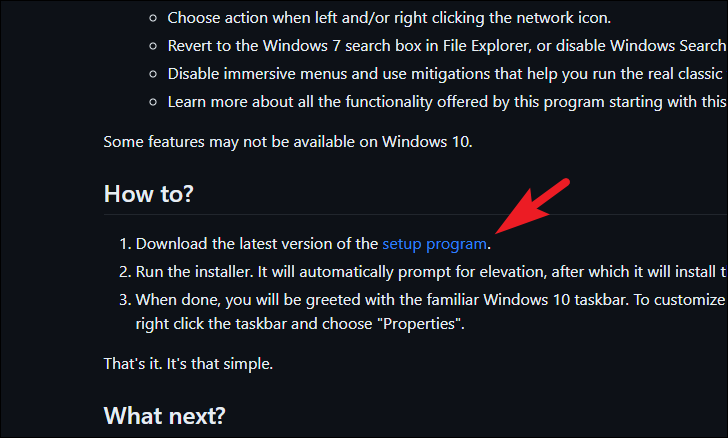
Download and install Explorer Patcher
ep_setup.exe file and double-click it to launch the installer.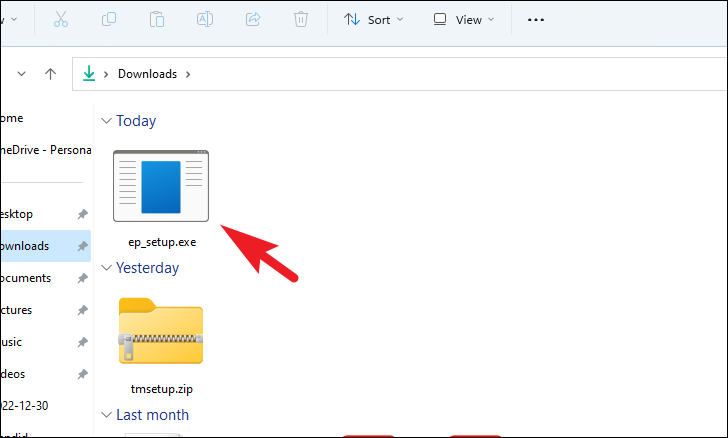
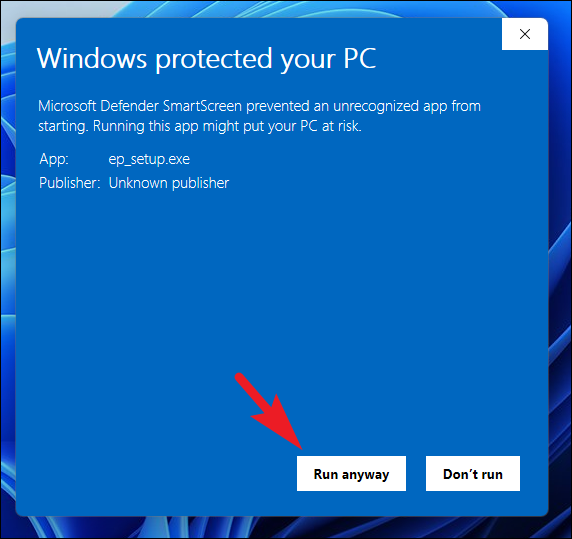
If you see a SmartScreen alert from Windows, click on ‘Run anyway’ to proceed with the installation.
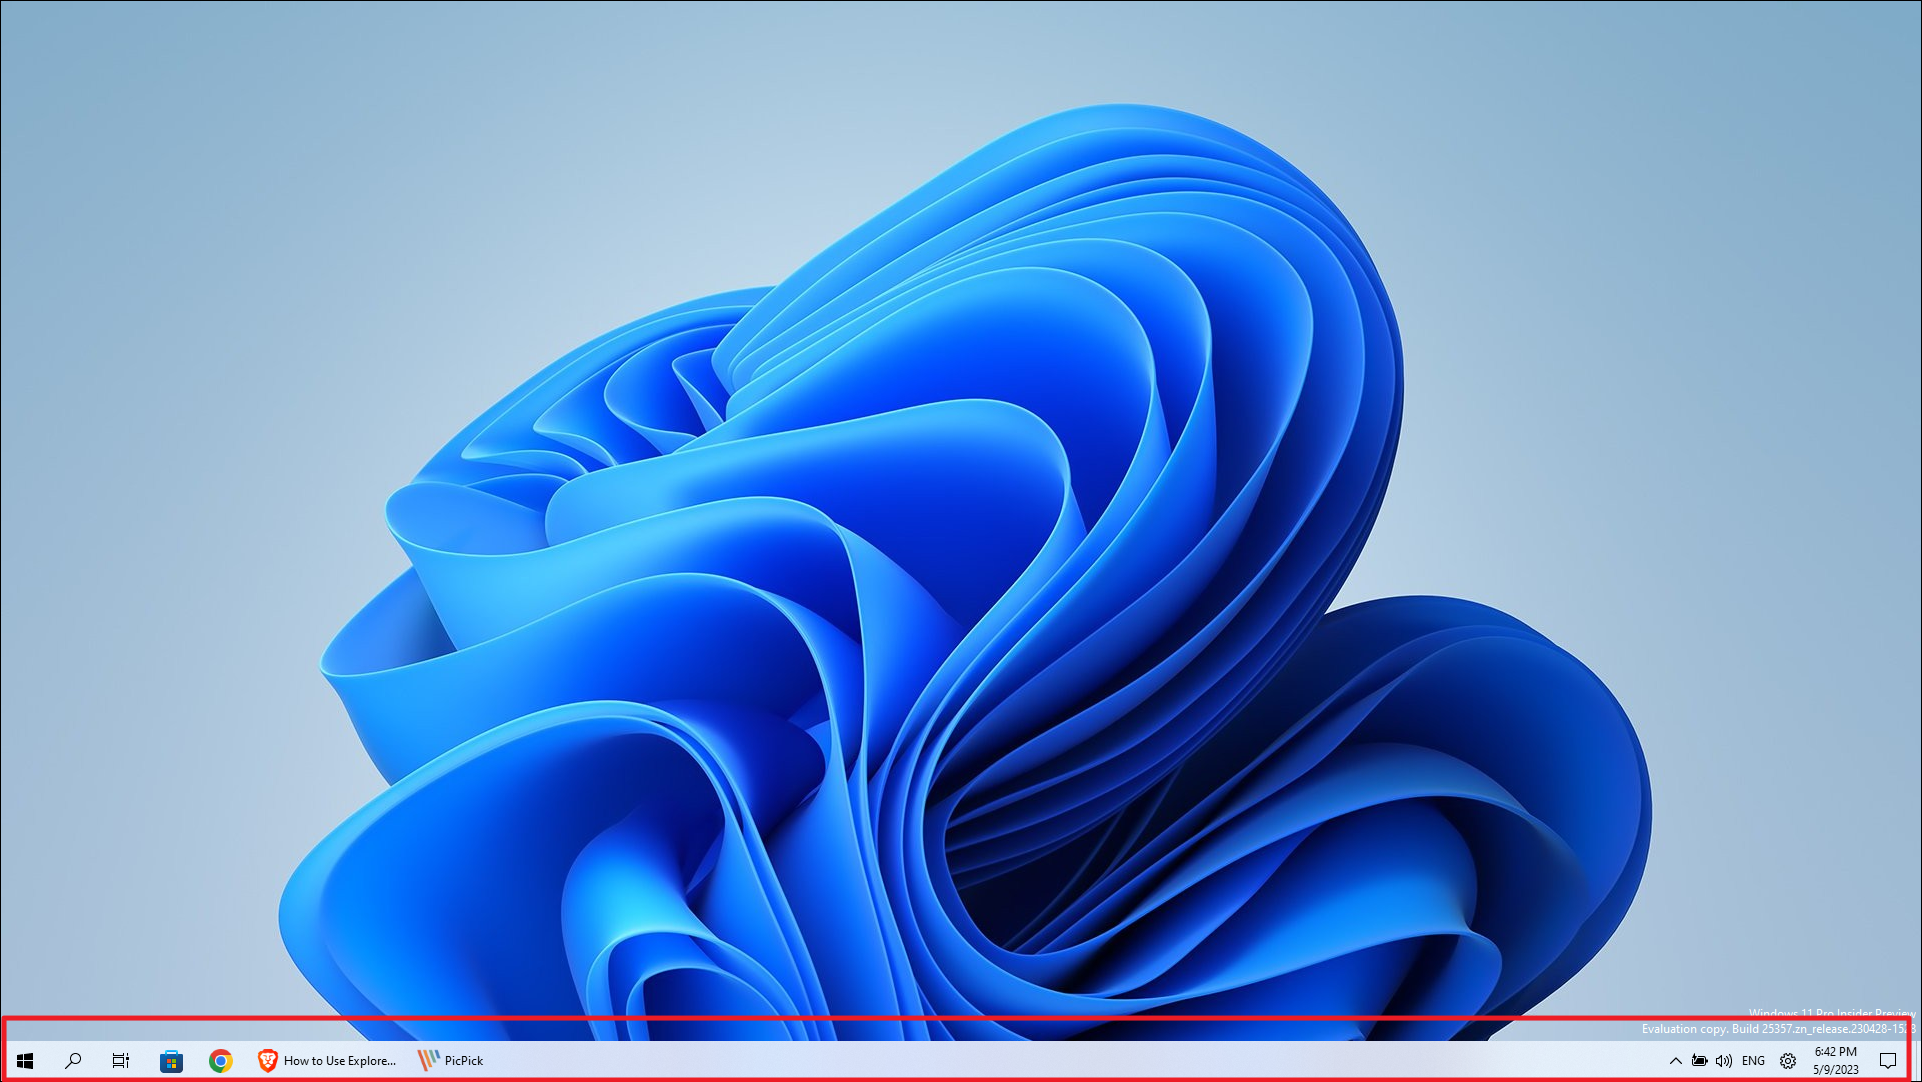
Your screen may briefly go blank during the installation process; this is normal. Afterward, you’ll notice that your Taskbar has reverted to the Windows 10 style.
The main settings window of Explorer Patcher will appear, offering various customization options for your system’s user interface.
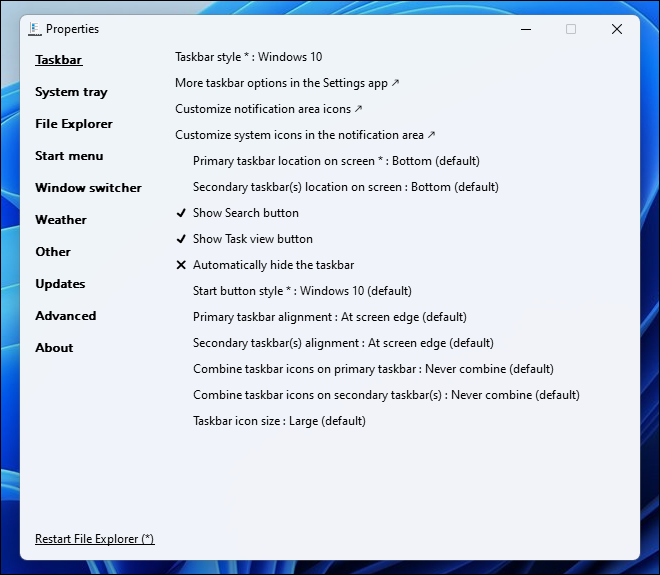
Explorer Patcher provides numerous settings to tailor the look and functionality of various UI elements. The following sections detail how you can tweak these elements to your preference.
Tweak taskbar appearance
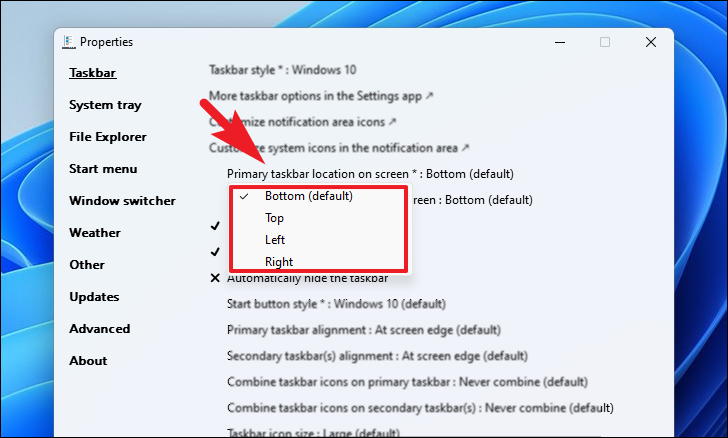
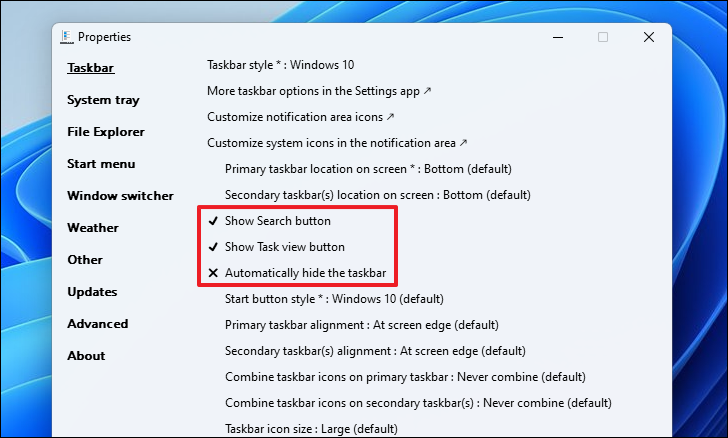
To change the position of the Taskbar on your screen, click on ‘Primary taskbar location on screen’ and select your desired location from the drop-down menu. Since this change requires restarting File Explorer, click on the ‘Restart File Explorer’ button located at the bottom-left corner of the settings window.
Note: Options marked with an asterisk (*) will prompt you to restart File Explorer, while those with an arrow icon will open the corresponding Windows settings window.
You can toggle the visibility of the ‘Search’ and ‘Task View’ buttons by clicking on their respective options. To enable or disable the auto-hide feature for the Taskbar, click on ‘Automatically hide the taskbar’. Changes will be applied immediately.
The adjustments should reflect instantly on your Taskbar.

To change the alignment of the Taskbar icons, click on ‘Primary taskbar alignment’ and select either ‘Left’ or ‘Center’ from the drop-down menu. If you have multiple monitors and want to adjust the taskbar position on secondary screens, use the ‘Secondary taskbar location on screen’ option.

You will see the changes take effect immediately.

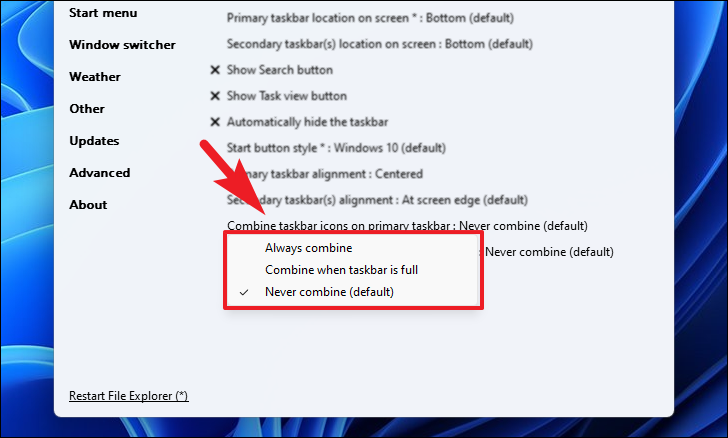
To modify how taskbar icons for the same application are combined, click on ‘Combine taskbar icons’ and choose an option. Selecting ‘Never combine’ will display separate icons for each window, while ‘Combine when taskbar is full’ will do so only when the Taskbar is crowded.
Feel free to explore other settings within this section to customize the Taskbar to your liking.
Configure system tray options
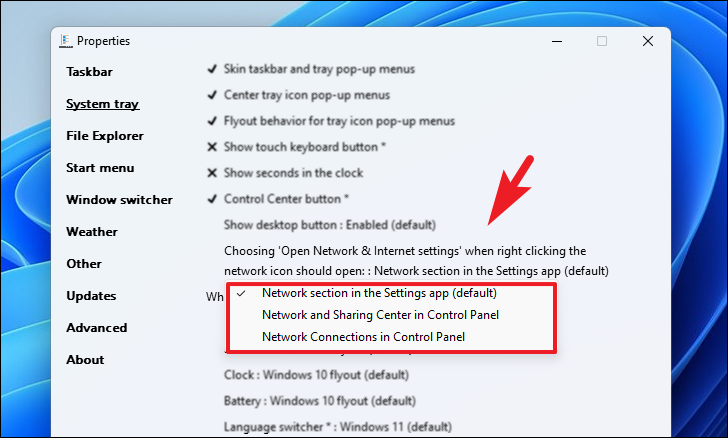
To customize the behavior of the system tray, you can toggle options like ‘Use tray icon pop-up menus’, ‘Center tray icon pop-up menus’, and ‘Use flyout for tray icon pop-up menus’ by clicking on each setting. Enabled options are indicated by a checkmark, while disabled ones show a cross (X).

To specify what happens when you click ‘Open Network & Internet settings’ from the network icon, click on the corresponding option and select your preferred destination from the drop-down menu.
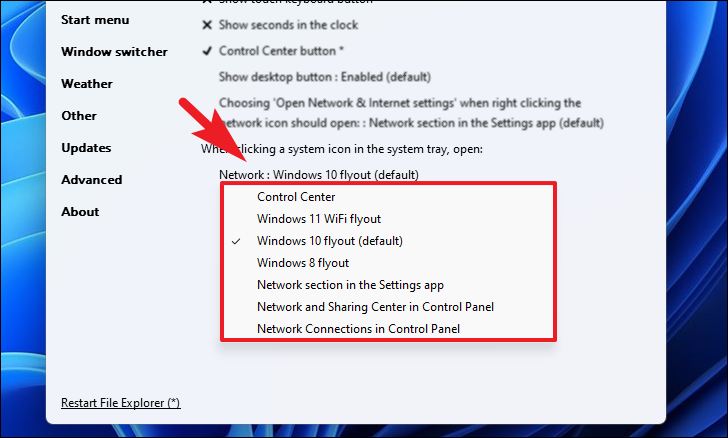
You can also change the flyout style for tray icons like ‘Network’, ‘Volume’, ‘Battery’, and ‘Clock’. Click on each icon’s option and select either a Windows 10 or Windows 7 style, or set a specific action for when you click them.
Change File Explorer settings
To access advanced settings for File Explorer, such as disabling the navigation bar or search bar, first click on ‘Register as shell extension’ under the ‘File Explorer’ section. This step is necessary if you wish to modify these elements.
Note: If you’re not planning to adjust these specific settings, you can skip this step.

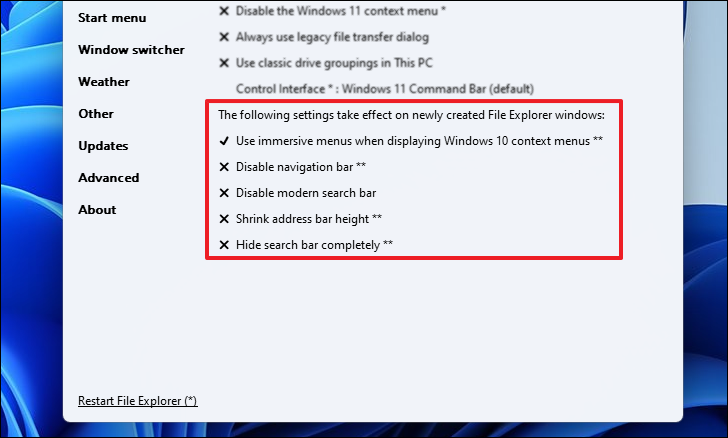
Once registered as a shell extension, you can toggle settings like hiding the navigation bar, search bar, or adjusting the address bar height by clicking on the respective options.
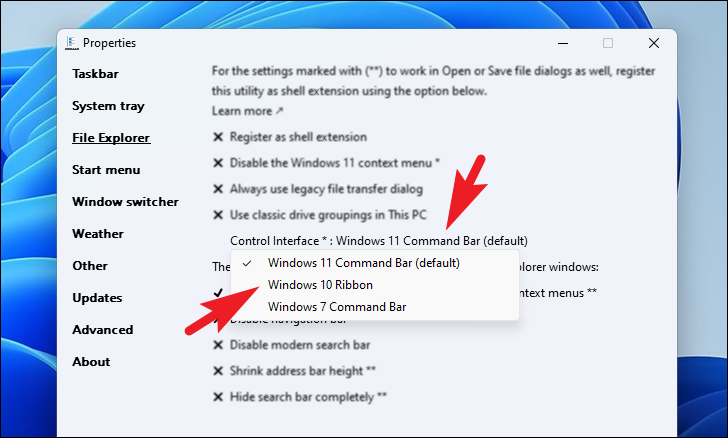
To switch the ribbon menu in File Explorer back to the Windows 10 style, click on ‘Control interface’ and select ‘Windows 10 ribbon menu’ from the drop-down list.
You can also disable the modern Windows 11 context menu and revert to the classic style. Click on ‘Disable Windows 11 context menu’ to toggle this setting. Similarly, you can enable the Windows 10 file transfer dialog box by clicking on ‘Use Windows 10 file transfer dialog’. Remember that enabled options display a checkmark, while disabled ones show a cross.

Modify Start menu appearance
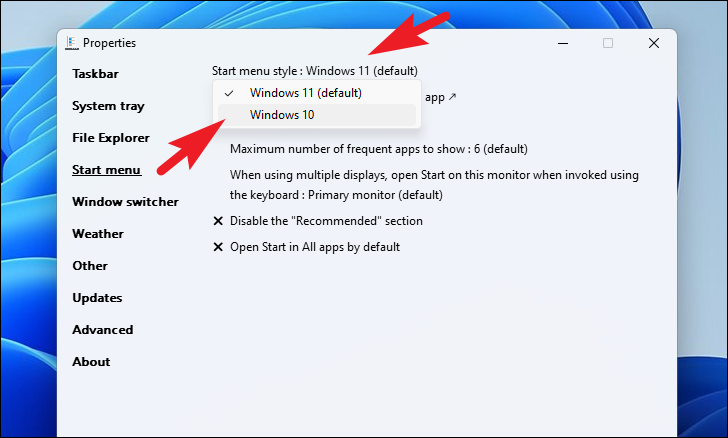
To change the Start menu style back to Windows 10, click on ‘Start menu style’ and choose ‘Windows 10’ from the options.
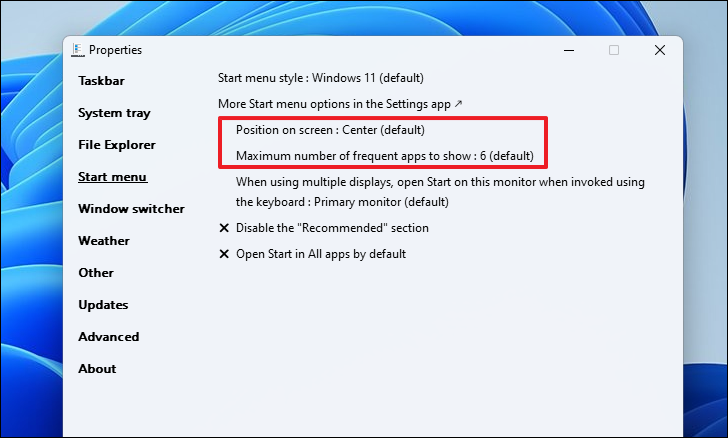
To adjust the Start menu position and the number of frequent apps displayed, click on ‘Position on screen’ and select your preferred location. Then, click on ‘Number of frequent apps to show’ and choose a value between zero and unlimited from the drop-down menu.
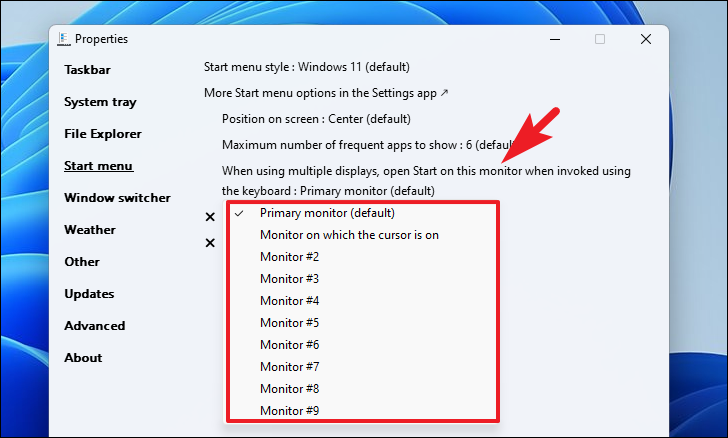
If you have multiple monitors and want the Start menu to appear on a specific screen when you press the Win key, click on ‘Monitor to show Start menu’ and select the desired monitor from the list.
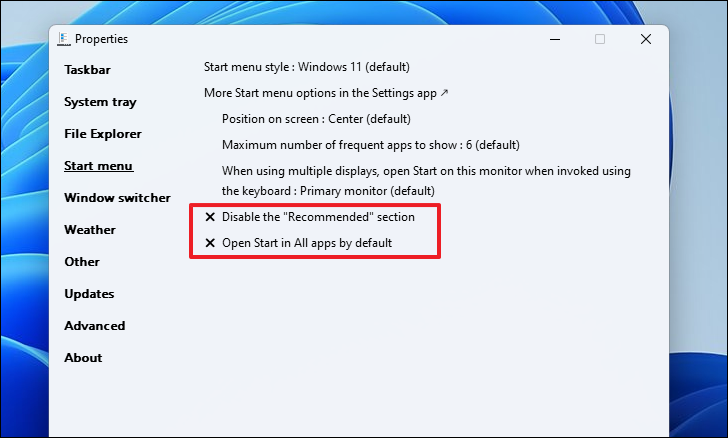
To disable the ‘Recommended’ section in the Start menu or to have it open directly to the ‘All apps’ view, toggle the ‘Disable Recommended section’ and ‘Open Start to All apps by default’ options.
Change other miscellaneous UI elements
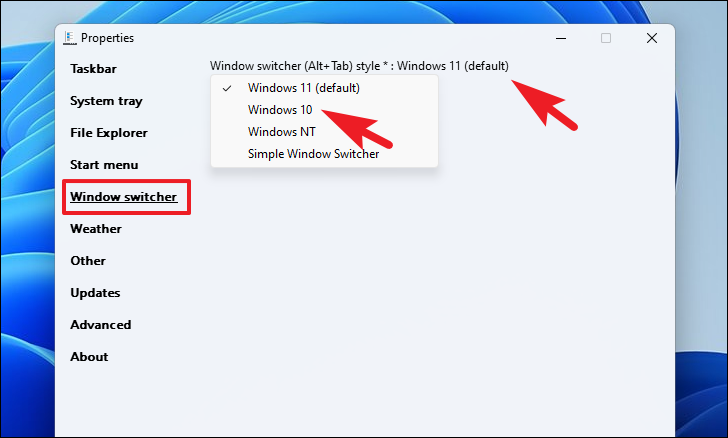
To revert the window switcher (Alt + Tab) to the Windows 10 style, go to the ‘Window Switcher’ tab and click on ‘Window switcher style’. Then, select ‘Windows 10’ from the drop-down menu.
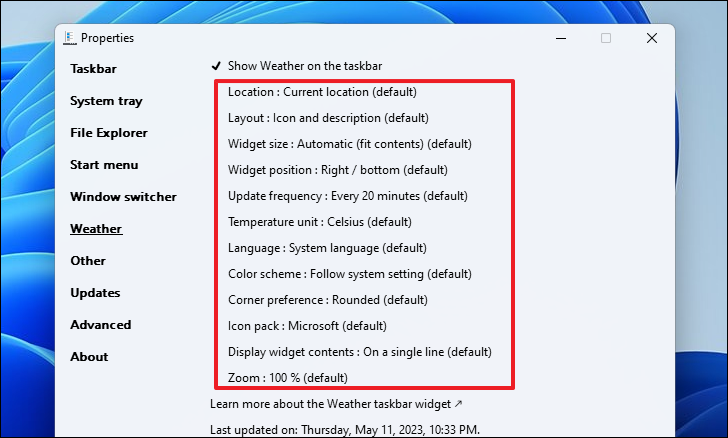
To display the Weather widget on the Taskbar, navigate to the ‘Weather’ tab and toggle the ‘Show weather on the taskbar’ option.
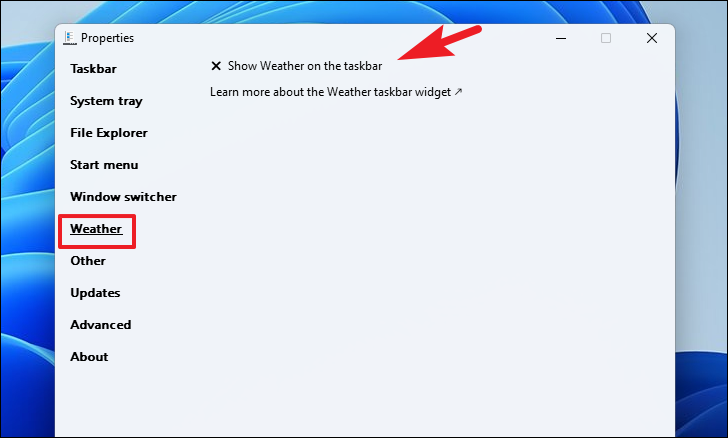
Once enabled, you can configure the Weather widget settings according to your preferences.
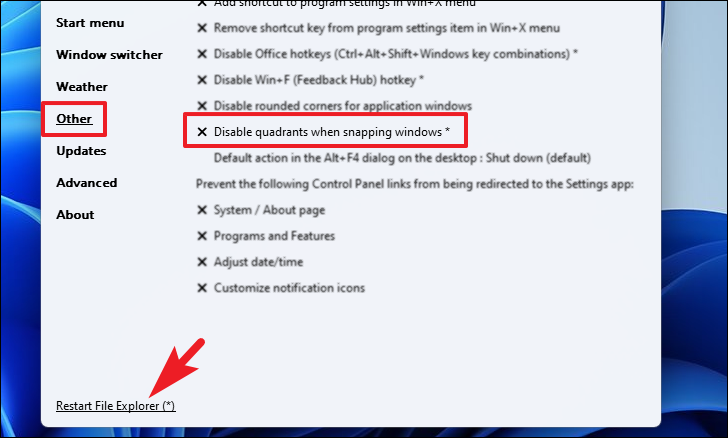
To disable the quadrant layout when snapping windows, select the ‘Other’ tab and click on ‘Disable quadrants when snapping windows’. Since this change requires restarting File Explorer, click on the ‘Restart File Explorer’ button at the bottom-left corner.
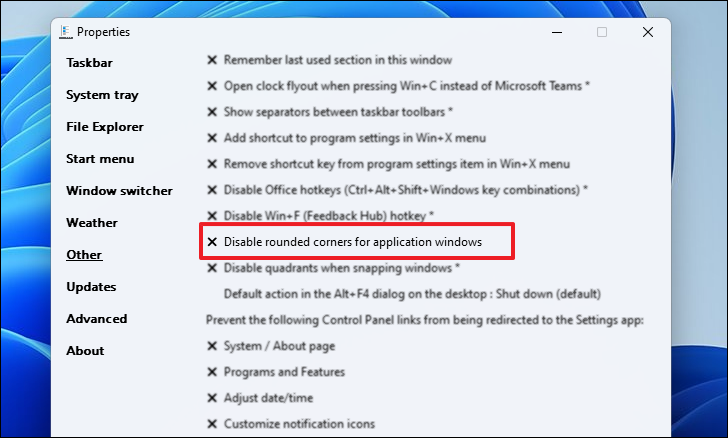
To revert to angular corners and disable the rounded corners of application windows, click on ‘Disable rounded corners for application windows’ in the ‘Other’ section.
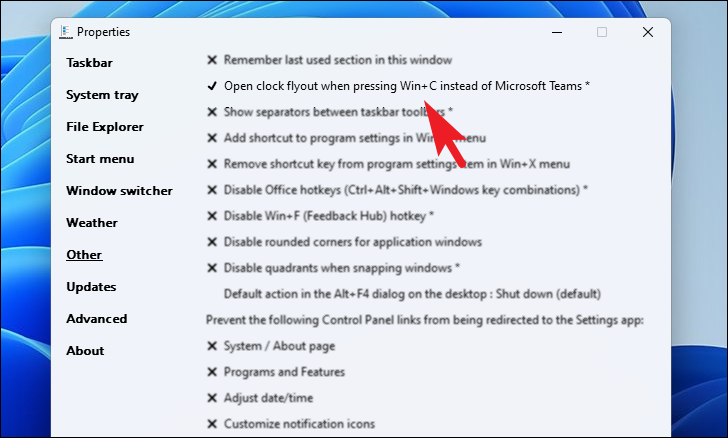
If you’d prefer the Win + C keyboard shortcut to open the Clock instead of Microsoft Teams, click on ‘Open clock flyout when pressing Win + C instead of Microsoft Teams’ under the ‘Other’ tab.
Roll back to default Windows 11 appearance
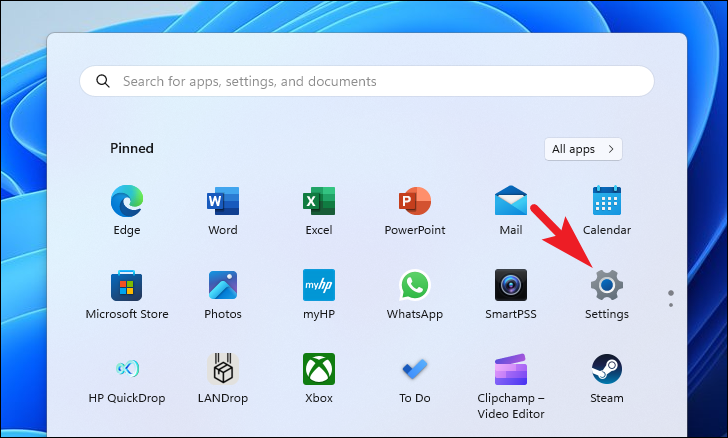
If you decide to return to the default Windows 11 interface and undo all changes made by Explorer Patcher, you can uninstall the application from your system.
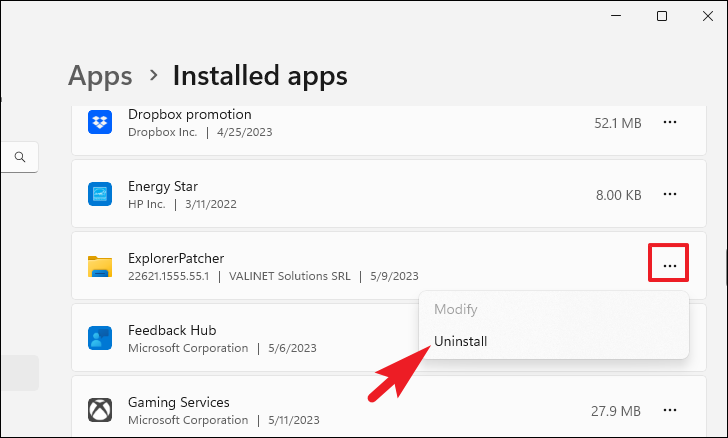
A confirmation prompt may appear; click on ‘Yes’ to proceed with the uninstallation. Your screen might flicker or turn black momentarily during this process, which is normal. After the uninstallation is complete, your system will revert to the default Windows 11 appearance.
Explorer Patcher provides a convenient way to restore the Windows 10 user interface on Windows 11 without downgrading your system. It’s lightweight, easy to use, and allows for extensive customization of UI elements. With the steps outlined above, you can tailor your Windows experience to match your preferences.