How to Use File History to Back Up Your Files in Windows 11
A straightforward guide to protecting your files using Windows 11's built-in backup feature
A straightforward guide to protecting your files using Windows 11’s built-in backup feature
by Pallav Pathak
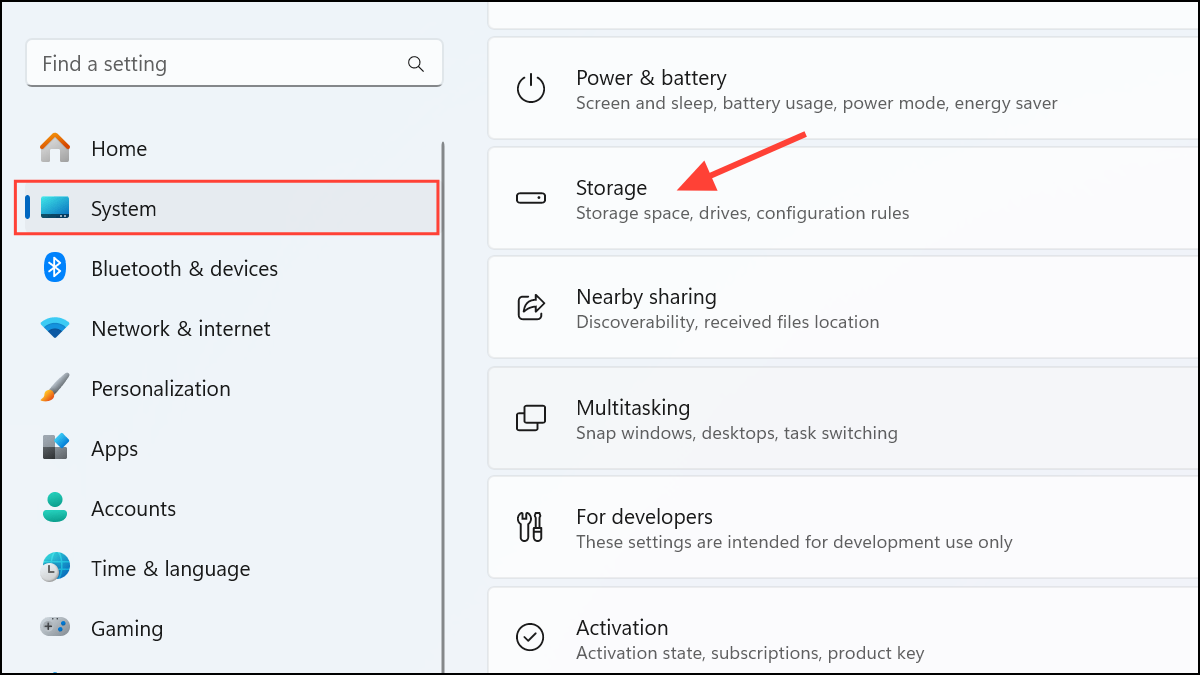
File History in Windows 11 regularly backs up important files like your documents, photos, music, videos, desktop files, and even offline OneDrive files. This built-in tool automatically saves different versions, allowing you to restore previous versions if your files become damaged, deleted, or lost. Here’s how you can quickly set up and use File History to safeguard your important data.
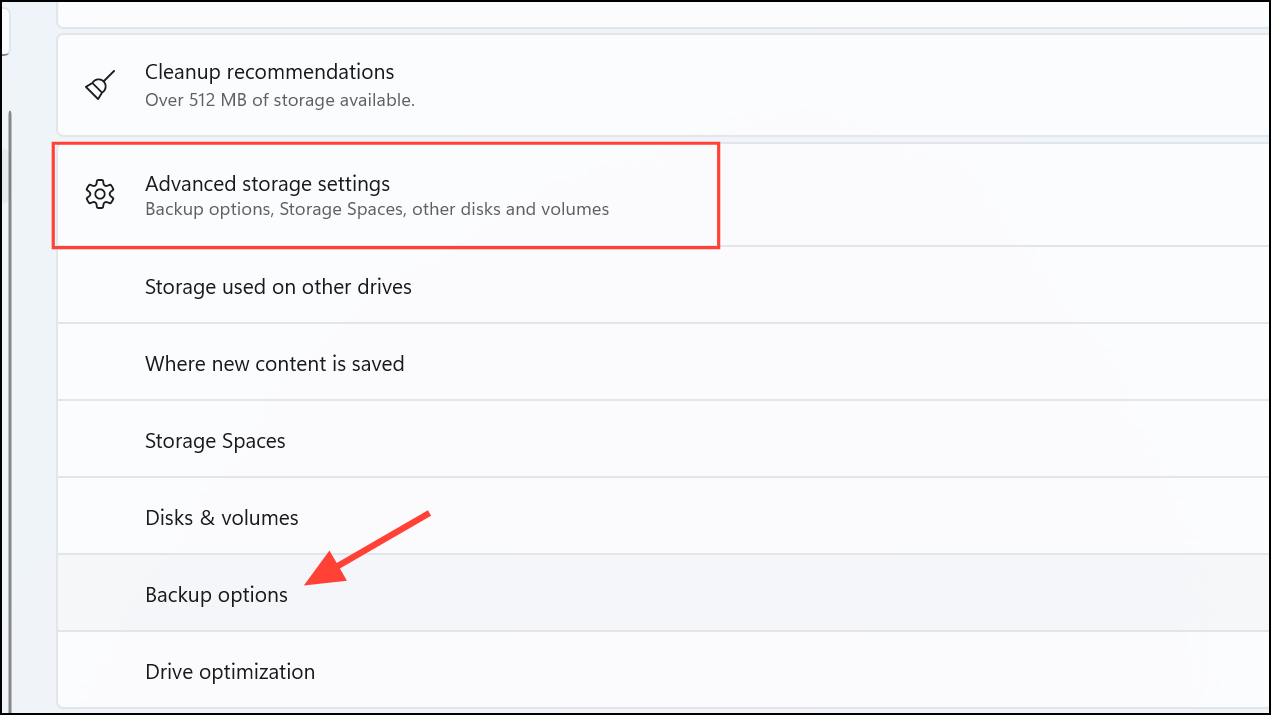
Connect an external storage device such as a USB flash drive or external hard drive to your computer. Alternatively, you can also use a network location to store your backups. Ensure your external storage has sufficient space to accommodate your files.
Under the “Backup using File History” section, click the option labeled Add a drive. Select your external drive or network location from the available options.
After selecting your backup drive, toggle the Automatically back up my files option to “On.” Your system will now periodically back up your files automatically.
To customize your backup settings, click on More options. Here, you can set how frequently File History backs up your files (e.g., every hour, daily), specify how long backups should be kept, and manually add or exclude specific folders from the backup process.
Note: You may not see the option to add a drive if you are using an offline personal account on your PC. For this, you may have to sign in to your Microsoft account or connect your work account.
Restoring Files from File History in Windows 11
If you accidentally delete or lose a file, or if you simply want to revert to an earlier version, you can easily restore files using File History. Again, you will need a work or Microsoft account to do so.
Browse through your backed-up files using the navigation arrows or the search bar to locate the file or folder you want to restore. You can also select a specific date and time from the timeline at the bottom of the window to access older versions of your files.
Select the file or folder you wish to recover, then click the green circular restore button at the bottom of the window. File History will restore the selected item to its original location, replacing any existing file with the same name.
Note: Restoring files from File History will overwrite current versions of files with the same name. If you want to keep your current version as well, make sure to manually copy or rename it before proceeding with the restore.
Regularly checking your File History settings and backups ensures your important files remain protected. With just a few clicks, you can significantly reduce the risk of losing critical data.