Accessing your Windows 11 PC remotely can be incredibly useful when you need to reach files or applications from a different location. With the Remote Desktop feature, you can control your PC from another Windows computer, or even from an Android, iOS, or macOS device.
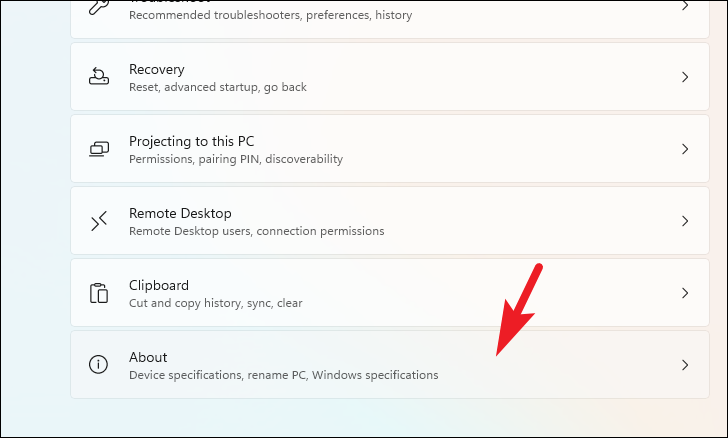
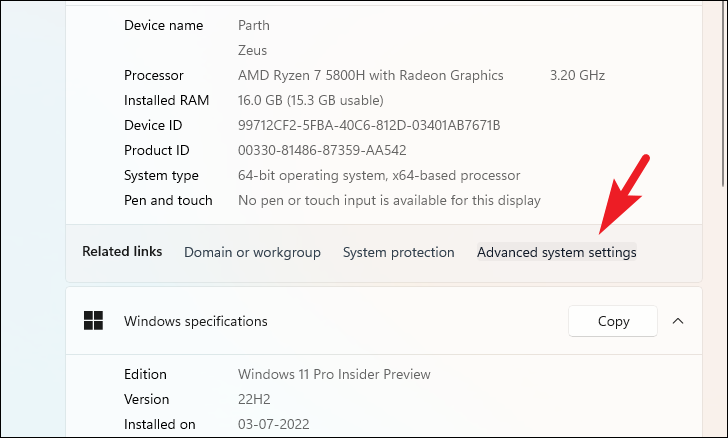
However, before you proceed, there are a couple of important points to consider. Firstly, Remote Desktop is only available on the ‘Pro’ edition of Windows 11. If you’re unsure about your Windows edition, you can check it in the Settings app. Secondly, the PC you want to access must be turned on and connected to the internet whenever you try to connect remotely.
Note: While the PC you’re accessing remotely must be running the Pro version of Windows, the device you’re using to connect can be running any edition of Windows or even a different operating system like Android or iOS.
Enable the Remote Desktop feature on your Windows device
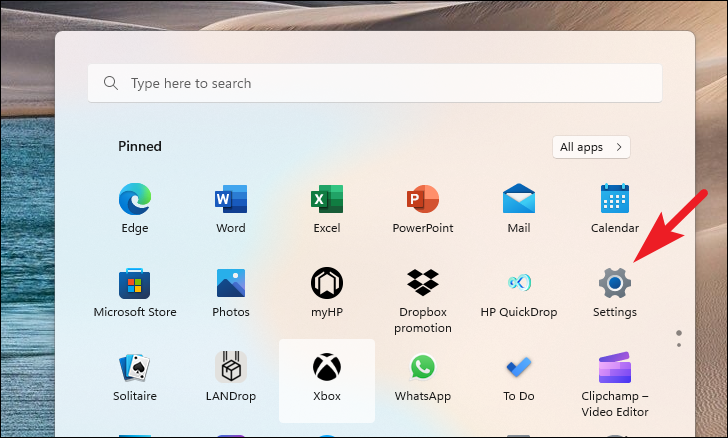
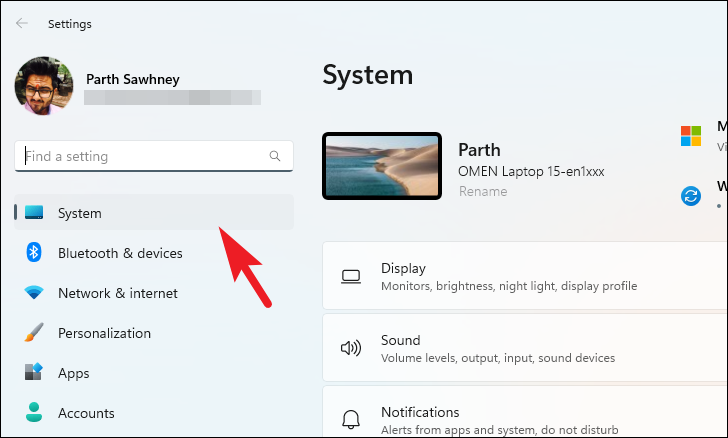
By default, Remote Desktop is disabled on your Windows 11 PC. You’ll need to enable it through the Settings app before you can use it for remote connections.
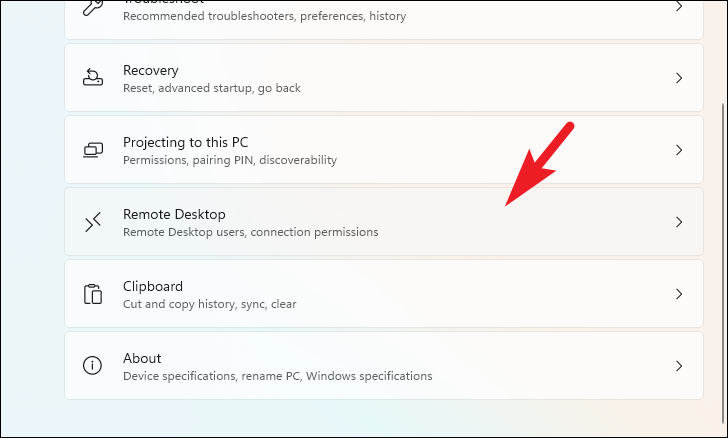
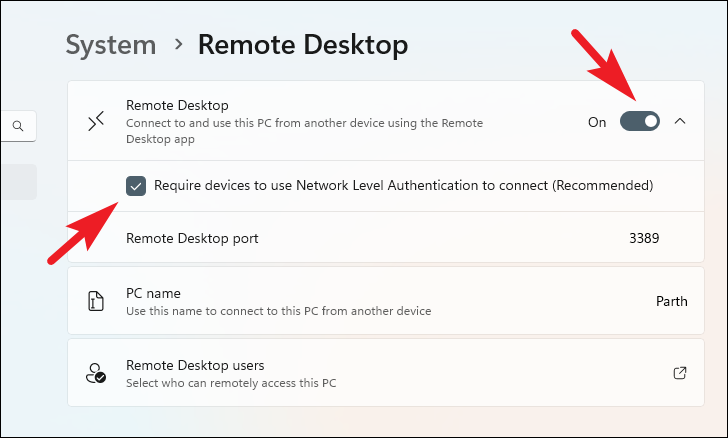


You have now successfully enabled Remote Desktop on your Windows 11 PC.
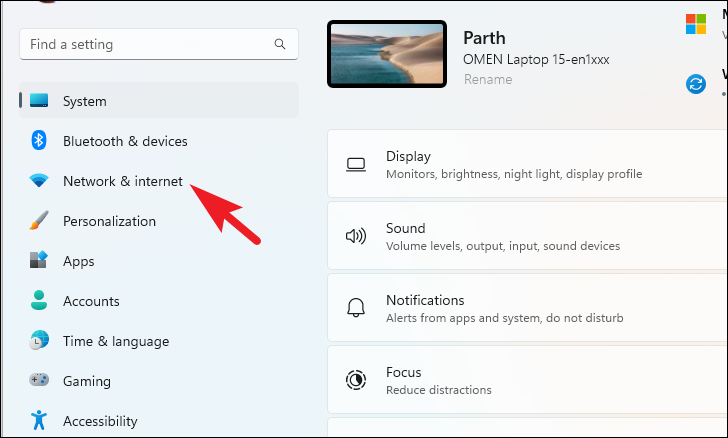
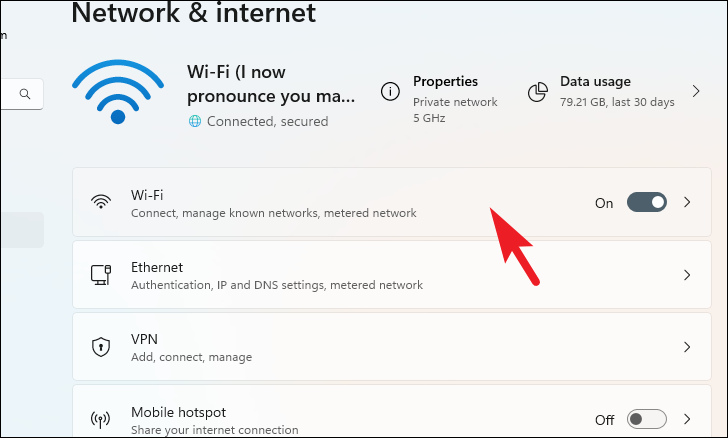
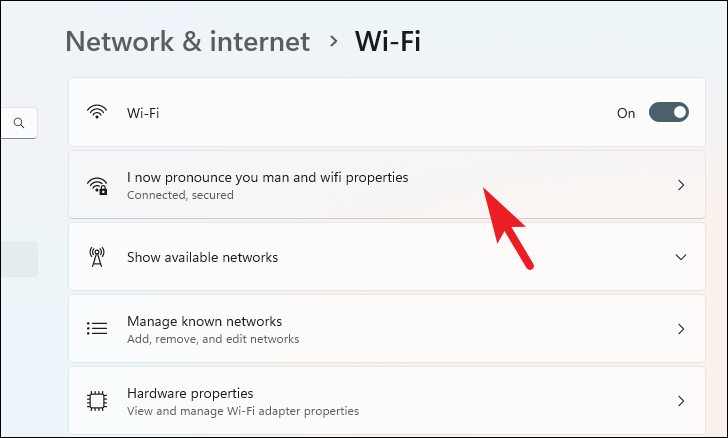
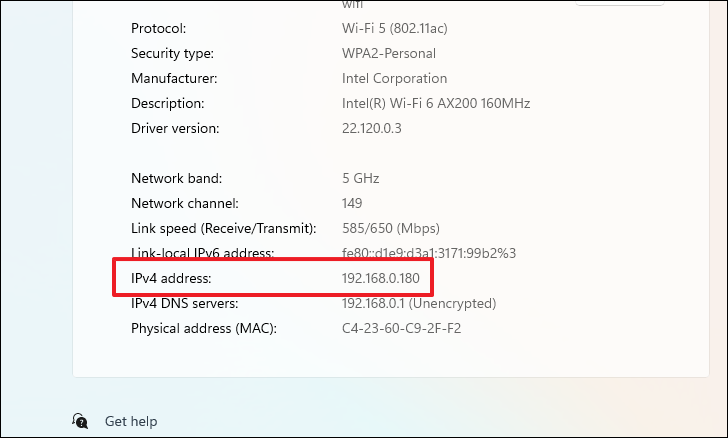
It’s also advisable to note down your PC’s IP address. This can be helpful if the remote connection cannot be established using just the PC name.
Note: The IP address may change if you restart your PC or router. Always ensure you have the current IP address before attempting a remote connection.
Connect to your Windows 11 PC remotely
There are several ways to connect to your Windows 11 PC remotely, depending on the device you’re using. We’ll cover how to connect from another Windows PC, as well as from Android, iOS, and macOS devices.
Connect using the Remote Desktop app for Windows
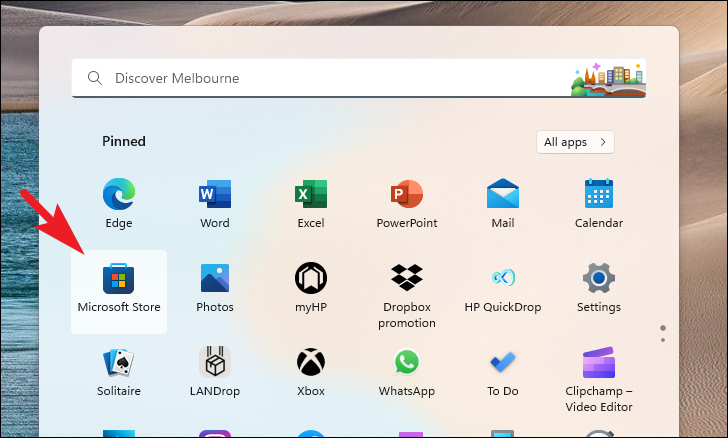
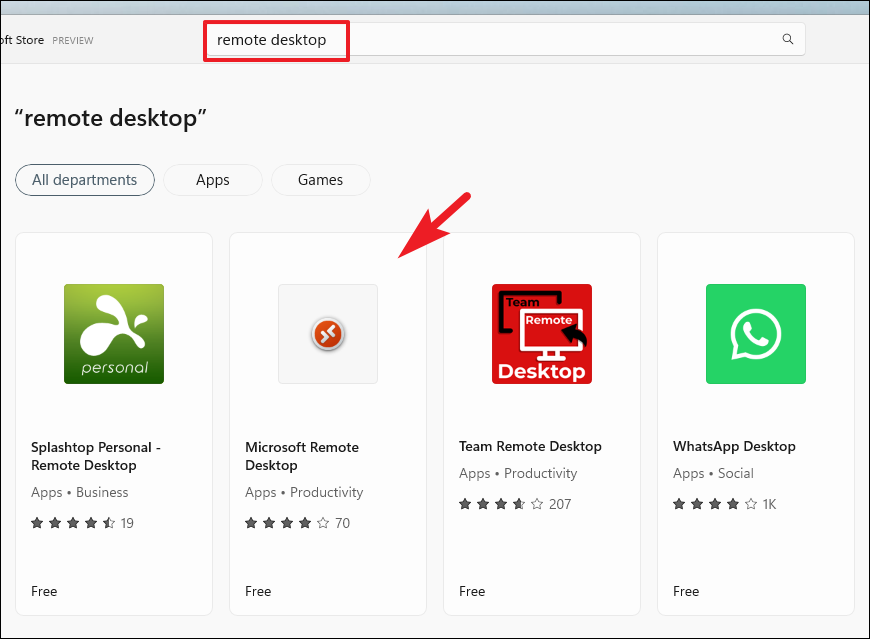
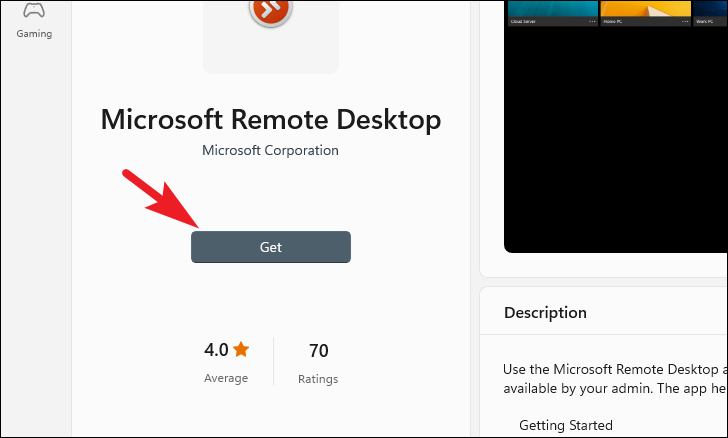
If you’re connecting from another Windows computer, you can use the Microsoft Remote Desktop app to establish the connection.
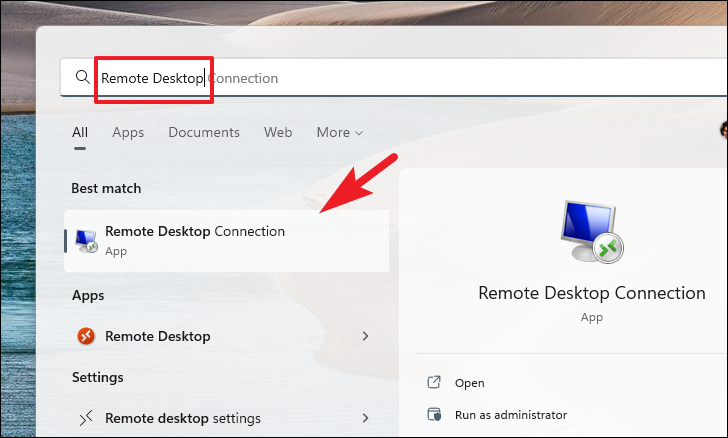
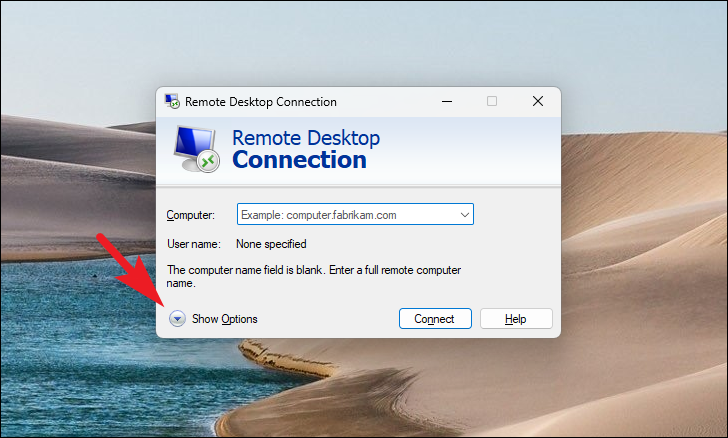
Connect using the Remote Desktop Connection app
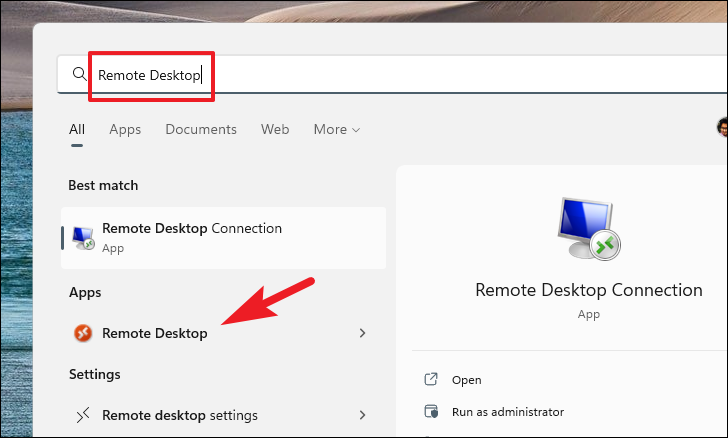
If you’re unable to use the Remote Desktop app, you can use the built-in Remote Desktop Connection tool.
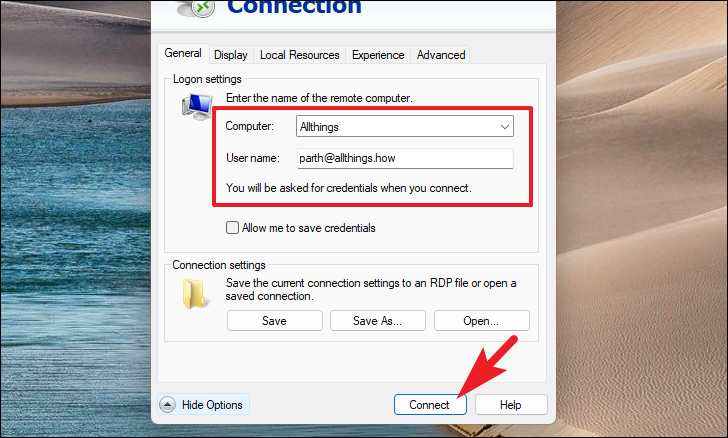
You will be prompted to enter your password for authentication. Once verified, you will gain remote access to your Windows 11 PC.
Connect using Android, iOS, and macOS devices
You can also connect to your Windows 11 PC from mobile devices and Mac computers by using the Remote Desktop app available on these platforms. The process to download the app varies by operating system, but the steps to connect are similar.
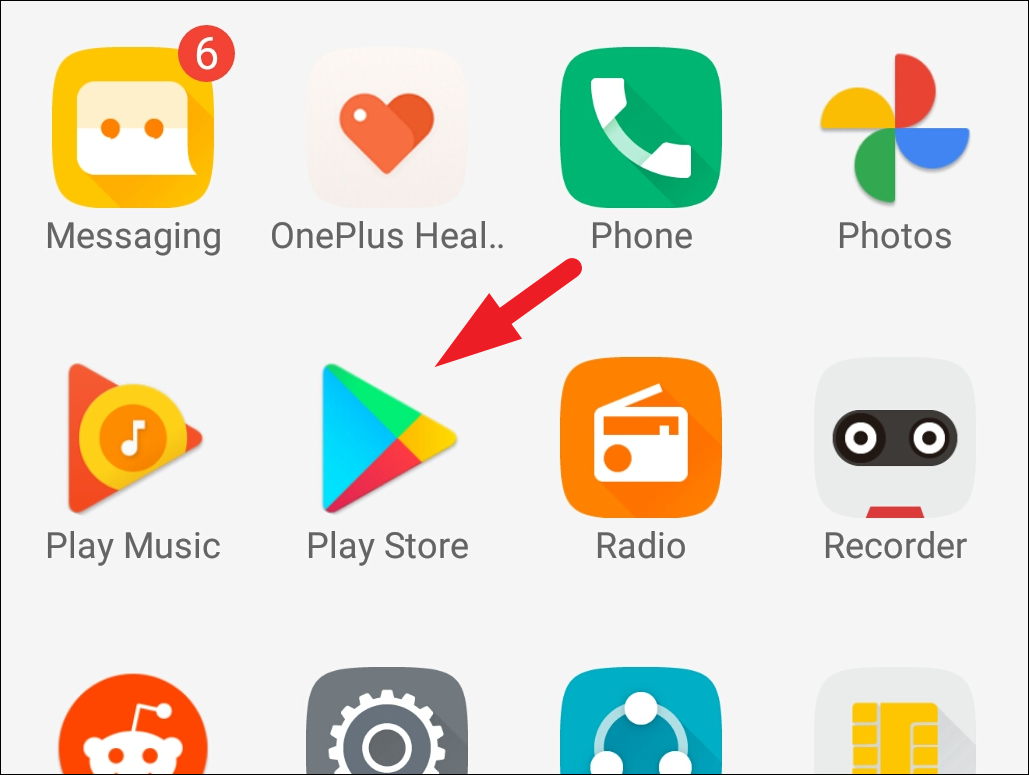
Download Remote Desktop on Android
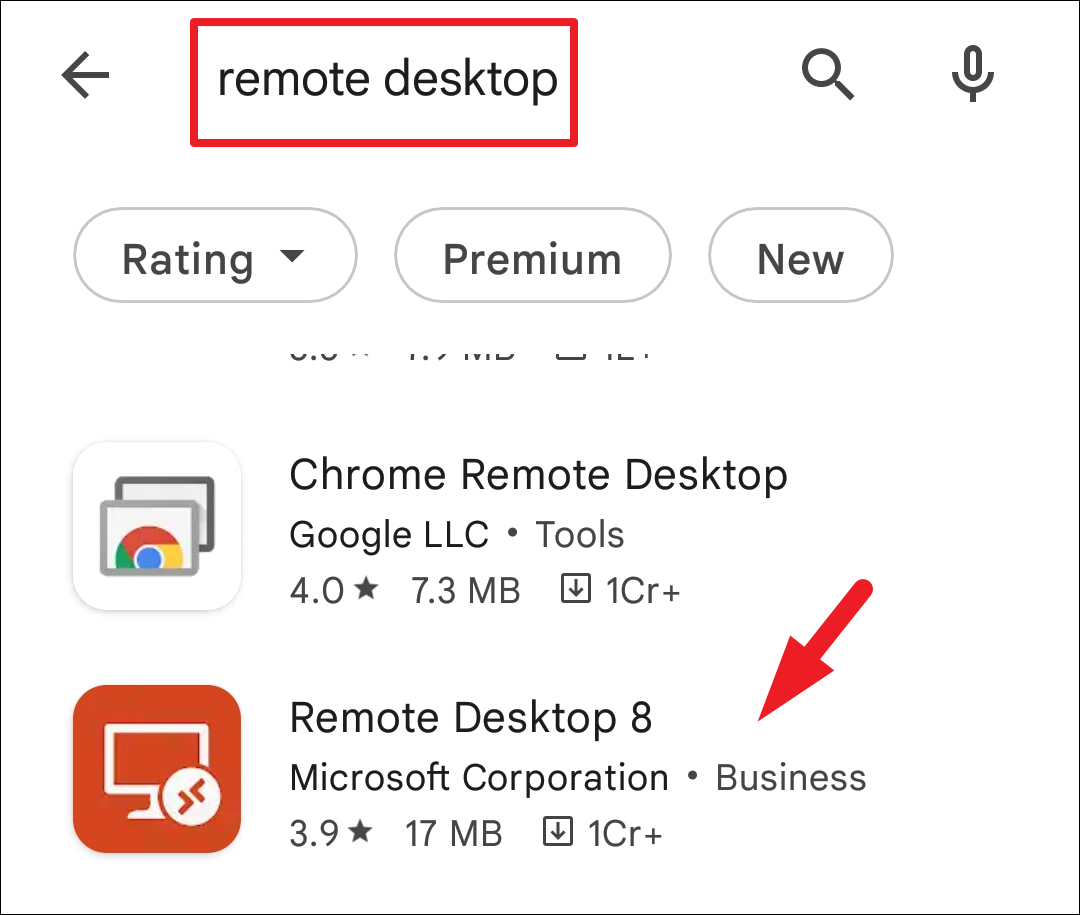
The app will be installed on your device and can be accessed from your home screen or app drawer.
Download Remote Desktop on iOS

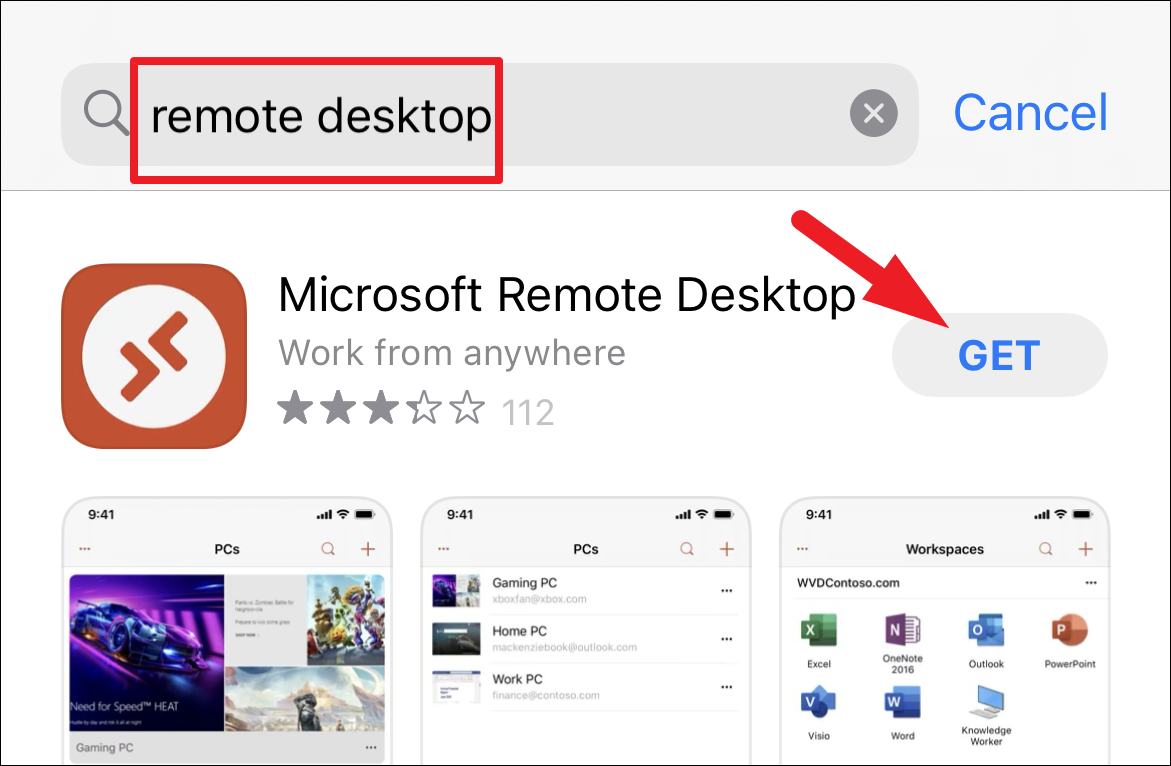
After installation, the app will appear on your home screen.
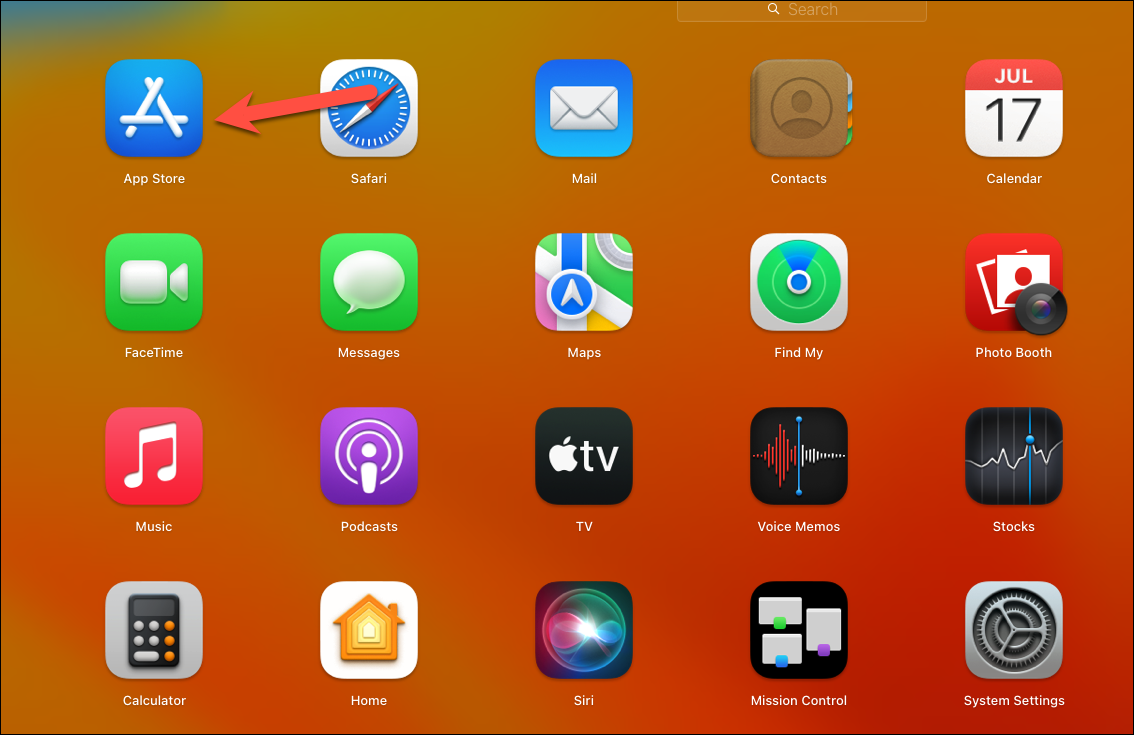
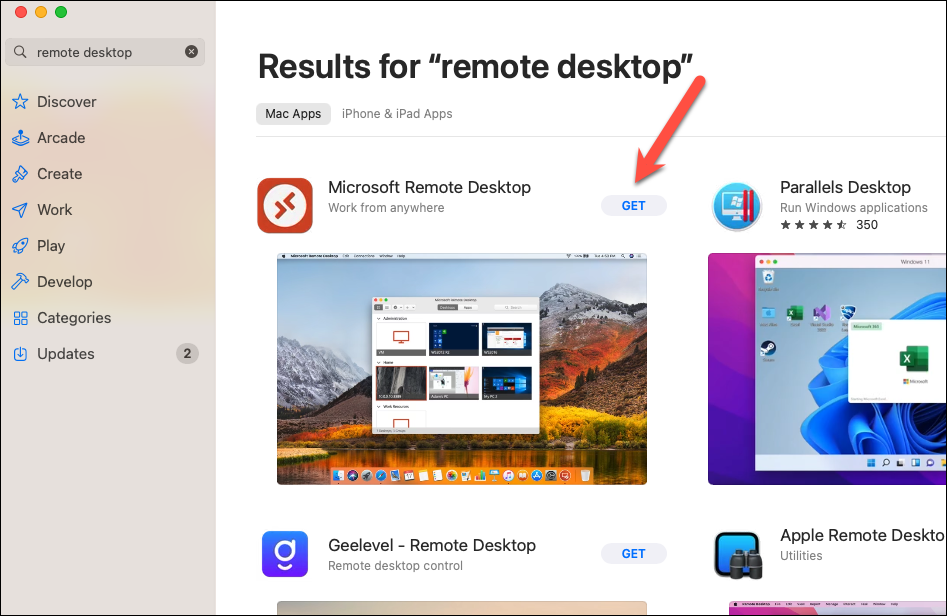
Download Remote Desktop on macOS
Initiate the remote connection using the app
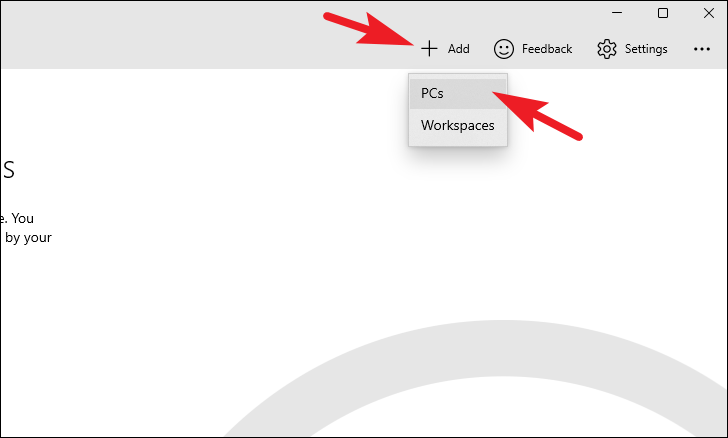
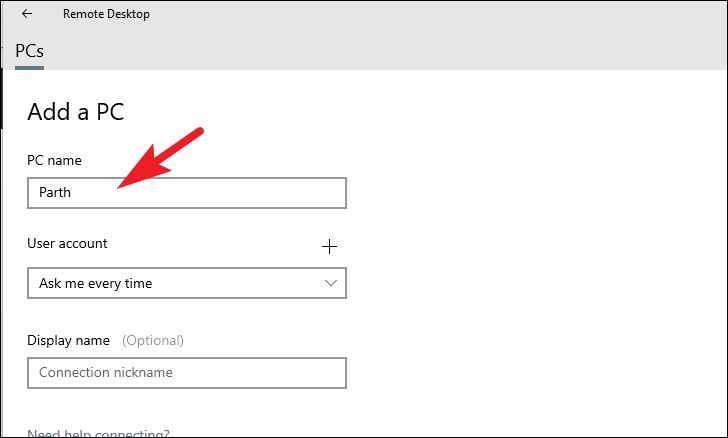
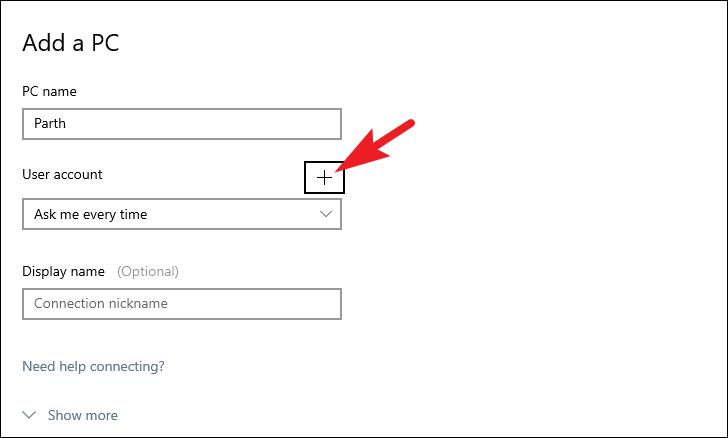
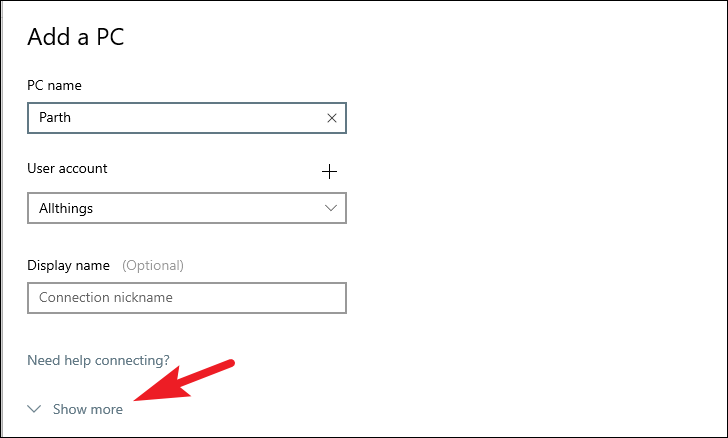
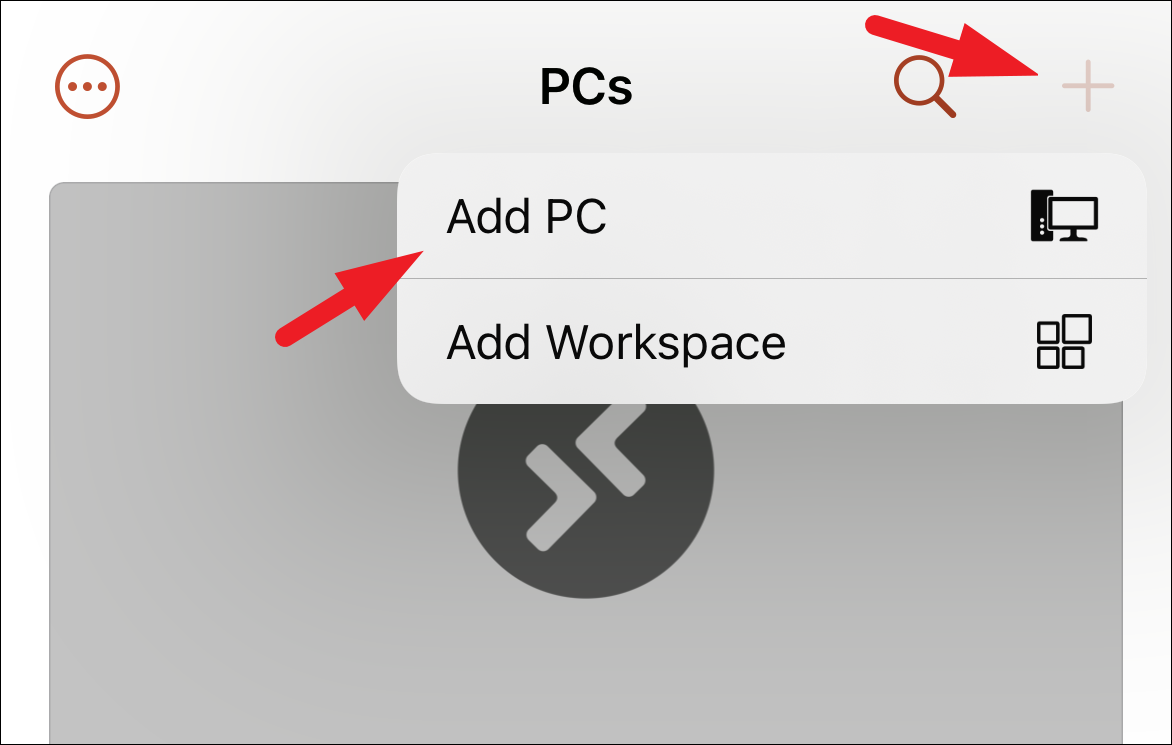
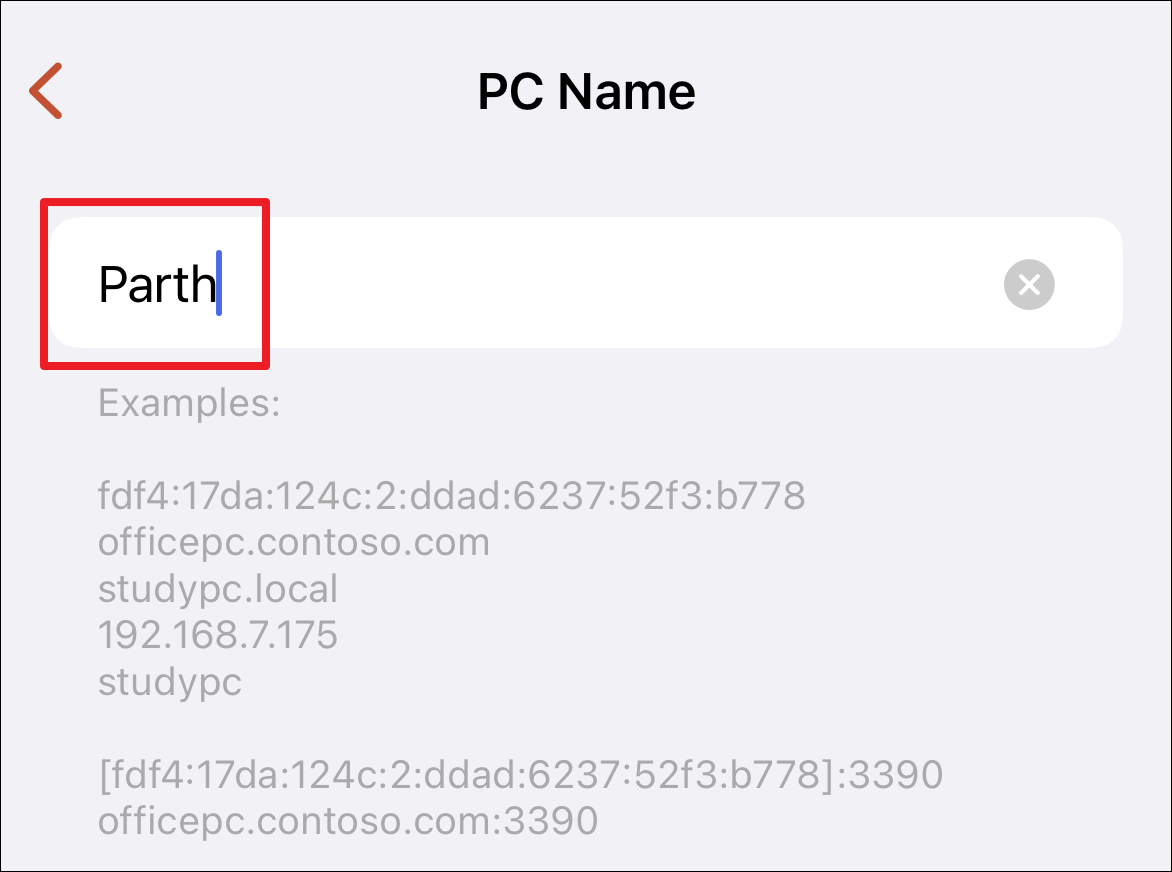
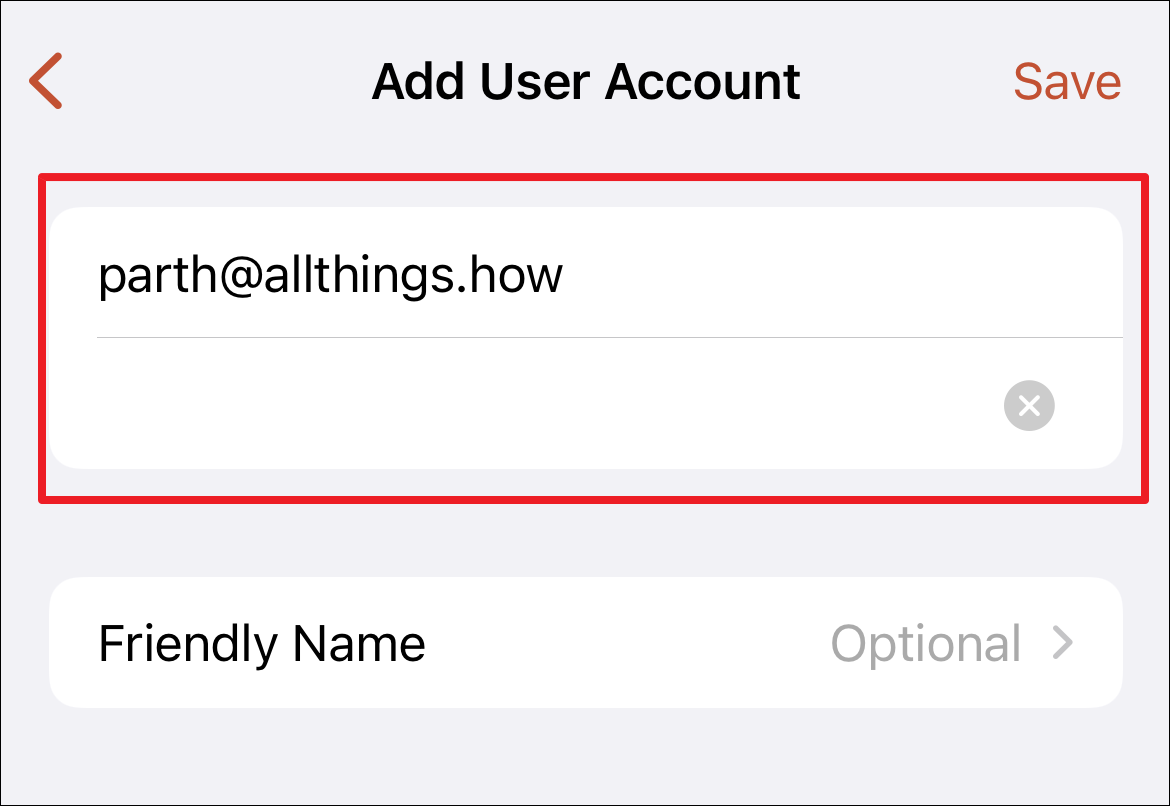
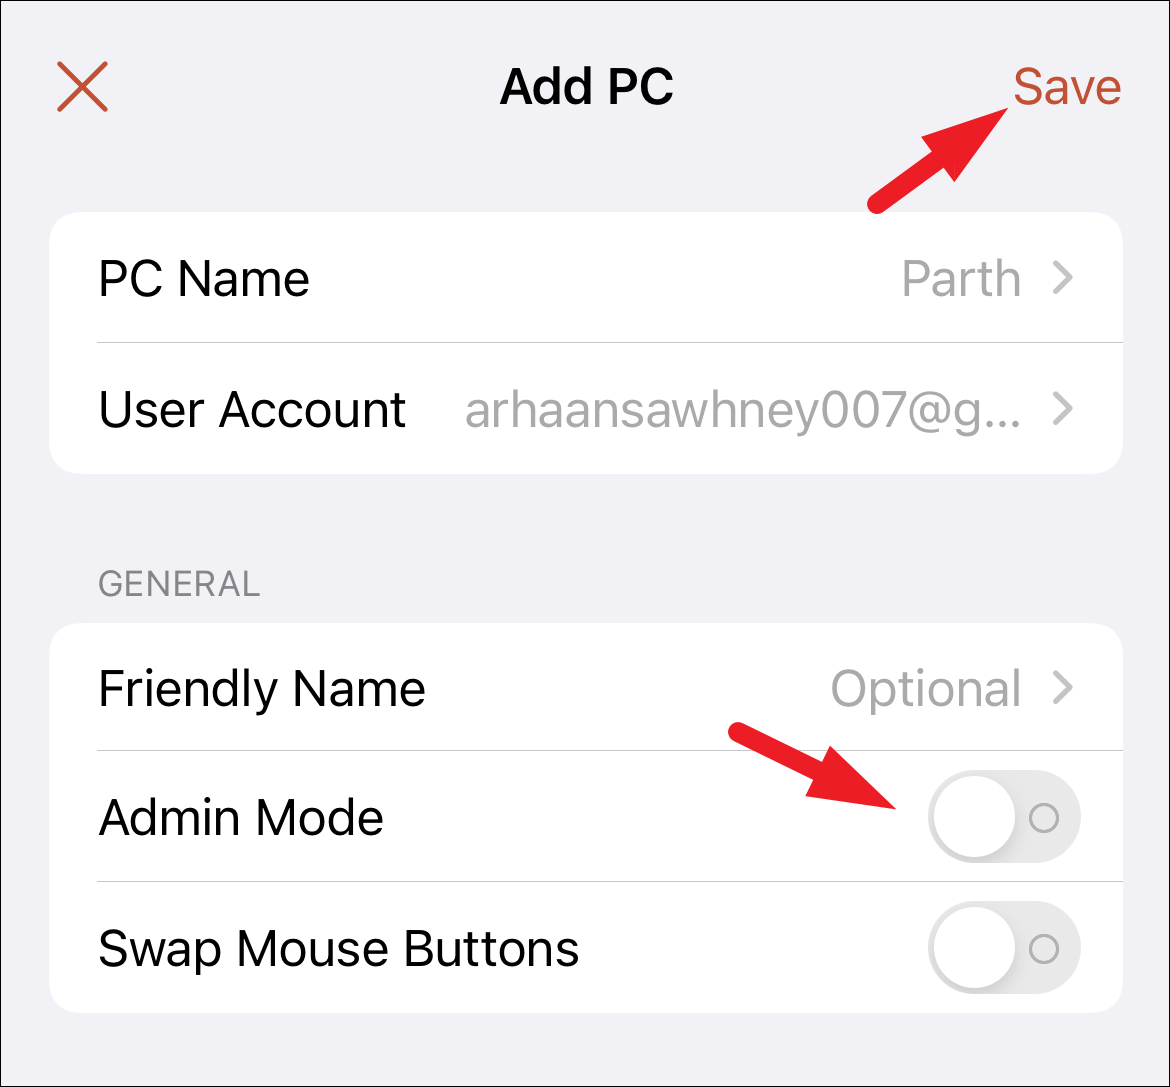
Once you’ve installed the Remote Desktop app on your device, you can set up a connection to your Windows 11 PC.

Once connected, you’ll see your Windows 11 desktop on your device, allowing you to control it remotely.
Operate your PC using your mobile device efficiently
Using the Remote Desktop app on a mobile device may feel different from using it on a PC. Here are some tips to help you navigate and control your PC effectively.
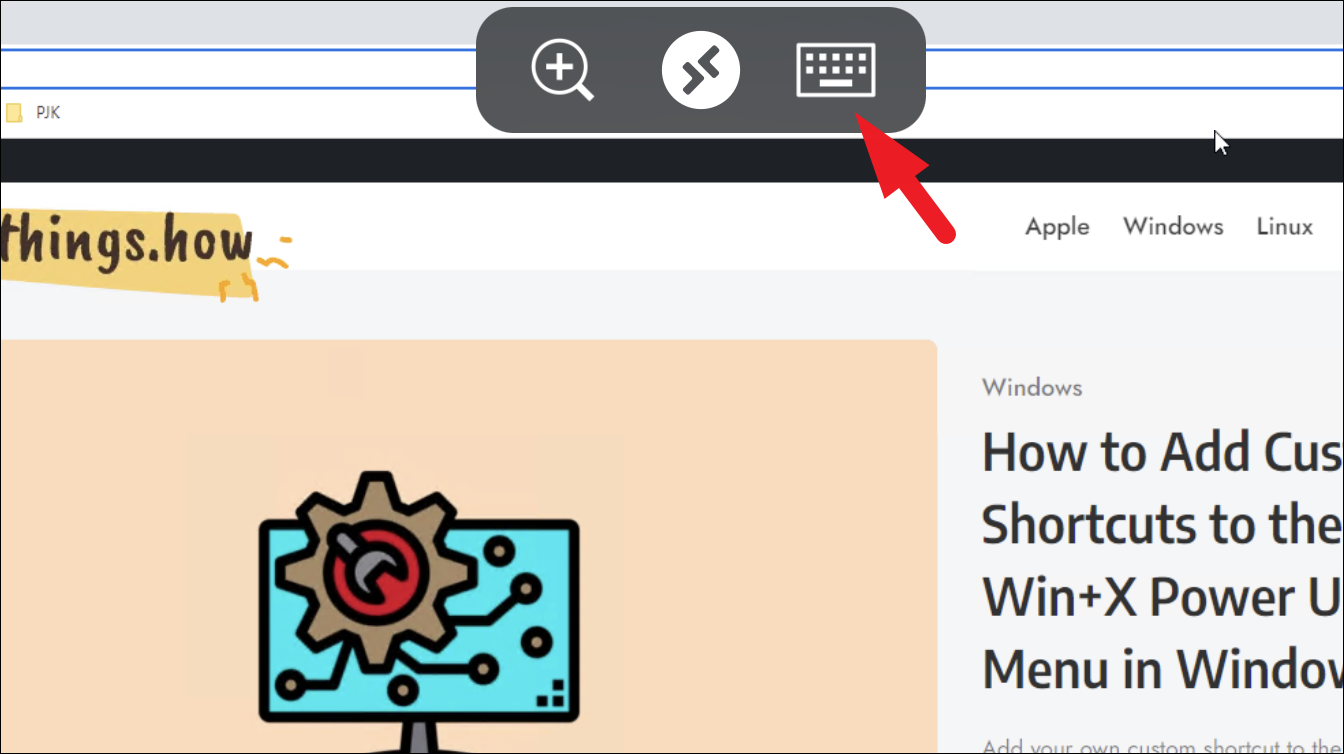
To activate the on-screen keyboard, tap the keyboard icon in the top toolbar. This allows you to input text as needed.
For keyboard shortcuts, tap the special key you need on the toolbar above the keyboard, then tap the shortcut key.
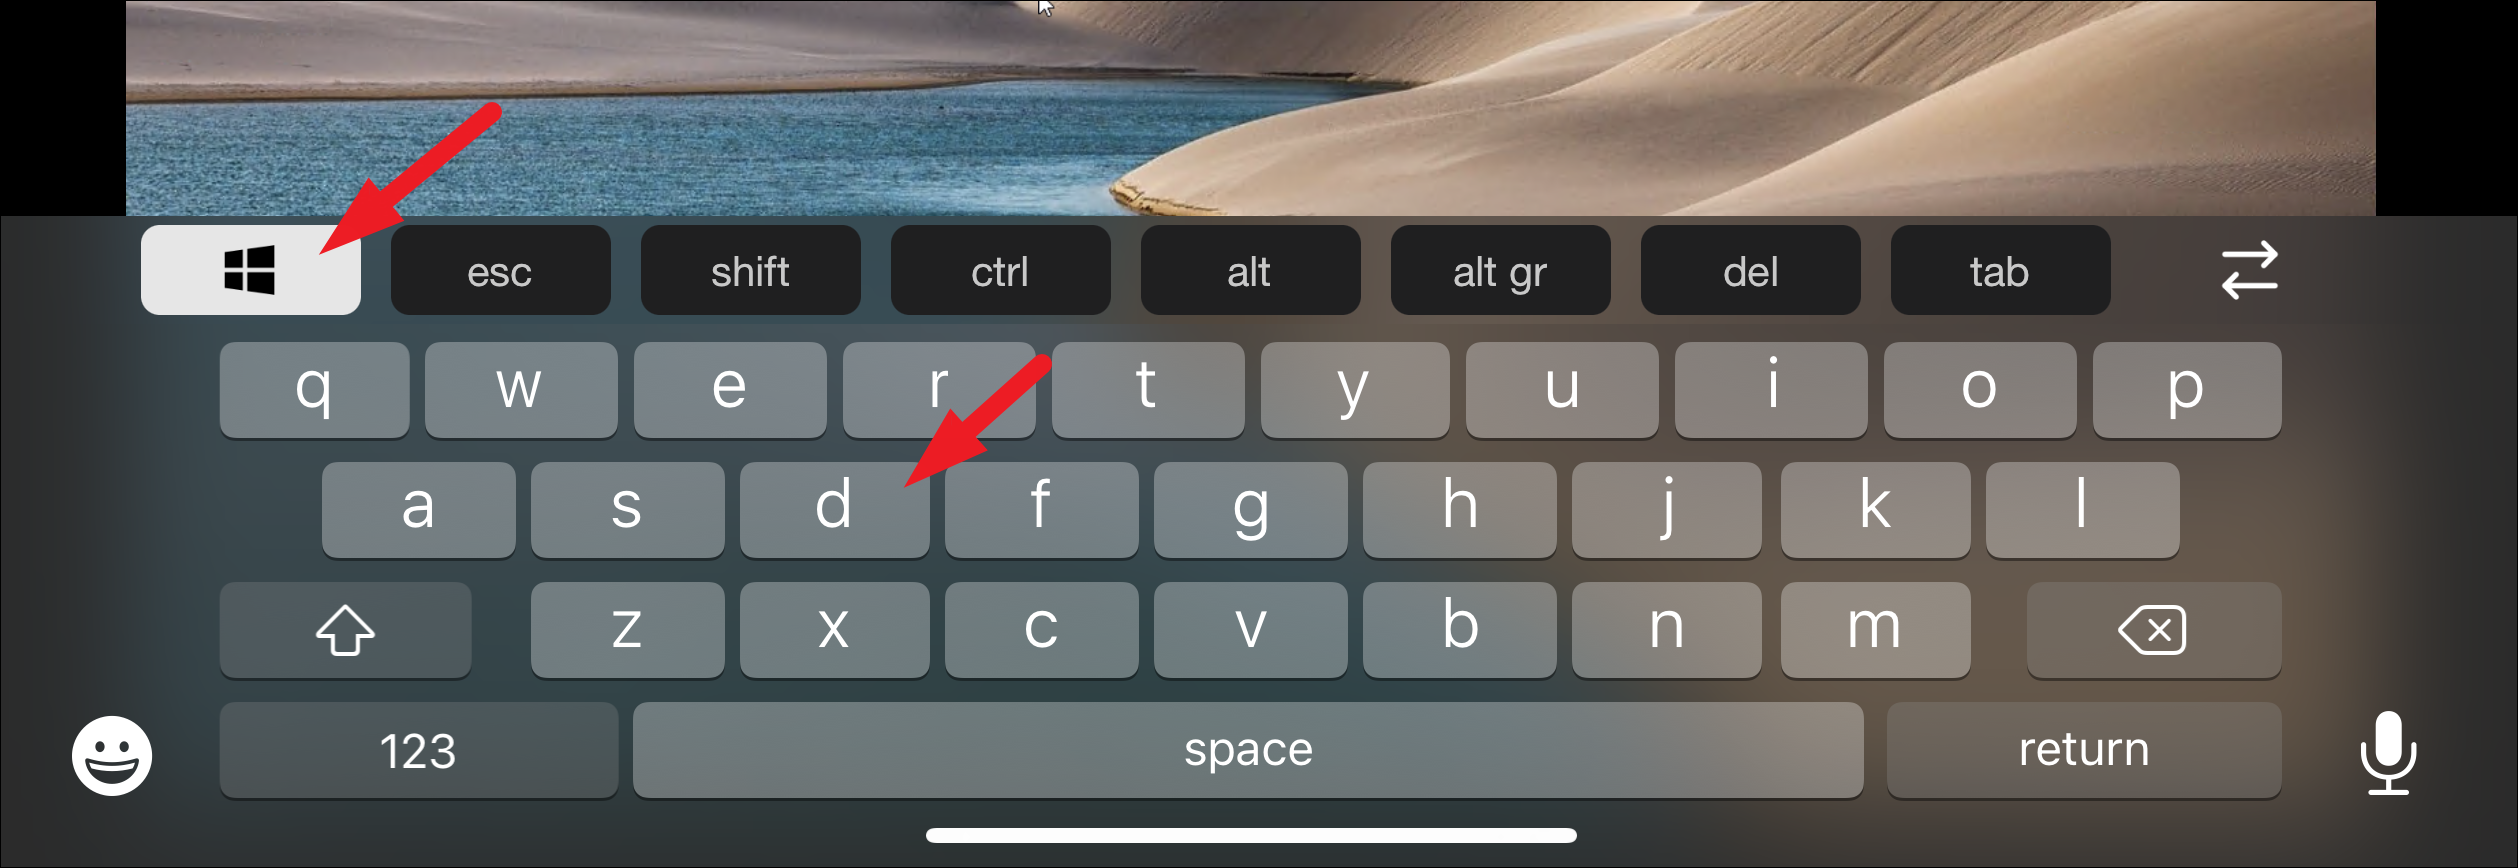
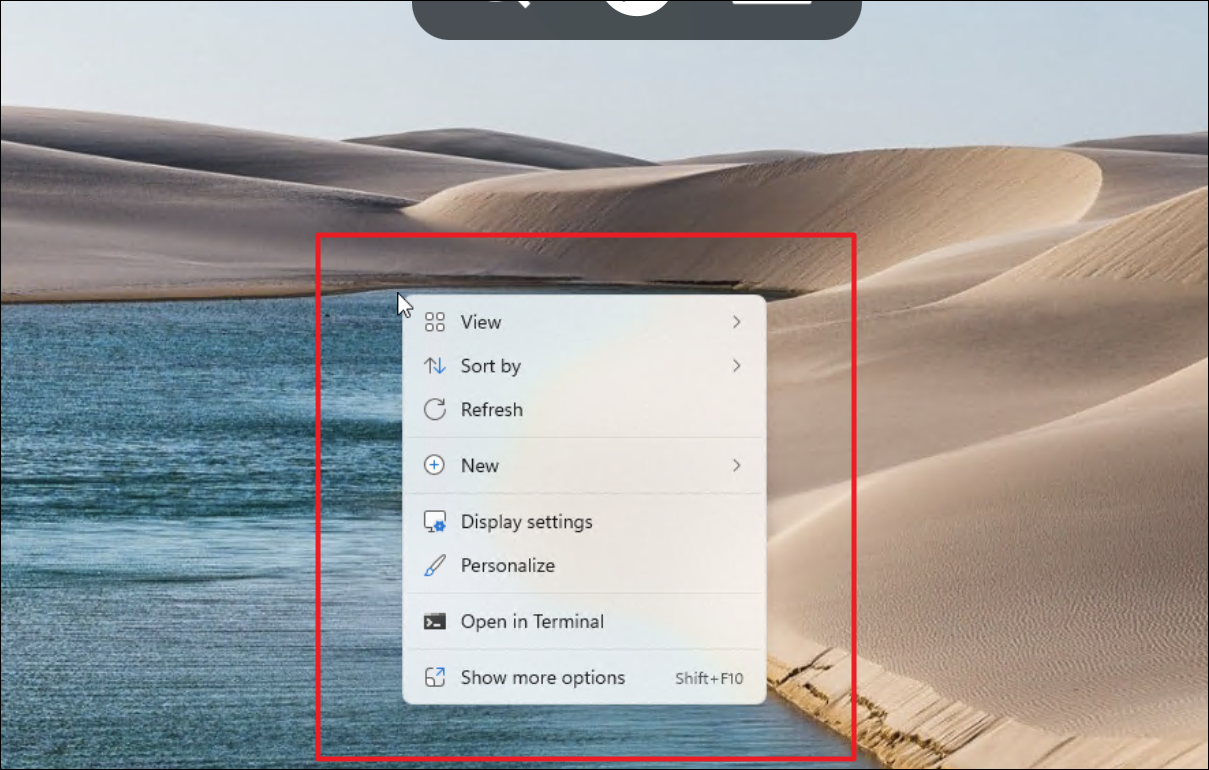
Windows + D to show the desktop.To perform a right-click, do a two-finger tap on the screen.
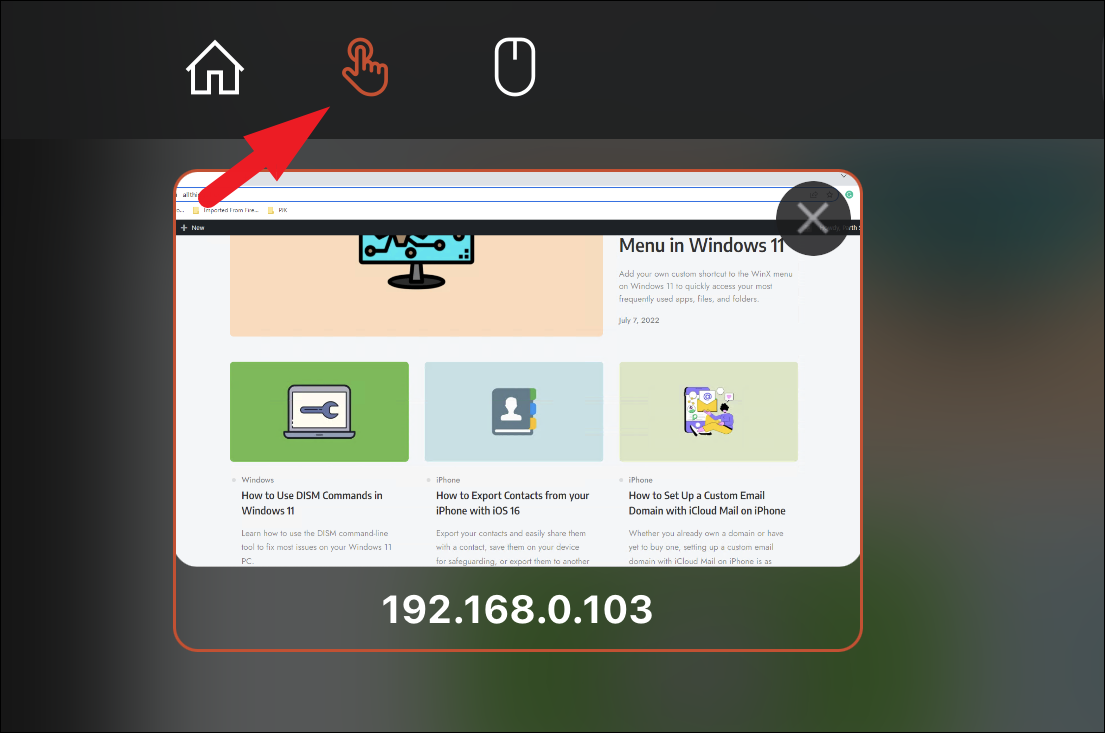
To switch between mouse and touch input, tap the ‘Remote Desktop’ icon in the toolbar, then tap the hand icon to switch to touch mode, which allows you to scroll and interact using touch gestures.
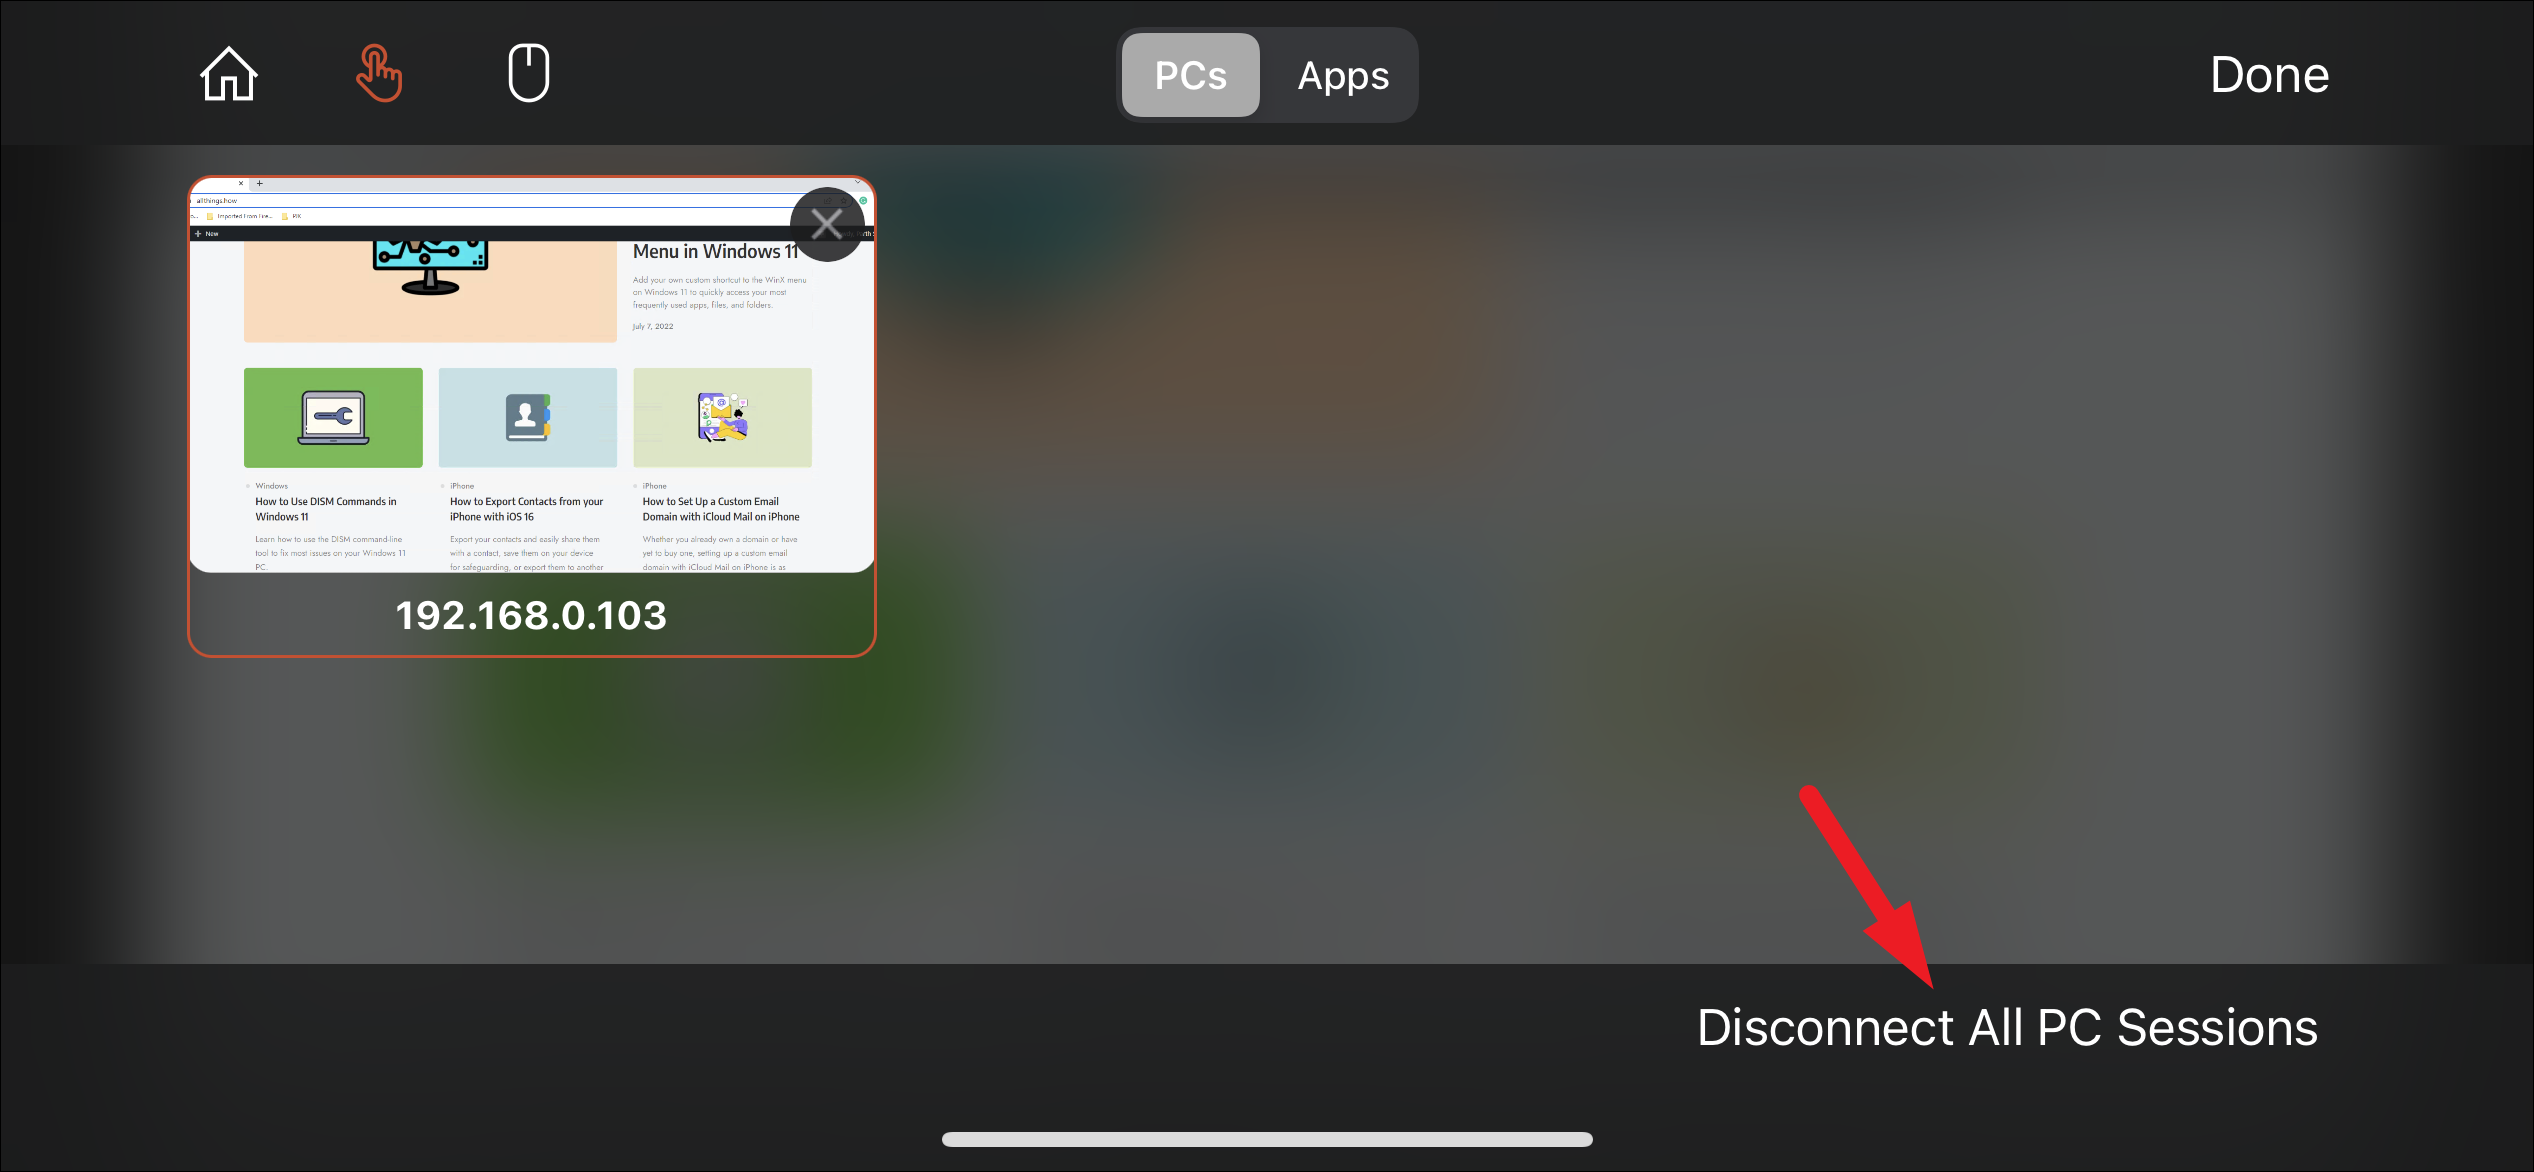
To disconnect the remote session, tap the ‘Remote Desktop’ icon and select ‘Disconnect All PC Sessions’ to end the connection.
By following these steps, you can easily set up and use Remote Desktop to access your Windows 11 PC from virtually any device.


