
Assisting someone with computer issues is a breeze when you’re physically present. However, remote troubleshooting over the phone can quickly become a frustrating experience filled with miscommunications and confusion. Thankfully, Windows 11 offers a solution called Quick Assist that enables users to remotely access another person’s computer, making it much easier to provide assistance.
What is Quick Assist in Windows 11
Quick Assist is a built-in feature in Windows 11 (also available in Windows 10) that enables a user to remotely access and control another person’s computer. This tool facilitates a remote connection, allowing one user to assist another with troubleshooting issues directly on their PC. While it shares similarities with the older Windows Remote Assistance tool, Quick Assist offers enhanced features such as the ability for the helper to use their own keyboard layout and a pause function during the assistance session.
Whether you’re offering help or in need of support, Quick Assist makes the remote assistance process straightforward and user-friendly.
Using Quick Assist in Windows 11
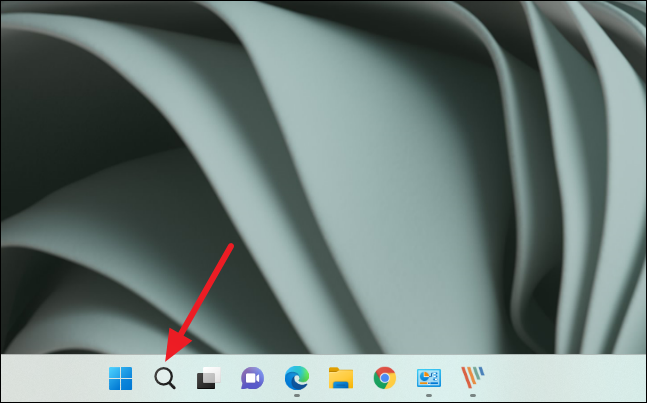
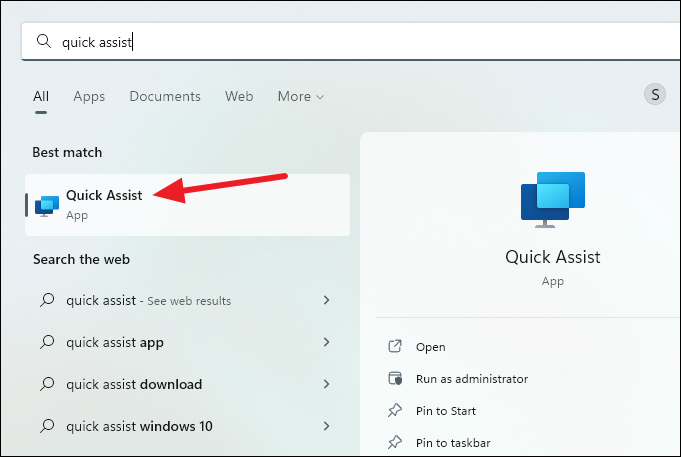
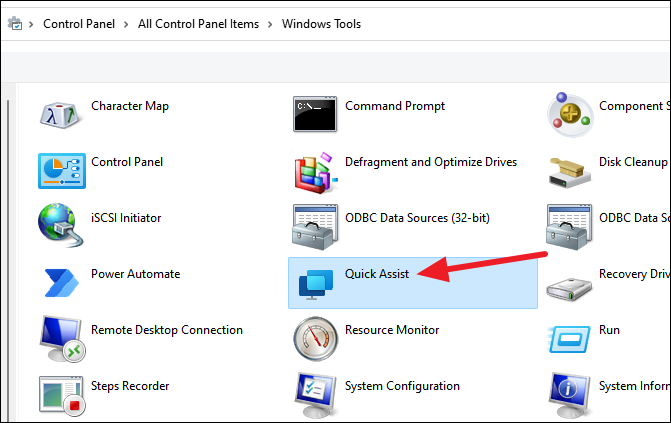
To use Quick Assist, you don’t need to install any additional software—it’s built right into Windows 11. However, locating the app can be a bit tricky since Microsoft has moved it in this version of Windows. The easiest way to open Quick Assist is through the Search function.
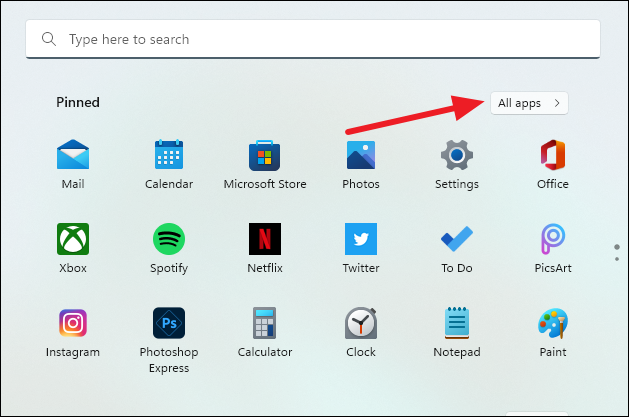
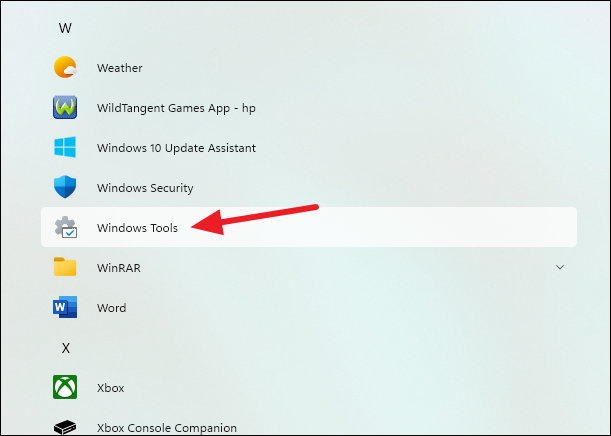
If for some reason the Search function isn’t available, you can access Quick Assist via the Start menu.
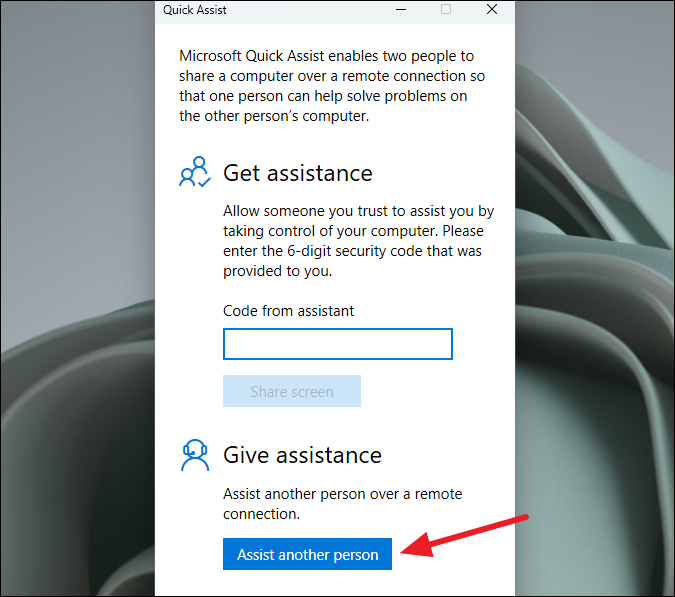
Now that you have Quick Assist open, you can proceed to either offer assistance or request help.
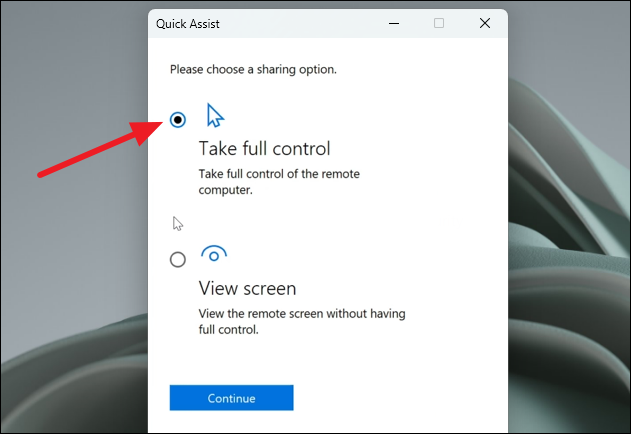
Using Quick Assist to help someone
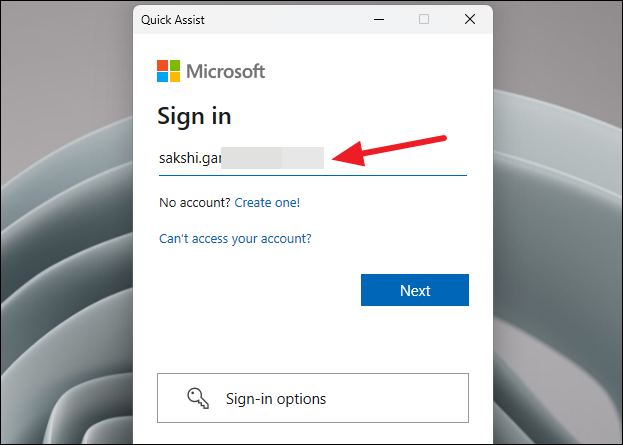
If you’re providing assistance to someone else, follow these steps to connect to their computer.
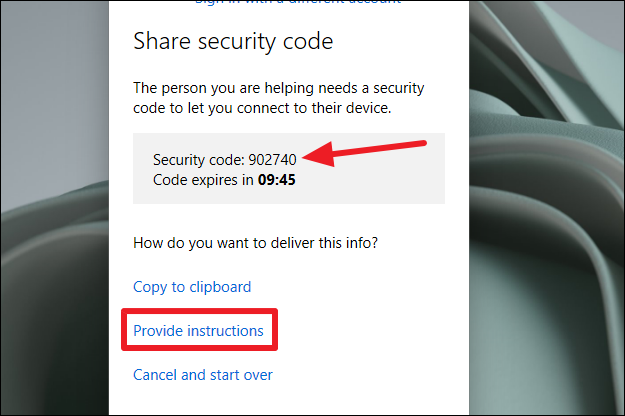
Note: The security code expires in 10 minutes, so make sure the person you’re helping is ready to proceed before generating it.
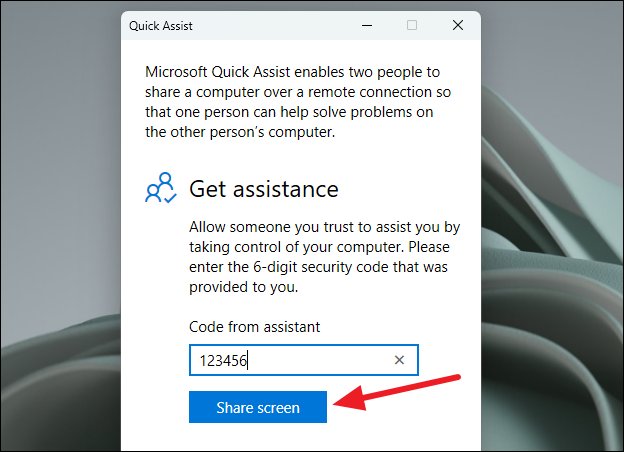
Using Quick Assist to get help
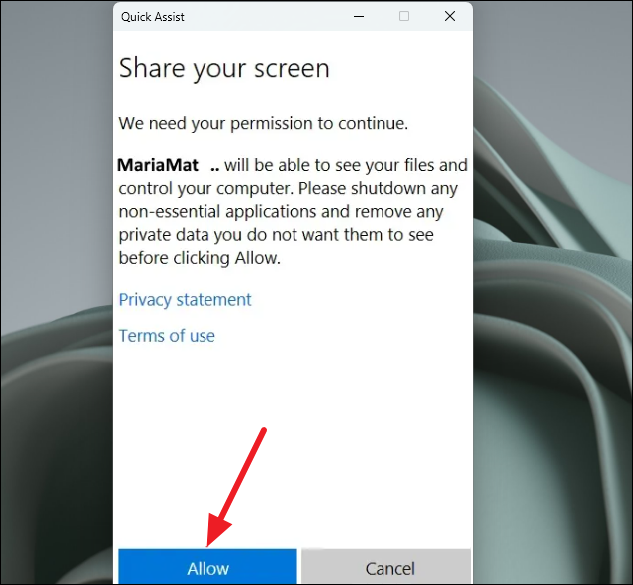
If you’re seeking assistance from someone else, it’s important to ensure that you trust the person before allowing them access to your computer. Scammers may attempt to gain control of your system under false pretenses. Before proceeding, close any personal or sensitive documents and applications to protect your privacy.
Note: If you suspect any malicious activity or if the request seems unexpected, click on the ‘Report abuse’ link and then select ‘Cancel’ to terminate the session.
Quick Assist simplifies the process of remote assistance on Windows 11, making it accessible and straightforward for users of all levels. Whether you’re helping someone troubleshoot an issue or seeking support yourself, Quick Assist provides a secure and efficient way to navigate remote assistance.


