The new Widget support for Home Screen in iOS 14 can definitely be called a fan favorite. I’m willing to bet when Apple concocted these data-rich customizable Widgets for Home screen, in the shape and form they now exist, they couldn’t have imagined what a role they will play in improving the aesthetics of our iPhones.
And yet, here we are! People are going bananas over all the ways they can arrange their home screens artfully using the differently sized widgets. But of course, no one’s stopping there. Even though Apple kinda dropped the bomb with the release of iOS 14 with just a day’s notice, many developers pushed their apps out in time. One such app that’s gotten hugely popular is Widgetsmith.
If you’ve been perusing the social media for inspiration for iPhone Home screen aesthetics, there’s no way you haven’t come across Widgetsmith on some of those posts. And now you want in on the action too. We get it. That’s why we’ve compiled a rundown of how to use this app – just for you!
Using Widget Smith for Custom Widgets
To create new widgets using the Widgetsmith app, first go to the App Store, search for ‘Widgetsmith’ and install the app on your iPhone. Or, click on the link below to hop over there in a jiffy.
Now, creating a widget with Widgetsmith is a two-part process. First, you need to create and customize the widget you want from the app. Then, you add it to your Home Screen.
Creating a Widget in the Widgetsmith app
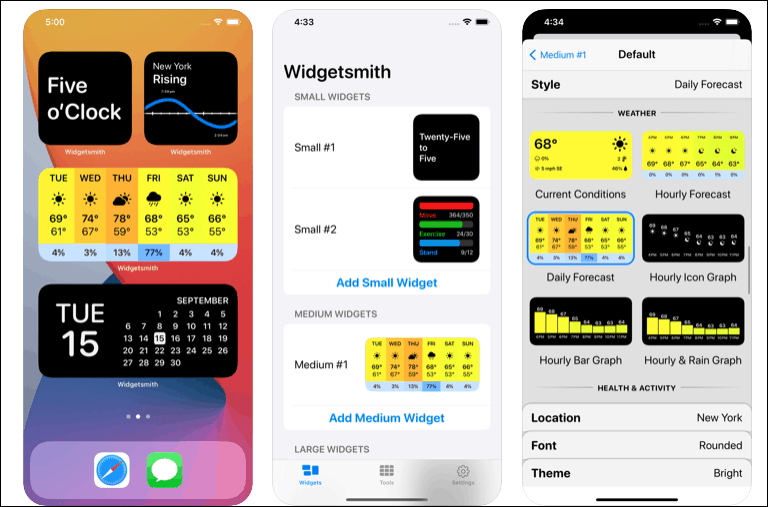
So, first, open the app. The Widgets tab will open. In the vein of the three different sized widgets that Apple now allows you to add to your Home Screen, you can create a small, medium, or large widget in Widgetsmith too. For the sake of this guide, let’s create a small widget.
Tap on the ‘Add Small Widget’ under the Small #1 widget.
A Small #2 widget will be created. Tap on it to open and customize it.
By default, the date widget will be selected. Tap on the ‘Default Widget’ option.
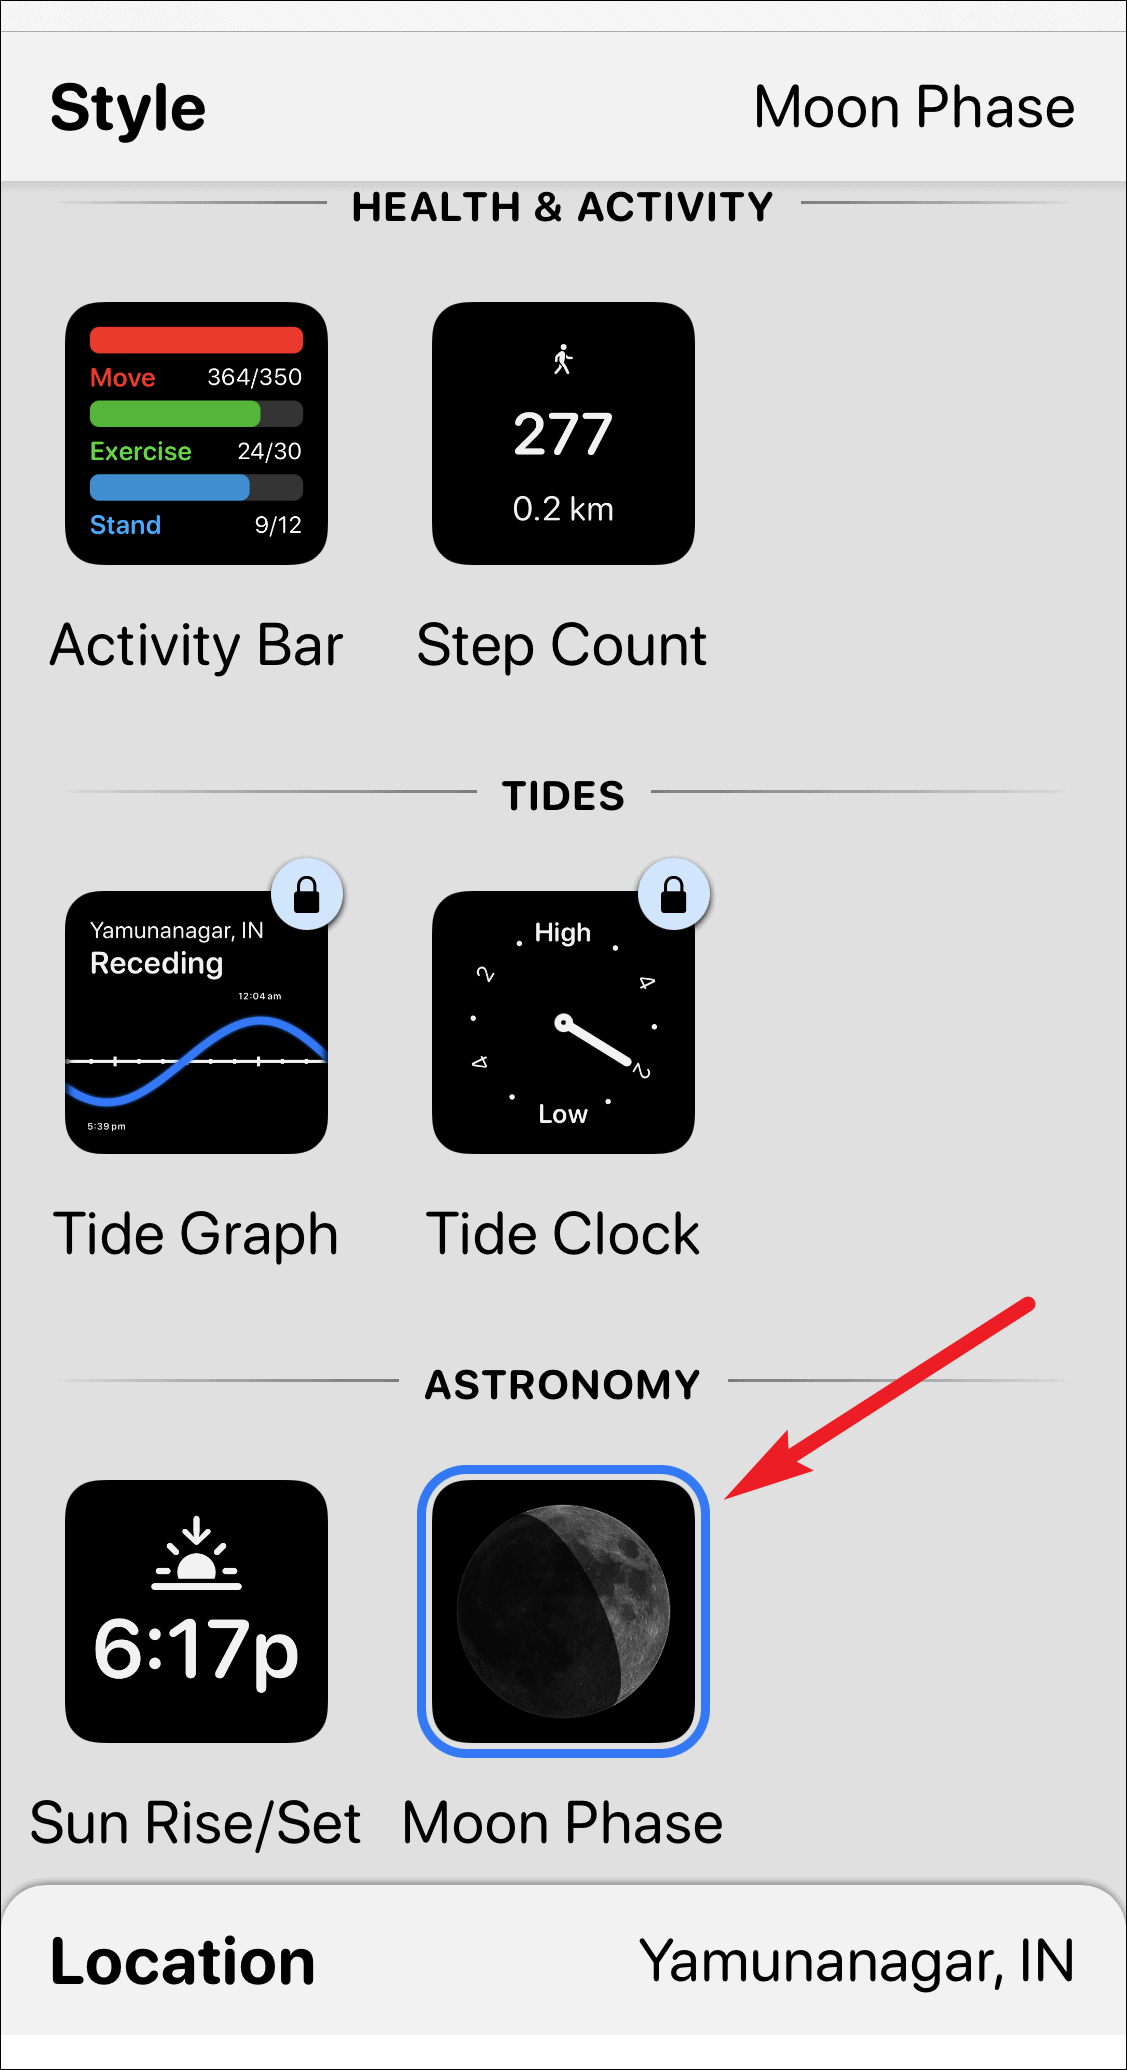
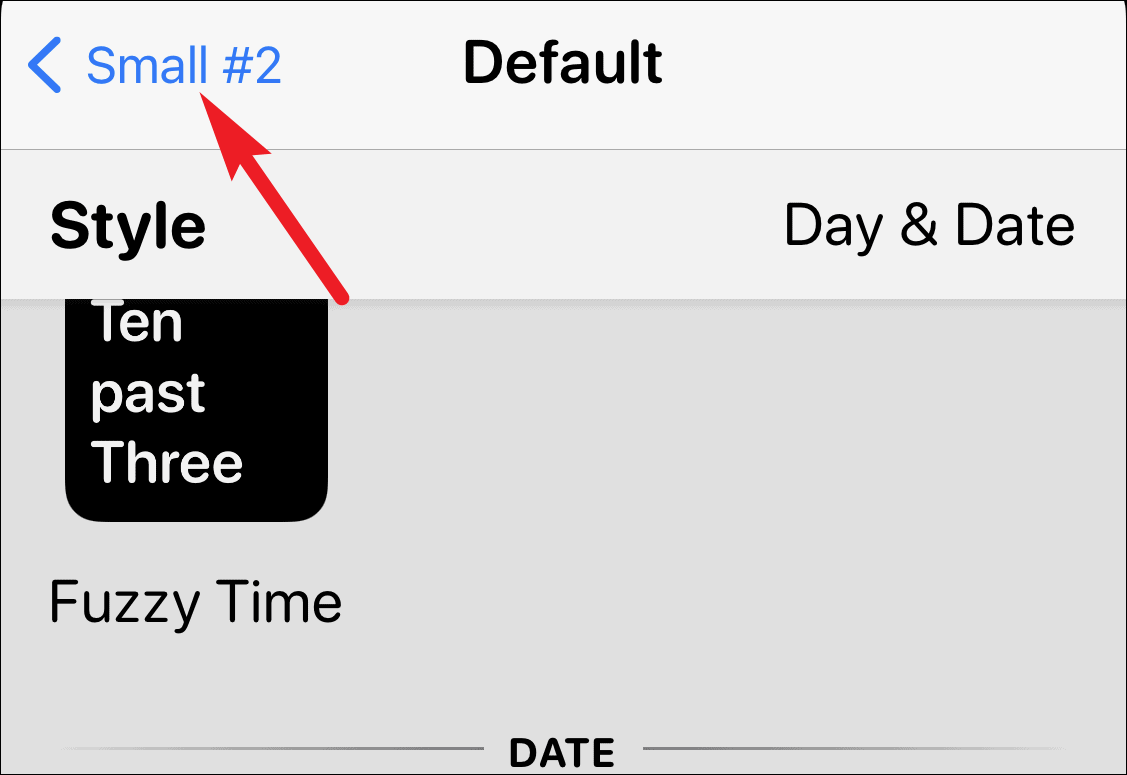
The ‘Style’ option will open. Scroll up or down to select one of the other styles from Time, Calendar, Reminders, Health & Activity, or Astronomy. Premium subscribers can also access Weather & Tide Widgets. There’s also a ‘Custom’ category that lets you add a photo or text as a Widget. Learn how to add a single photo as a widget, and not the ‘Featured Photo’ widget from Apple.
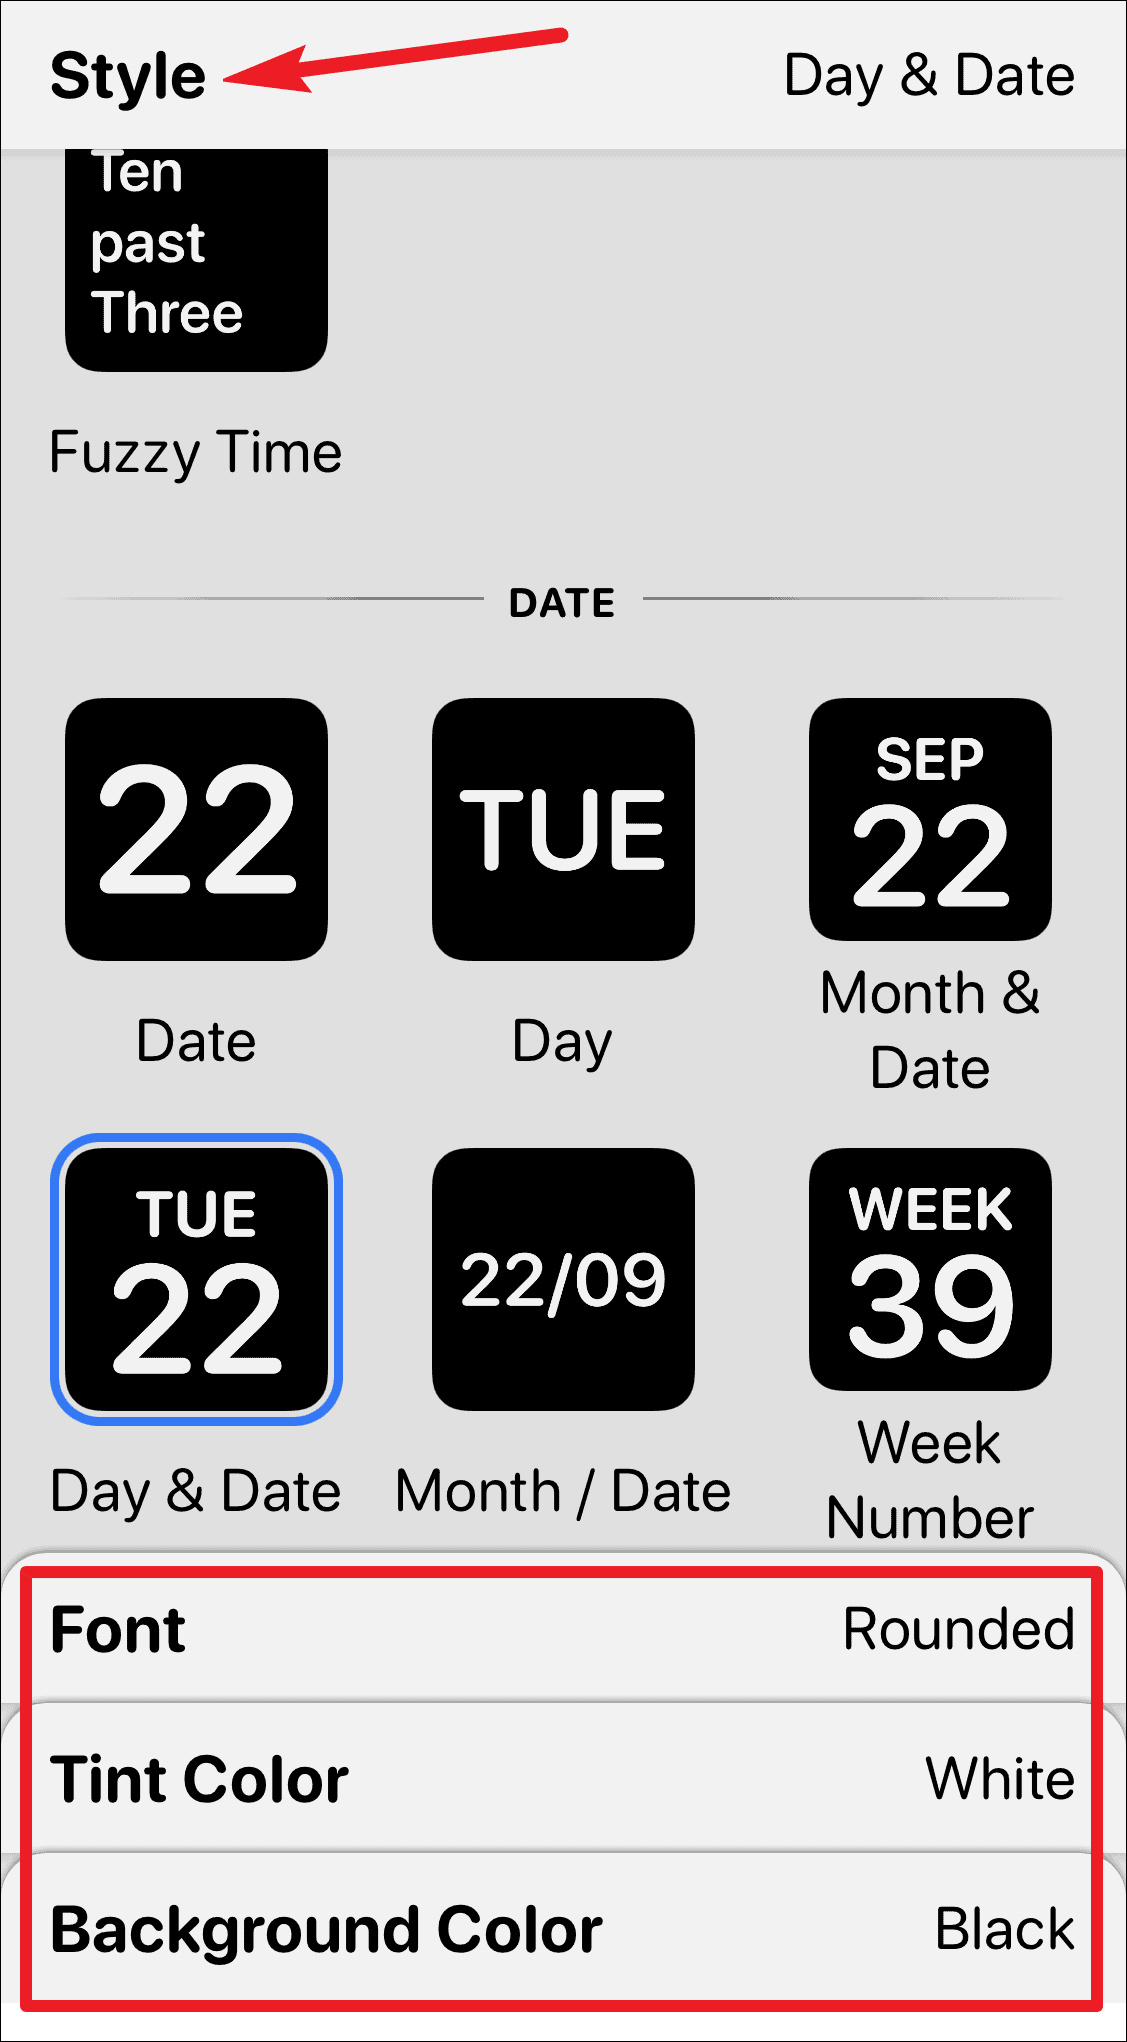
After selecting the widget style, you can also customize the font, text color (tint color), and background color for the Widget. Tap on the options one by one to bring up the customizable screen for each and complete the design of your widget.
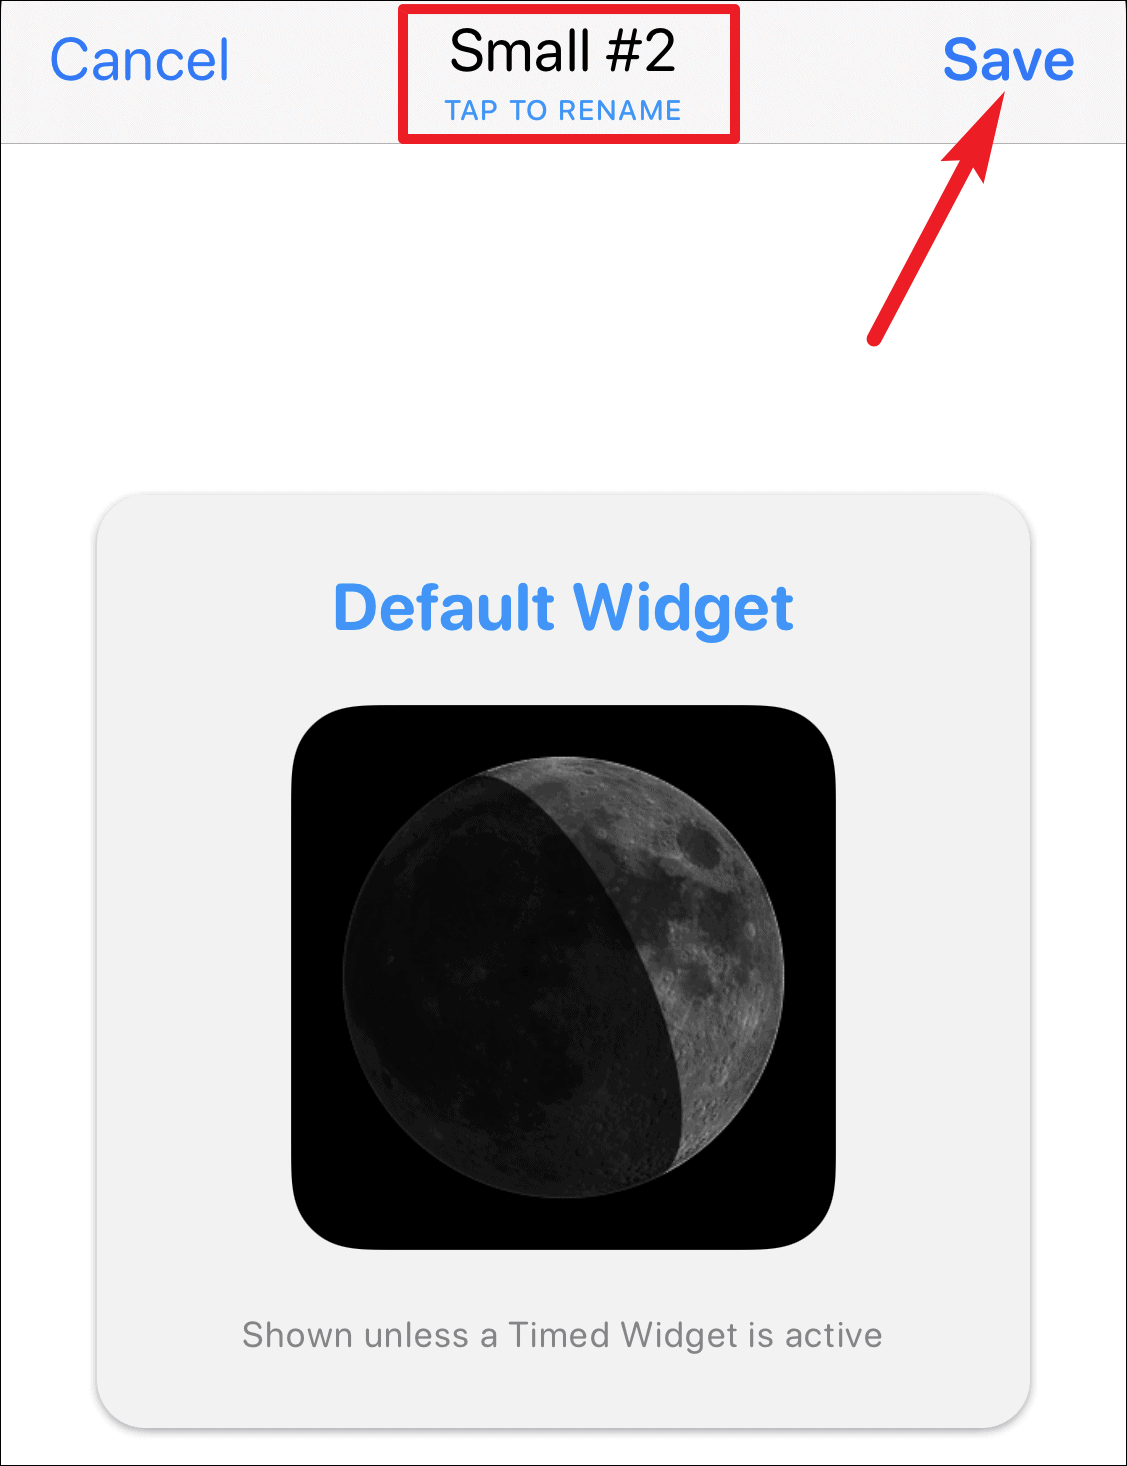
After completing the design, tap on the ‘Small #2’ label on the upper left corner of the screen to get out of the customizable screen.
You can also rename the widget if you want. Then, tap on the ‘Save’ option on the upper right corner.
And you have created the custom widget. Now, it’s time to add it to your screen.
Adding the Widget to Home Screen
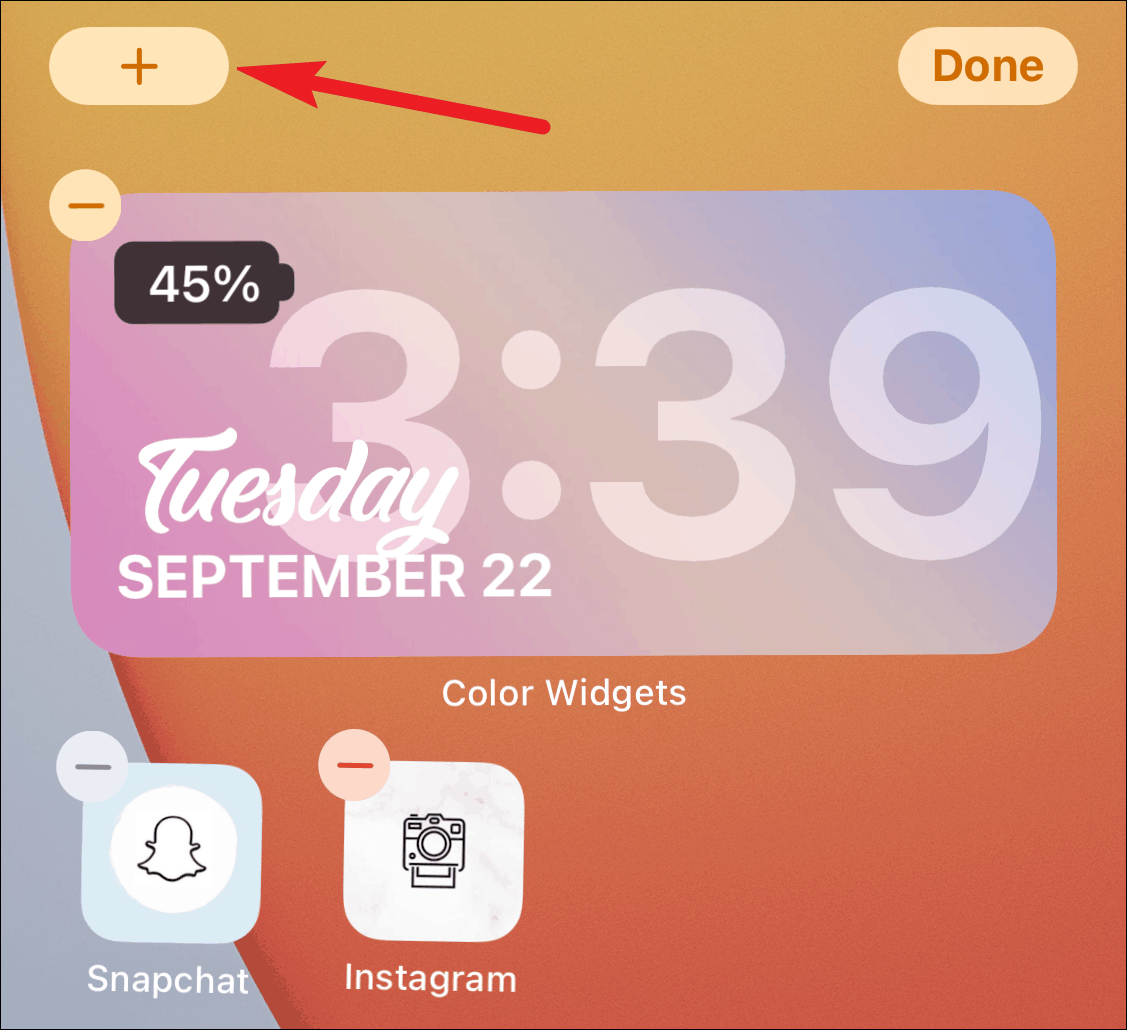
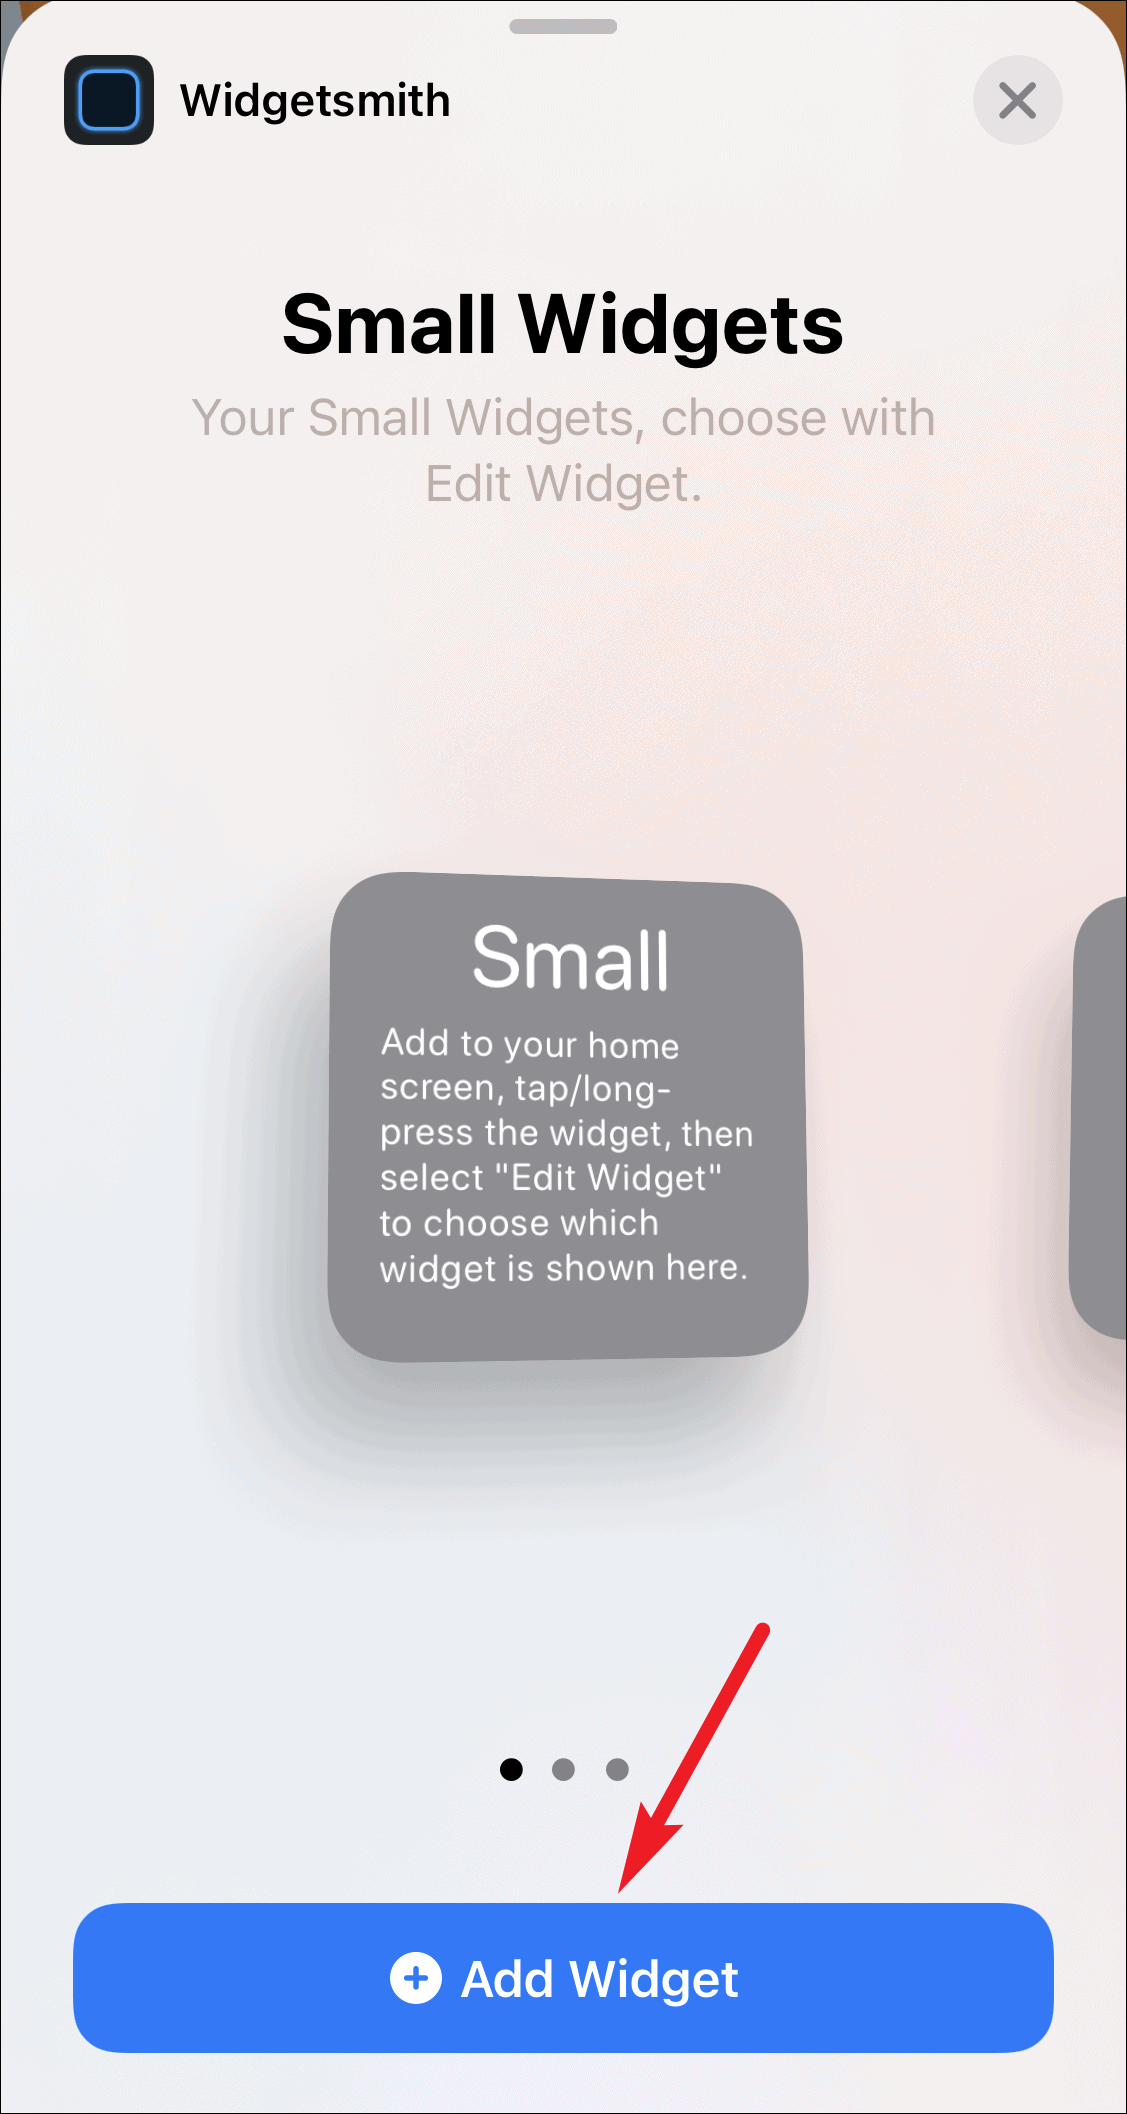
To add the widget to your Home screen, enter the jiggly mode by tapping and holding an app, widget, or empty place on the screen. Then, tap the ‘Add widget’ button (+ icon) on the upper left corner.
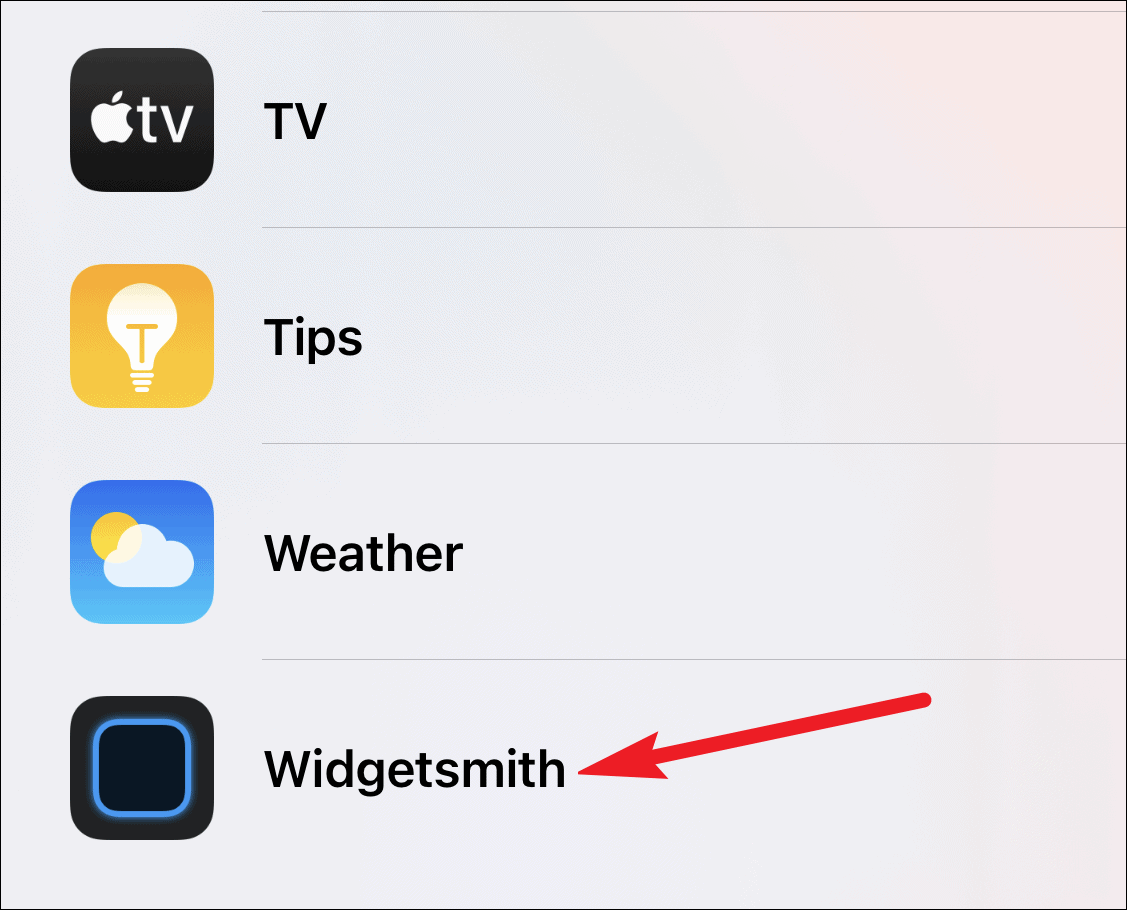
The widget gallery will open. Scroll down and find Widgetsmith from the list of widgets available. You can also make use of the search bar to find it quickly.
Now, depending on the type of widget you created in the app, select the widget size from the preview screen; swipe to the left to select medium or large widgets. Then, tap on ‘Add widget’.
You only need to have the desired size on the screen before tapping the add widget button to select it. As we created a small widget in the app, we’ll add a small widget to the screen. You need to select the widget that corresponds to the size of the widget you created.
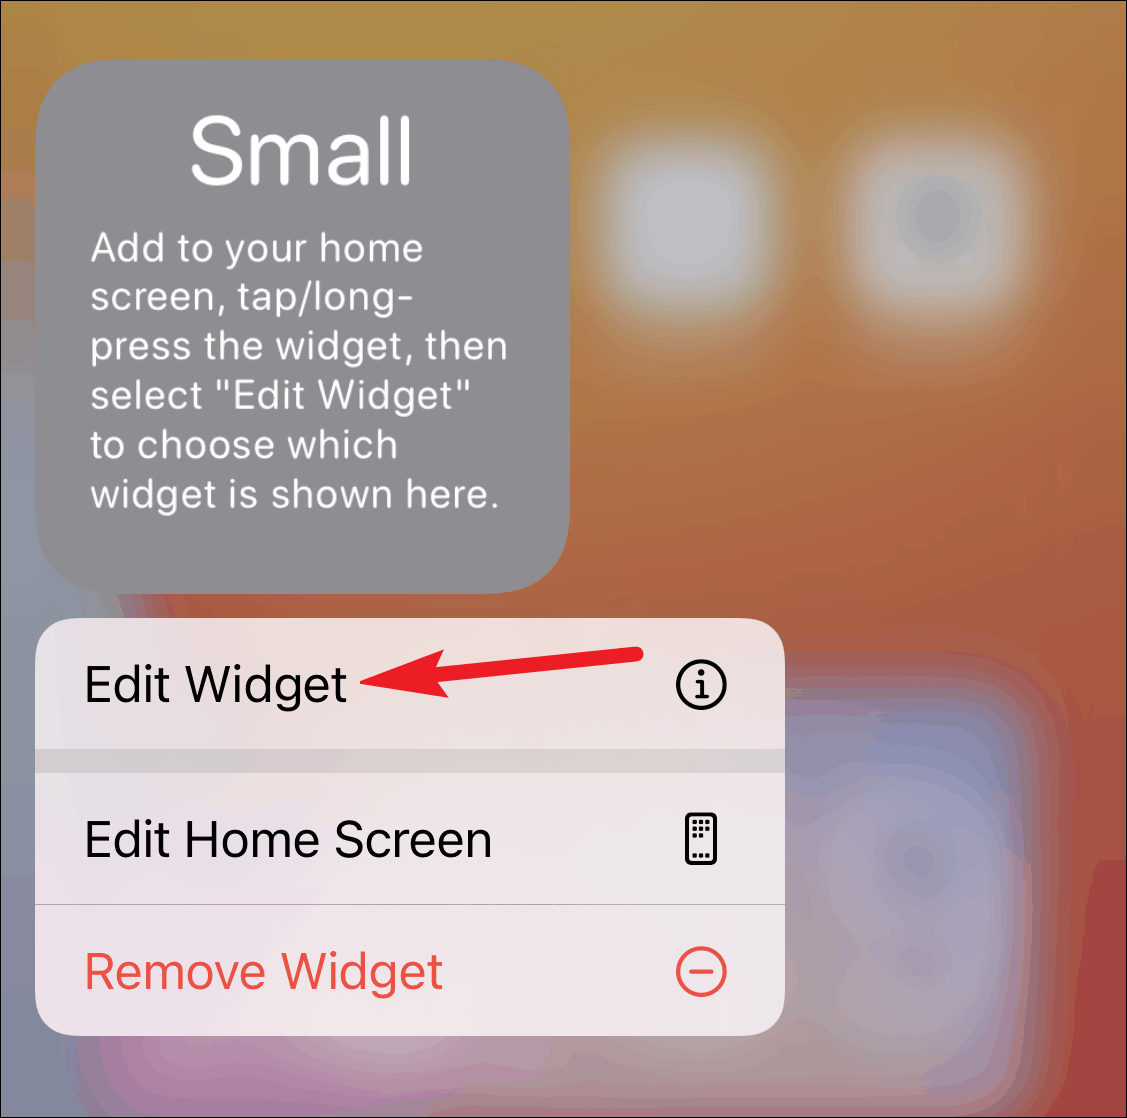
This will add a small widget on your Home screen, but it will be empty. Tap and hold the widget until the quick actions menu appears, and then select ‘Edit Widget’ from the options.
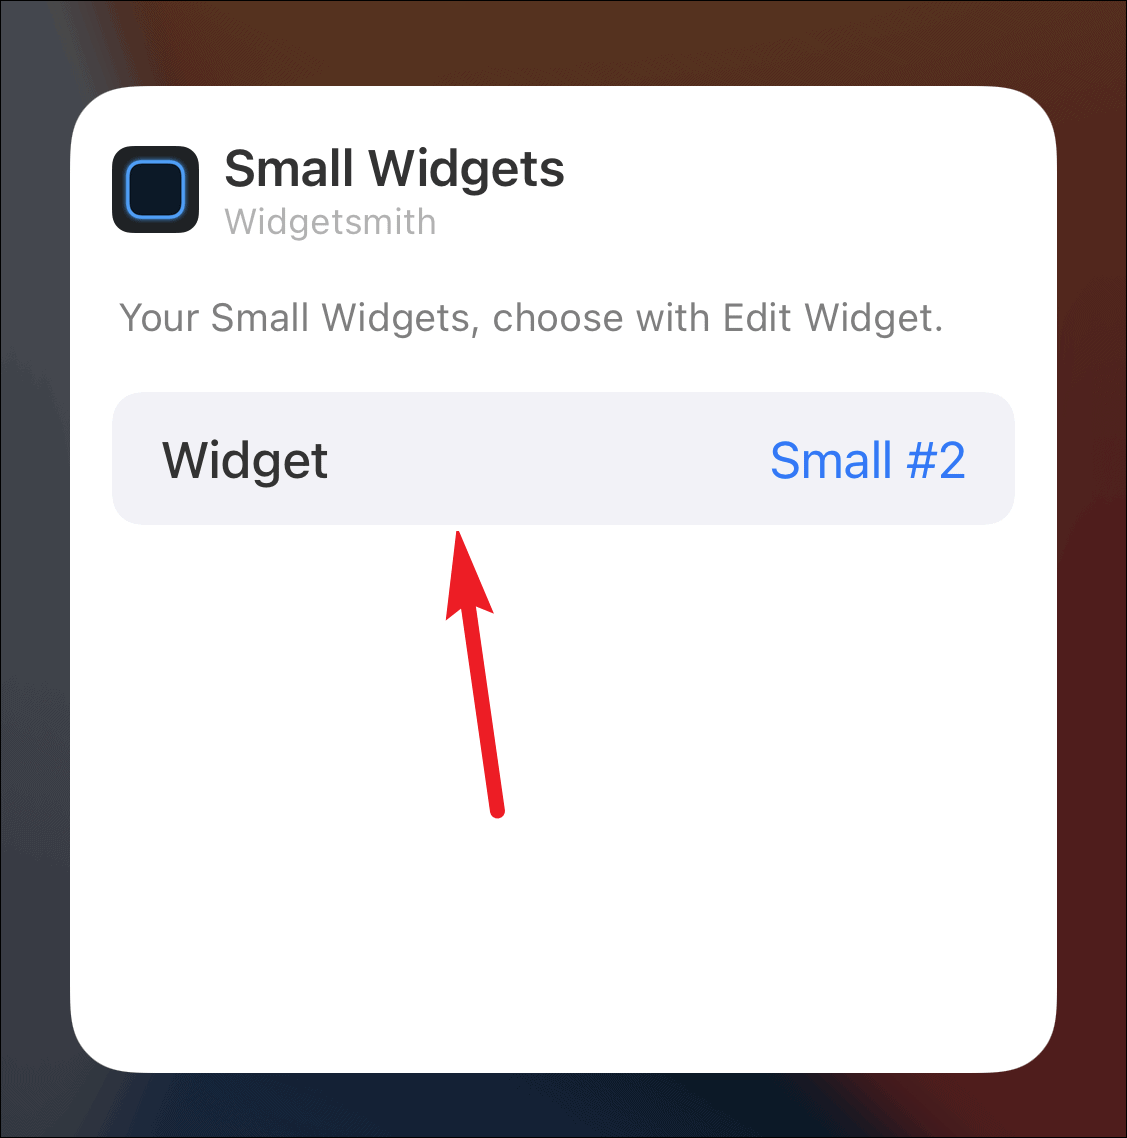
The list of your available small widgets in the Widgetsmith app will appear. Tap on the widget you want to add; in this case, the ‘Small #2’ widget.
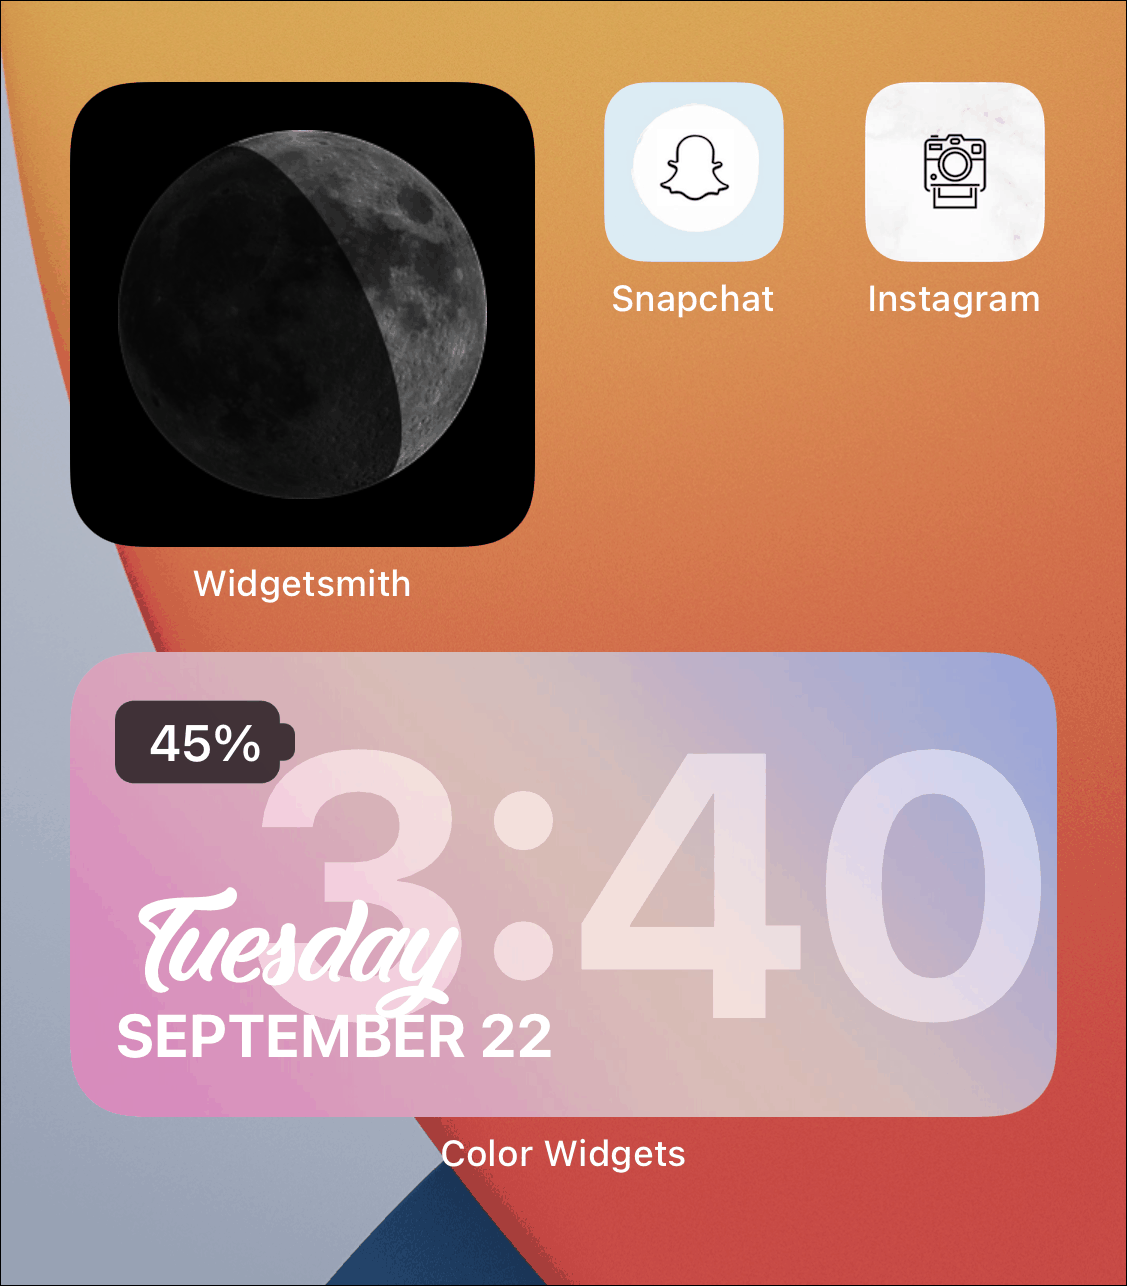
The widget will finally appear on your Home Screen.
Using Widget Smith for Timed Widgets
One of the best uses of Widgetsmith has to be timed widgets. Although iOS 14 has the smart stacks that use on-device intelligence to show you different widgets at different times, you have no control over it. The timed widgets in Widgetsmith are here to change that.
Using timed widgets, you can decide what widget will appear when on your Home screen. This is a great way to save up space; let’s be honest, widgets can hog a lot of real-estate on your Home Screen.
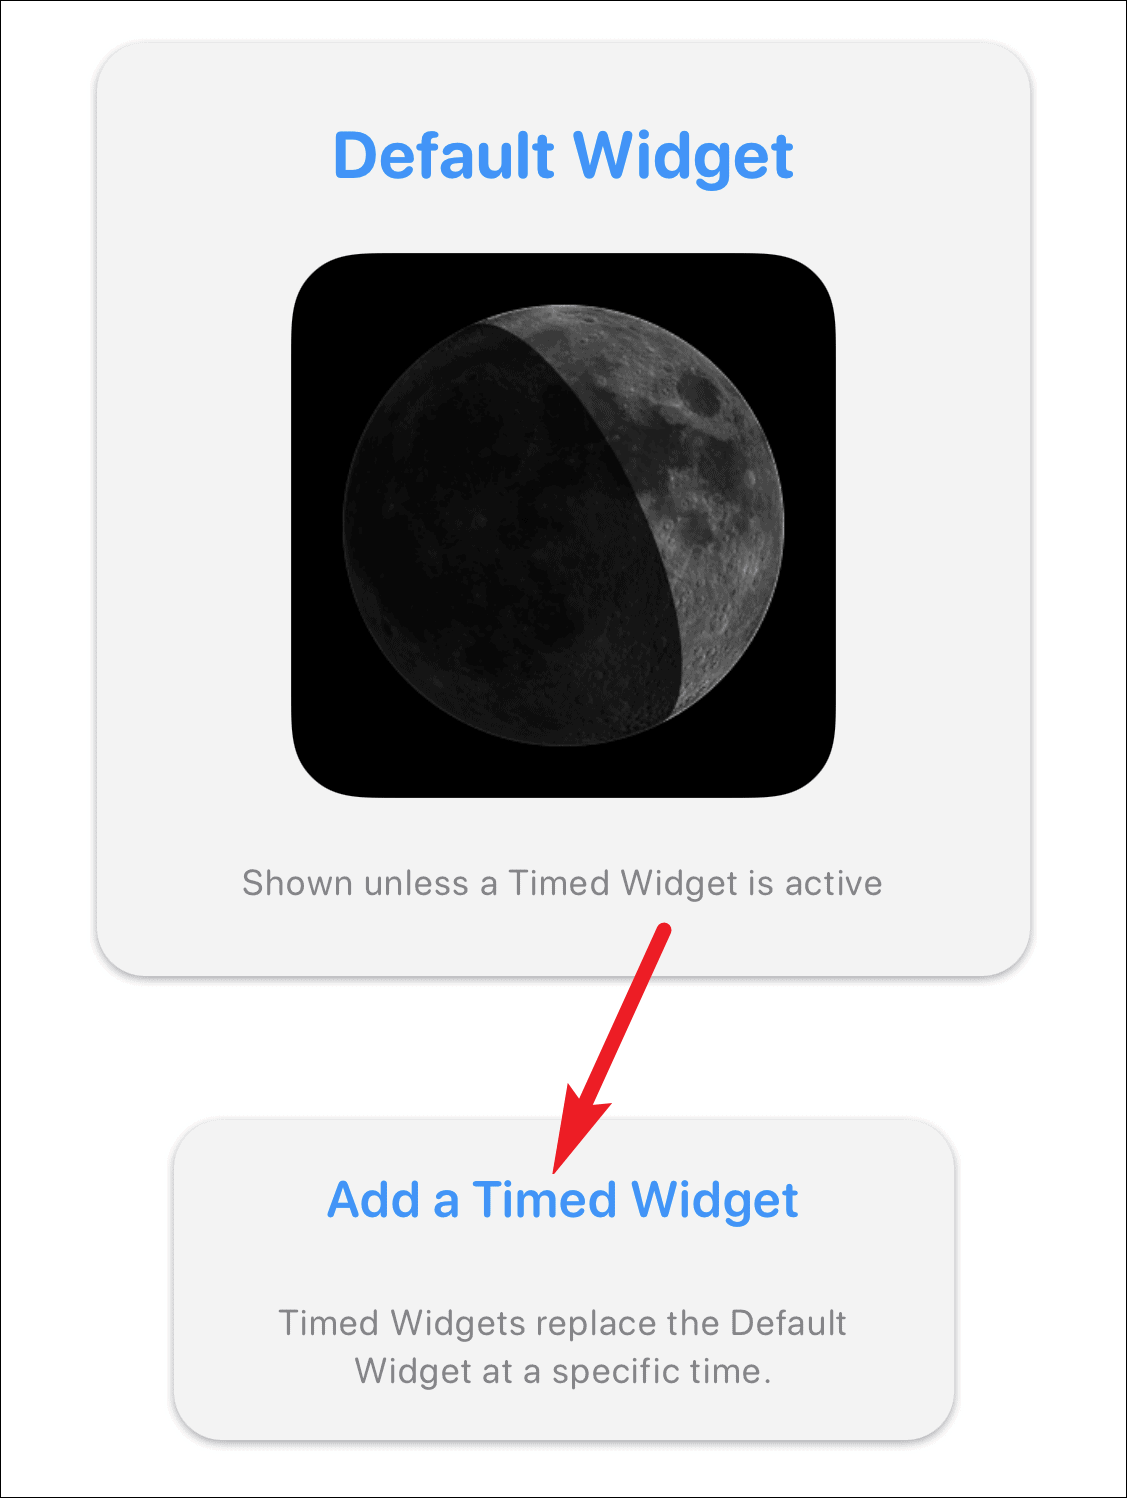
After customizing the widget style and design, tap on the ‘Add a Timed Widget’ option below the ‘Default Widget’ section to make it a scheduled widget.
A clock will open to select the schedule for the widget. Drag the highlighted time window to the desired time at which you want to schedule the widget.
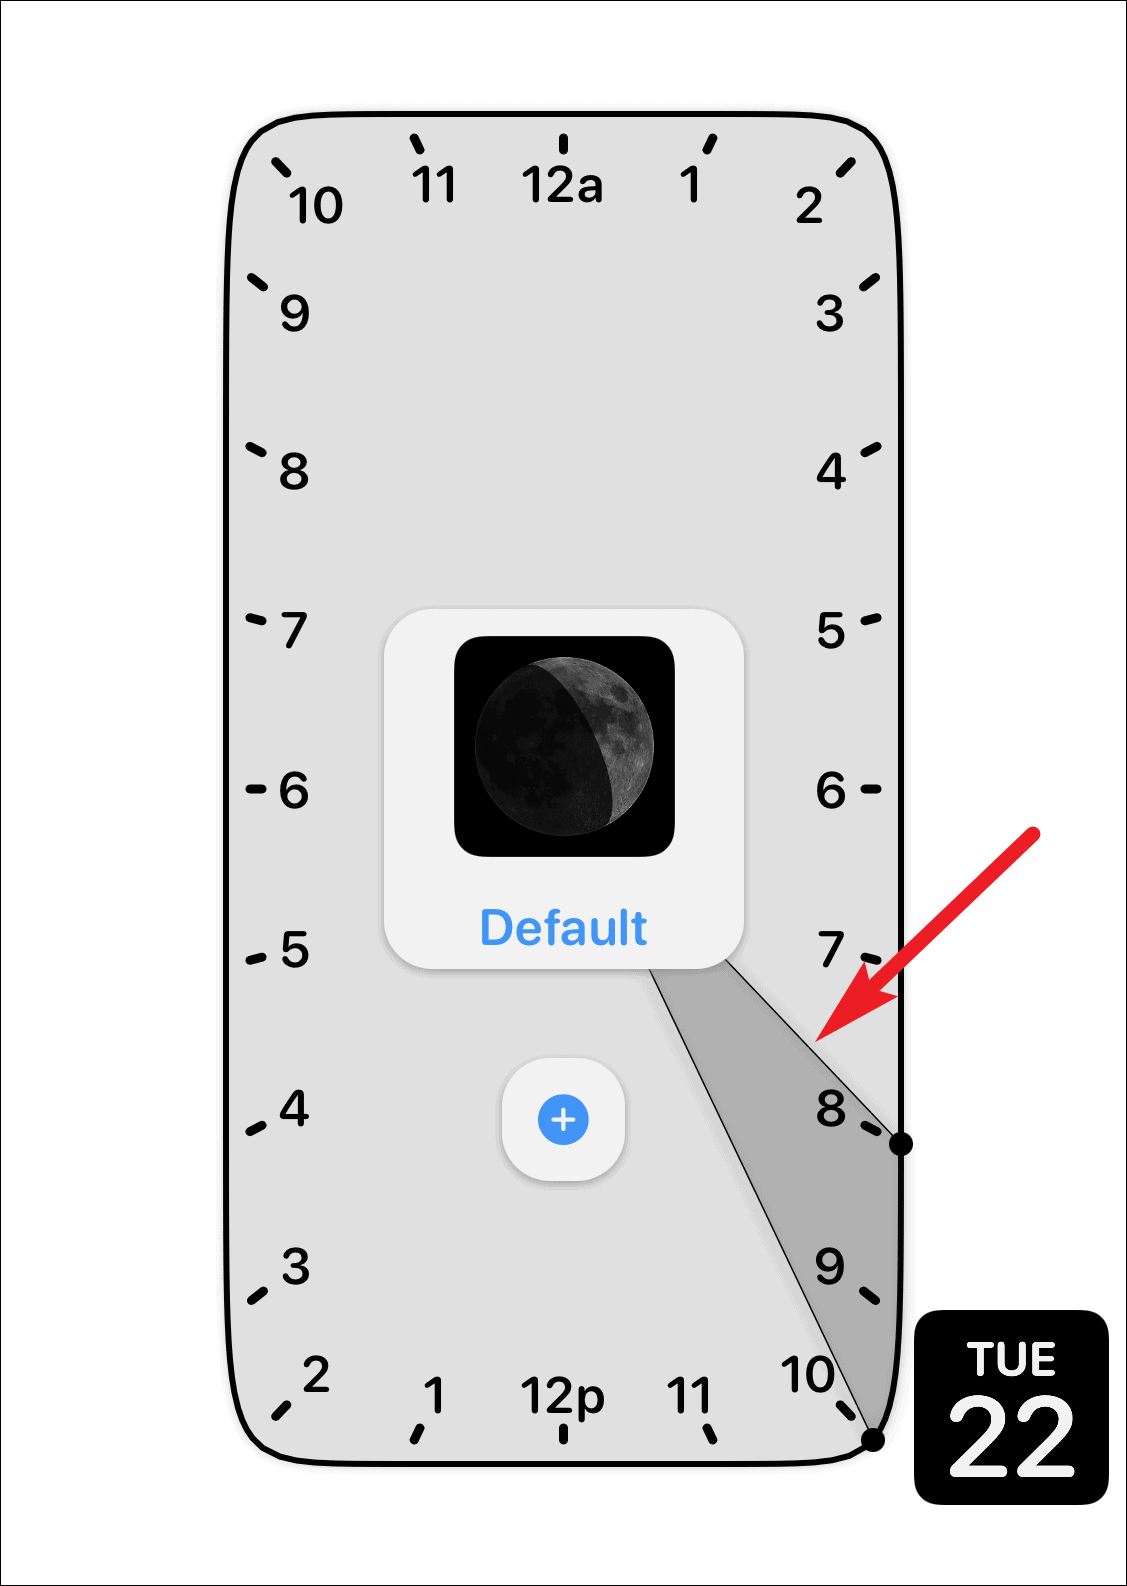
By default, the time window will be for two hours. But you can increase or decrease this duration. To change the duration, tap and drag only one arm of the highlighted section and release it at the desired position.

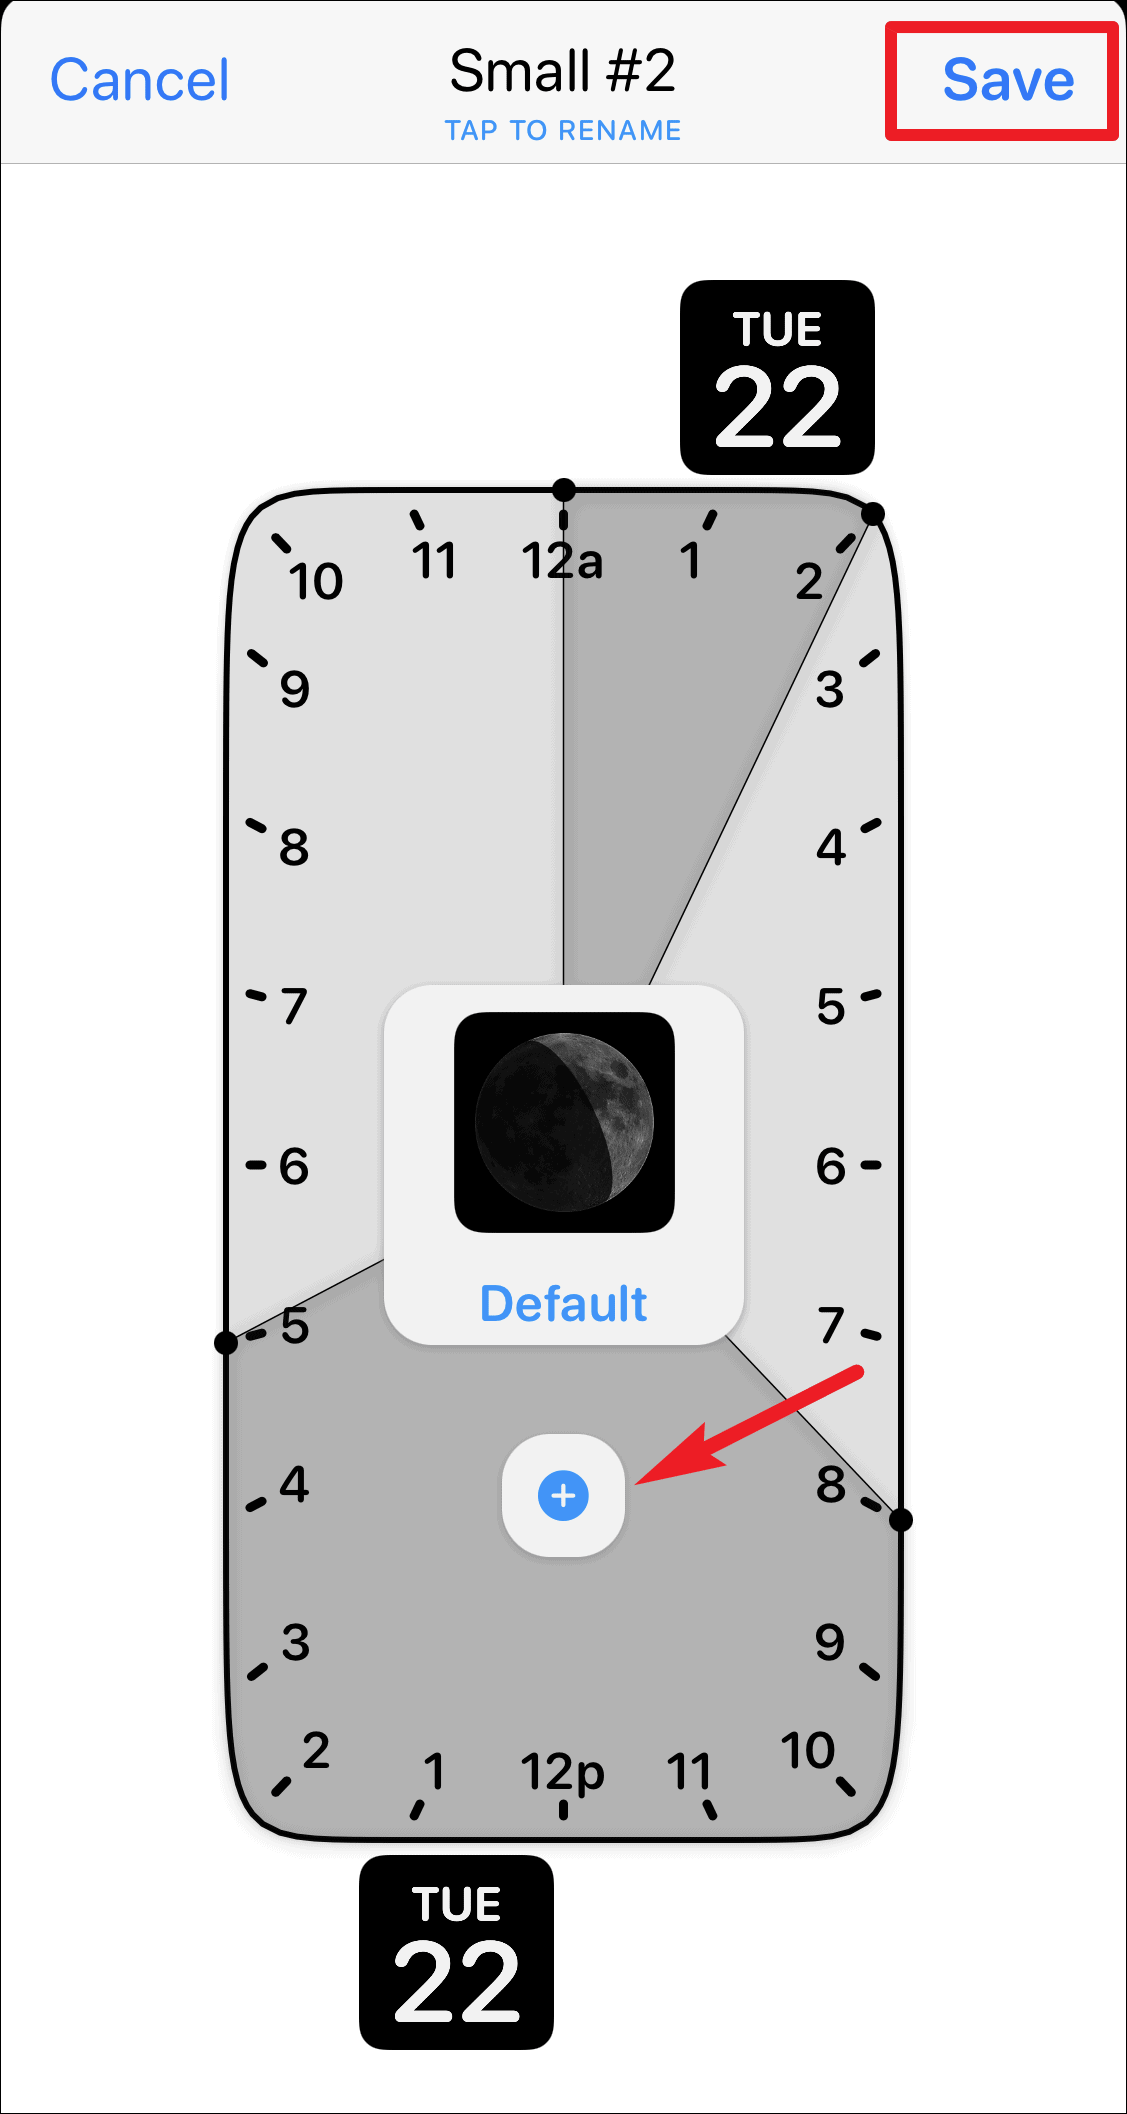
You can also schedule a widget multiple times during the day. After selecting one schedule, tap on the ‘+’ icon. Another time window will appear. Drag and set it to the other time you want to schedule the widget for. After setting the time, tap on the ‘Save’ option on the upper right corner to save changes to the widget.
Important Note: Timed widgets need a regular, active widget on your Home screen to replace it when the time comes. It cannot just appear on your Home Screen out of thin air. So, if you have scheduled a small, timed widget, there should be another small widget from Widgetsmith on your Home screen. And when it’s time, the scheduled widget will take its place during that time window.
Widgetsmith is a great app to customize the Home Screen of your iPhone with different widgets. And the fact that you can even schedule the widgets makes it even better. No wonder it keeps popping everywhere on social media!


