
Windows 11 comes equipped with the Xbox Game Bar—a versatile tool primarily designed for gamers to capture and share their in-game moments. However, its functionality isn’t limited to just games; you can use it to record any application on your screen. This built-in feature offers an easy way to capture screen activity without the need for third-party software.
Note: If you’re a content creator who requires advanced recording capabilities, software like OBS Studio might be more suitable due to its professional features and reliability. The Xbox Game Bar is excellent for casual use but may lack some advanced functionalities and can occasionally be unstable.
Adjusting Capture Settings in Xbox Game Bar
Before you start recording, it’s a good idea to customize the capture settings to fit your needs. Here’s how you can modify these options:
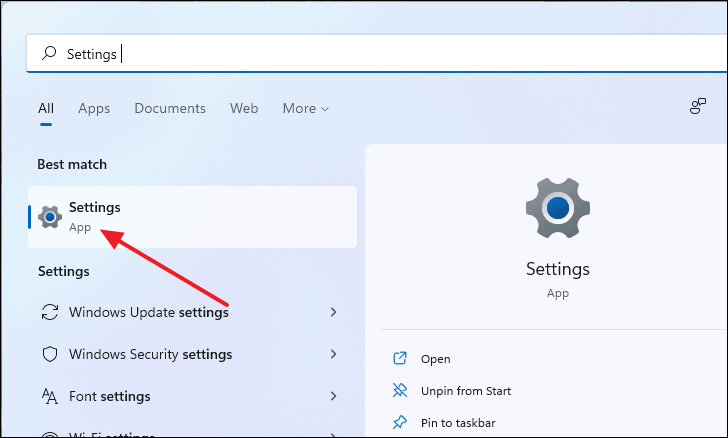
- Open the Settings app by searching for it in the Windows Search bar or by pressing
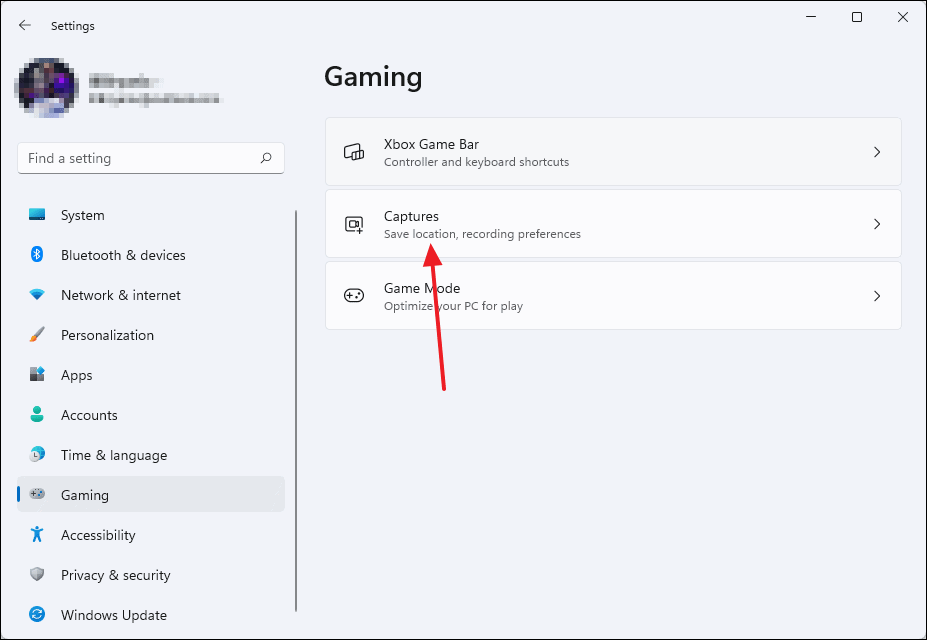
Windows+ion your keyboard. - In the Settings window, select Gaming from the left-hand menu.
- Click on Captures on the right side of the window.
Within the Captures settings, you can:
- Choose where your recordings are saved by clicking on Open folder.
- Set a maximum recording duration using the Max recording length drop-down menu.
- Decide whether to record audio during captures by toggling Capture audio when recording a game.
- Select the frame rate for your recordings via the Video frame rate drop-down menu.
Make sure to adjust these settings according to your preferences before proceeding to record.
Recording Your Screen with Xbox Game Bar
Once your settings are configured, you can start recording your screen. Follow these steps:
- Launch the game or application you wish to record.
- Press
Windows+gto open the Xbox Game Bar overlay.
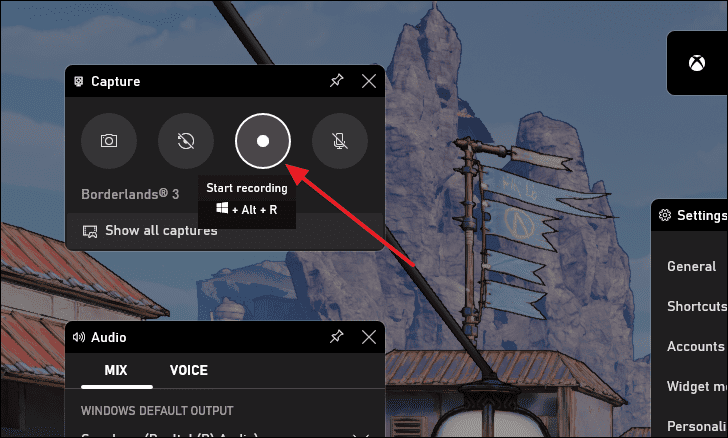
The overlay will appear, featuring various widgets that provide different functionalities.
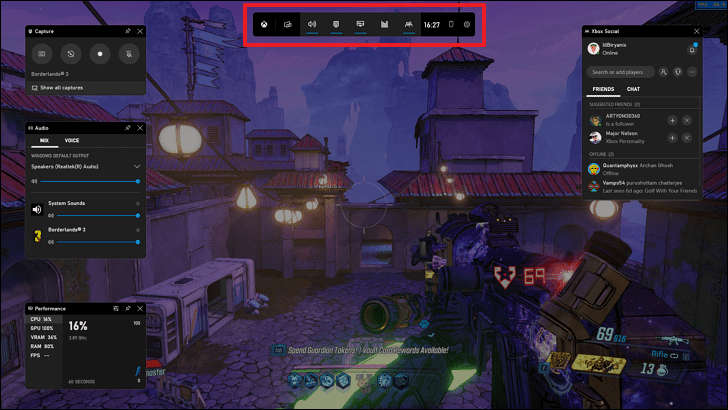
The main control panel at the top center is the Game Bar. From here, you can access additional settings or add and remove widgets by clicking the gear icon.
- To begin recording, click the Start recording button in the Capture widget or press
Windows+Alt+r.
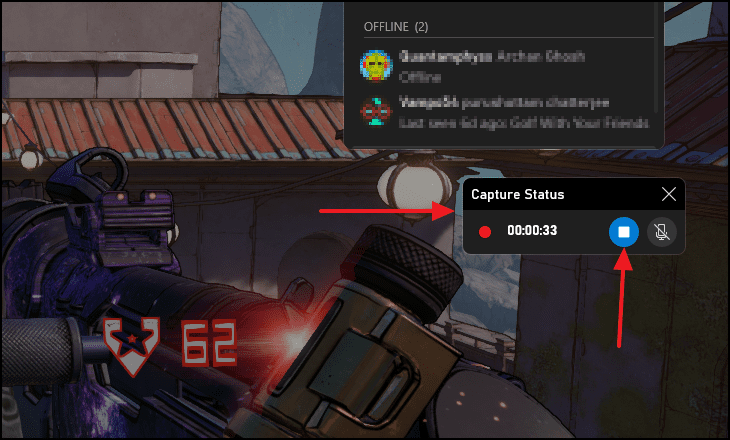
A small widget labeled Capture Status will appear, showing the duration of your recording. This widget remains visible even after you close the Game Bar overlay.
- To stop recording, press
Windows+Alt+ragain or click the stop button on the Capture Status widget.
After stopping the recording, a notification will confirm that your game clip has been recorded. By default, recordings are saved in the following folder:
This PC > Videos > Captures
You can now access your recordings and share them as desired.
Configuring Audio Settings in Xbox Game Bar
If you want to include audio in your recordings—such as game sounds or microphone input—you can adjust the audio settings directly from the Game Bar:
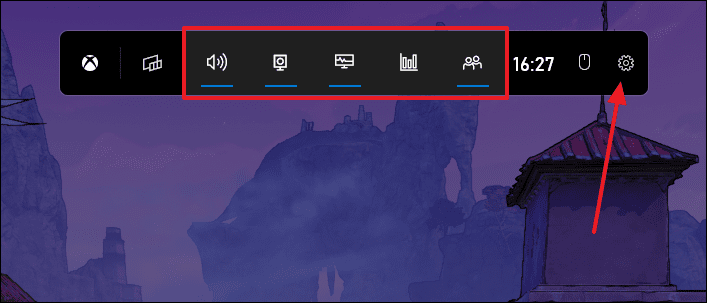
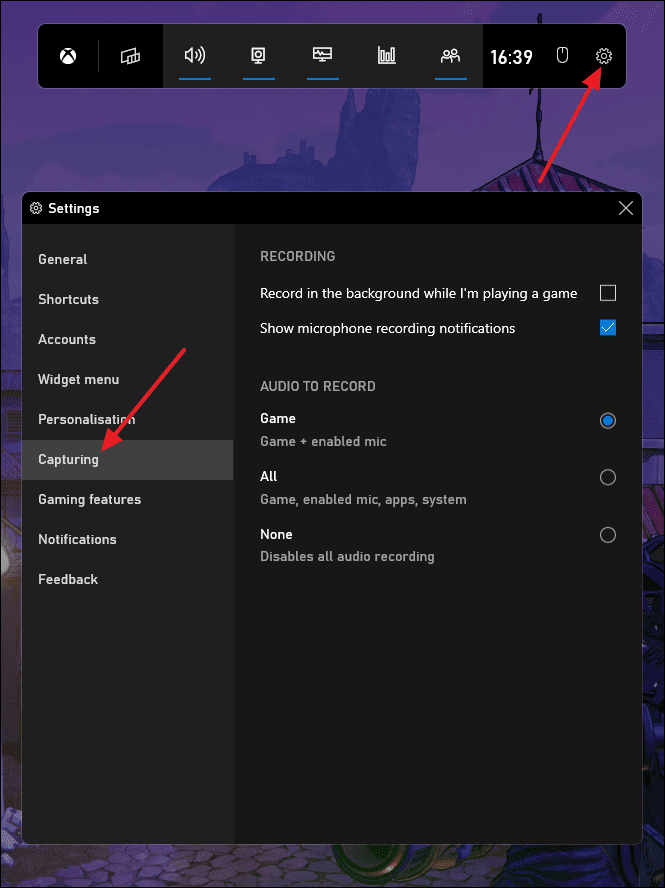
- Press
Windows+gto open the Game Bar overlay. - Click the gear icon to access settings.
- Select Capturing from the settings menu.
Under the Audio to record section, you have three options:
- Game: Record only the game’s audio.
- All: Capture all system sounds, including music and voice chats.
- None: Record without any audio.
Launching Xbox Game Bar with a Controller
If you prefer using an Xbox controller to access the Game Bar, you can set it up to open with the controller’s Xbox button:
- Open the Settings app by pressing
Windows+i. - Select Gaming from the left sidebar.
- Click on Xbox Game Bar.
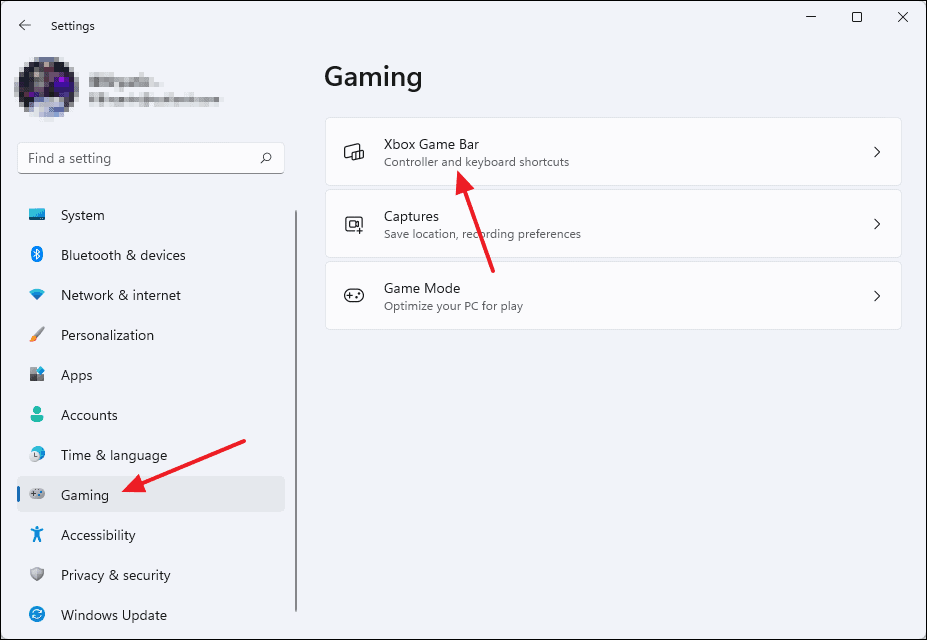
- Toggle on the option labeled Open Xbox Game Bar using this button on a controller.
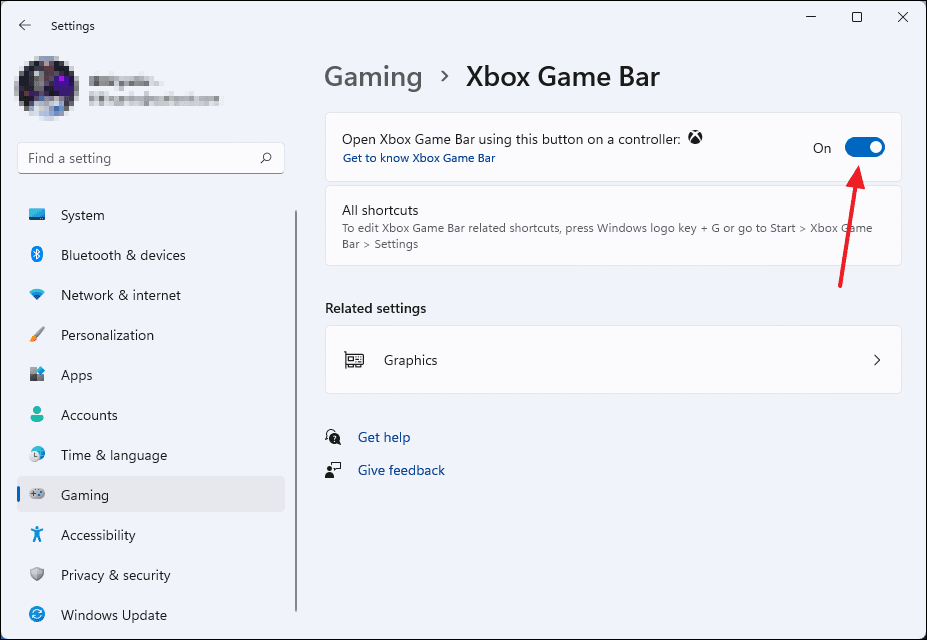
You can now press the Xbox button on your controller to quickly access the Game Bar at any time.
With these steps, you can effectively use the Xbox Game Bar to record your screen on Windows 11, whether you’re capturing gameplay or creating a tutorial. It’s a convenient tool that, when configured correctly, can meet many of your basic screen recording needs.


