
With Windows 11, Microsoft has brought Android app support to PCs through the Amazon Appstore. While this is a promising development, the Appstore’s limited selection may leave users wanting more. If you’re looking to install Android apps not available on the Amazon Appstore without delving into complex methods like installing the Google Play Store, the WSATools app offers an easy way to sideload APK files onto your Windows 11 device.
Download and install the WSATools app from the Microsoft Store
To begin installing Android APK files effortlessly on your Windows 11 computer, you’ll first need to download and install the WSATools app from the Microsoft Store.
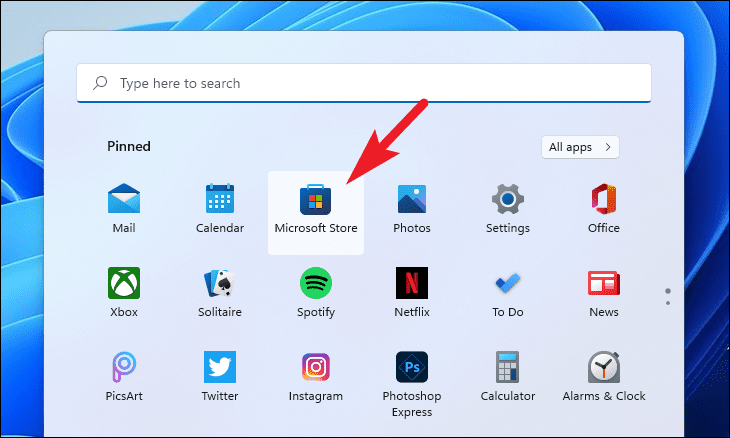
- Open the Microsoft Store by clicking on its tile in the Start Menu.
- In the Microsoft Store, click on the search bar at the top and type
WSATools, then pressEnter.

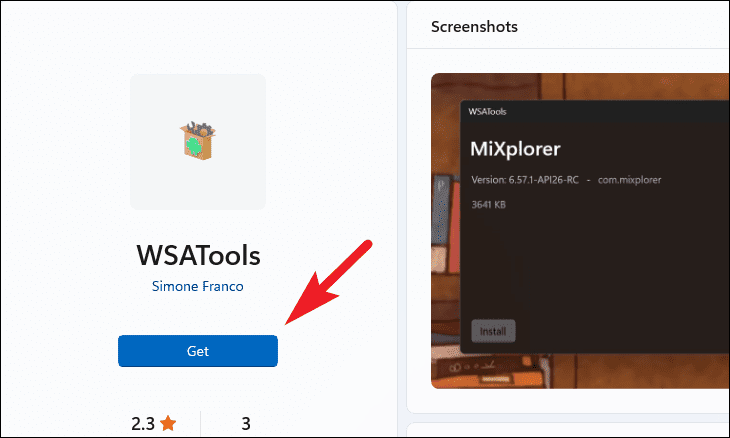
- Alternatively, you can use the WSATools Microsoft Store link to directly access the app’s page.
- Click on the Get button to download and install the WSATools app.
Set up Android SDK Platform Tools and environment variables
While WSATools simplifies the process of sideloading APK files, you’ll need to set up the Android SDK Platform Tools and configure your system’s environment variables to allow the app to function properly.
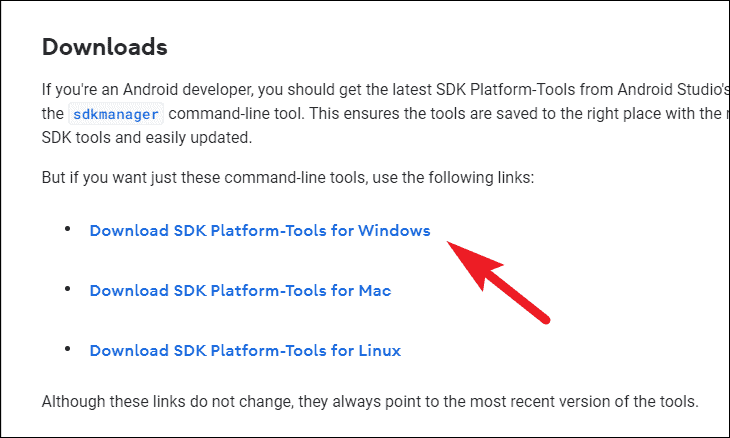
- Navigate to the official Android Studio website: developer.android.com/studio/platform-tools.
- Under the Downloads section, click on Download SDK Platform Tools for Windows. An overlay window will appear.
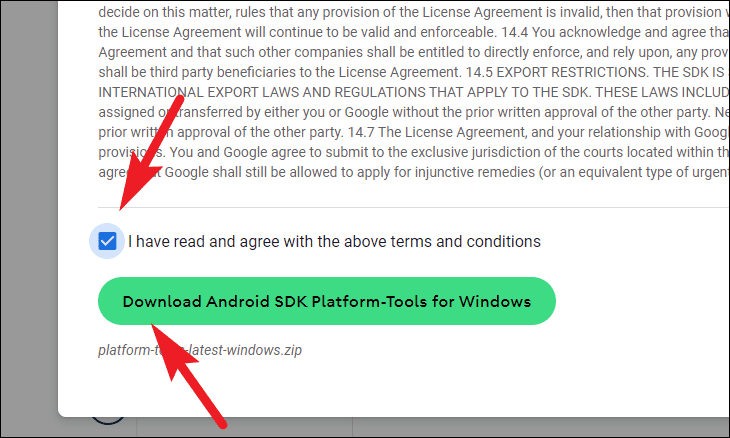
- Scroll down, check the box next to I have read and agree with the above terms and conditions, and then click on Download Android SDK Platform-Tools for Windows.
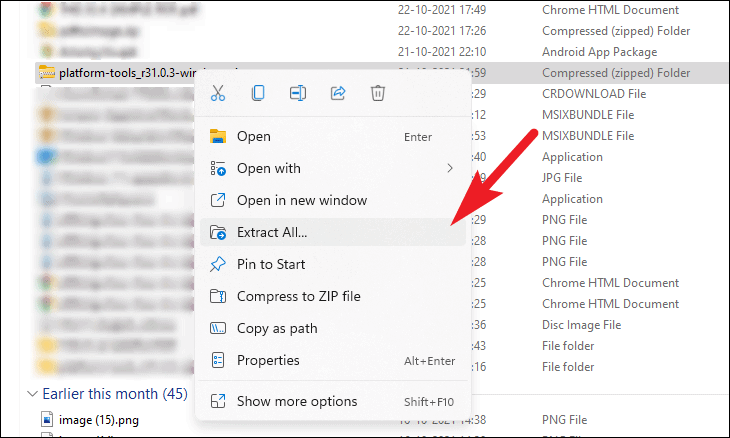
- Once the download is complete, right-click on the downloaded
.zipfile and select Extract All to unzip the folder.
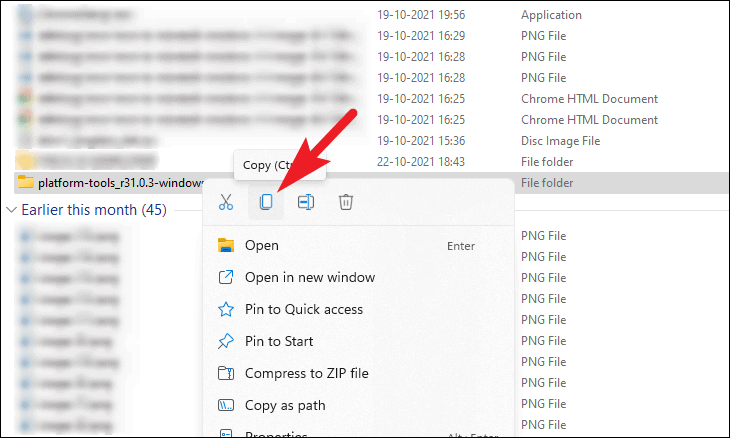
- After extraction, right-click on the extracted folder and choose Copy or press
Ctrl+C.
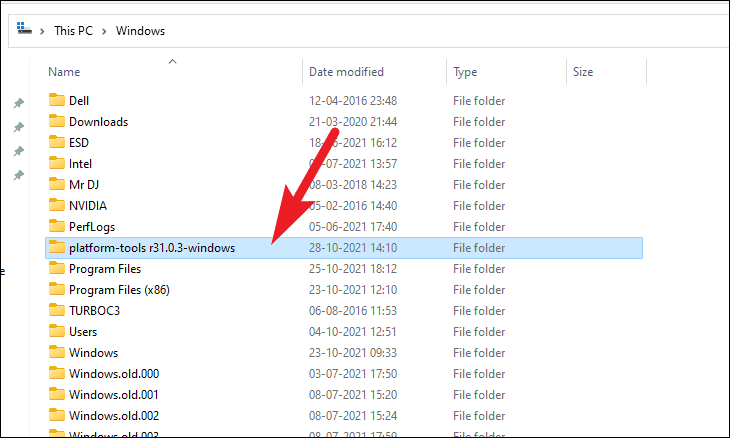
- Navigate to your Windows installation drive (typically
C:\) and paste the folder by pressingCtrl+V.
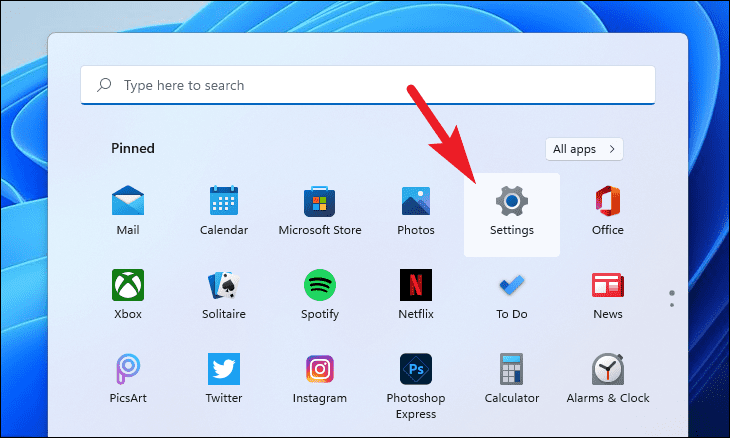
- Next, open the Settings app from the Start Menu.
- Ensure the System tab is selected in the left sidebar.
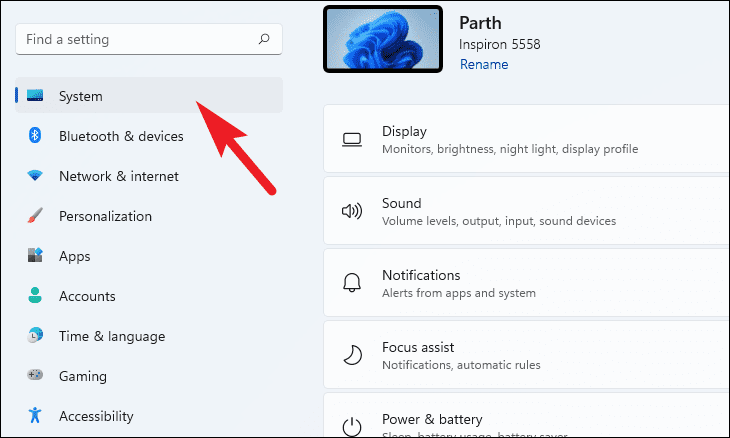
- Scroll down on the right and click on About.
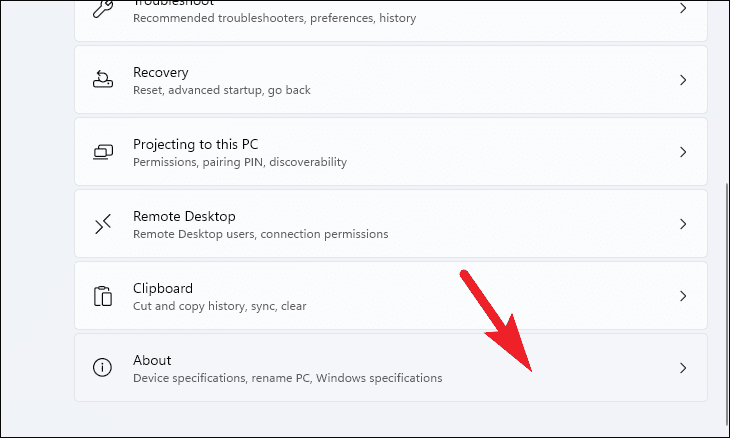
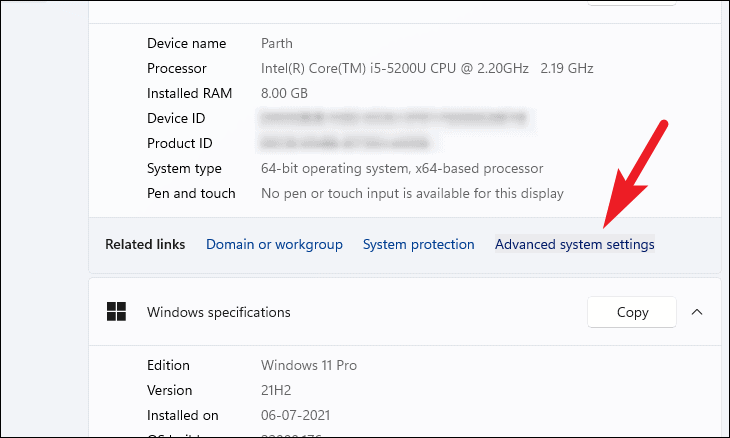
- Under the Related links section, click on Advanced system settings. A new window will open.
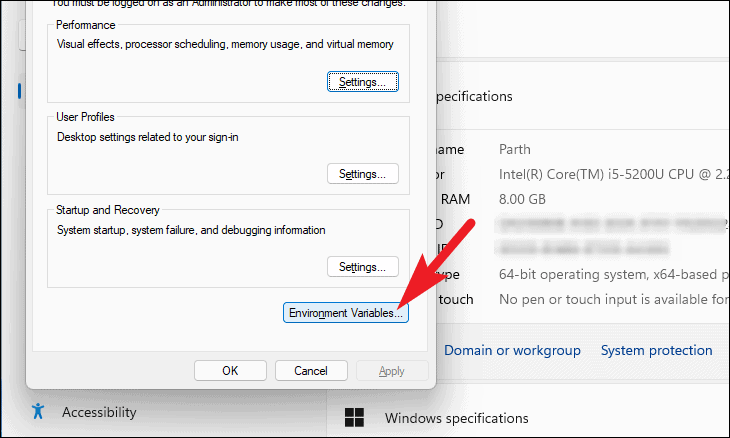
- In the System Properties window, click on Environment Variables at the bottom.
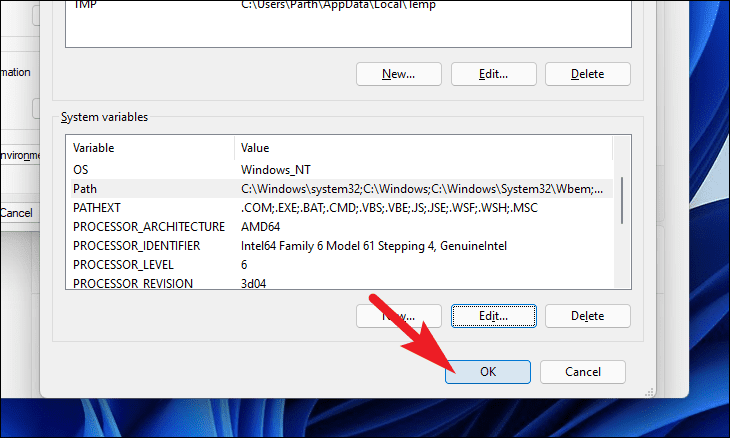
- Under the System variables section, select the Path variable and click on Edit.

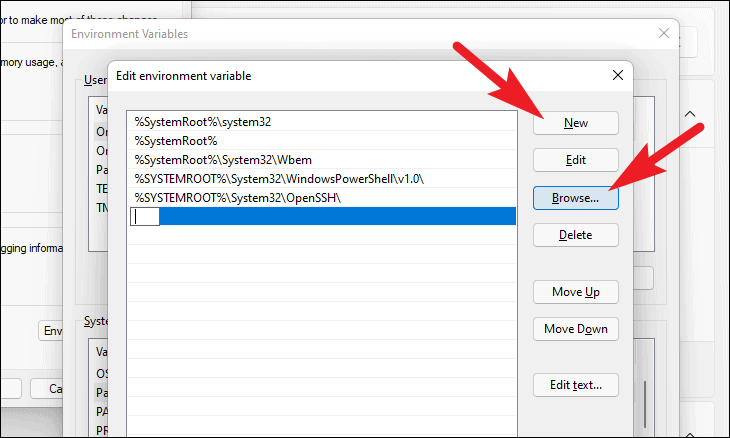
- In the Edit environment variable window, click on New, then click Browse and select the
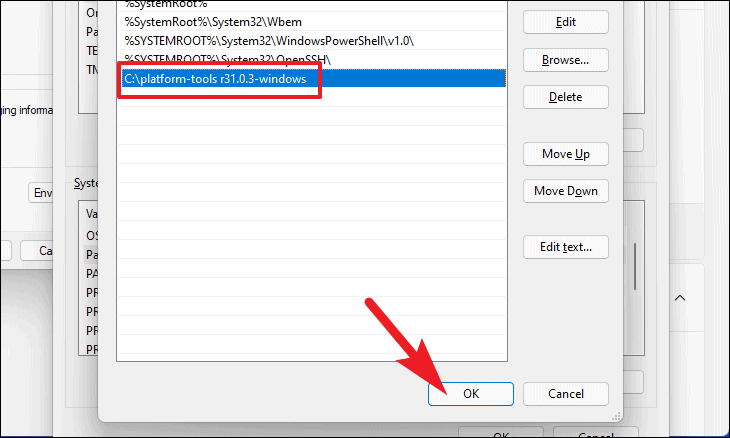
Android SDK Platform Toolsfolder you pasted earlier.
- After adding the folder to the list, click OK to save the changes.
- Back in the Environment Variables window, click OK to apply the changes and close the window.
Your environment variables are now configured, allowing WSATools to function properly.
Enable Developer Mode in Windows Subsystem for Android
Next, you’ll need to enable Developer Mode in the Windows Subsystem for Android (WSA) to allow the installation of APK files. If you haven’t installed the subsystem yet, refer to our guide on installing Windows Subsystem for Android on Windows 11.
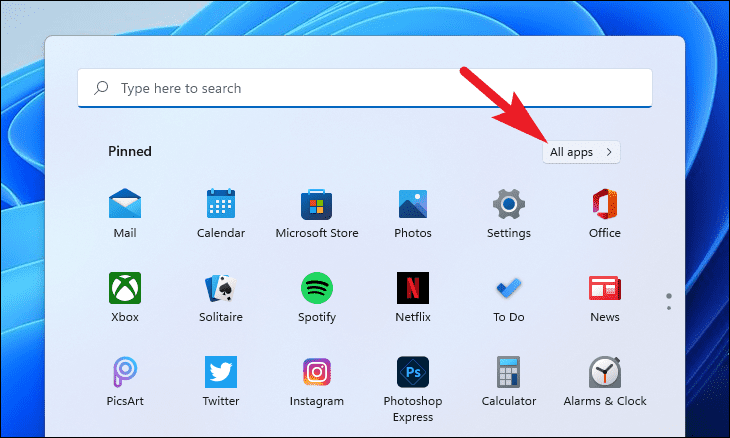
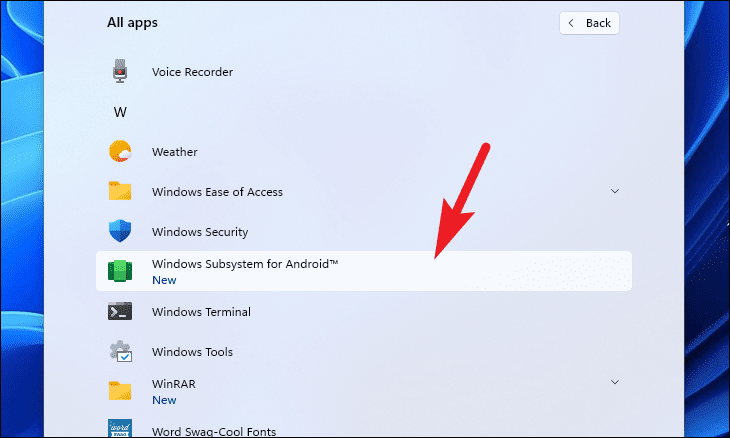
- Open the Start Menu and click on the All apps button at the top right.
- Scroll down and click on Windows Subsystem for Android to open it.
- In the WSA window, locate the Developer mode option and toggle the switch to the On position.
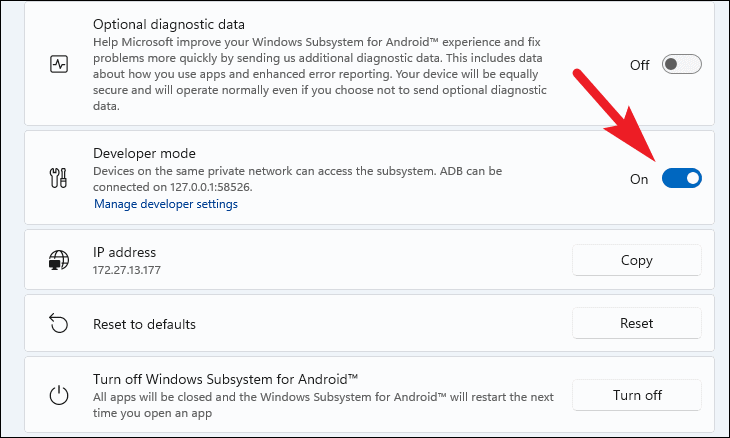
- Under the System resources section, select the Continuous option to keep the subsystem running in the background.

Installing Android APK files in a single click
With WSATools installed and your system properly configured, you can now install any Android APK file on your Windows 11 computer with a single click.
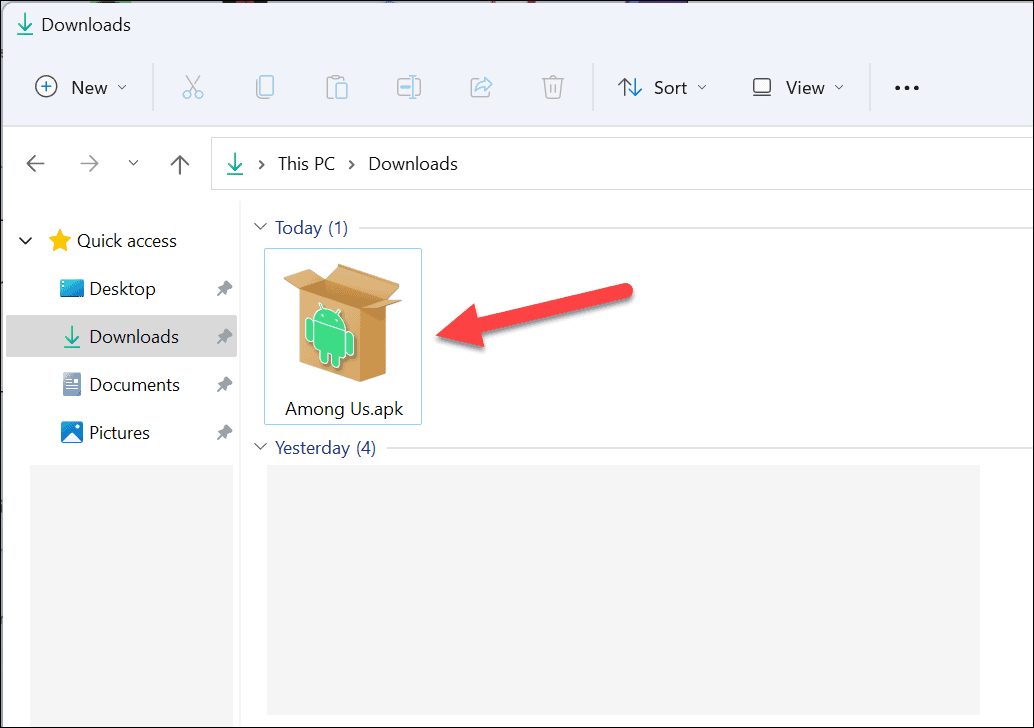
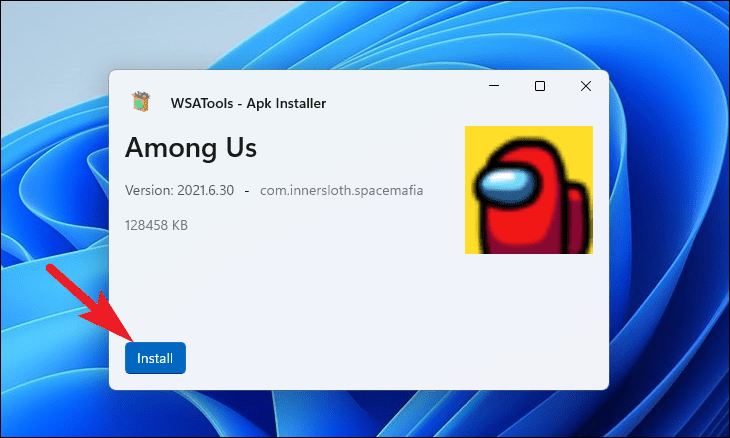
Simply locate the APK file you wish to install in File Explorer and double-click on it. This will open the WSATools APK Installer window with the selected APK loaded and ready to install.
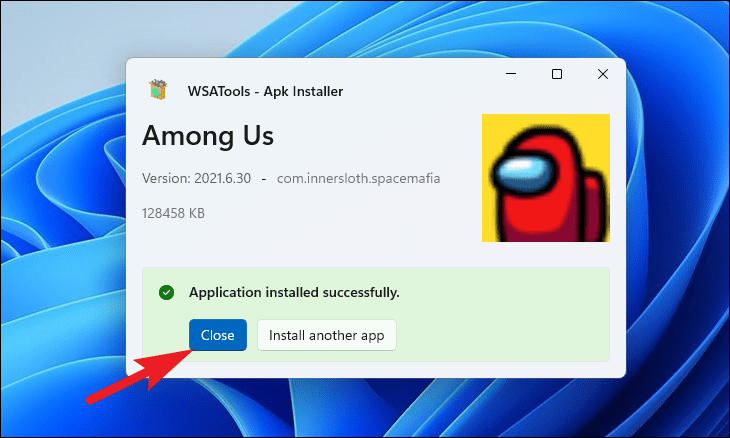
Click on the Install button to begin the installation process.
Once the installation is complete, WSATools will notify you. You can choose to install another app by clicking on Install another app or exit by clicking on the Close button.
To verify that the app has been successfully installed, open the Start Menu and click on All apps.

Scroll through the list to find your newly installed app and click on it to launch it.
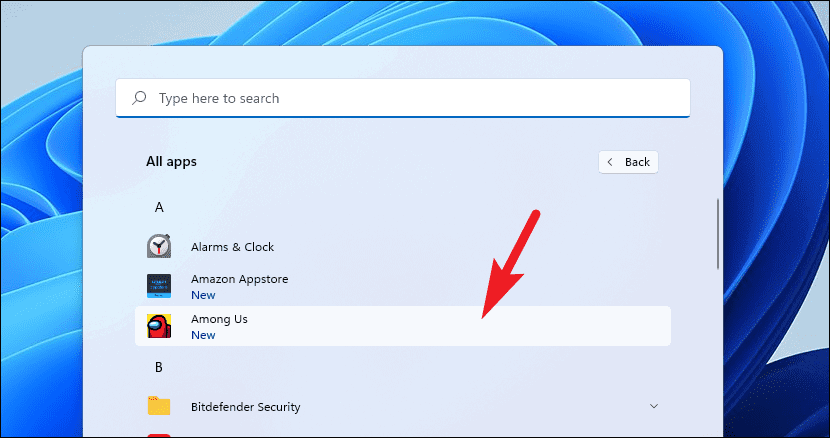
You can also search for the app using Windows Search if you prefer.
By following these steps, you can easily sideload Android APK files onto your Windows 11 device using the WSATools app, expanding your access to a wider range of Android applications without the need for complex setups or command-line tools.


