Low Latency Profile speeds up core shell interactions on Windows 11 by briefly pushing the processor to its maximum frequency for one to three seconds when you open things like the Start menu, Windows Search, and Notification Center. The catch is that it runs silently in the background. There is no toggle in Settings, no notification, and no status indicator anywhere in the operating system. The only reliable way to know it is active is to watch how your CPU behaves the moment you trigger those shell elements.

What you need before testing Low Latency Profile
The feature ships inside Windows 11 builds 26200.8524 or 26100.8524 (KB5089573) and later cumulative updates for versions 25H2 and 24H2. To confirm your build, open Settings, go to System, then About, and check the build number. If it reads 26200.8524 / 26100.8524 or newer, your PC already has the underlying code.
Having the code does not guarantee the feature is switched on. Microsoft uses Controlled Feature Rollout (CFR) to enable it gradually, so many machines that installed the update still have it disabled while stability is monitored. If you find no spikes during the tests below, the feature is most likely sitting dormant on your system and can be force-enabled manually.
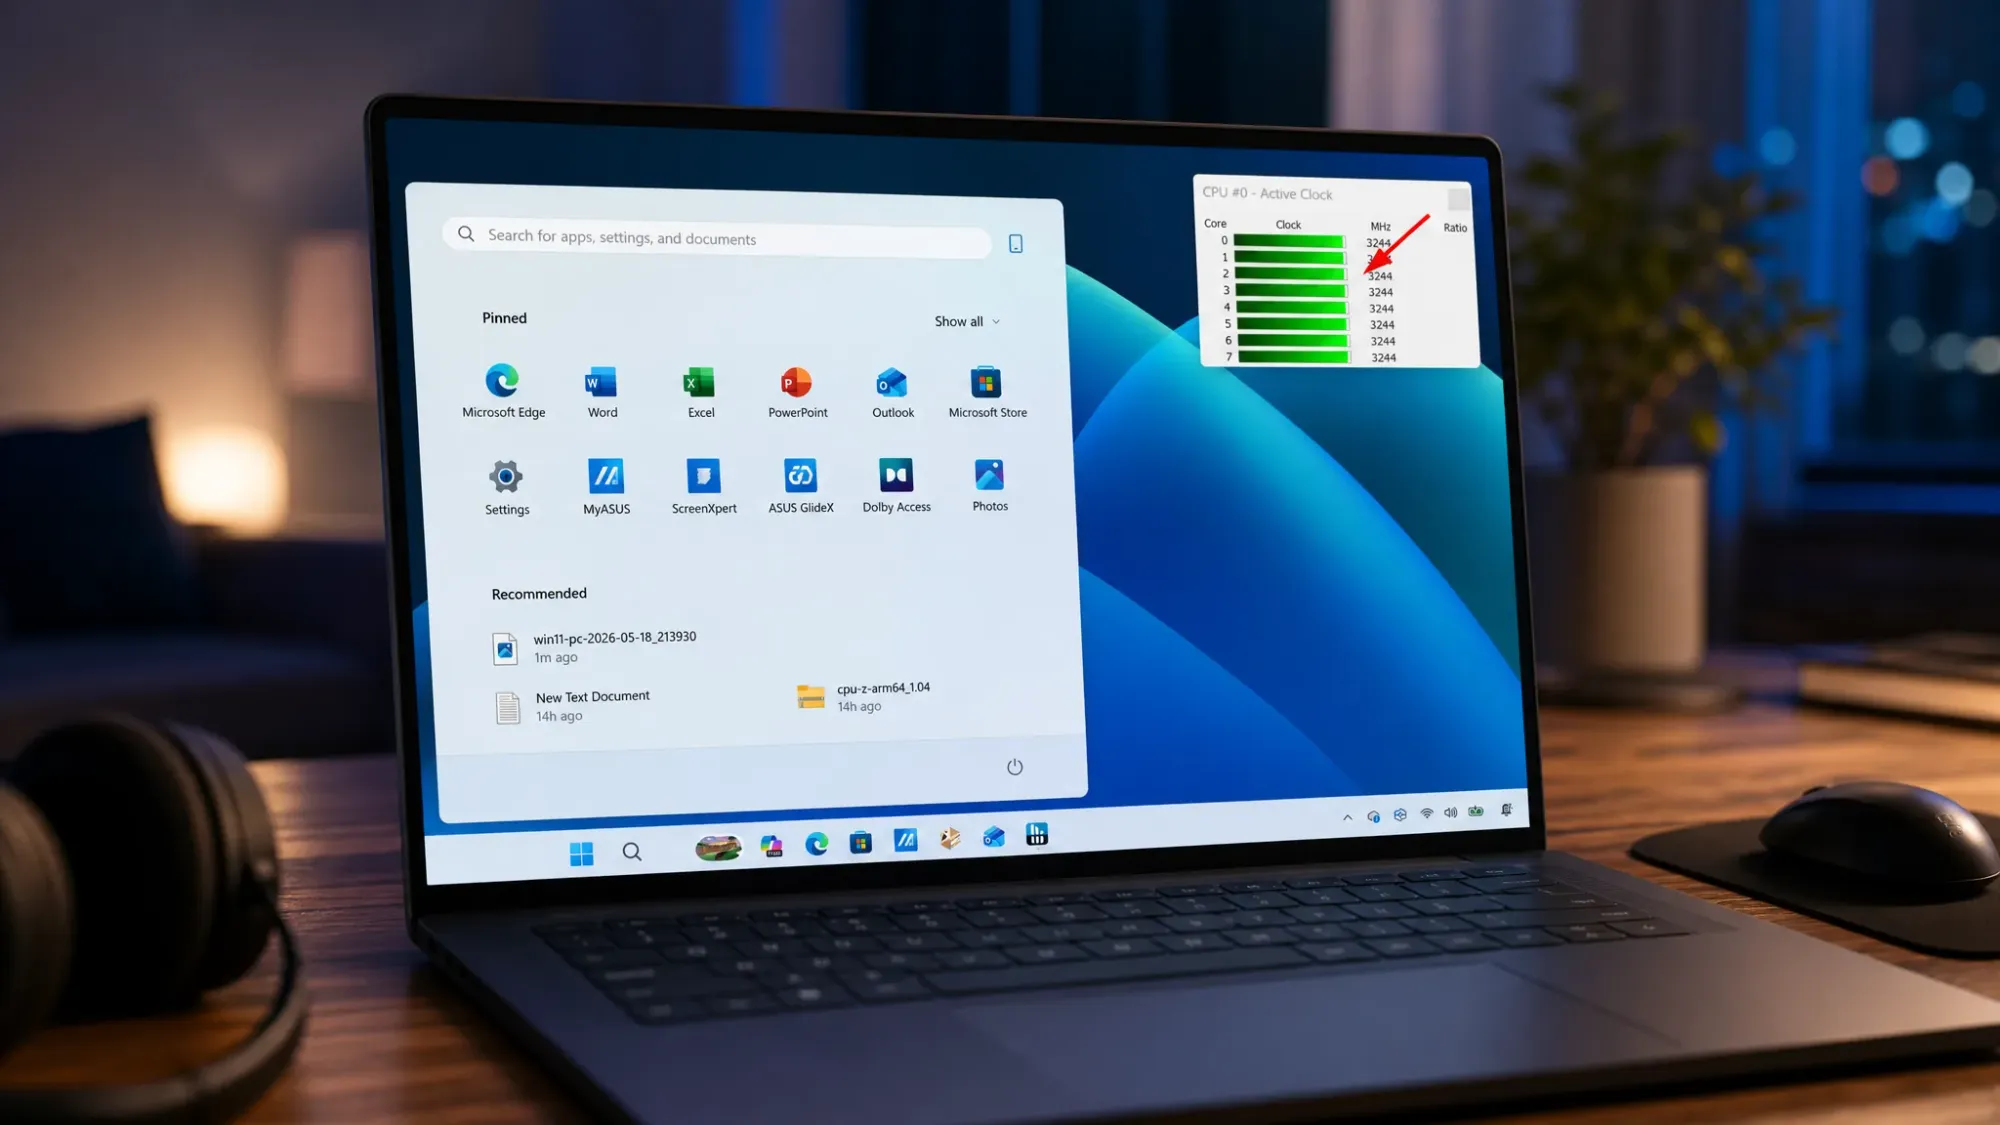
Task Manager can show clock speed on the Performance tab, but its polling rate is too slow to reliably catch microsecond-scale frequency bursts. A dedicated hardware monitor gives a far clearer reading. HWiNFO is the lightweight tool used here because it exposes per-core frequency in real time.
Install HWiNFO to monitor CPU frequency
winget install --id XP9CS6FHQ00B8JThree tests to confirm Low Latency Profile is active
The goal is repetition, not a before-and-after comparison. Run each test several times and look for the same response every time. With the system idle and HWiNFO visible, work through the three shell elements the feature targets.
What a working Low Latency Profile looks like
When the feature is running, the CPU shows a very specific signature. Use the table below to match what you see in HWiNFO against the expected behavior.
| Signal | Active | Not active |
|---|---|---|
| Core frequency on shell action | Sharp jump to max / near-max | Little or no change |
| Spike duration | About 1 to 3 seconds | None or sustained drift |
| After the spike | Immediate return to idle | No clear pattern |
| Menu rendering | Opens instantly, no slide-in hesitation | Micro-stutter on open |
| Sustained load | No long high-CPU period | N/A |
Alongside the frequency reading, look for a behavioral cue. Active menus pop up with no visible frame delay and open smoothly across repeated tries. That combination of an instant frequency burst and a frame-perfect open is the clearest confirmation the feature is doing its job.
Enable Low Latency Profile with ViveTool if no spikes appear
If your build is current but the tests produce no spikes, your PC is in the group still waiting on Microsoft’s rollout queue. You can bypass that wait and switch the feature on yourself using ViveTool. This only makes sense after KB5089573 or a later update is installed, since the command activates code that already exists on the system.
C:\ViveTool.cd C:\ViveToolvivetool /enable /id:58989092/disable in place of /enable. Once the feature becomes default on your device, the disable option no longer takes effect.Why results vary by hardware
The size of the effect depends heavily on the machine. Low-end and older PCs gain the most, because those are the systems that visibly struggle to open menus and flyouts in the first place. On a constrained dual-core setup, the difference is dramatic, with the Start menu opening instantly where it used to lag.
On modern, high-end desktops and premium laptops, the change is subtle. The hardware was already fast enough to open shell elements without delay, so the benefit shows up as extra smoothness rather than a measurable speed jump. That is exactly why the HWiNFO frequency reading is the dependable test. The visual improvement may be too small to notice, but the synchronized core spike is not.
Because the boost lasts only a brief moment before the processor drops back to idle, the impact on battery life and temperatures stays minimal. The feature does not add a new workload. It simply changes how the system prioritizes and schedules the work it already does the instant you interact with the shell, which is the same race-to-idle approach other modern platforms rely on.


