
Being aware of your system’s security activities is essential for maintaining a safe computing environment in Windows 11. By accessing the protection history, you can review all the threats that Windows Security has detected and the actions taken against them. This is especially helpful if you need to address false positives or ensure that previous threats have been resolved. This guide will walk you through how to view your protection history using the Windows Security app and PowerShell.
View protection history using Windows Security app
Security in the search bar. Click on the ‘Windows Security’ app from the search results to launch it.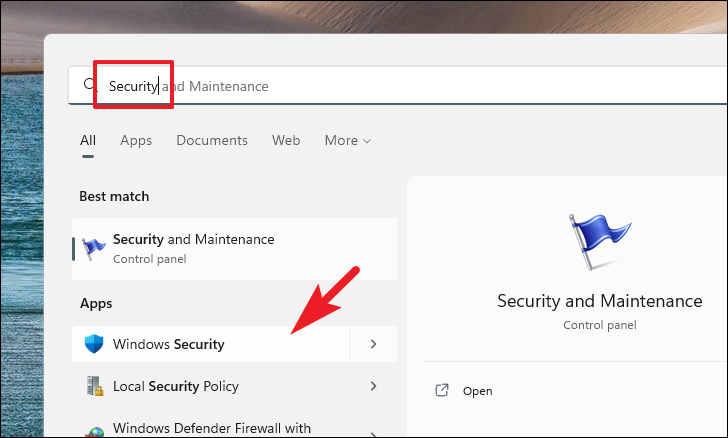
View protection history using PowerShell
Terminal in the search field. Right-click on ‘Windows Terminal’ from the results and select ‘Run as administrator’ to open it with administrative privileges.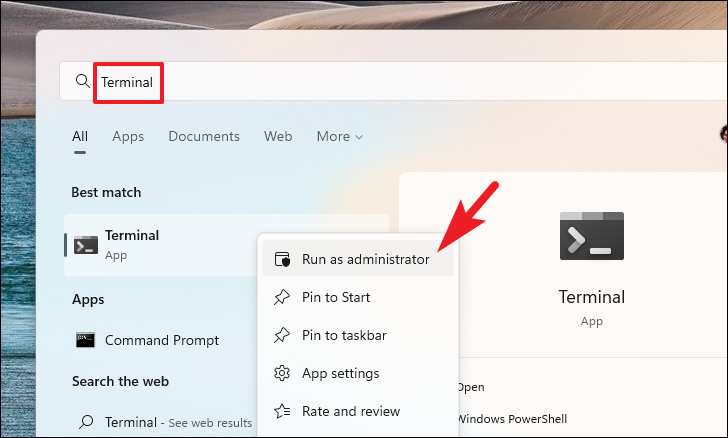
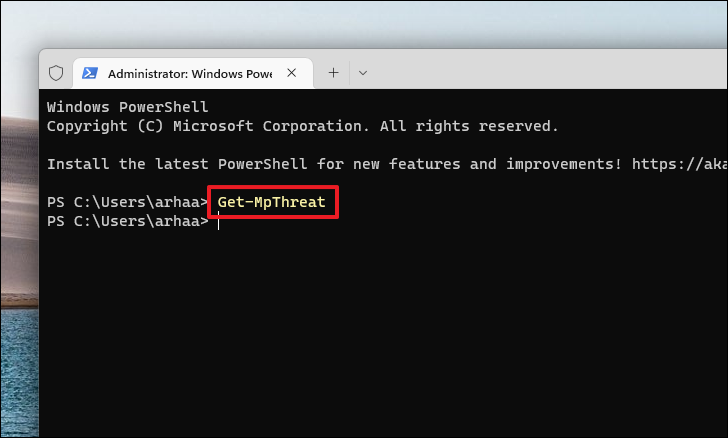
Get-MpThreatNote: If the command doesn’t return any results, it may indicate that there is no protection history. This can occur if a third-party antivirus program is managing your system’s real-time protection.
Get-MpThreatDetection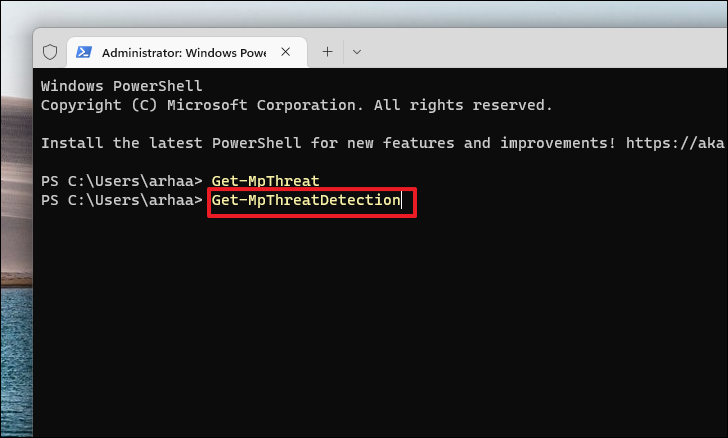
By regularly checking your protection history, you can keep track of threats that have been handled by Windows Security and address any false positives that may require your attention.


