Mouse pointer trails are a useful feature in Windows 11 that can improve cursor visibility by leaving a visual trail as the pointer moves. This can be particularly helpful for users with visual impairments or for those who want a more noticeable cursor. Here’s how you can enable or disable mouse pointer trails using the Settings app and the Control Panel.
Enable or Disable Mouse Pointer Trails from the Settings App
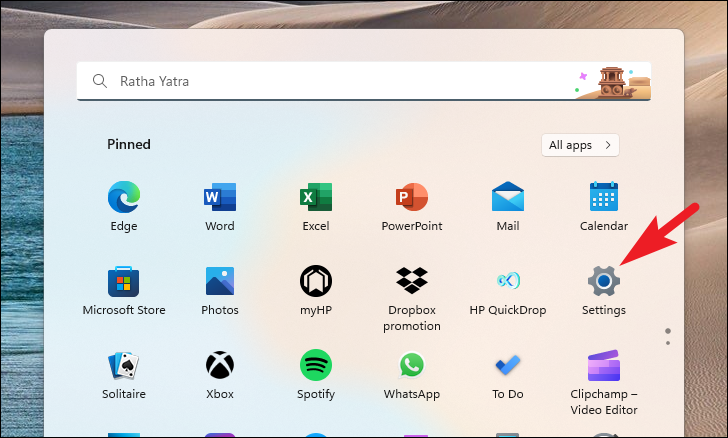
Open the Settings app by clicking on the Start button and selecting the Settings icon. Alternatively, press Windows + I on your keyboard to access it directly.
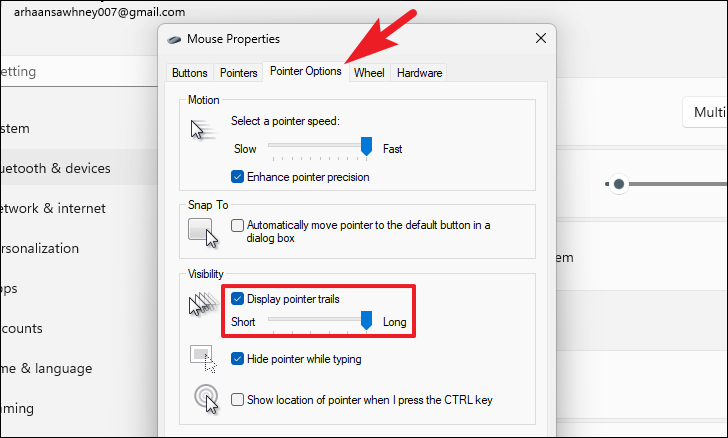
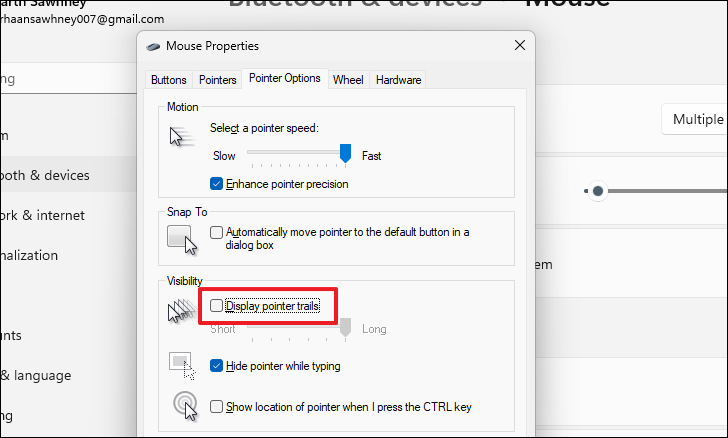
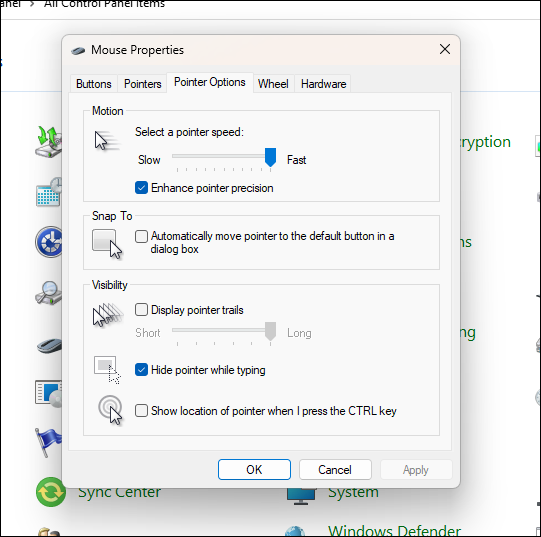
To enable mouse pointer trails, check the box next to Display pointer trails. You can adjust the trail length by moving the slider below the option—move it to the left for a shorter trail or to the right for a longer one.
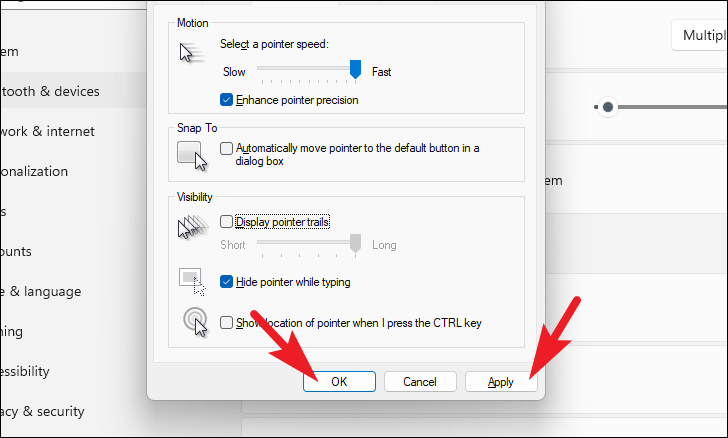
Click on Apply to save your changes, then click OK to close the window.
Enable or Disable Mouse Pointer Trails from the Control Panel
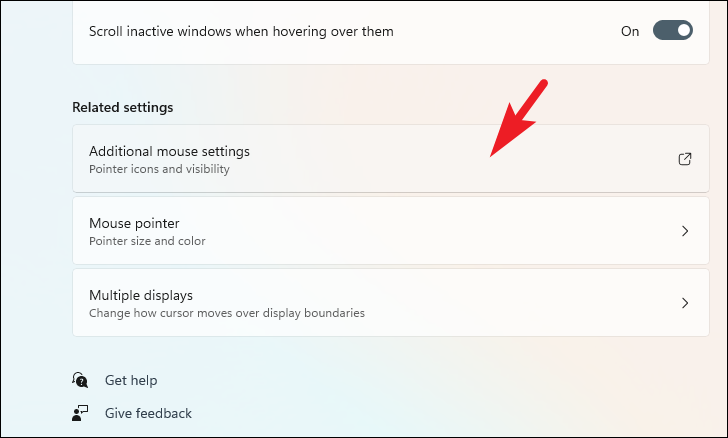
If you prefer using the Control Panel or are unable to access the additional mouse settings through the Settings app, you can also enable or disable mouse pointer trails via the Control Panel.
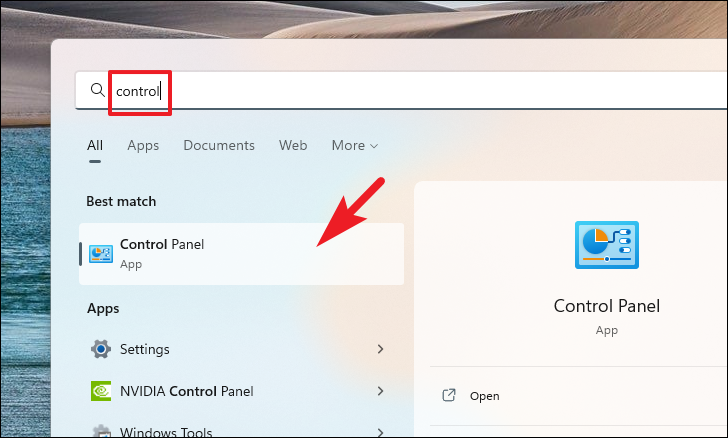
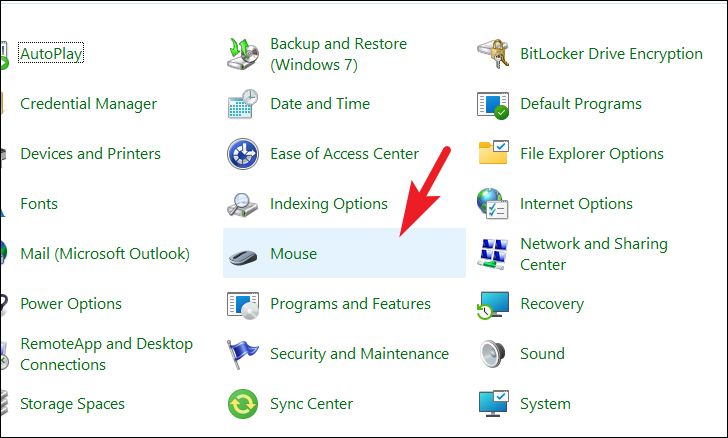
In the Control Panel, set the View by option to Large icons or Small icons if it’s not already selected. Then, locate and click on the Mouse option to open the Mouse Properties window.
Click Apply to save the changes and then click OK to close the window.
By following these methods, you can easily manage mouse pointer trails on your Windows 11 device. Whether for improved visibility or personal preference, enabling or disabling this feature can enhance your user experience.