
Duplicate photos can take up a lot of space on your phone, especially if you tend to have a lot of them. Now spotting and deleting photos from the gallery manually can be a cumbersome, even daunting task. And sometimes, we’re not even sure if two photos are duplicates or are slightly different, so we let them be.
Fortunately, on iOS 16, you don’t have to go through this tiring charade. Managing the clutter of duplicate photos is a walk in the park. The Photos app now has a separate album where it will display all the duplicate photos iOS detects in your gallery. All that you have to do is choose what to do with them. You can simply delete the duplicates or merge the data from them. Let’s get on with it.
View and Merge the Duplicate Photos from the Photo Gallery
As mentioned before, on iOS 16, there is a separate album in your Photo gallery that will display all the detected duplicates and allow you to take a preferred action on them.
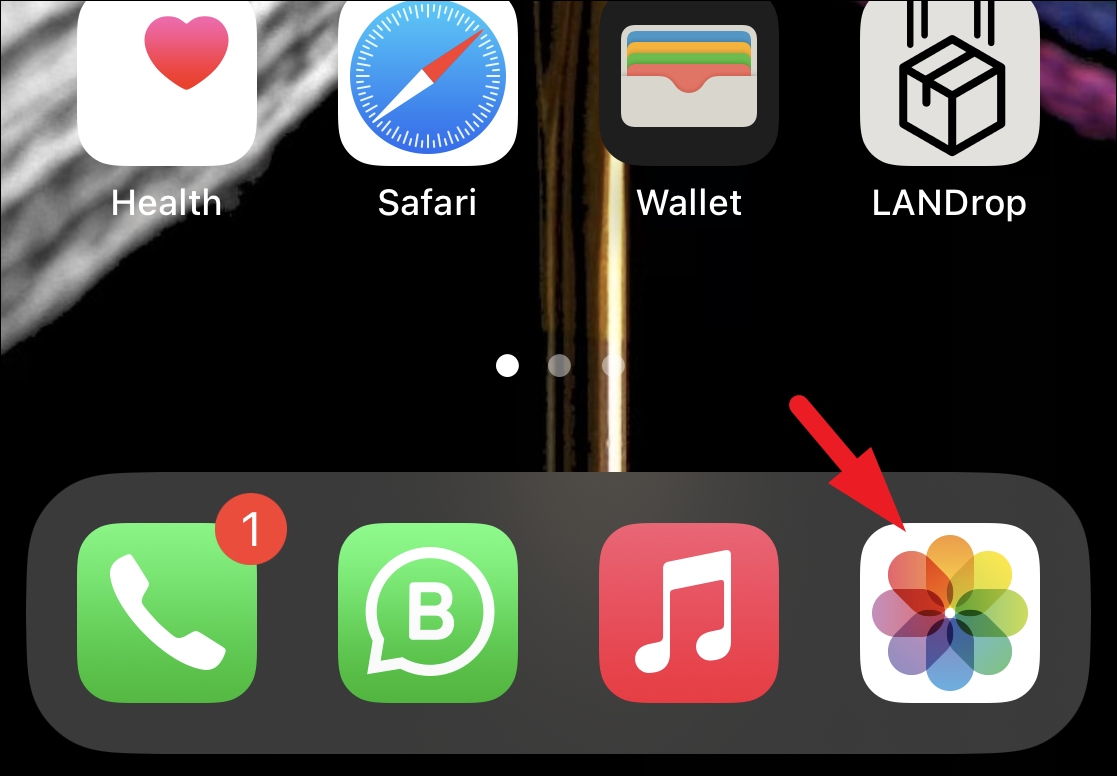
On your iPhone running iOS 16, head to the Photos app. You can open it either from the home screen or the app library of your device.
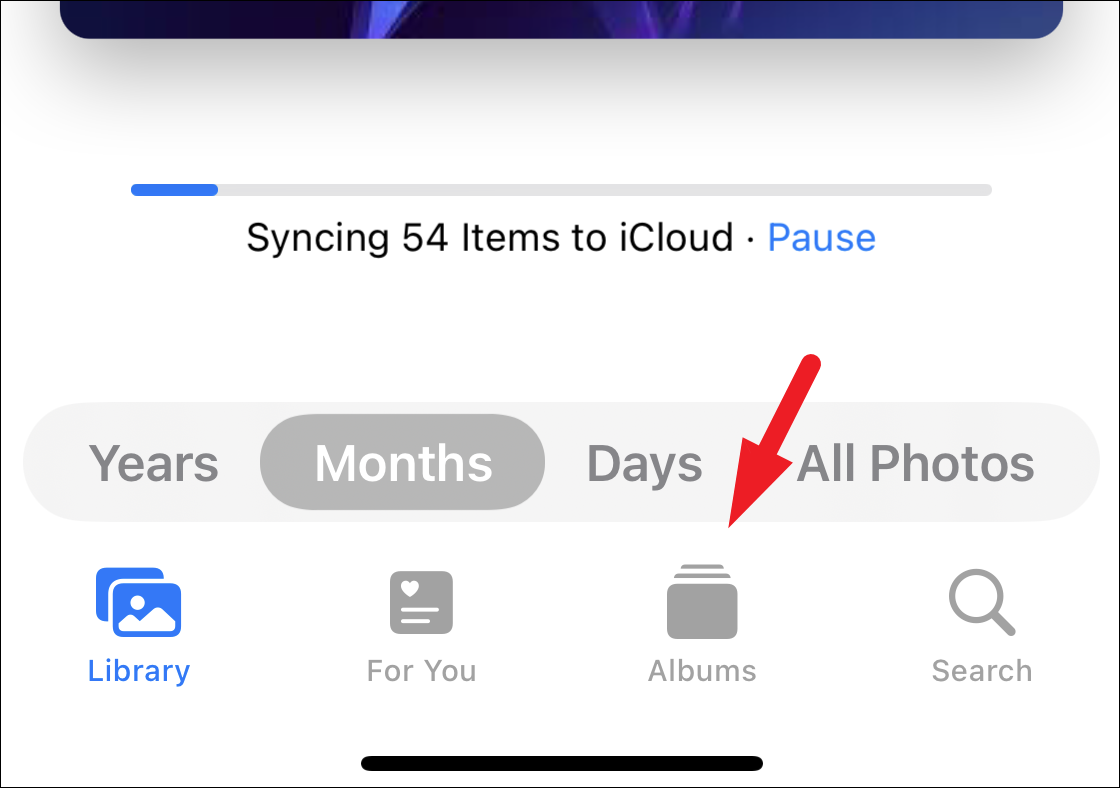
After that, make sure you are on the ‘Albums’ tab from the navigation bar at the bottom of the Photos app.
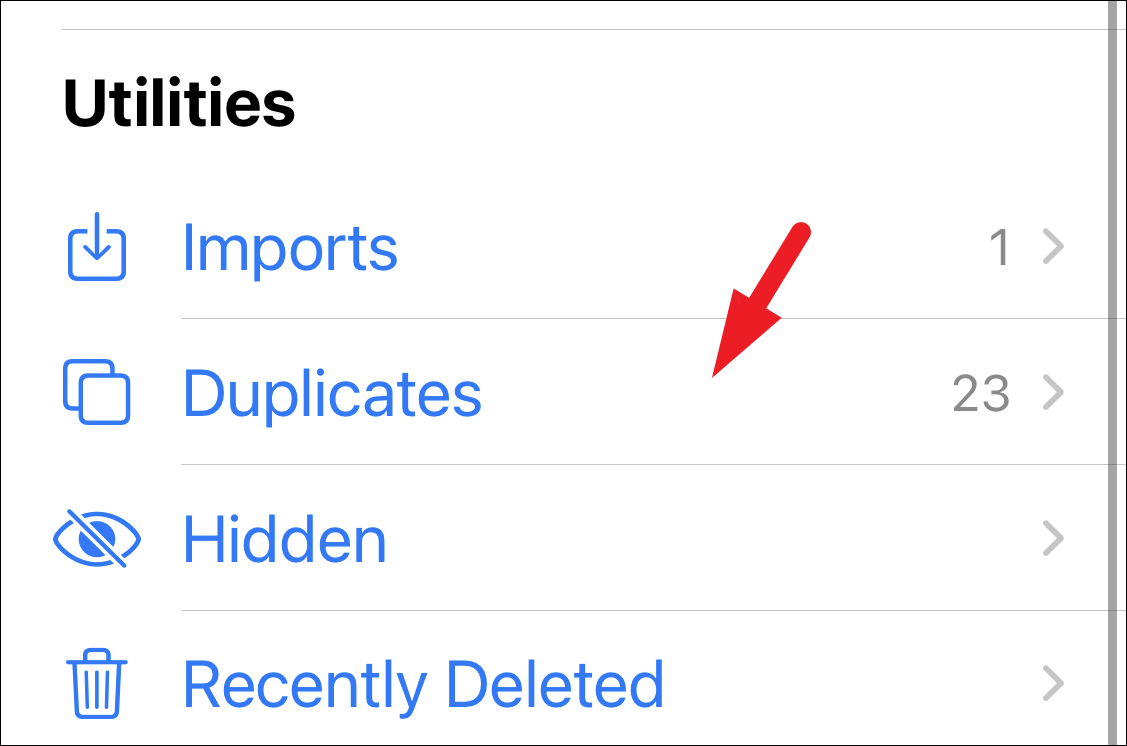
Next, scroll down to the bottom and tap on the ‘Duplicates’ album present under the ‘Utilities’ section.
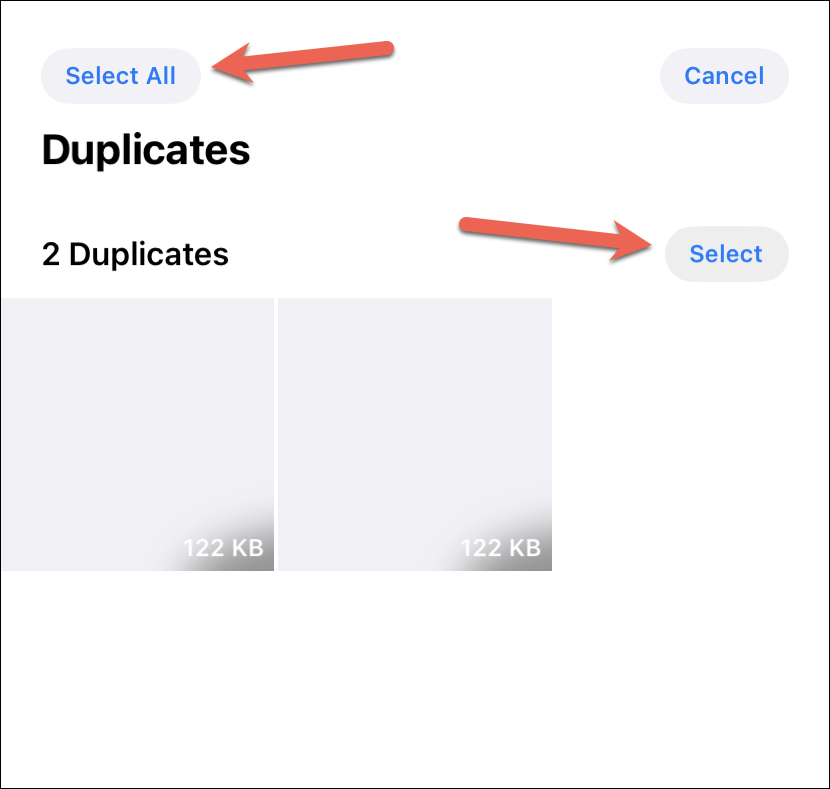
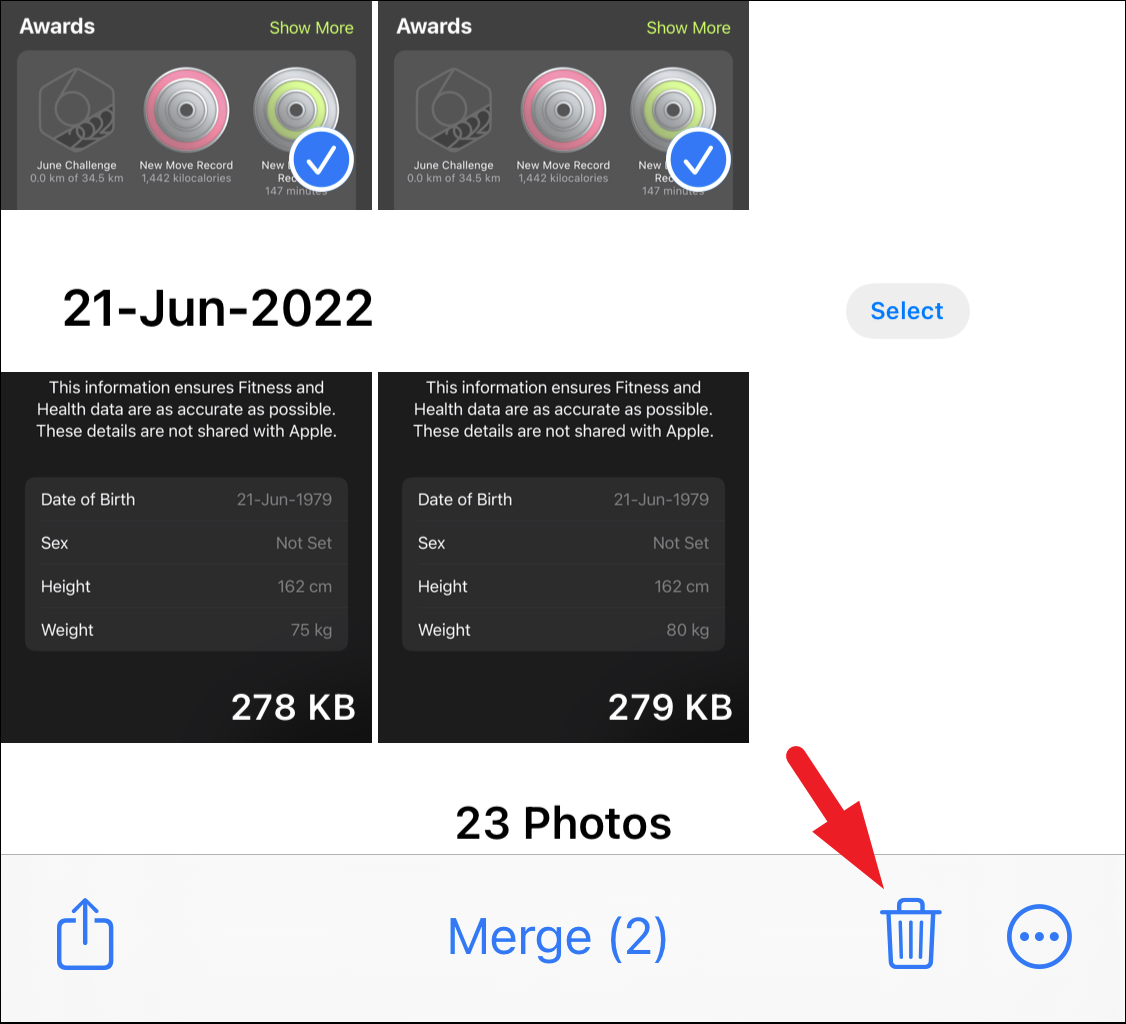
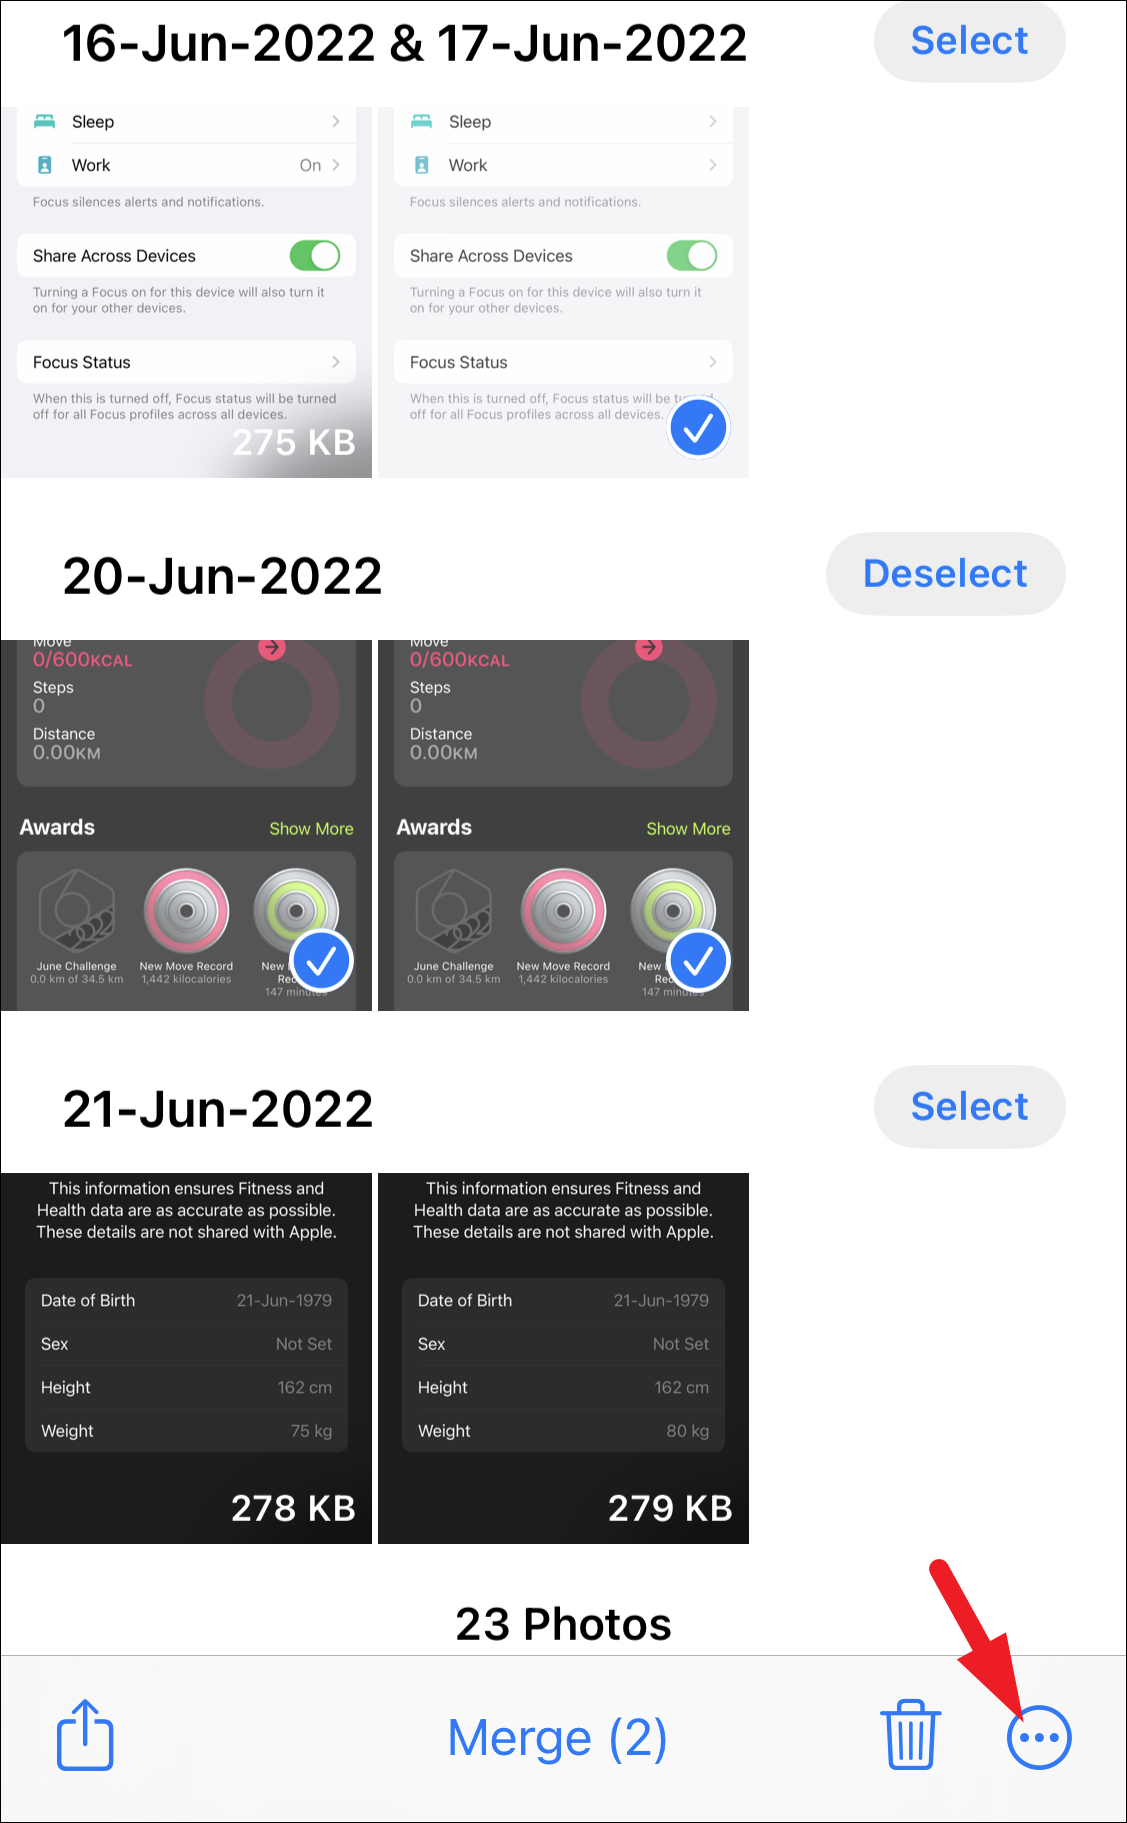
Now, on the next screen, you will be able to see all the duplicate photos and videos in your gallery, segregated by date. You can also see the size of each duplicate right there on the thumbnail. Tap on the ‘Select’ button to proceed.

Now, you can either tap ‘Select All’ in the top-left corner of the screen to select all duplicate photos detected by iPhone. You can also individually select the photos by tapping them. To only select an individual set of duplicate photos, tap on the ‘Select’ button following each dated section.
Now, you can merge the duplicate photos by tapping on the ‘Merge’ button which will combine all relevant data such as captions, and keywords, and even retain favorites into one picture with the highest quality. If any albums had a duplicate photo, iPhone will also update it with the merged photo.

Note: The Merge option is only available when you select multiple copies of the duplicate photo. If you choose only one photo from the duplicates, the option will be greyed out. Or, if you have selected multiple photos, the merge option will only be available for the duplicates selected. For example, in the screenshot below, three photos are selected, but Merge is only available for two photos.
Then, tap on the ‘Merge’ button from the pop-up alert to confirm.

Instead of selecting merge where iPhone decides which photo to keep, you can also delete the photos manually. After selecting the photos, tap on the ‘Delete’ button to delete the pictures from your gallery.
Configure Picture Properties
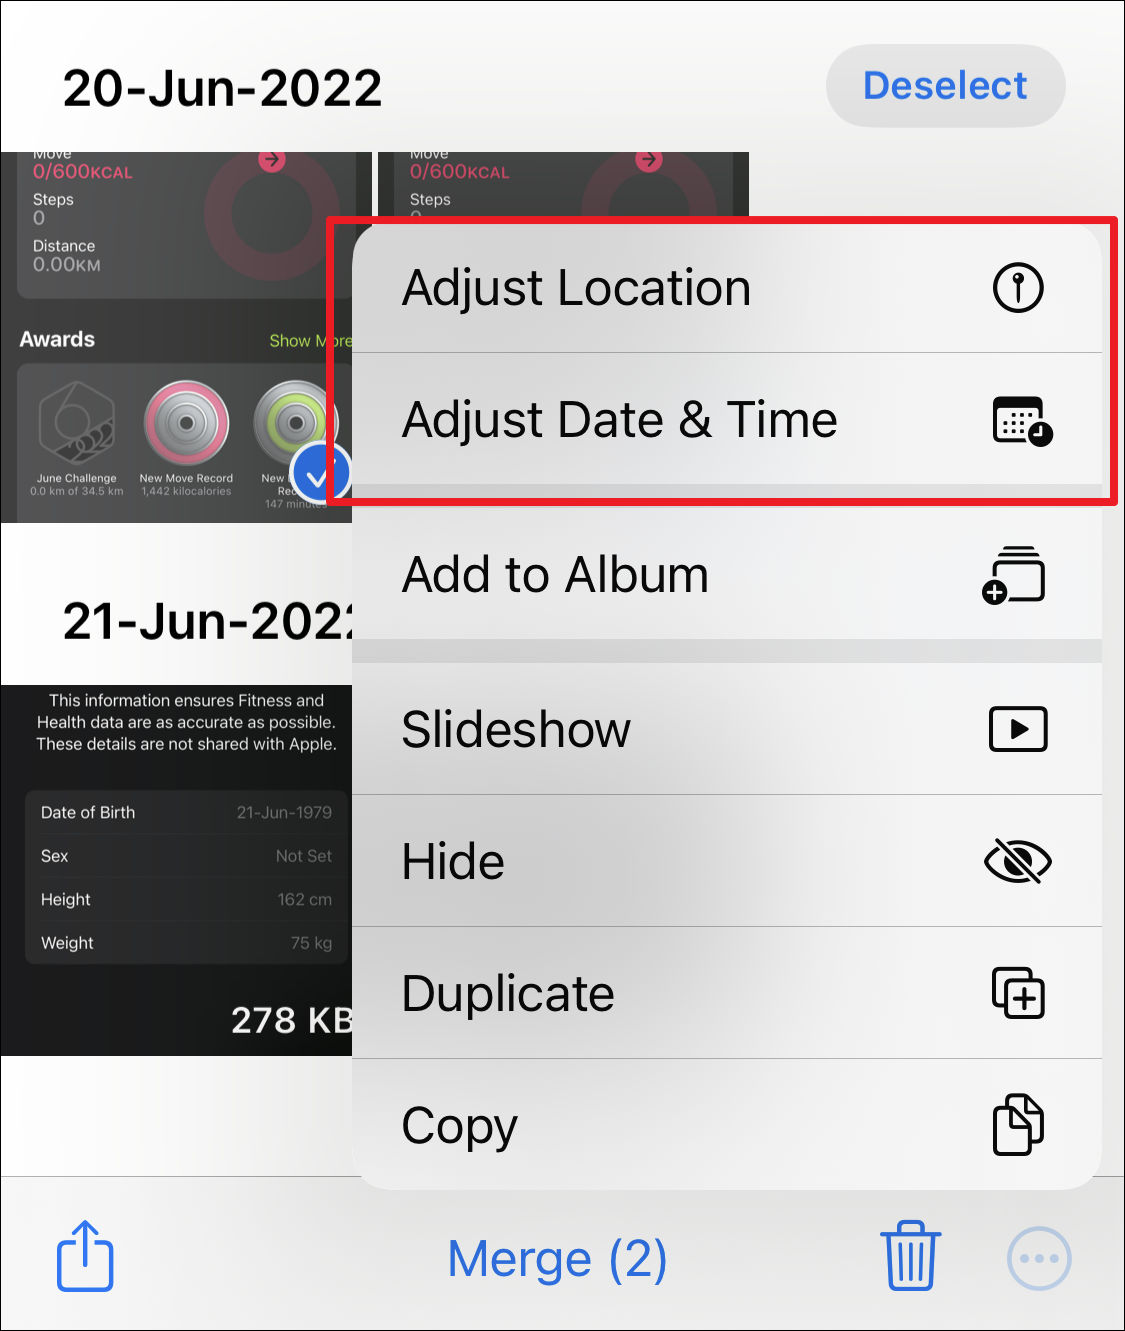
You can also adjust picture properties from the ‘Duplicates’ folder to make the system differentiate between the two pictures in case you wish to keep multiple copies of the same picture.
To do so, first, select the picture(s) you wish to adjust properties for. Then, tap on the ‘More’ option (ellipsis icon) in the bottom right corner to continue.
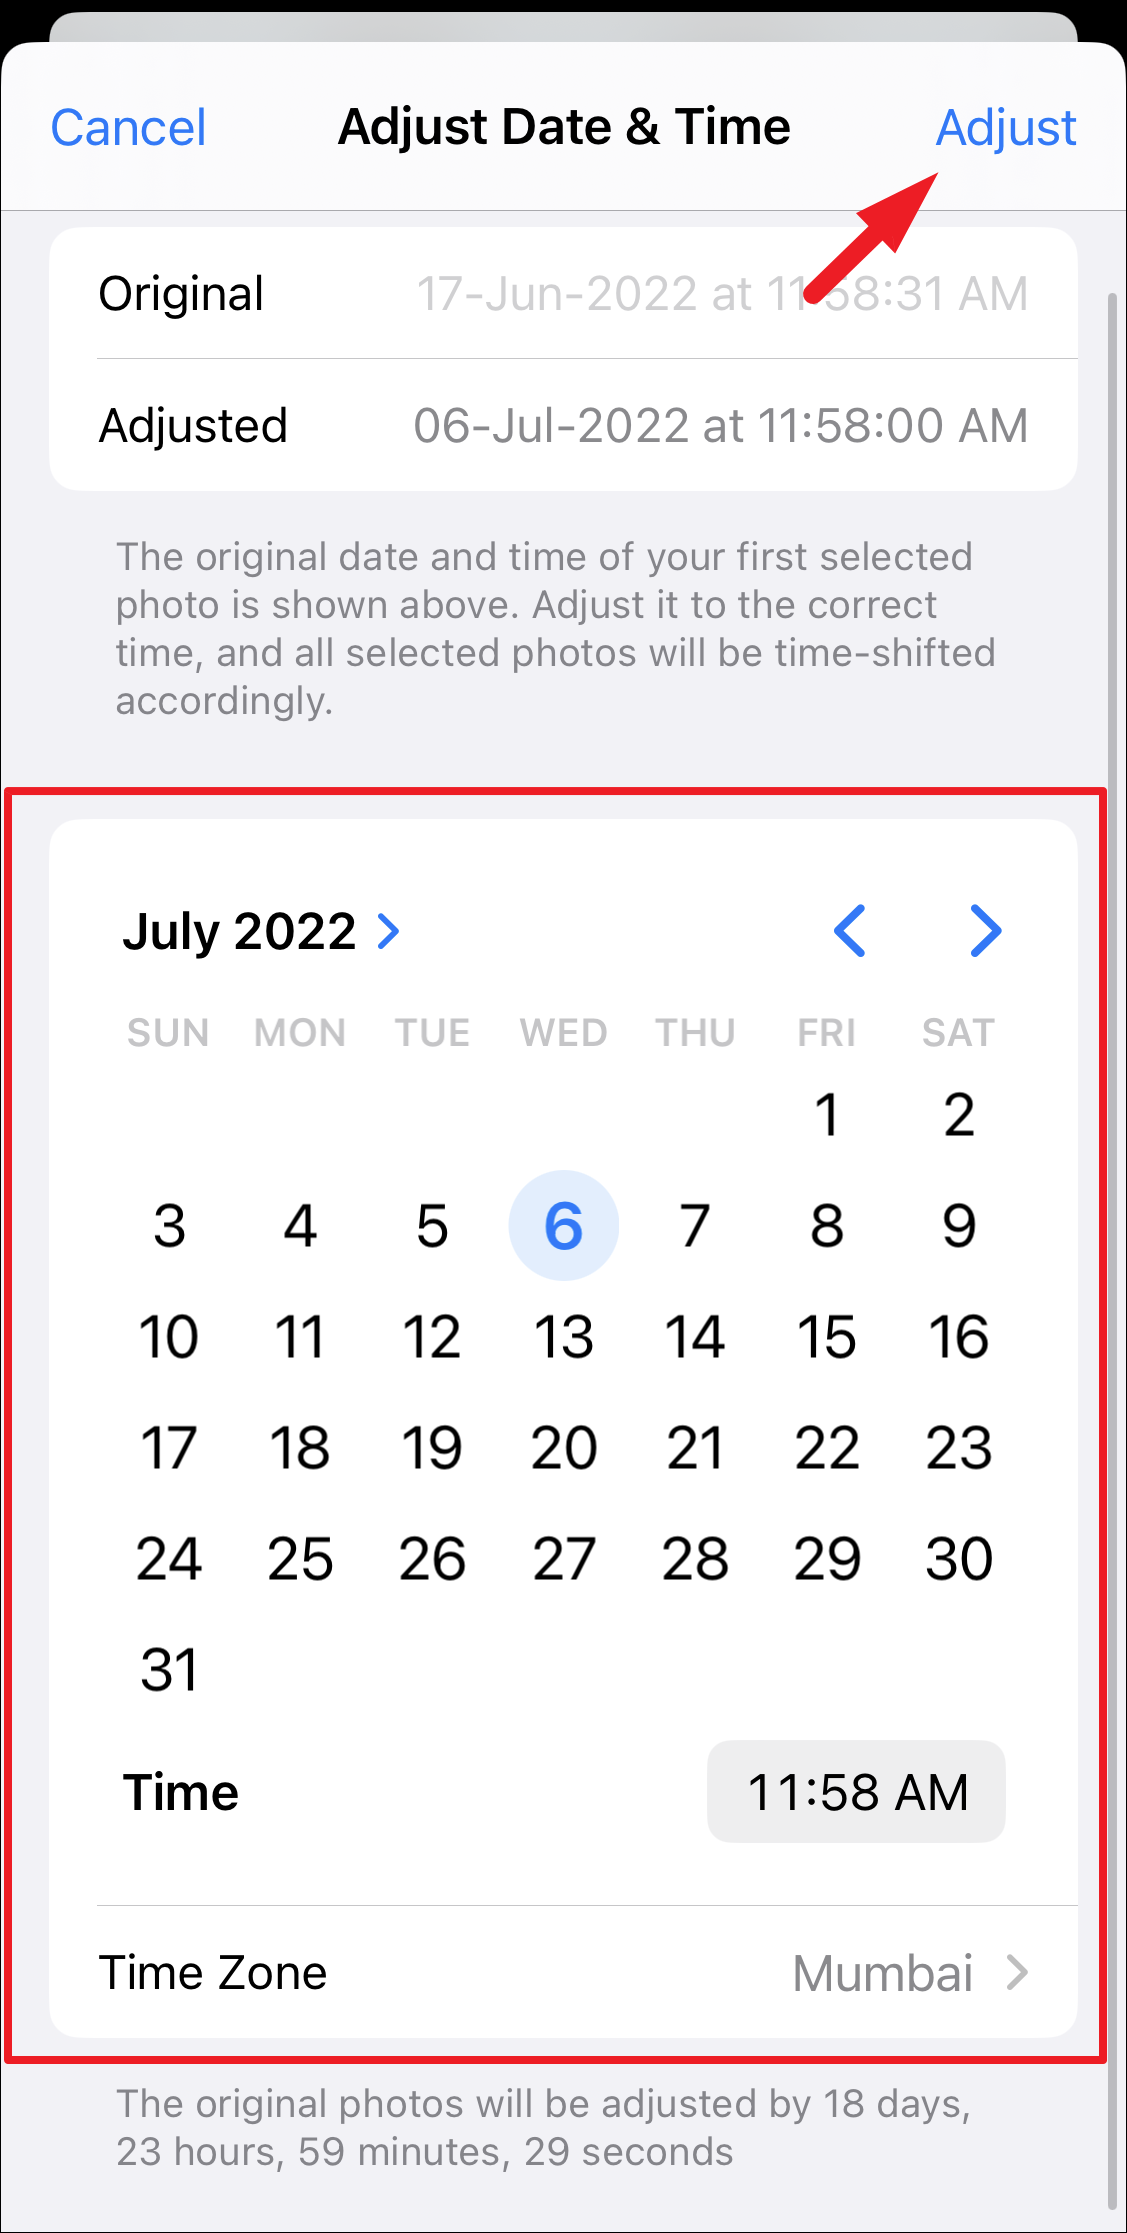
After that, if you wish to adjust location or time, tap on the desired option from the menu to proceed.
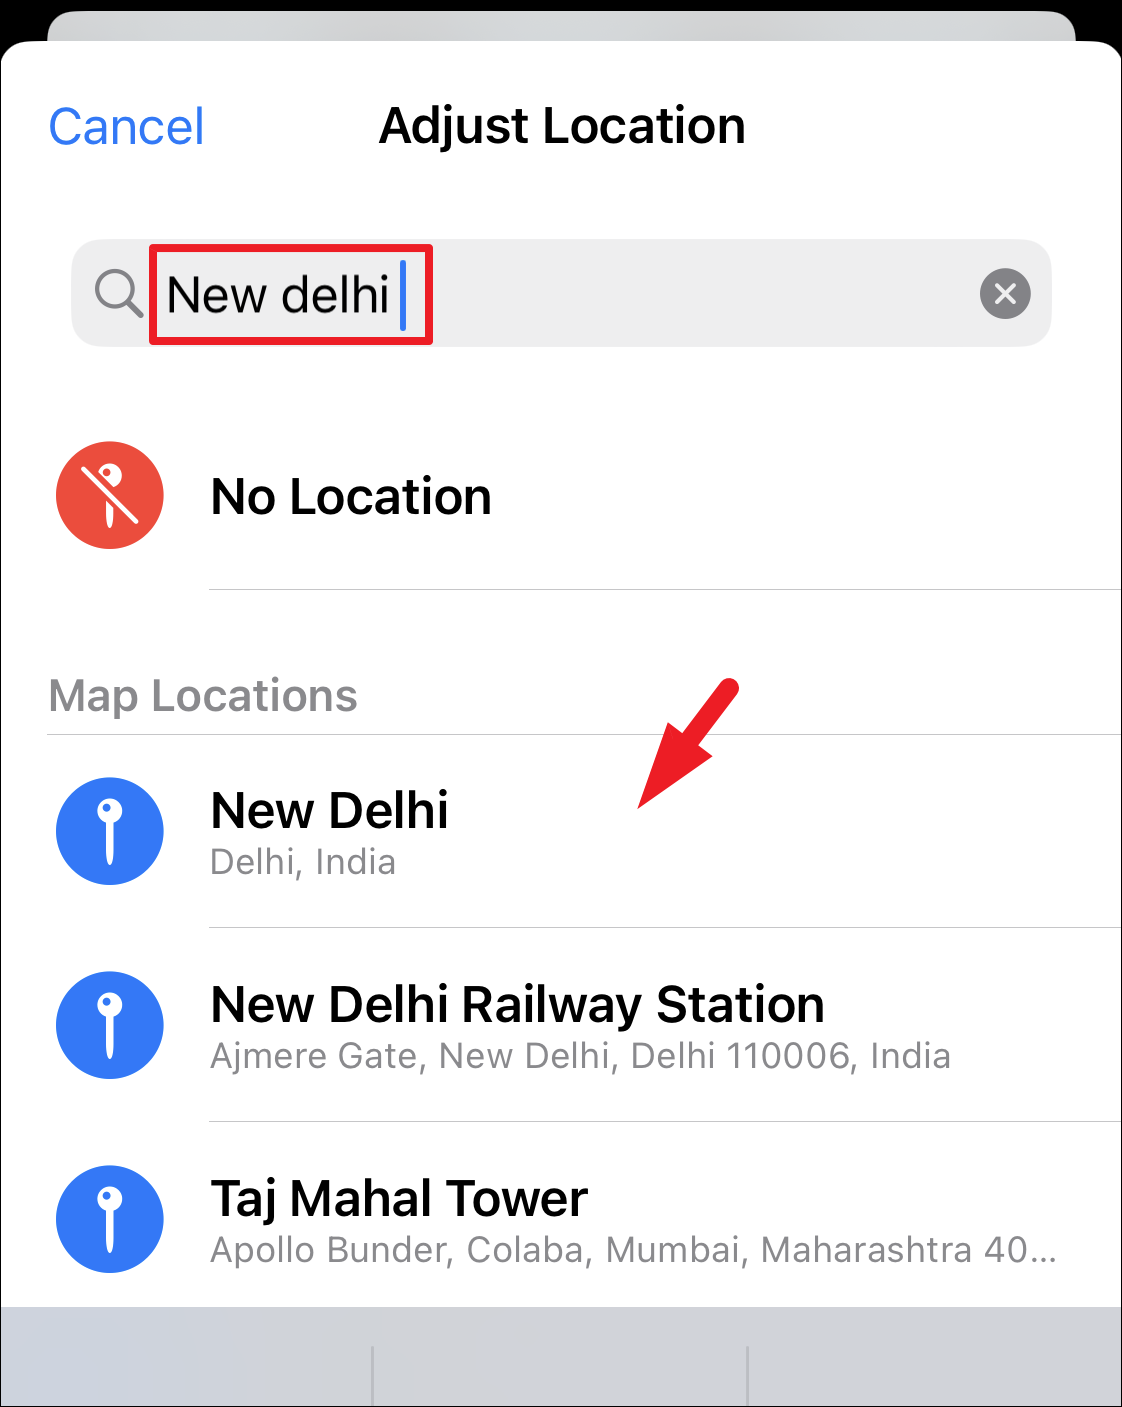
In case you had selected to edit location, search for the location using the search bar and then tap on one of the results to set the location.
If you had chosen to adjust the date and time, use the calendar to choose the date and time to set the new value. The page will also display the original time and date as well. Once configured, tap on the ‘Adjust’ button to confirm the changes.
That’s about it. There’s no need to resort to third-party apps for your duplicate photo woes. You can clear up duplicate photos from your gallery in a swish using the Duplicates album.


