


Pure Fiction in Honkai: Star Rail version 4.5 runs as Domain Genesis (IV), and switching on Starward Mode bolts a third node onto the usual two. All three nodes hold Lv. 85 enemies, cap at 40,000 points each, and let you pick a separate Grit Effect before you walk in. The rotation runs until October 19, 2026.
Quick answer: Beat all three Domain Genesis (IV) nodes for up to 120,000 points. Every Stellar Jade tier is paid out at 99,000, so about 33,000 per node is enough.
Domain Genesis (IV) scoring and Stellar Jade thresholds
Each node hard-caps at 40,000 points, so the Starward layout raises both the ceiling and the bar you have to clear. Taking the harder setup does not come with a handicap, which means a weak third team drags your total down instead of buying you slack.
| Setup | Max score | 800 Jades | Final 100 |
|---|---|---|---|
| Standard (2 nodes) | 80,000 | 60,000 | — |
| Starward (3 nodes) | 120,000 | 90,000 | 99,000 |
The clear is set at 45,000, followed by Star Targets at 60,000, 75,000, 90,000, and 99,000. Dividing those thresholds across three nodes gives 30,000 per node for the base reward and 33,000 apiece for all 900 Stellar Jades. Each node records its own score; once one reaches the maximum, you do not need to play it again.
Grit Mechanics, Surging Grit, and the three Grit Effects
Every node in this rotation shares the same Grit Mechanic, Punchline Acquisition, which grants allies 2 extra Grit Value each time Punchline is gained. On top of that you choose one Grit Effect per node from a separate slot, and the choice does not carry over between nodes.
| Grit Effect | Effect during Surging Grit | Team it fits |
|---|---|---|
| Euphoria | Enemies take 30% more Elation DMG; Aha Instant gains 20 SPD | Elation |
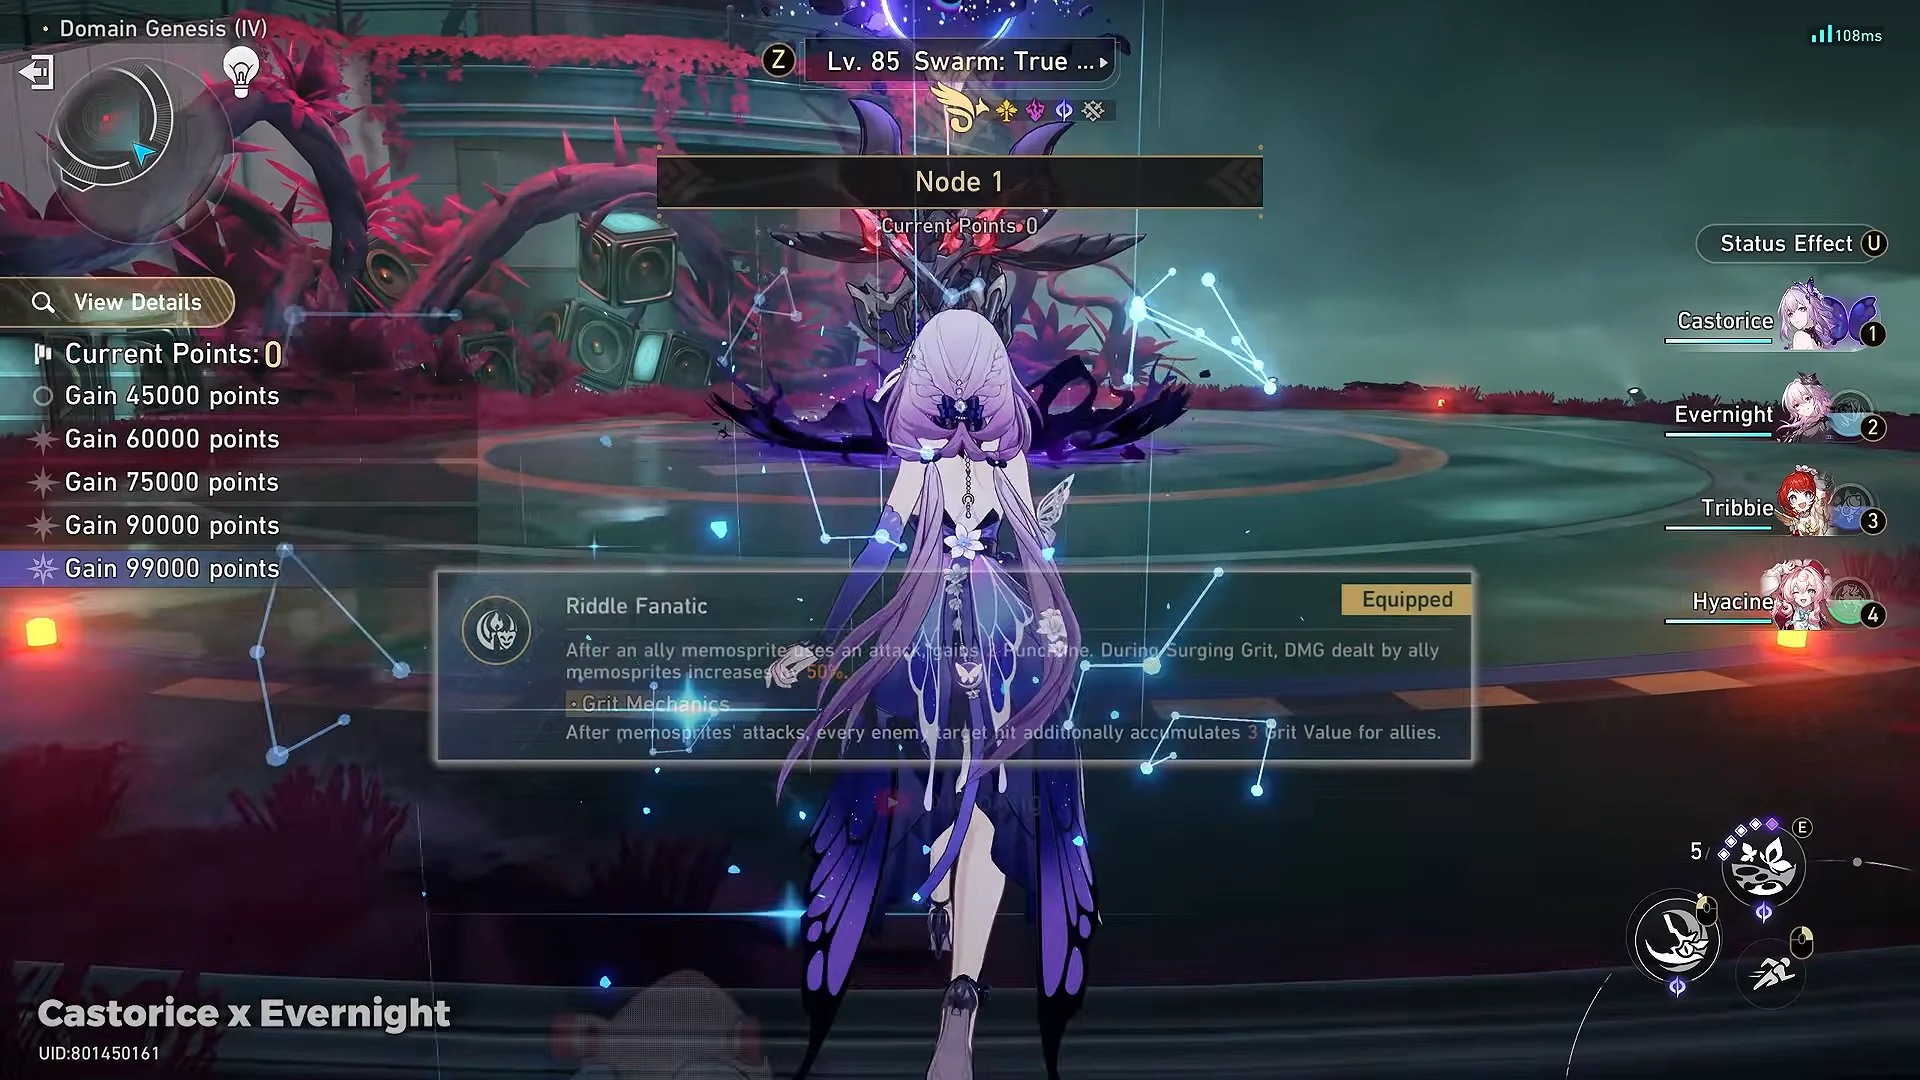
| Riddle Fanatic | Memosprite DMG +50%; memosprite attacks grant 2 Punchline | Remembrance |
| Delirium | Ally DMG +50%; Basic ATK or Skill grants 1 Punchline | Skill-heavy, mixed, DoT |
Riddle Fanatic and Delirium also feed the Grit bar directly. Memosprite attacks add 1 Grit Value per enemy hit, and Basic ATKs or Skills add 3 Grit Value per enemy hit. Landing hits fills the meter, and at 100 percent the Surging Grit phase begins. That window is where most of a 40,000-point score gets made.
Use the first wave to charge the meter, then hold the resource and trigger Surging Grit on the elite and the closer. Elation teams are the exception, since their rotation refills Grit fast enough that spending freely scores better than banking burst.
Wave order and bosses in all three nodes
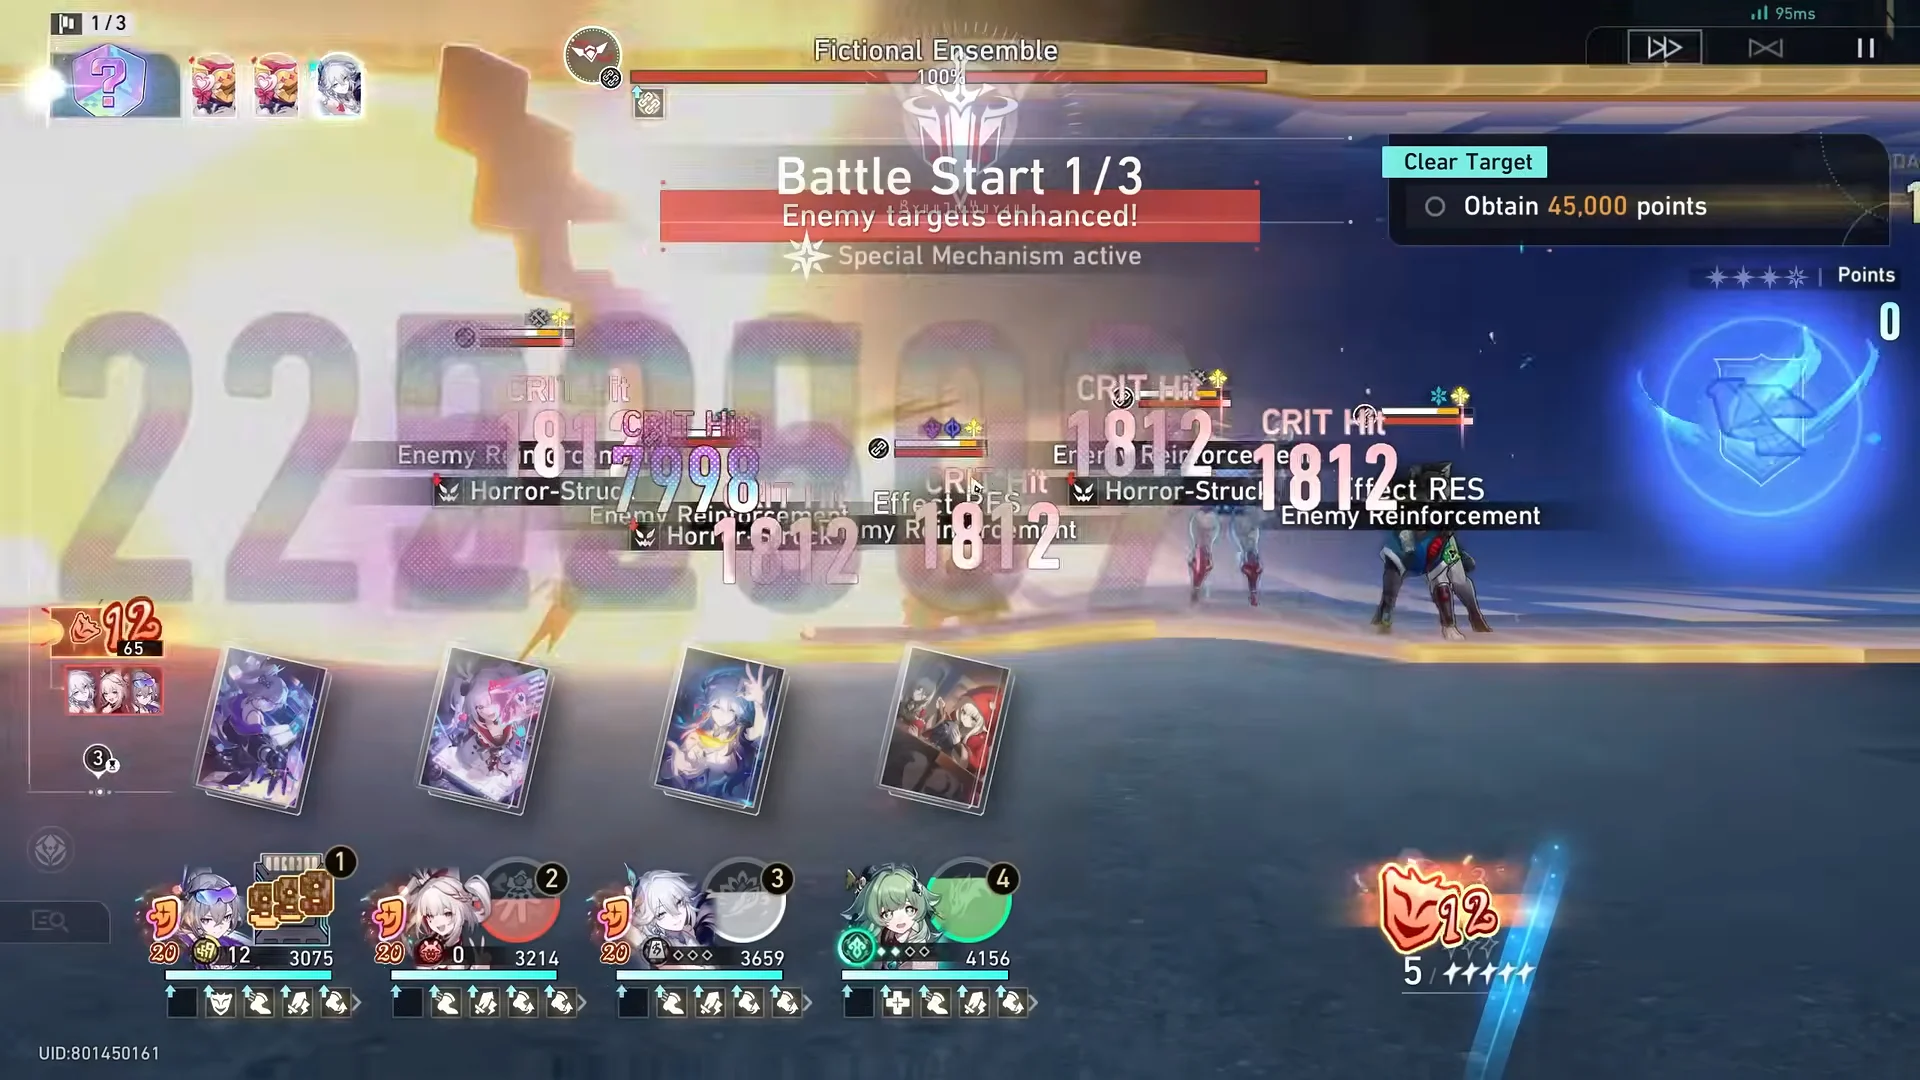
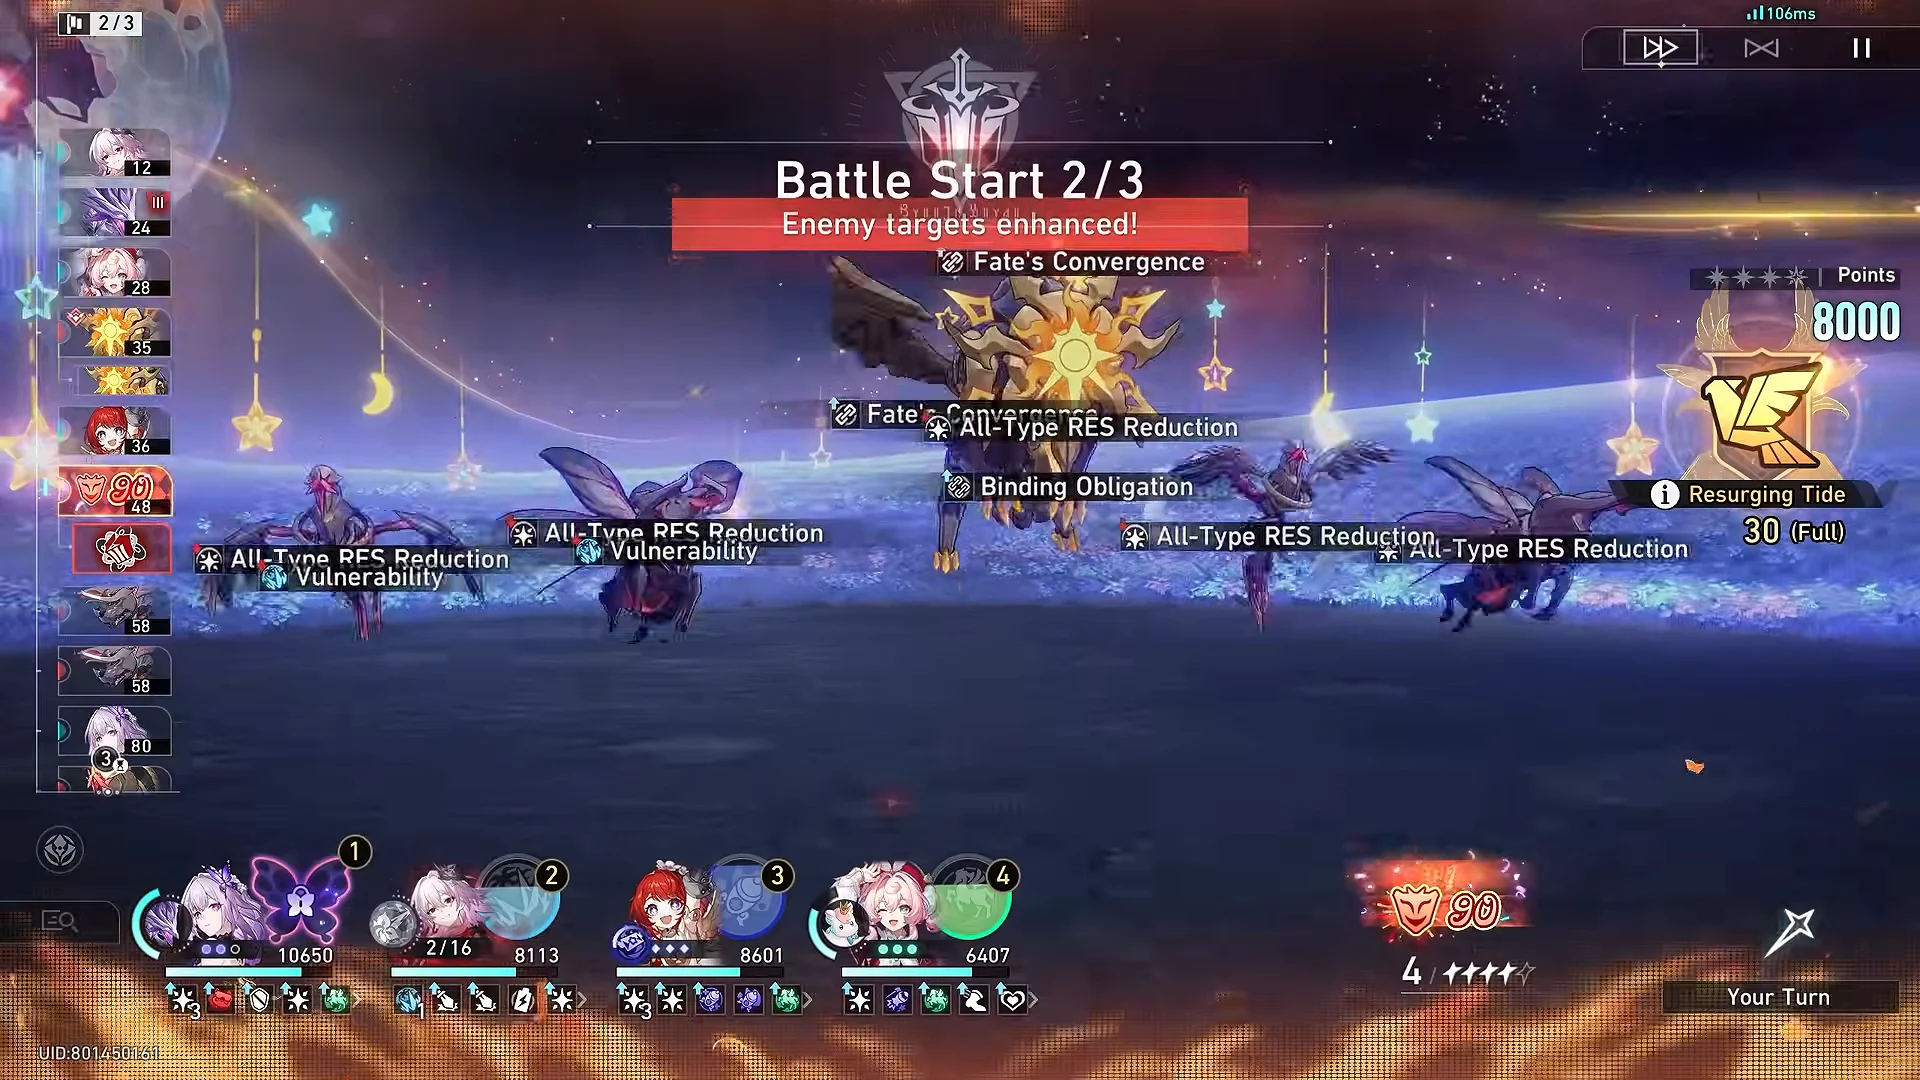
All three nodes use the same three-wave layout. Wave 1 features a Fictional Ensemble pack, wave 2 brings in an elite, and wave 3 ends the node while setting the single-target damage reserve you need.
| Node | Wave 2 elite | Wave 3 closer |
|---|---|---|
| 1 | Noontide Gryphon | Swarm: True Sting |
| 2 | Aurumaton Spectral Envoy | Paramount Bliss Inverted: Illwish Archlotus |
| 3 (Starward) | Rocking Rebel | Borisin Warhead: Hoolay |
Node 1: Swarm: True Sting
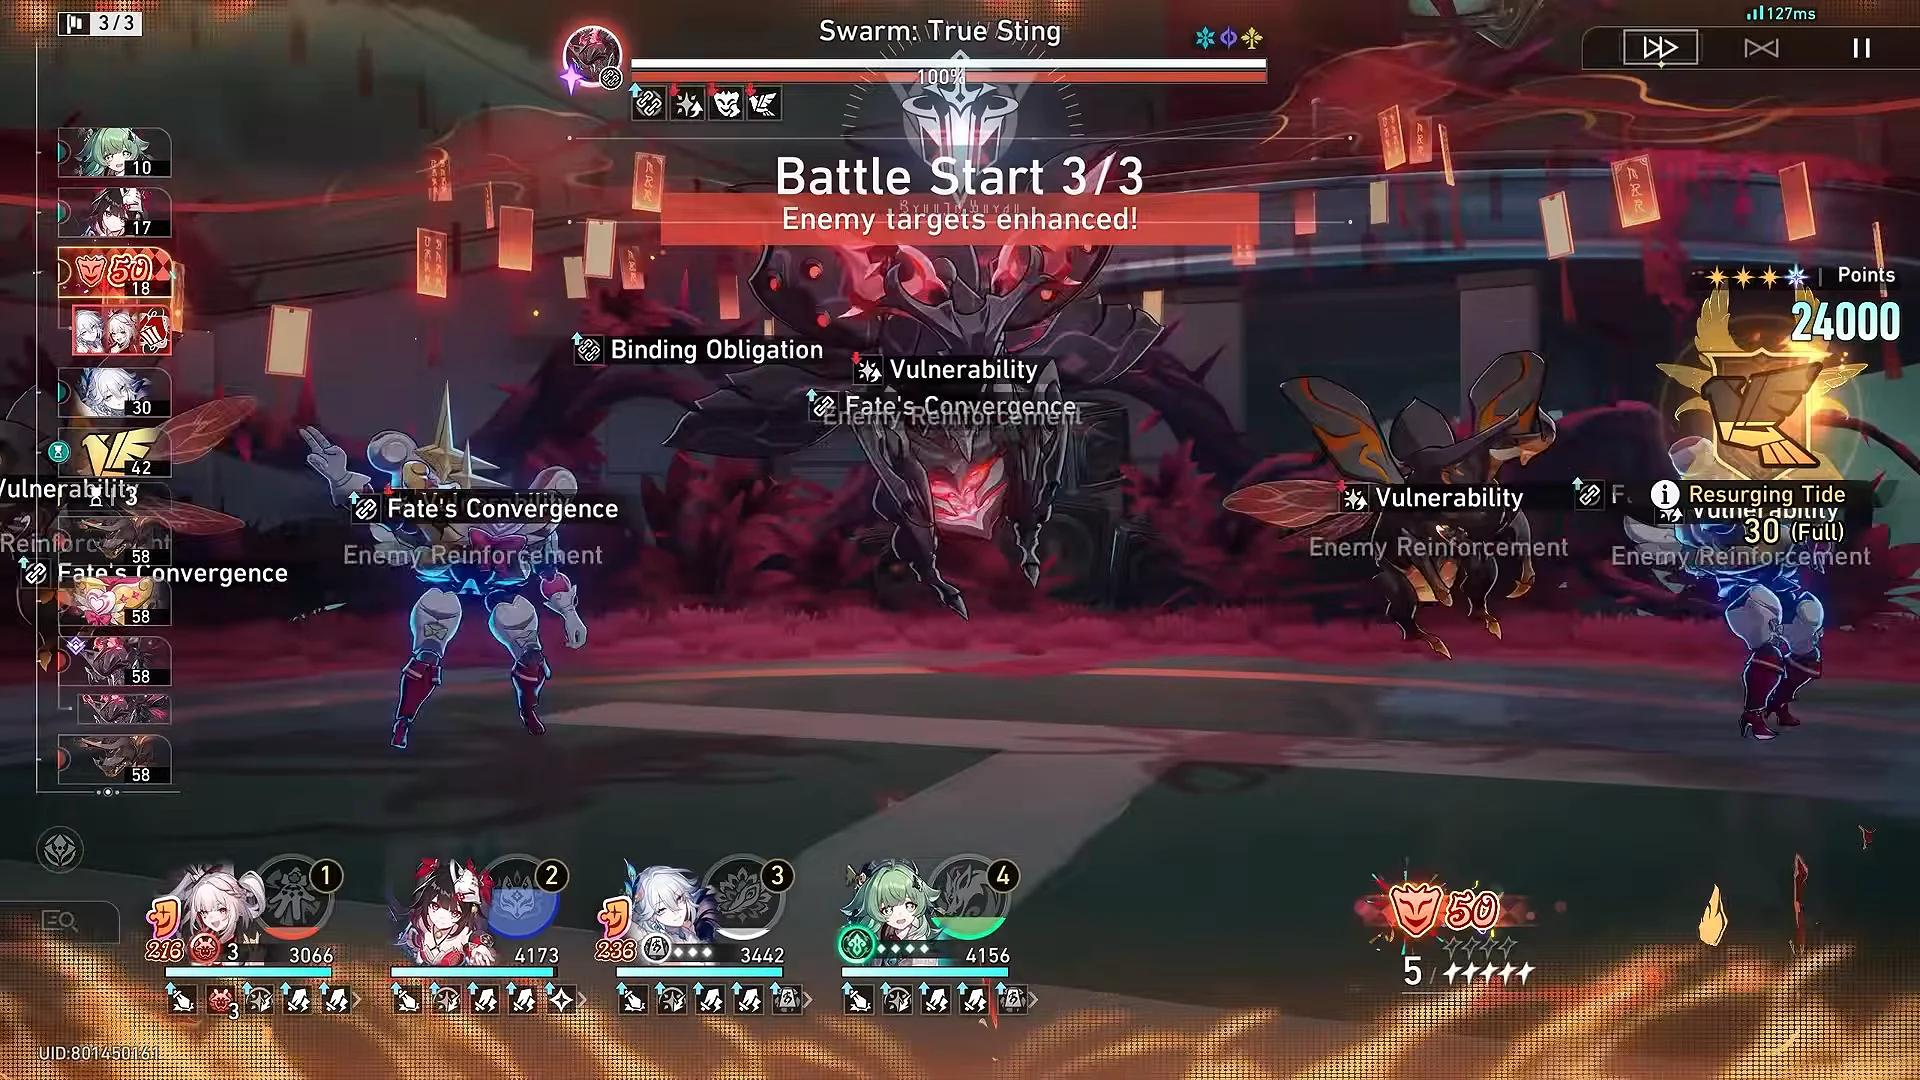
This is the least demanding node, with Quantum and Imaginary as its weaknesses. Noontide Gryphon inflicts Aquila’s Mark, which harms the marked ally and, at two stacks, removes Energy. Each kill removes one stack, so continue defeating mobs throughout the wave. Take down the Furbo Journalist early because its exit awards Punchline.
True Sting stacks Wind Shear across a long fight, and its summon phases are switched off in Pure Fiction. There is no phase change to play around, so keep the rotation flowing rather than saving burst. Sustainless runs are a gamble here; bring a healer on lower investment.
Node 2: Illwish Archlotus
Weak to Imaginary and Physical, and the node with the most upkeep. Voracity Corruption sits at Level 2 here, so corrupted enemies revive once at 20 percent of max HP. The Aurumaton Spectral Envoy marks an ally, and hits from other enemies can set that mark off and stun them; a cleanse removes it. Chained follow-ups clear the support automatons quickly, which matters because the Archlotus eats cycles.
Her lotuses increase her damage, while the boss builds a debuff that can culminate in Outrage or Dominated. Destroying the lotuses awards Punchline and disables both her HP drain and self-healing.
Node 3: Borisin Warhead: Hoolay
Weak to Fire and Wind. Wave 2 pairs Rocking Rebel with a group of Borisin wolves, and an Elation team can fire off an Aha Instant before the elite finishes charging. Hoolay itself is burst single-target pressure, so this is the node where a thin third team costs you the most points.
Teams and builds that max each node
These three lineups share no characters, so you can run them together in one Starward clear. Every unit below is E0 at Lv. 80 with a single-copy signature or a free Light Cone.
Node 1: Sparxie hypercarry under Euphoria
| Character | Light Cone | SPD | CRIT Rate / DMG |
|---|---|---|---|
| Sparxie | Into the Spotlight | 107 | 90.5% / 228.1% |
| Sparkle | Earthly Escort | 168 | 5.0% / 200.6% |
| Yao Guang | — | 189 | 61.2% / 144.6% |
| Huohuo | Shared Feeling | 167 | 33.1% / 68.1% |
Sparxie runs 4-piece Ever-Glorious Magical Girl with the Tengoku@LiveStream ornament and sits at 3,229 ATK with 28 percent Elation. Sparkle and Yao Guang both use Sprightly Vonwacq to open faster, Sparkle on 4-piece Eagle of Twilight Line and Yao Guang on 4-piece Diviner of Distant Reach. Huohuo covers Energy and cleanse on Warrior Goddess of Sun and Thunder with Broken Keel. Euphoria turns the constant Aha Instant procs into the whole score, and this setup clears True Sting for the full 40,000.
Node 2: Evernight and Robin Summeretto under Riddle Fanatic
| Character | Light Cone | SPD | CRIT Rate / DMG |
|---|---|---|---|
| Evernight | To Evernight’s Stars | 110 | 36.3% / 192.2% |
| Cyrene | This Love, Forever | 204 | 38.9% / 208.4% |
| Robin Summeretto | Rise and Sing | 161 | 36.7% / 115.4% |
| Hyacine | Long May Rainbows Adorn | 217 | 5.0% / 71.3% |
Evernight and Robin Summeretto both wear 4-piece World-Remaking Deliverer, Cyrene splits 2-piece sets across Warrior Goddess of Sun and Thunder and Sacerdos’ Relived Ordeal, and Hyacine holds the party together through the Voracity revives. Riddle Fanatic is the obvious pick because four memosprite-driven units refill Punchline every turn, and the Archlotus dies before her cycles matter. This team reaches the 40,000 ceiling.
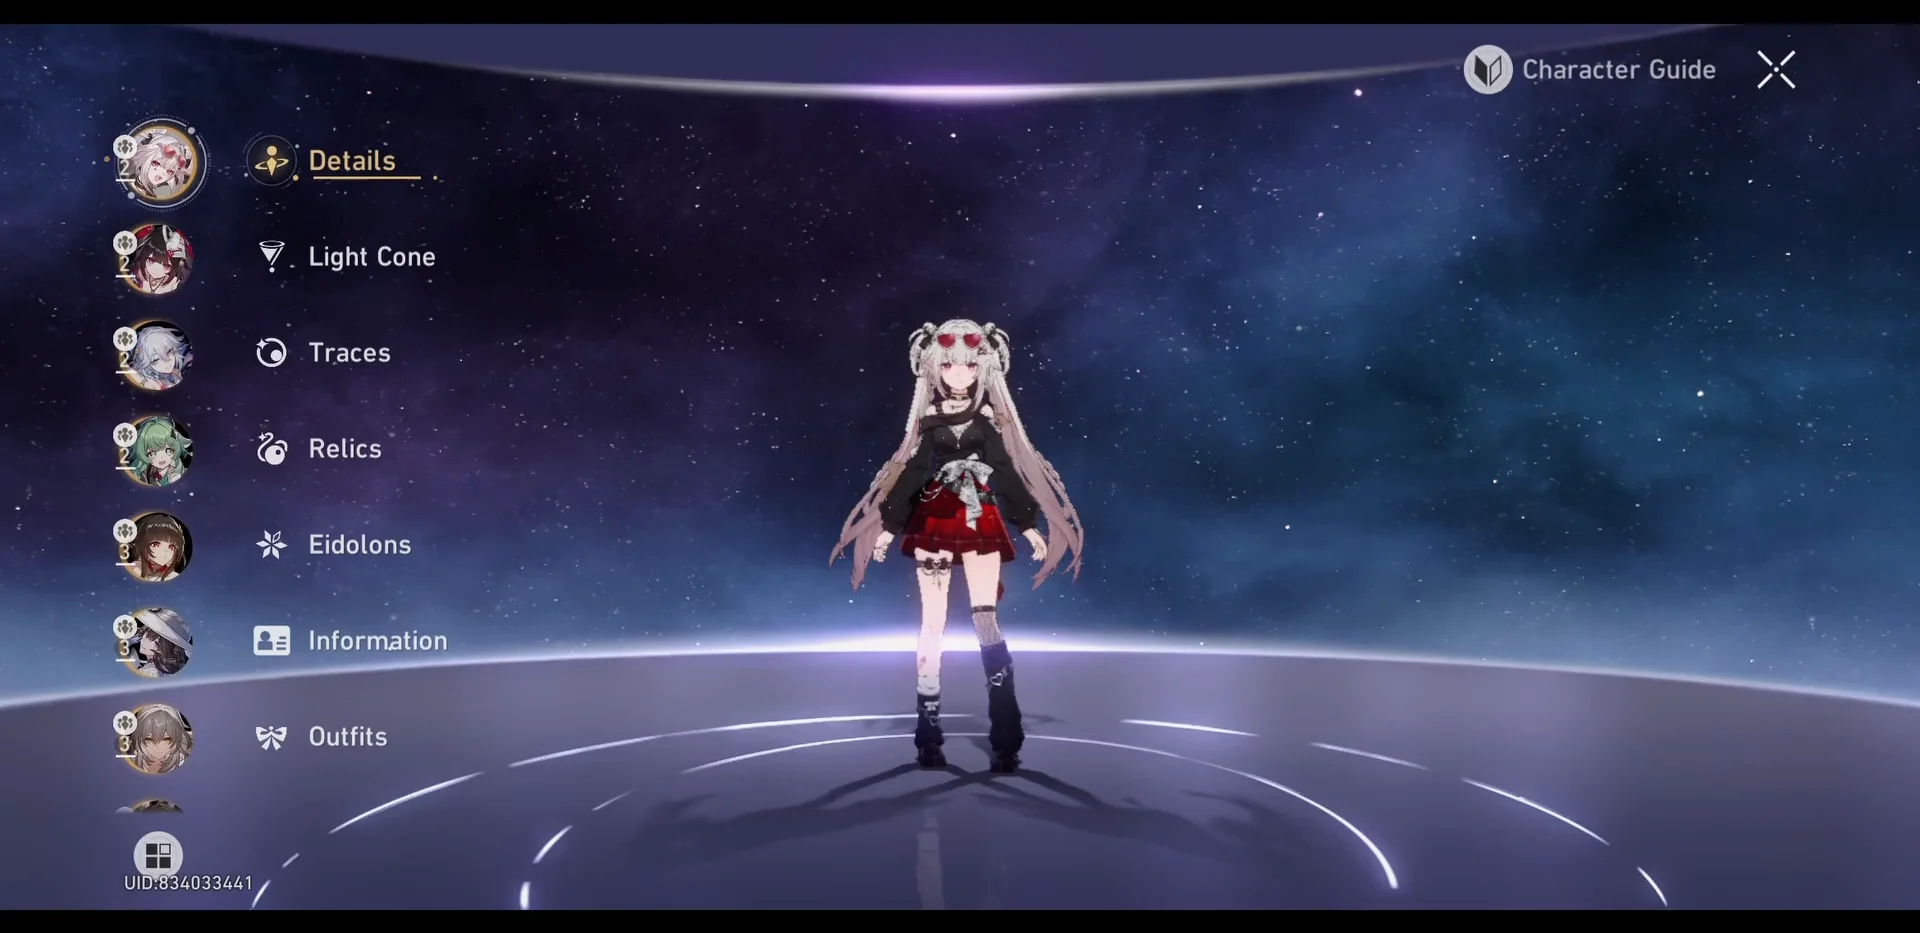
Node 3: Lingsha and Mortenax Blade under Delirium
| Character | Light Cone | SPD | CRIT Rate / DMG |
|---|---|---|---|
| Lingsha | Echoes of the Coffin | 144 | 80.3% / 121.9% |
| Sunday | A Grounded Ascent | 143 | 5.0% / 252.5% |
| Mortenax Blade | Dance on the Breeze | 171 | 78.8% / 137.4% |
| Tribbie | Dance! Dance! Dance! | 132 | 78.2% / 146.2% |
Lingsha carries both the healing and a large chunk of the damage at 3,236 ATK on 4-piece Scholar Lost in Erudition, while Mortenax Blade runs Divine-Querying Master-Smith and Sunday funnels CRIT DMG into whoever is acting. Because Delirium pays out per Basic ATK and Skill, open with those rather than sitting on Ultimates. The run ends at 33,920 points, which is above the 33,000-per-node pace you need.
Together those three nodes total 113,920 points, comfortably past the 99,000 line.
Backup lineups for each node
Multiple rosters can max every node, which helps when your account lacks the premium Remembrance or Elation cores. Since Elation is viable in all three, assign a lone follow-up core to your weakest node rather than defaulting to node 1.
Node 1 alternatives
- Castorice, Evernight, Tribbie, Hyacine on Riddle Fanatic — the most-used option, but it leans on Eidolons and lands nearer 30,000 at E0S0.
- Aventurine – Waveflair on Summer Rides the Surf with Ashveil, Mortenax Blade, and Hyacine under Delirium, posting the strongest E0 average in this node.
- Silver Wolf LV.999, Sparxie, Yao Guang, Huohuo under Euphoria.
- Archer, Rin Tohsaka, Sparkle, Dan Heng • Permansor Terrae under Delirium as the budget pick.
Waveflair turns Speed into damage as a Quantum Elation DPS. Equip Ever-Glorious Magical Girl and the Punklorde Stage Zero ornament, use a CRIT Rate body and SPD boots, and reach at least 160 SPD before prioritizing anything else.
Node 2 alternatives
- Silver Wolf LV.999, Sparxie, Yao Guang, Huohuo under Euphoria, the most reliable pick against the Archlotus.
- Evanescia, Trailblazer (Elation), Yao Guang, Huohuo under Euphoria.
- Aventurine – Waveflair, Ashveil, Mortenax Blade, Huohuo under Delirium.
- The Herta, Anaxa, Tribbie, Hyacine under Delirium, which managed 30,040 on the same closer.
Starward node alternatives
- Himeko • Nova, Robin • Summeretto, Welt, Dan Heng • Permansor Terrae under Delirium, with Himeko on Navigator’s Deep Space Mirror.
- For Until the Flowers Bloom, use Evanescia alongside the Elation Trailblazer, who should hold Elation Brimming With Brilliance.
- A sustainless DoT squad of Hysilens, Black Swan, Kafka, and Mortenax Blade, worth 32,640 on Hoolay.
- Firefly, Fugue, The Dahlia, Lingsha as the budget Break option.
A node does not have to be perfect. A 40,000 / 30,040 / 32,640 split adds up to 102,680, which clears 99,000 and pays every reward tier.
Do not reuse node slots from the 4.4 rotation
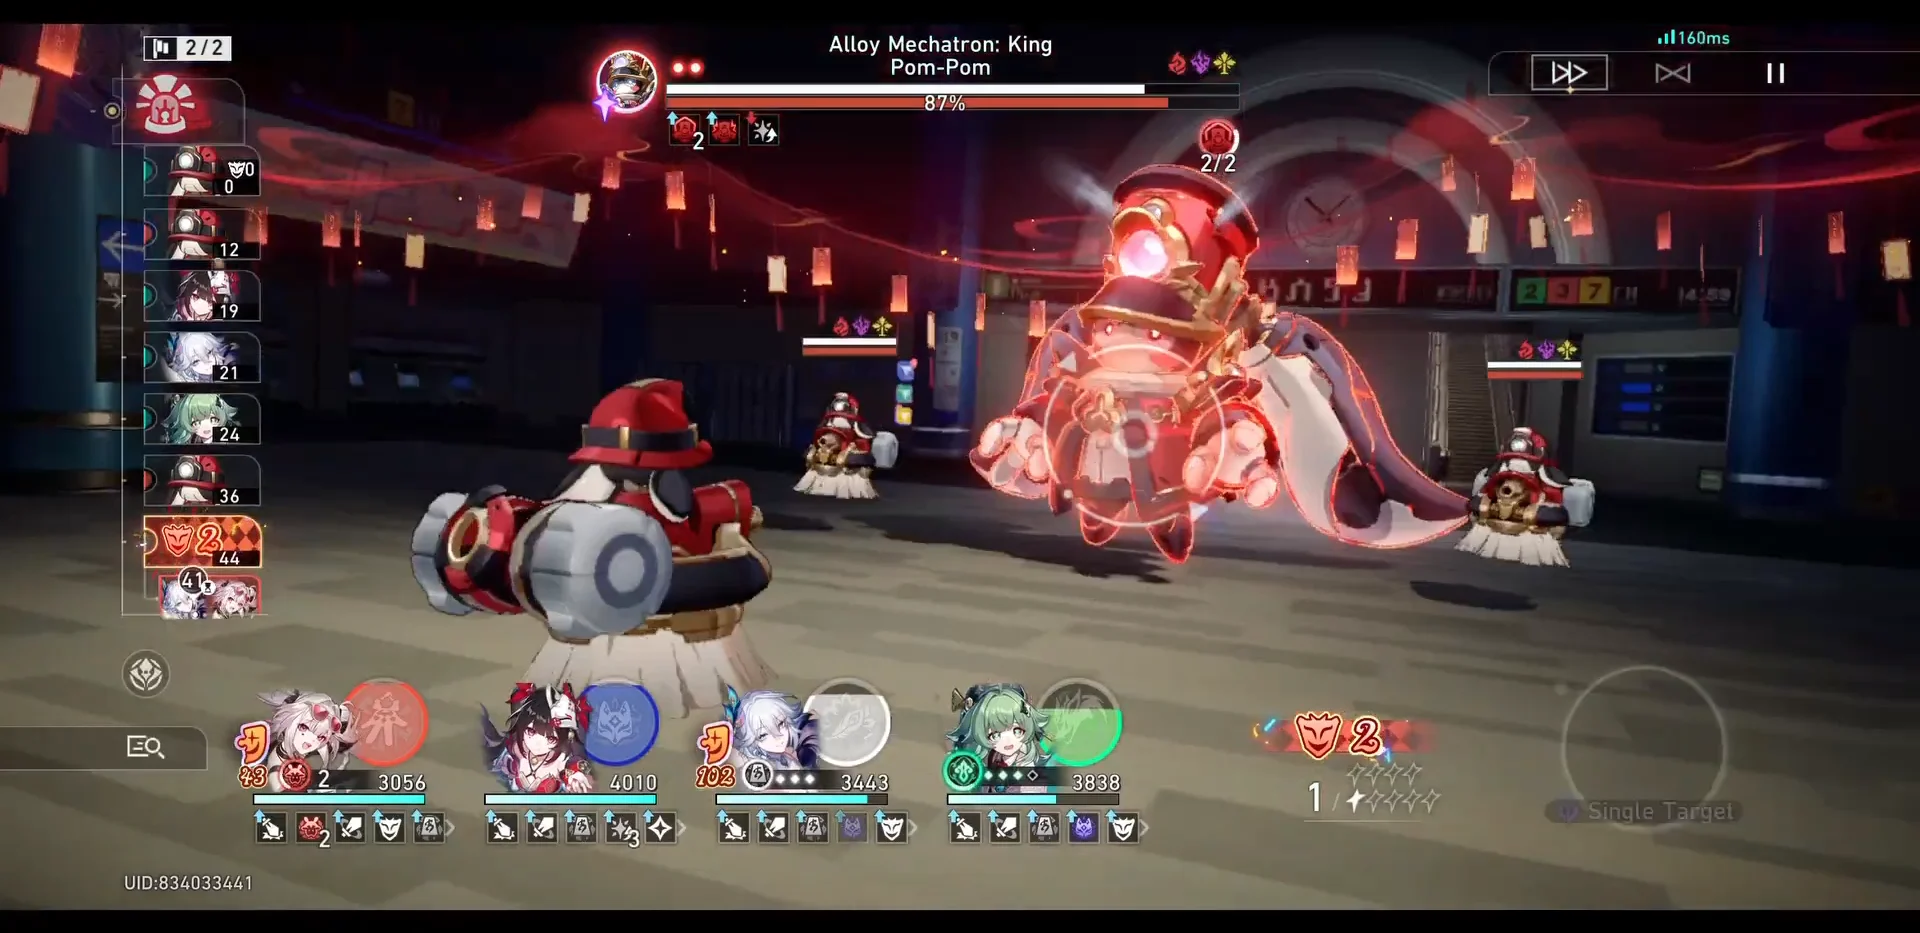
Before this rotation came The Fabricated Business (IV). Its Grit Effects were Motormouth and Grand Rhetoric, and its nodes ended with Gepard, Alloy Mechatron: King Pom-Pom, and Abundant Ebon Deer.

King Pom-Pom in particular rewarded sustained shield breaking, which is the opposite of the burst single-target pressure Hoolay asks for. Drop an old node 2 roster into the 4.5 layout unchanged and it can fall well short of 40,000.
The rotation before that, The Falsehood to Fact (IV), used a third set of bosses again, including First Genius, Entelechy: Zandar, Cocolia, and Stellaron Hunter: Kafka, with Variation, Toccata, and Mirthful Cadence as its Grit Effects.
How to confirm the 120,000 clear
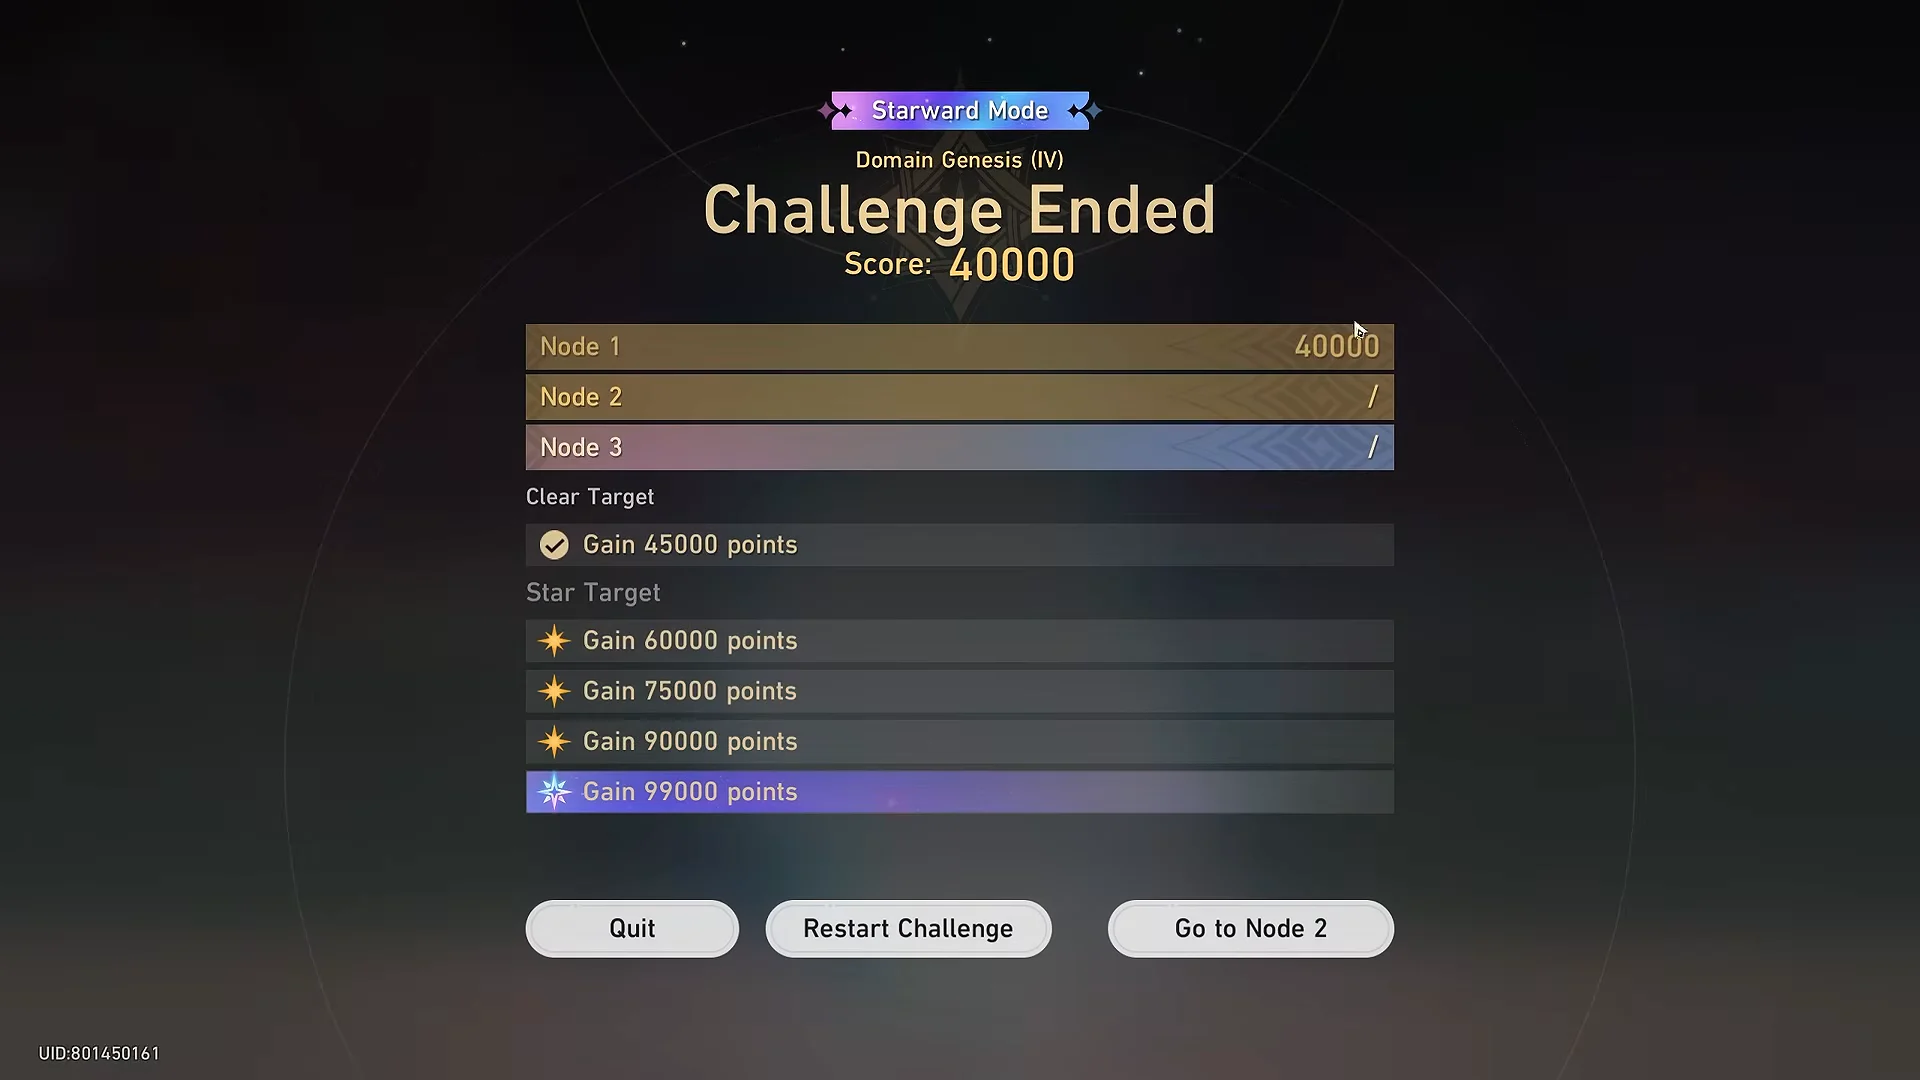
The score lands the moment Wave 3 ends. A fully cleared node reads 40000 on the Challenge Ended summary, and a node below that shows its exact total so you know how far short you fell.
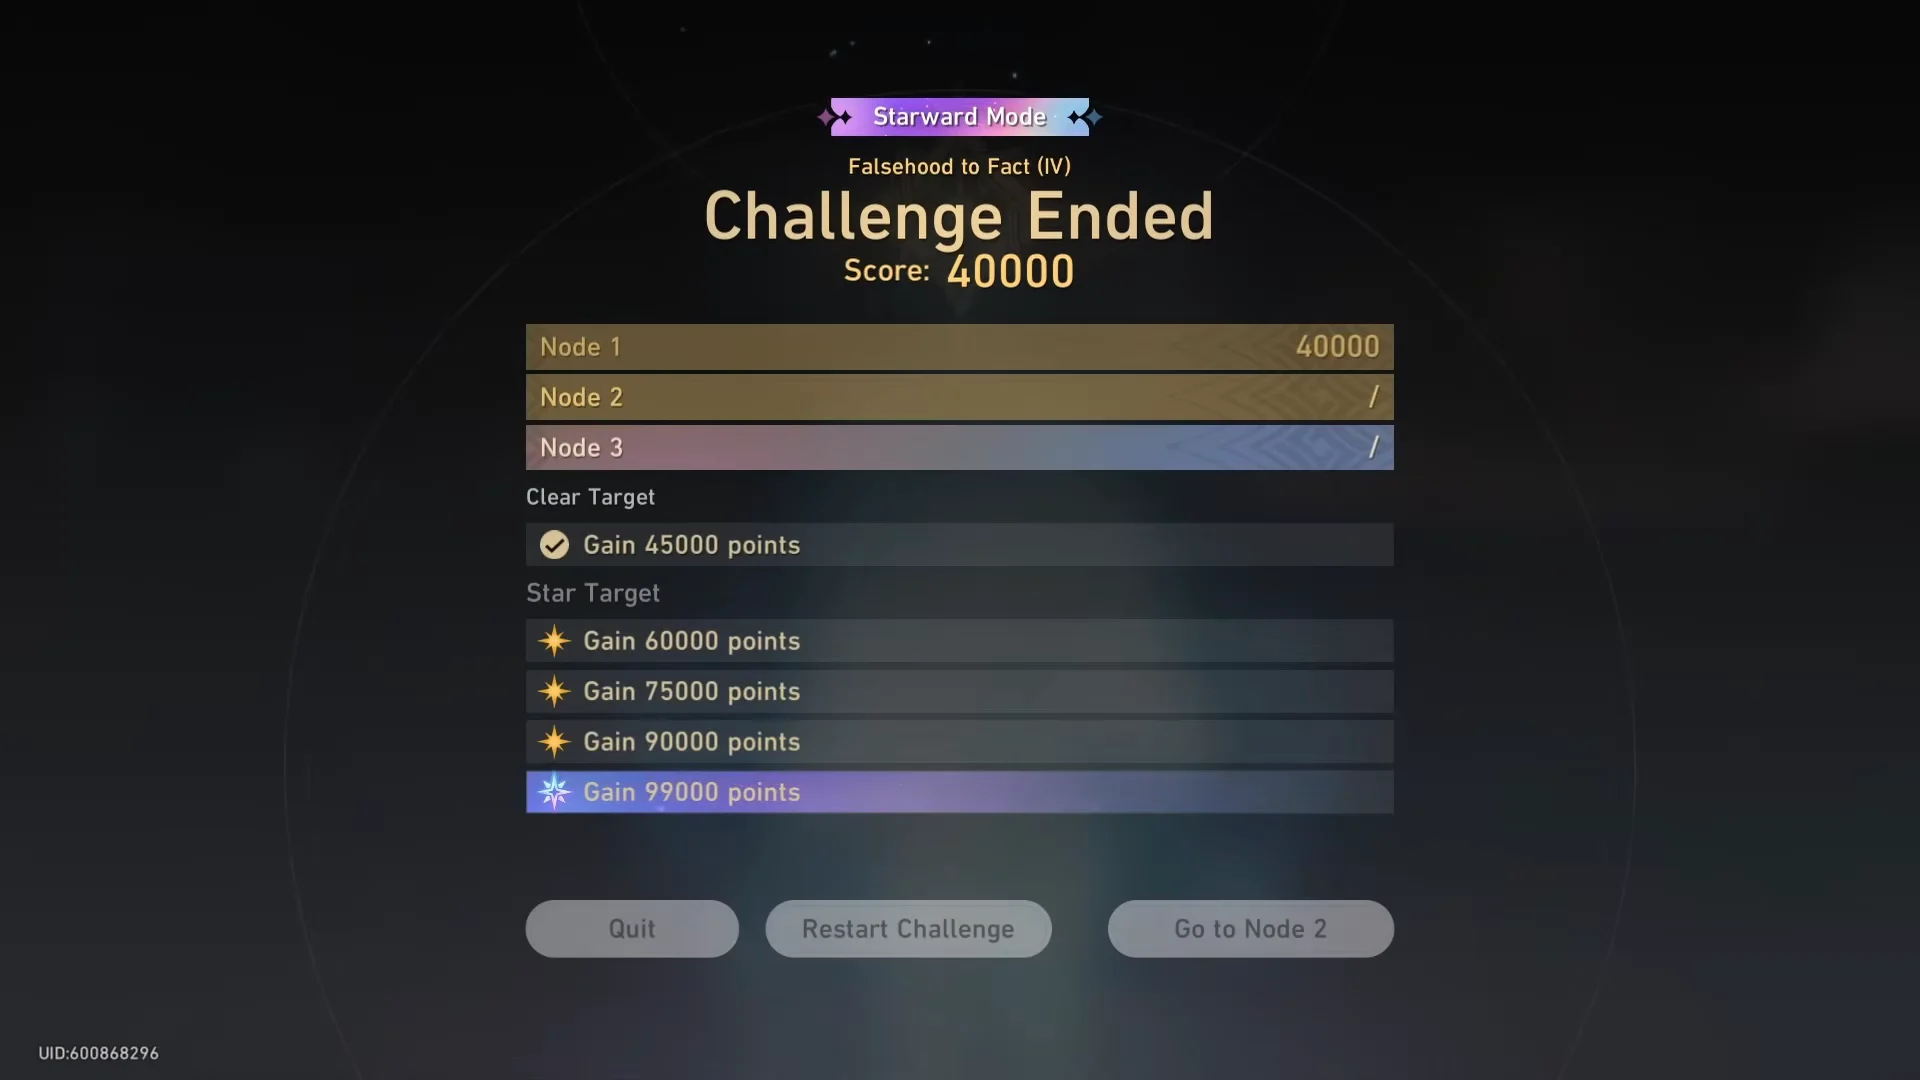
When the final node is complete, the results screen displays Challenge Ended Score: 120000, with all Star Targets marked complete. The Domain Genesis clearance medal then appears on the Express’s Medal Wall, and every reward tier is claimed. Since scores are recorded separately by node, replay only the node below 40,000; completed attempts remain banked during that retry.
These cores are useful in other content as well. For Apocalyptic Shadow, run The Herta with Anaxa, Tribbie, and Hyacine against Unwaning Ageless Immortal; its score depends on remaining Action Value rather than points. Evernight, Cyrene, Hyacine, and Tribbie also cleared Stormcleanse (XII) node 1 against Stellaron Hunter: Sam in two cycles.





