Chapter 5 of the Asmodian story in AION 2 picks up the hunt for a surviving Destruction Archon and turns into a long chase after Gerod and the Blood Blades across Altgard. Nemon drives the whole arc, and it ends beneath Idun’s Lake with a score she has waited a long time to settle.
Quick answer: “I Only Wanted You” is 21 Asmodian episode quests in Altgard, recommended levels 32 to 37, worth 132,925,624 XP in total, and it closes when Nemon finally confronts Gerod in the Blades hideout under Idun’s Lake.
Every I Only Wanted You quest in order
The chapter runs entirely in Altgard. Every quest below is listed in the order you play it, with who hands it out, who you report back to, and what each objective is doing for the story.
1. Bitter Reality (Level 32)
Bitter Reality starts with Nemon at the Nornir Assembly and ends with Menrik at Briskwind Shelter. You come to the shelter hoping the refugees can tell you about Dranactus Underkeep and the surviving Destruction Archons, but fear has made them tight-lipped after the recent forced-labor raids. Handing out Odyle Jelly and food loosens a few tongues, and the trail points at the Mumu inside Dranactus as a better source. As Nemon puts it, “Let’s follow what leads we have, even if they are hazy.”
2. Eye of the Red Tower (Level 32)
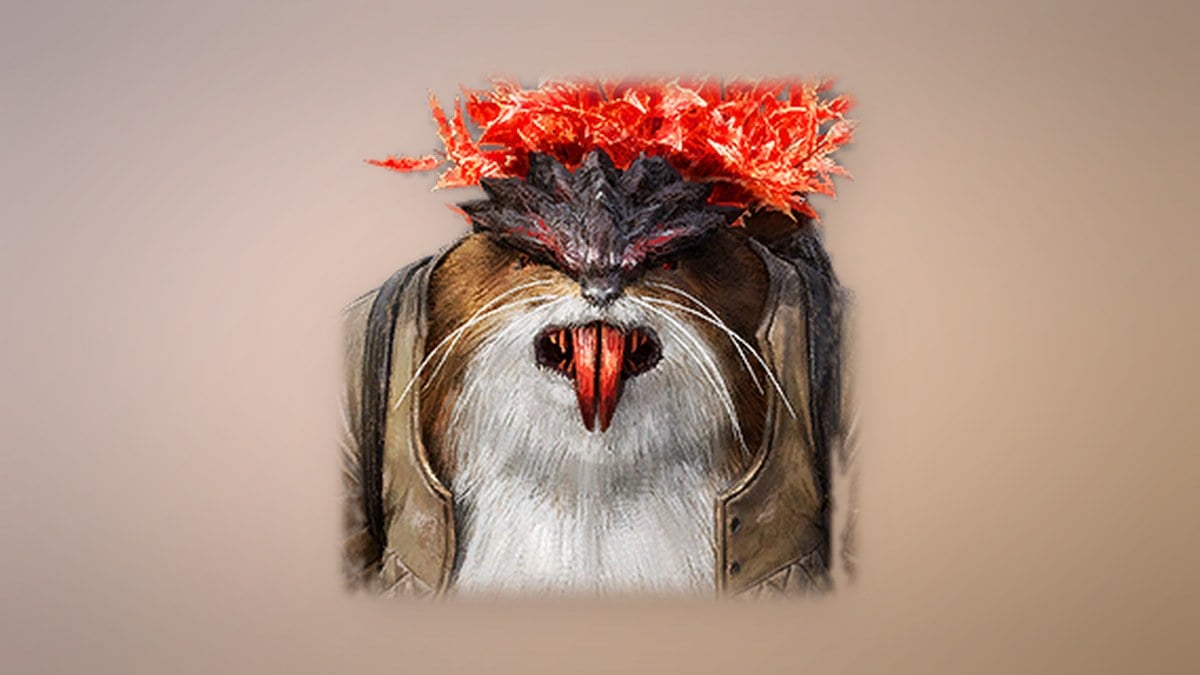
Eye of the Red Tower begins with Menrik at Briskwind Shelter and ends with him at the North Laborer’s Tent. You enter Dranactus to inspect the Mumu’s records and question the laborers, but learn little of value. They are eating Tarzel and becoming sick; in one of their rest tents, Menrik spots Skarm, a fellow Fang legionnaire.
3. The Survivors (Level 32)
The Survivors starts at the North Laborer’s Tent and finishes back at Briskwind Shelter, with Menrik involved at both locations. Skarm remains conscious long enough to explain that a device at Watchtower Camp monitors the area, and that his comrades disappeared after going to the Underkeep. You clear out the camp and wreck its central surveillance unit, then discover an Underkeep register naming Reuben and Kanir, a Fang legionnaire. The final Destruction Archon is imprisoned in the Underkeep; the Hidden Cave is your next lead to find the remaining legionnaires.
4. Rescue Operation (Level 32)
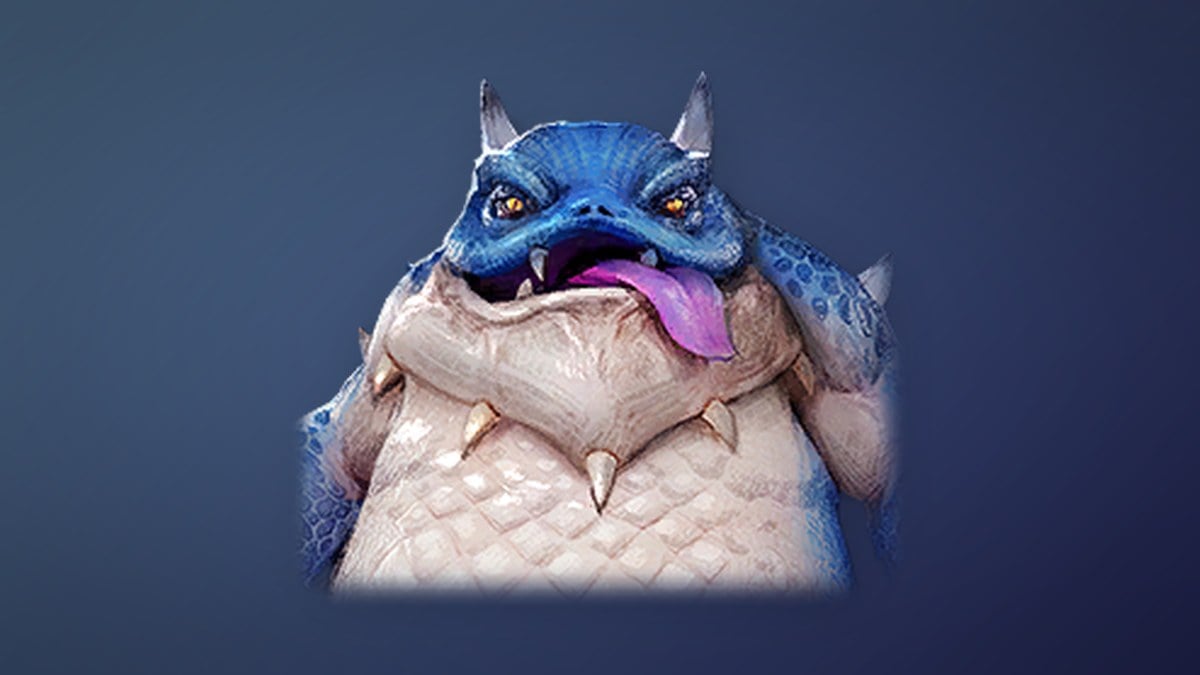
Rescue Operation comes from Menrik at Briskwind Shelter and goes to Ulgorn at the Hidden Cave for turn-in. The Fang survivors and laborers taking refuge there are starving, and since no spare equipment is available, you take supplies from the Balaur. The plan is to disguise the group as Draconutes and get them to safety. When Ivar regains consciousness, he says the Underkeep is across a bridge in the base’s innermost section, where Reuben and Kanir remain captive.
5. Last of the Destruction Archons (Level 32)
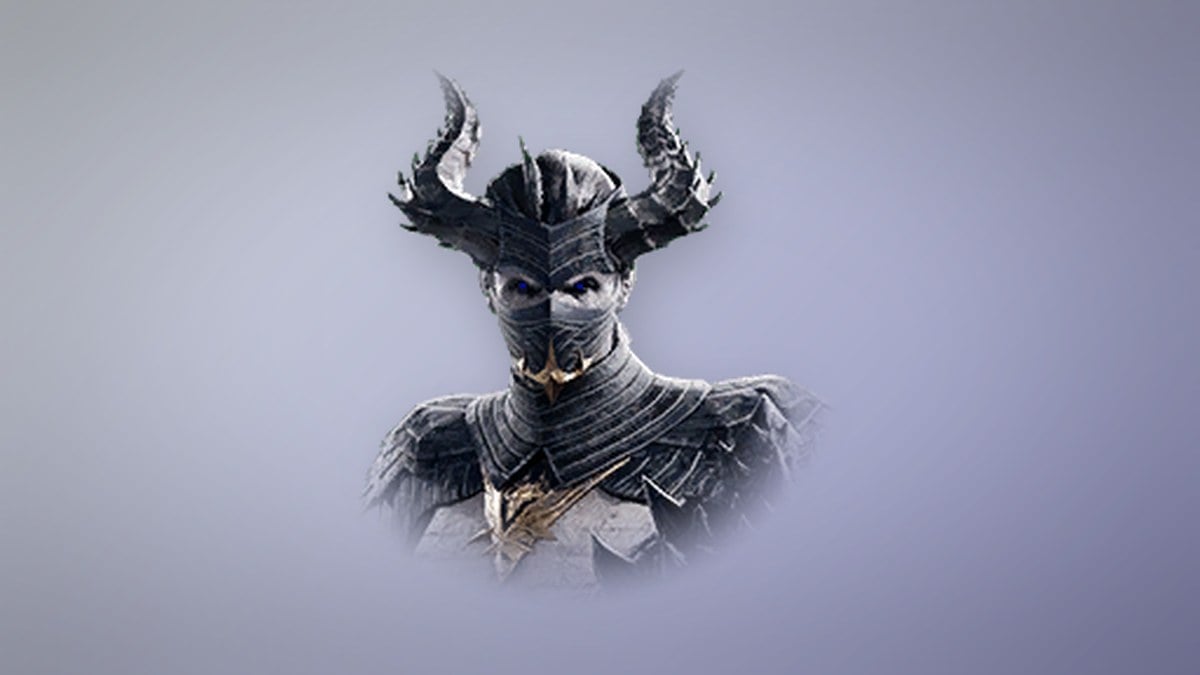
Last of the Destruction Archons opens with Ulgorn in the Hidden Cave and concludes with Nemon at Briskwind Shelter. After crossing the narrow bridge into Dranactus Underkeep, you rescue the emaciated Reuben from the place deep below where he was tortured. Close to death, he asks you to free his apparition in the Impetusium after he dies, offering the whereabouts of his hideout in exchange. Before you depart, Ulgorn cautions, “You’re far more important than some Destruction Archon.”
6. A Daeva Dreaming Anew (Level 32)
A Daeva Dreaming Anew begins on its own and is turned in to Nemon at Briskwind Shelter. Asahr summons you once more for an ascension, taking you to Nartis, where Atreia meets the Abyss, and to Narun, the first Arch Daeva, still trapped in his ancient battle. The only objective is to finish the ascension quest “The One Who Dreams” and attain the next level of power.
7. Last Refuge (Level 33)
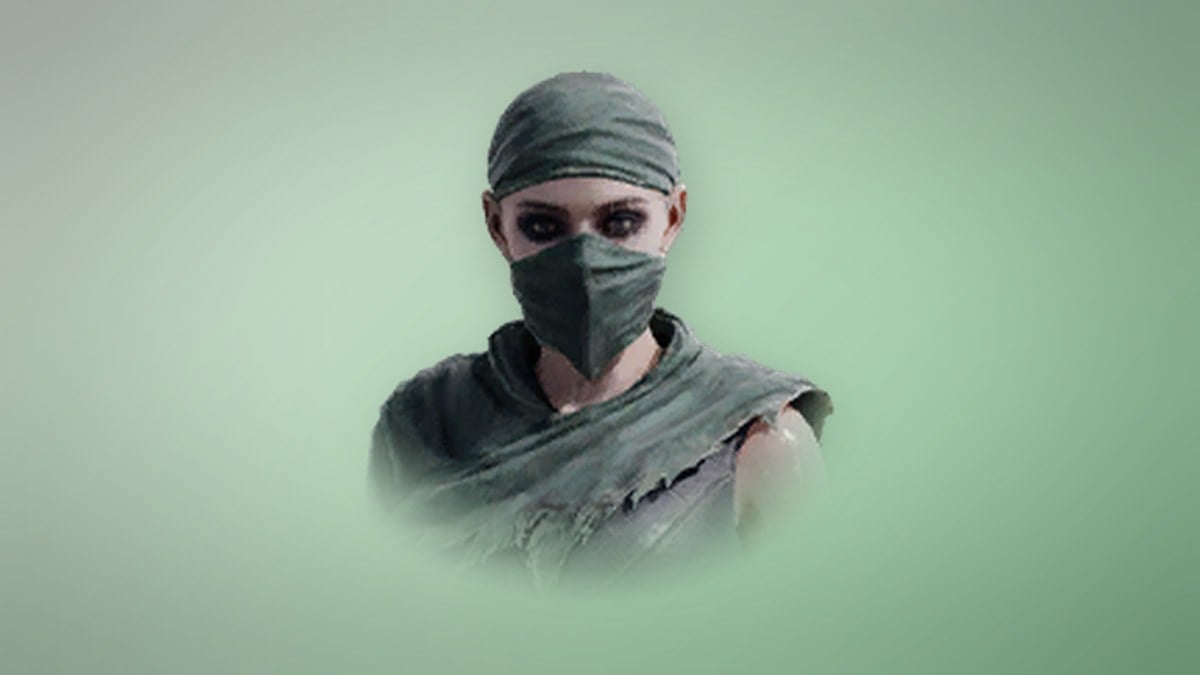
Last Refuge is given by Nemon at Briskwind Shelter and ends at the entrance to Reuben’s Hideout. Reuben could not name the core’s location, but said clues wait in his hideout west of the Basfelt Ruins. The ruins are crawling with graverobbers, so most of the quest is prying directions out of them at Basfelt Waterfall.
8. Scripture in the Ruins (Level 33)
Scripture in the Ruins comes from Nemon and is handed in to Ulgorn at the Graverobber Campsite. Papers found in Reuben’s Hideout identify a fortress where the High Priest was last spotted and mention scripture belonging to the Archons. You retrieve the ripped scripture in the Abandoned Ruins; it describes a brutal conflict, the Underground Fortress, and the Blood Sword. Nemon concludes that entry lies through the Blood Monument. Ulgorn discovers Zikel’s Seal there as well, which unlocks the Archons’ sanctum.
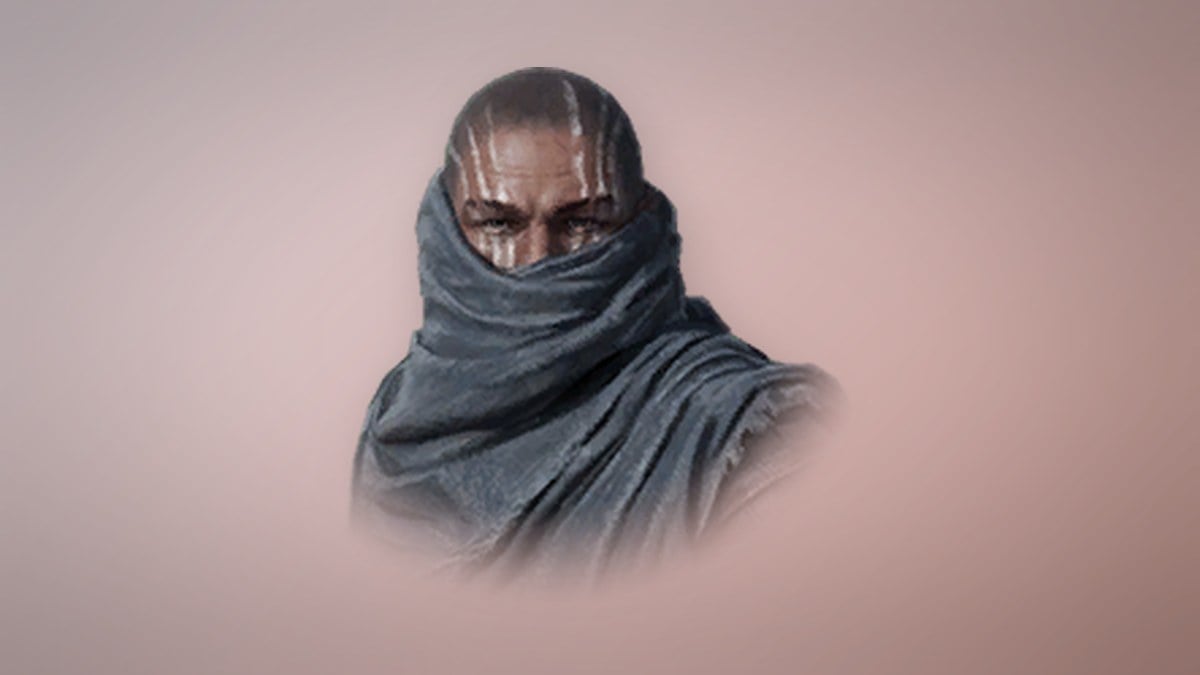
9. Blood Monument (Level 33)
Blood Monument starts with Ulgorn at the Graverobber Campsite and ends with Nemon at the Destroyed Ruins. Dixie mentions a sword-shaped boulder, which turns out to carry grooves like the ones in Zikel’s Sanctum. Inserting Zikel’s Seal reveals hidden text, and Hadala reads it: “The sword of Zikel shall open the way.” An Archon’s Sword is the key, sold at the Shulak Street Stall, but the Blood Blades hold the road there.
10. Impending Threat (Level 34)
Impending Threat runs from the Destroyed Ruins to the Fissure Cave, with Nemon on both ends. With the Blades no longer avoidable, Nemon wants one taken alive. The raid on the Blades Campsite works, and the captive reveals the Blood Blades have already located the Underground Fortress and moved their main force there.
11. Visible Trap (Level 34)
Visible Trap is given by Nemon at the Fissure Cave and turned in at the Shulak Street Stall. Gerod has stayed a step ahead the whole way, and at the stall the vendor Purakhi has been told to hand a Destruction Archon Sword to anyone who asks, Nemon included. Ulgorn urges a different route, but Nemon refuses to turn back.
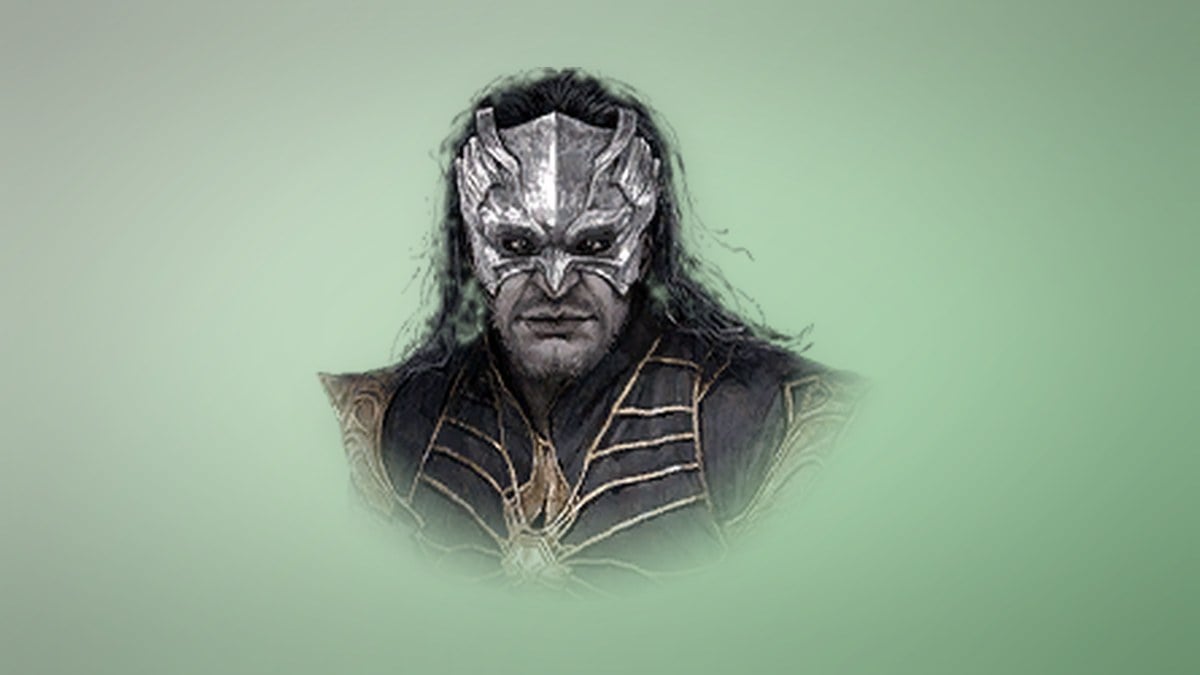
12. Destruction Archon Underground Fortress (Level 34)
Destruction Archon Underground Fortress is given and turned in by Nemon at the Shulak Street Stall. The push into the fortress ends badly: Gerod defeats the group, takes the High Priest’s records and an unconscious Ulgorn, and walks away holding the High Priest’s Fafnite that Nemon has chased for so long. She does not hide her fury, and swears revenge. The reward here is the Title: Keeper of Faith.
13. Enemy Territory (Level 35)
Enemy Territory starts at the Shulak Street Stall and ends with Mannikiki at the Steel Hammer Workcamp. With Hadala and Dinoh gone and Ulgorn’s fate unknown, Nemon heads into Southern Altgard after the Blades’ base. Nobody there will help for free, and Crobakhi, chief of the Steel Hammer Merchants, offers aid only if you fix a problem in their Fafnite mining.

14. Powder of Death (Level 35)
Powder of Death is assigned by Mannikiki and turned in to Nemon at the Steel Hammer Workcamp. Strange blue powder coats the Fafnite Deposit, and the miners have become violent. The workstation with the giant Fafnite Gemstone is sealed and blanketed in the powder; survivors back up Nemon’s theory that it is making the Shulak lose their minds.
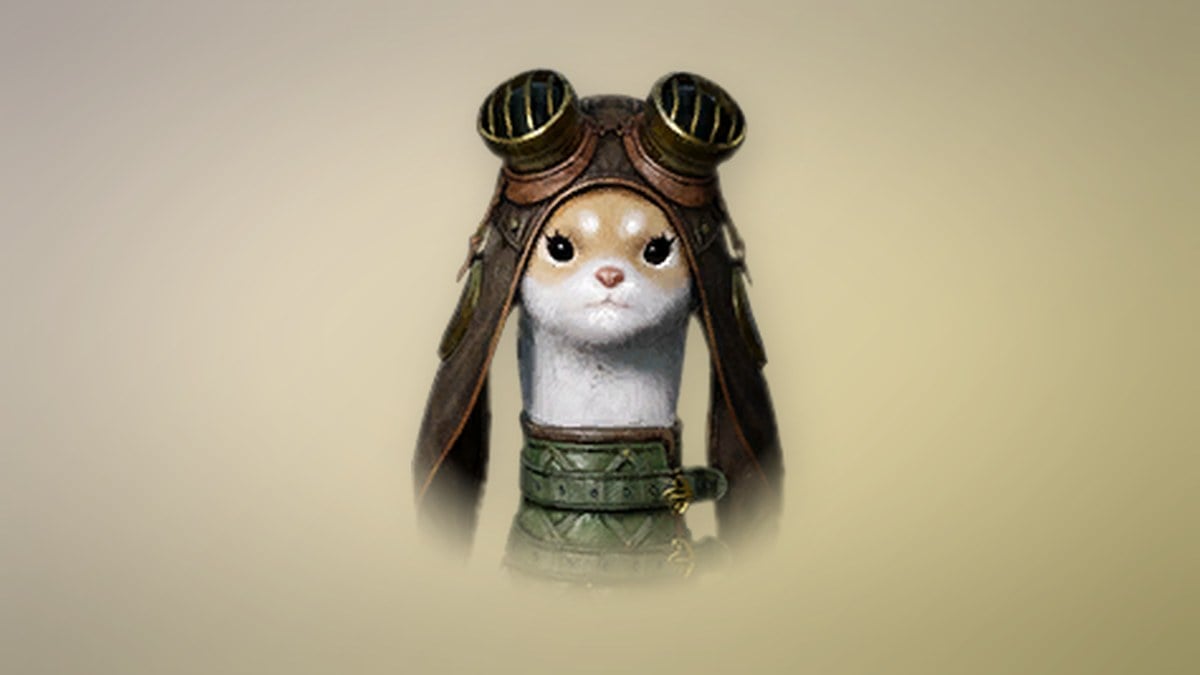
15. Creion of Gribade (Level 36)
Creion of Gribade runs from Nemon to Mannikiki at the Steel Hammer Workcamp. To clear the dust safely, Nemon remembers the Creions, and Crobakhi recalls researchers working nearby. In a small cave by the Mahindel River, they had been freezing severely mutated Karas, and the rapid cooling device they built might lift the blue dust from the deposit.
16. Frozen Fafnite (Level 36)
Frozen Fafnite is given by Mannikiki and turned in to Nemon at the Steel Hammer Workcamp. While you wait for the Creions, Mannikiki asks for help meeting the Fafnite quota as a backstop. Snotra then arrives with an improved cooling device, freezes the giant gemstone, and the blue dust falls out of the air. With that done, the next stop is Crobakhi to hold him to his word.
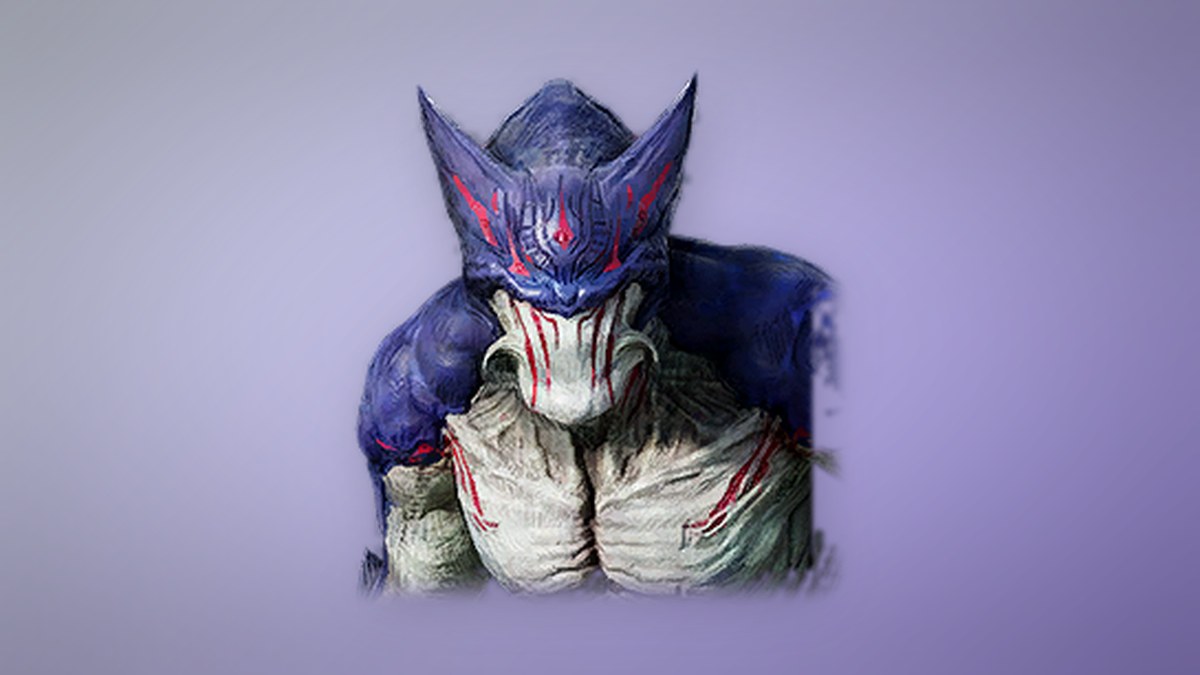
17. Inevitable Encounter (Level 37)
Inevitable Encounter opens at the Steel Hammer Workcamp; its final meeting is with Pordhet by the Abandoned Campsite entrance. Crobakhi cannot pinpoint the Blades’ base, so he sends you to the Merchant’s Yard to find where the gemstones are exchanged. Your investigation reveals their hideout beneath Idun’s Lake, at the peak of Gribade Canyon. Along the way, you find Pordhet, a Daeva hiding at a nearby campsite.

18. Unveiling the Truth (Level 37)
Unveiling the Truth is given by Pordhet and turned in to Nemon in front of the Blades Supply Storage. Pordhet, a Recluse Daeva who long lived around Idun’s Lake, explains the Blades dumped bodies and poured a deadly poison into the water. To cross the poisoned lake you will need the Blades’ own Protection Serum.
19. Lake of Confrontation (Level 37)
Lake of Confrontation is given and turned in by Nemon, moving from the Blades Supply Storage to the cliff at Idun’s Lake. To get the Protection Serum needed for the poisoned water, you enter the Blades Supply Storage and find it inside, then return to Pordhet, who confirms it carries the same magical energy as the serum the Blades drink.
20. An Ill Fate’s Resolution (Level 37)
An Ill Fate’s Resolution is assigned and completed by Nemon on the cliff overlooking Idun’s Lake. After drinking the Protection Serum, you descend into the underwater hideout, where a soulless Ulgorn awaits first. Gerod is fully prepared, yet Nemon confronts him directly and breaks the cursed bond linking them. However, High Priest Hystan’s Fafnite has already ended up with a tribe of Mau. The rewards are Title: Severer of Cursed Bonds, Lesser Manastone (Bound) x5, and Lesser Soulstone (Bound) x5.
21. Mirror of Greed (Level 37)
Mirror of Greed is given by Nemon at Idun’s Lake Clifftop and turned in to Crobakhi at the Steel Hammer Merchants HQ. Since the Fafnite went to the Mau, you need the merchants’ help tracking them, and Crobakhi will only talk once the problem at the Fire Temple is handled. You survey the temple and warn the merchants about what lurks inside. Completing it hands over the Fire Temple Accessory Selection Chest (Bound), and closes the chapter.
To finish it, talk to Trekhi at the Fire Temple Entrance, then complete the Fire Temple investigation by interacting with the entrance.
All chapter 5 quest rewards
Every quest pays Kina and a large XP reward, and most add a piece of Avenger gear, a scroll stack, or a title. Clearing the whole chapter also grants an achievement reward of Life Crystal (Bound) x1, Kina (Bound) x8,000, and the Title: I Only Wanted You.
| Quest | XP | Kina (Bound) | Other rewards |
|---|---|---|---|
| Bitter Reality | 2,856,707 | 22,000 | Life Serum (Bound) x20 |
| Eye of the Red Tower | 2,856,707 | 22,000 | Avenger Gloves x1 |
| The Survivors | 2,856,707 | 22,000 | Superior Speed Scroll (Bound) x5 |
| Rescue Operation | 2,856,707 | 22,000 | Avenger Greaves x1 |
| Last of the Destruction Archons | 2,856,707 | 22,000 | Colossus: Warden Santras (Bound) x1, Avenger Cloak x1 |
| A Daeva Dreaming Anew | — | — | — |
| Last Refuge | 4,017,298 | 24,000 | Courage Scroll (Bound) x5 |
| Scripture in the Ruins | 4,017,298 | 24,000 | Avenger Breastplate x1 |
| Blood Monument | 4,017,298 | 24,000 | Status Effect Resist Scroll (Bound) x5 |
| Impending Threat | 5,207,220 | 26,000 | Avenger Guard x1 |
| Visible Trap | 5,207,220 | 26,000 | Resurrection Spiritstone (Bound) x1 |
| Destruction Archon Underground Fortress | 5,207,220 | 26,000 | Title: Keeper of Faith x1 |
| Enemy Territory | 6,453,912 | 27,000 | — |
| Powder of Death | 6,453,912 | 27,000 | Healing Potion (Bound) x10 |
| Creion of Gribade | 7,672,513 | 29,000 | Superior Courage Scroll (Bound) x5 |
| Frozen Fafnite | 7,672,513 | 29,000 | Avenger Boots x1 |
| Inevitable Encounter | 12,543,137 | 31,000 | Superior Benediction Scroll (Bound) x5 |
| Unveiling the Truth | 12,543,137 | 31,000 | Avenger Pauldrons x1 |
| Lake of Confrontation | 12,543,137 | 31,000 | Avenger Helm x1 |
| An Ill Fate’s Resolution | 12,543,137 | 31,000 | Title: Severer of Cursed Bonds x1, Lesser Manastone (Bound) x5, Lesser Soulstone (Bound) x5 |
| Mirror of Greed | 12,543,137 | 31,000 | Fire Temple Accessory Selection Chest (Bound) x1 |
How you know the chapter is done
Turning Mirror of Greed in to Crobakhi completes the twenty-first and final quest, and the episode’s achievement pays out Life Crystal (Bound) x1, Kina (Bound) x8,000, and the Title: I Only Wanted You. Gerod is dealt with, but Hystan’s Fafnite has slipped away to the Mau, which is the thread that carries straight into the next chapter, Encountering Zikel’s Core.
Rewards and Ascension Steps for the Level 32 Quests
Two of the level 32 quests hand out fixed gear and currency on top of XP, and the ascension quest behind “A Daeva Dreaming Anew” has four stages of its own.
| Quest | XP | Rewards |
|---|---|---|
| Eye of the Red Tower | 2,856,707 | Kina (Bound) x22,000, Avenger Gloves x1 |
| Last of the Destruction Archons | 2,856,707 | Kina (Bound) x22,000, Colossus: Warden Santras (Bound) x1, Avenger Cloak x1 |
| The One Who Dreams (ascension) | None listed | Ascension: The One Who Dreams x1 |
The One Who Dreams, stage by stage
“A Daeva Dreaming Anew” has a single objective, which is to complete “The One Who Dreams”. That ascension quest starts automatically, is recommended at level 32, and is shared by Elyos and Asmodian players. It belongs to Path of Ascension III, chapter 1.
| Stage | What you do |
|---|---|
| 1 | Go to the Dream Crossroad and talk to Asahr |
| 2 | Enter the Forgotten Battlefield and find the one who remembers Narun |
| 3 | Enter Narun’s Dream to obtain the Dream of Sacrifice Fragment |
| 4 | Enter the Dream of Torment, where you finish by talking to Asahr |
Asahr names the fragment you are after as the Dream of a Forgotten Daeva, and the Daeva in question is Narun.
Altgard at a glance
The whole chapter is played in Altgard, which has 61 teleport statues, 15 rifts, 2 monoliths and 85 dungeon entrances. It also holds 59 hidden cubes and 560 empyrean traces. Between quests, the region’s most common gathering nodes are Odyle (650 spots) and Orichalcum (530 spots), followed by Diamond and Sapphire at 200 spots each.