Journey to Medical Walkthrough in Silent Hill Townfall (All Collectibles)
Every collectible, save point, and key item on Simon's route from the health centre to the St. Amelia Medical Centre.
Every collectible, save point, and key item on Simon’s route from the health centre to the St. Amelia Medical Centre.
by AllThingsHow Staff
Image: Screen Burn
Journey to Medical is a short transit chapter on paper. Simon walks out of the health centre and heads for the St. Amelia Medical Centre, and the whole thing runs a little under ten minutes if you sprint it. Do that, though, and you leave behind a Pistol, two CRTV signals, two Strange Postcards, a stack of documents, and a resource container you can never come back for.
Quick answer: Clear Chapter 6 by picking up CRTV signals 63 and 25, Strange Postcards 5 and 6, the Pistol, five documents, the Lock Box Key and the Blue Box before triggering the Medical Centre cutscene.
Chapter 6 collectible checklist
Pickup
Type
Location
CRTV Channel 63
CRTV Signal
Foggy street outside the health centre
Pistol
Equipment
Wooden lockbox, town square monument steps
Strange Postcard 5
Strange Postcard
Dead-end alley, sitting on a pair of boots
Pistol Rounds (3)
Ammo
Box on an outdoor table past the side gate
Pistol Rounds (3)
Ammo
Open box on the picnic bench patio
Scaffold Notice
Document
Building entrance door beside the scaffolding
Handwritten Note
Document
Apartment dining table
CRTV Channel 25
CRTV Signal
Receiver in the same apartment
Note.txt
Document
Study computer, RedSquares Email Sys 014
Photo1.jpg, Photo2.jpg
Documents
Printed from the study computer
Lock Box Key
Key Item
Bedside table, upper apartment
Blue Box
Resource Container
Apartment landing table
Strange Postcard 6
Strange Postcard
Backyard shed, metal storage shelf
Townfall offers neither chapter selection nor a way to retrace your steps, making every Document and Clue listed here missable. These finds affect the Discoveries total; together with your kill count, that total determines whether the ending is Justice, Forever, or Abandoned.
Saving works the same way it does everywhere else in St. Amelia. Phones are the save system, and you call 100 from any of them to write to one of the 20 manual slots alongside the autosave.
Street route: Pistol, Strange Postcard 5, and the phone save
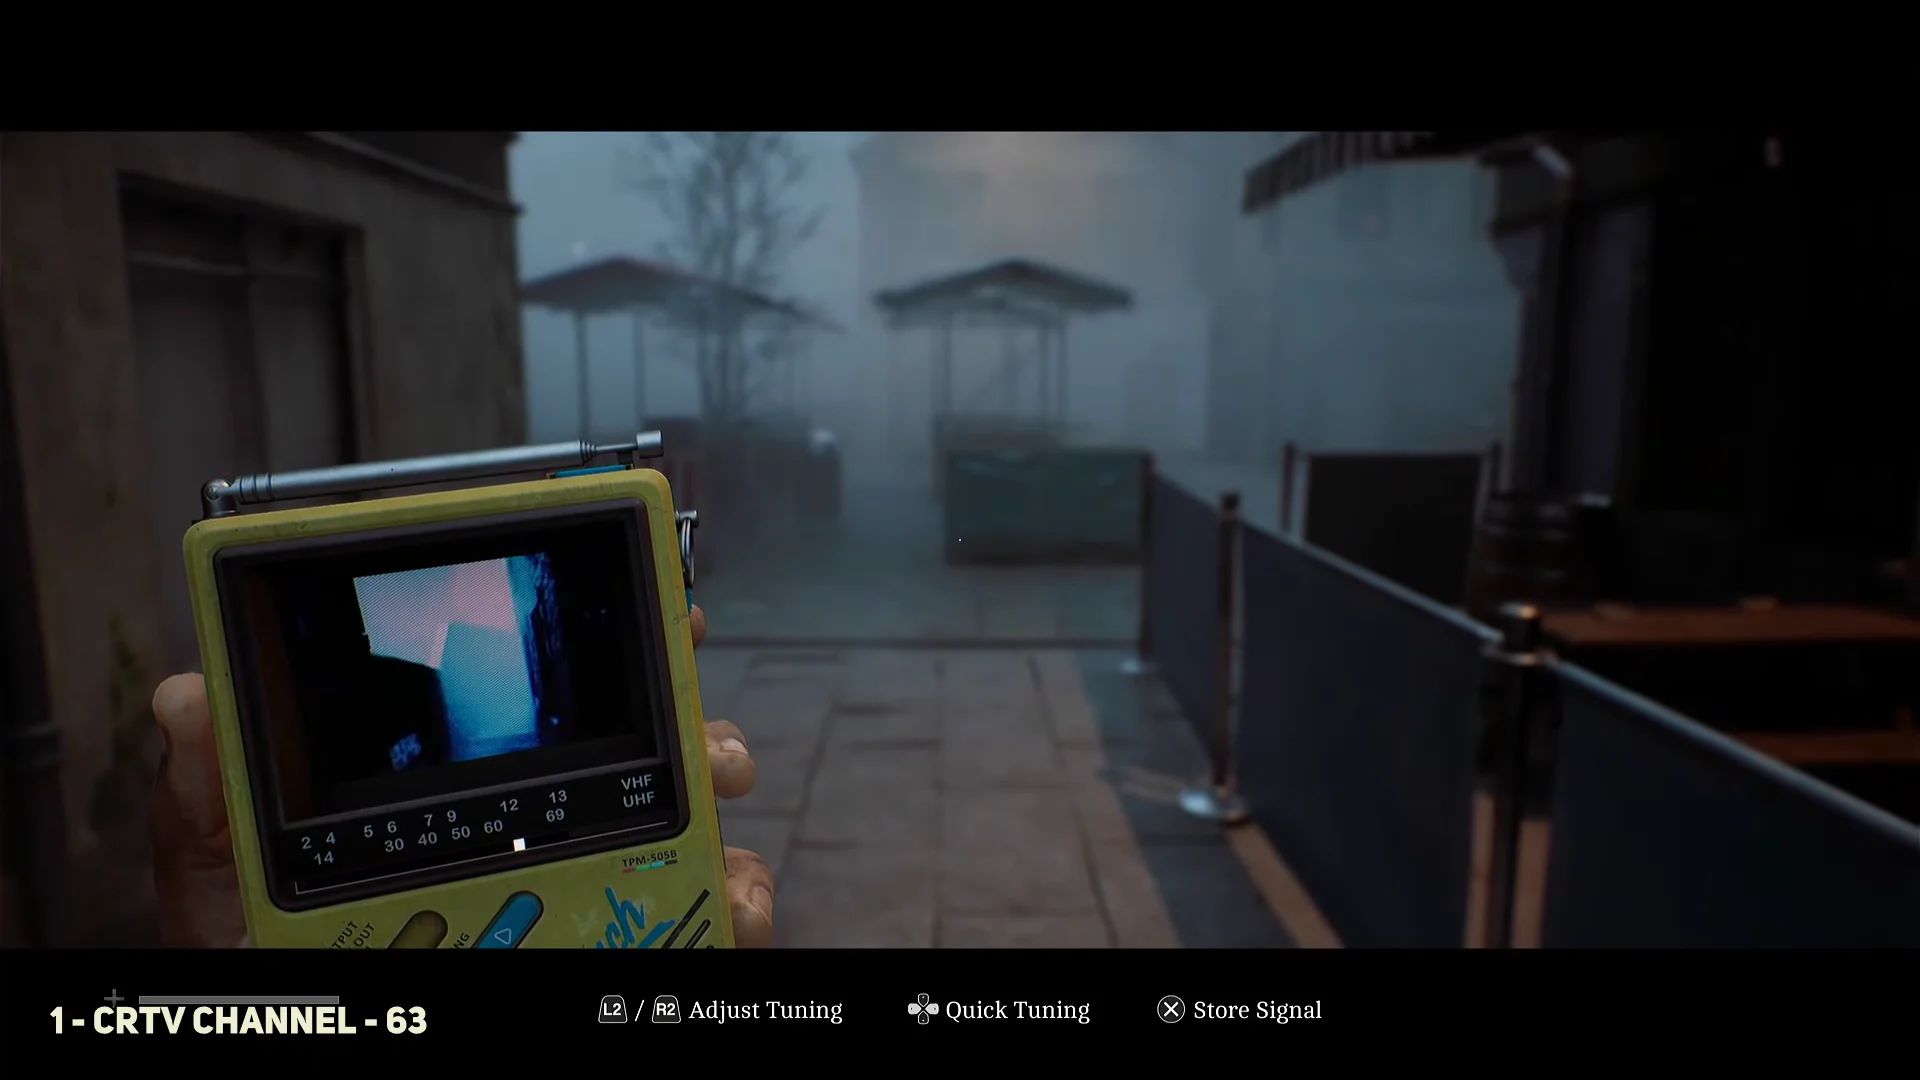
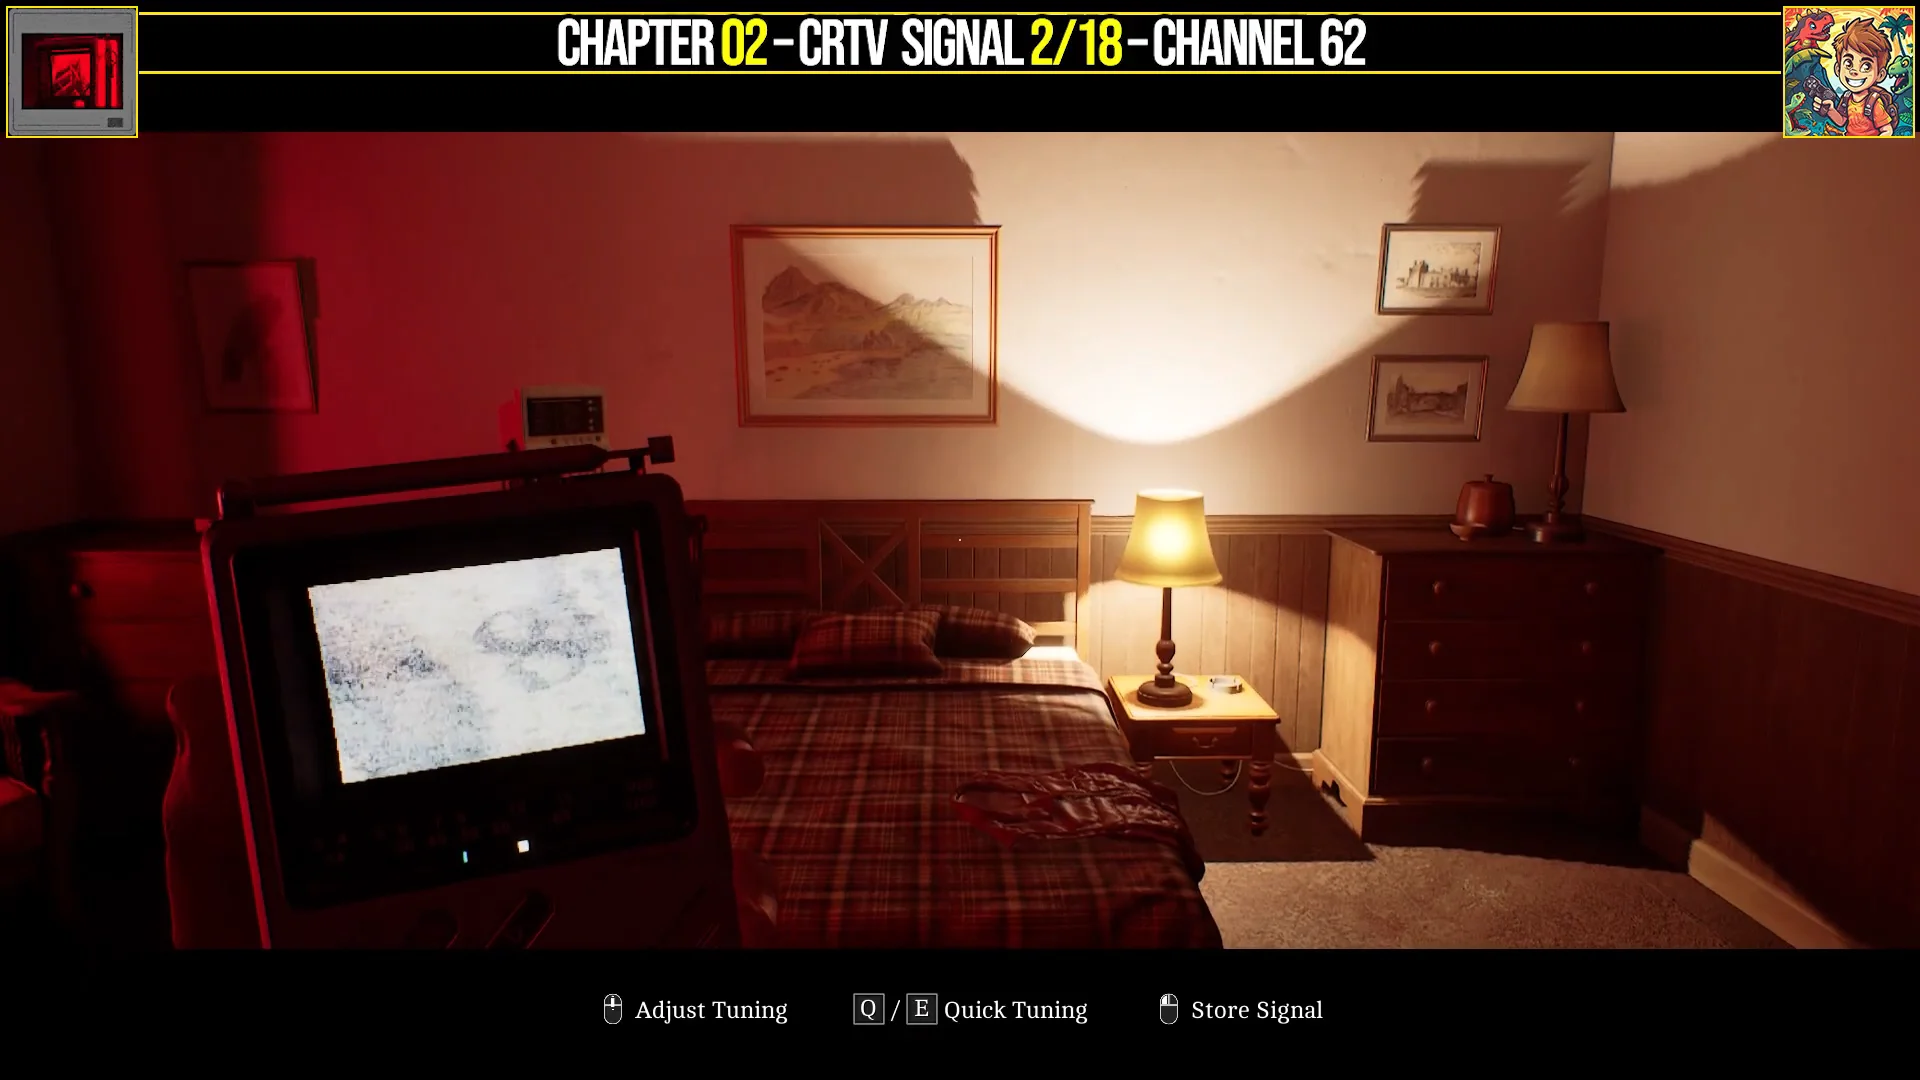
Leave the health centre and step out into the fog. Raise the CRTV and tune it to channel 63 to watch the broadcast waiting on that frequency. That is the first of the chapter’s two signals.
00:20CRTV Channel 63The portable CRTV receiver tuned to channel 63 in the street outside the health centre. Shown at 00:20 in WoW Quests’s video. Image: Screen Burn
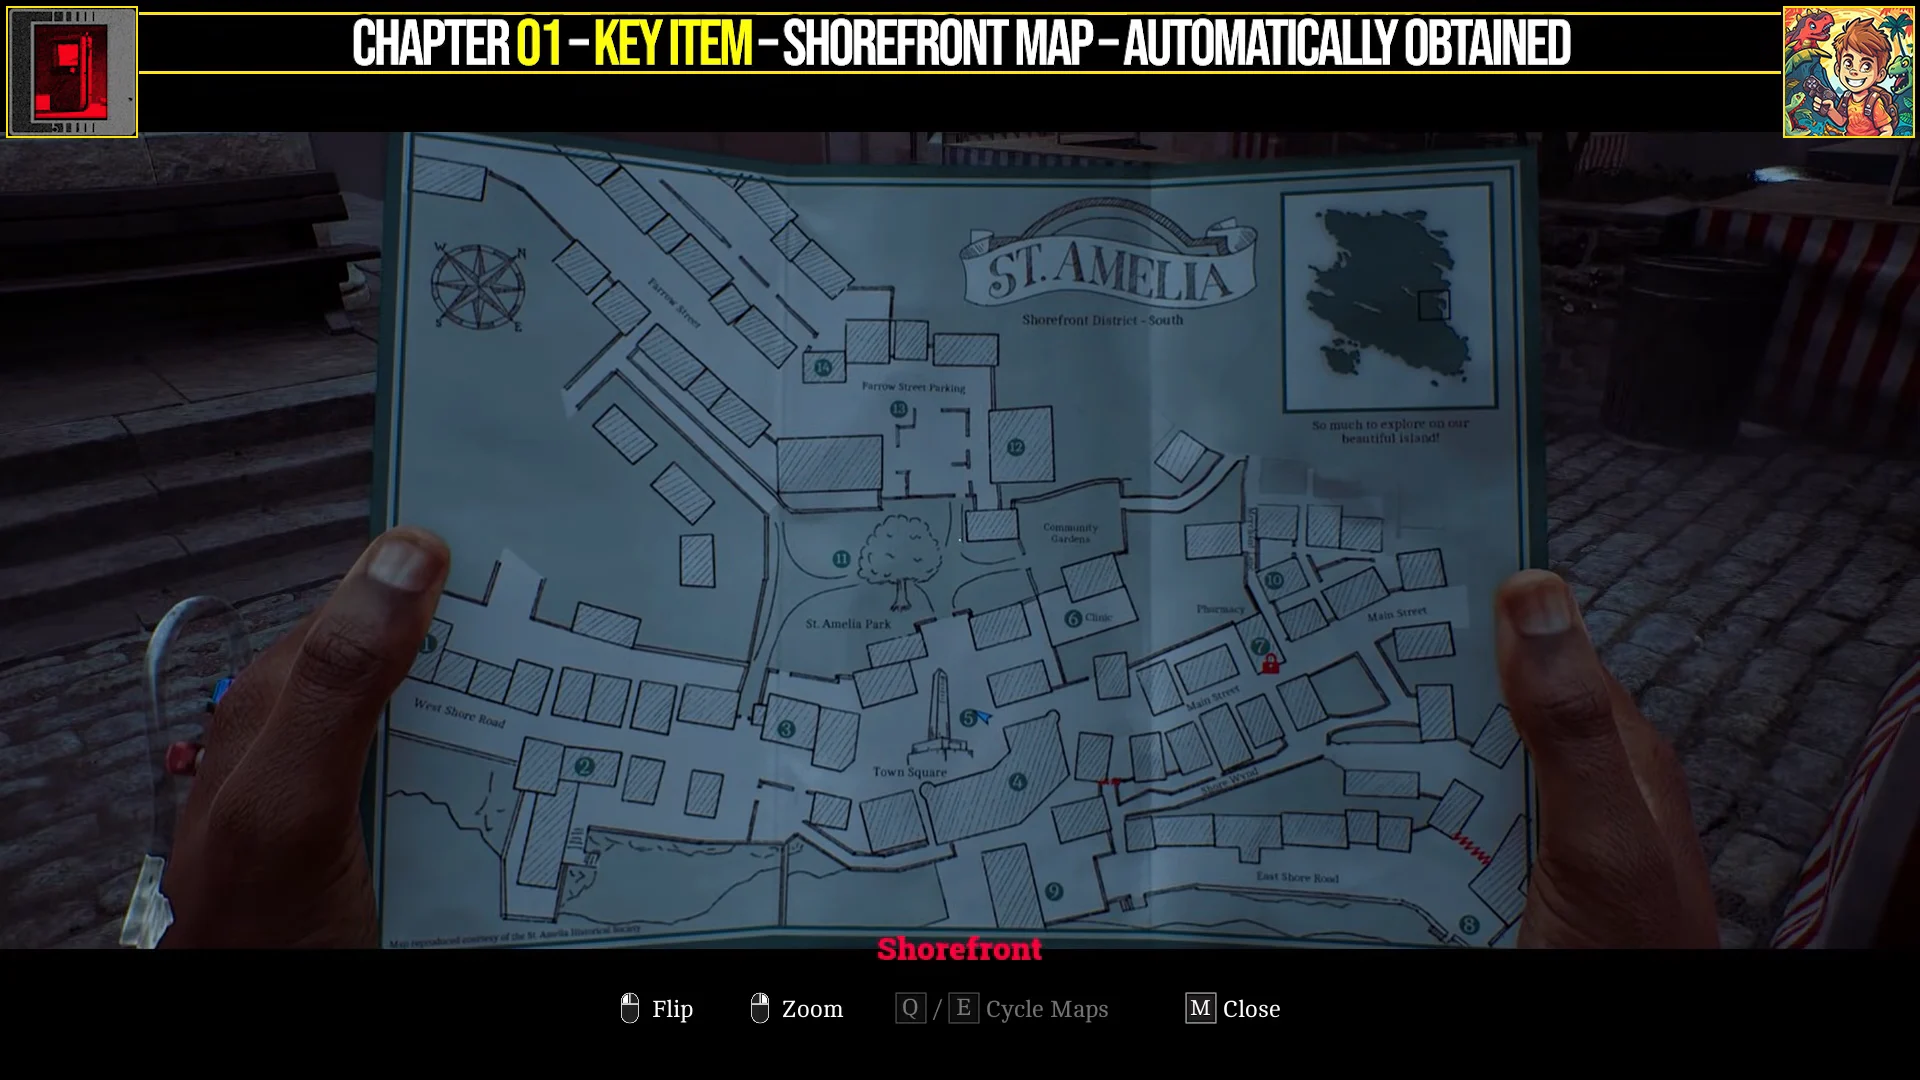
Follow the map to the town square. A wooden lockbox is sitting on the monument steps with a note reading “Simon, You’ll need it.” Open it to take the Pistol, which also unlocks the Ranged Weapons entry in your guide.
Cut through the red-lit alleys behind the square. A creature attacks along the way, and a wooden plank is enough to beat it back if you would rather not spend ammo. At the end of the dead end, Strange Postcard 5 is resting on a pair of boots.
Take the staircase up into the next alley to reach the lit red telephone booth. Use the receiver here to save before the apartment block, since the rest of the chapter runs through tight interiors.
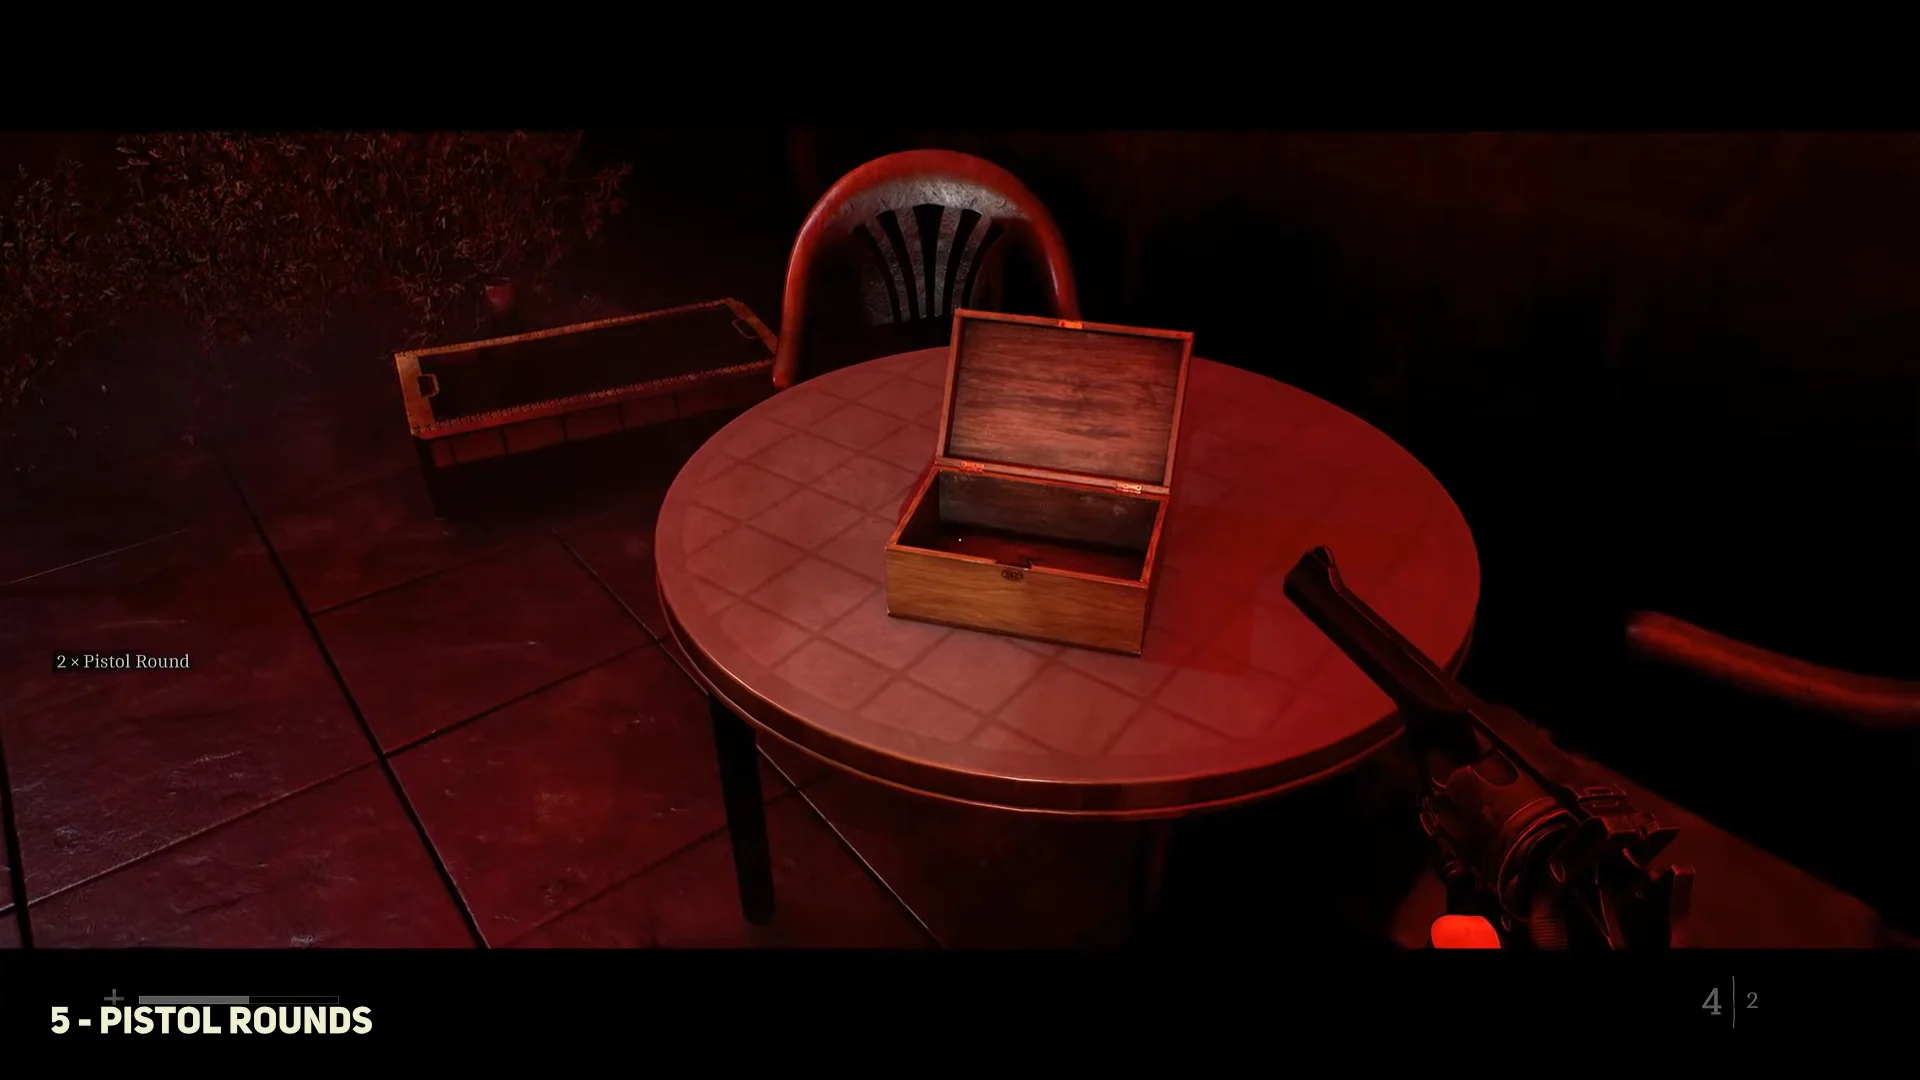
Slip through the side gate marked on your map and tear down the wooden planks blocking the passage behind it. A small wooden box on an outdoor table holds three pistol rounds.
02:08Pistol Rounds 1The first ammo box behind the boarded passage, holding three pistol rounds. Shown at 02:08 in WoW Quests’s video. Image: Screen Burn
Head through the yard gate into the patio with the wooden picnic benches. A second open box there gives you three more pistol rounds, bringing you to six for the chapter before the apartment.
Find the rusted red metal door nearby, slide open the latch access panel, and cut the fleshy barrier inside with the scalpel. The door unlocks and puts you at the scaffolding.
Apartment block: Scaffold Notice, handwritten note, and CRTV Channel 25
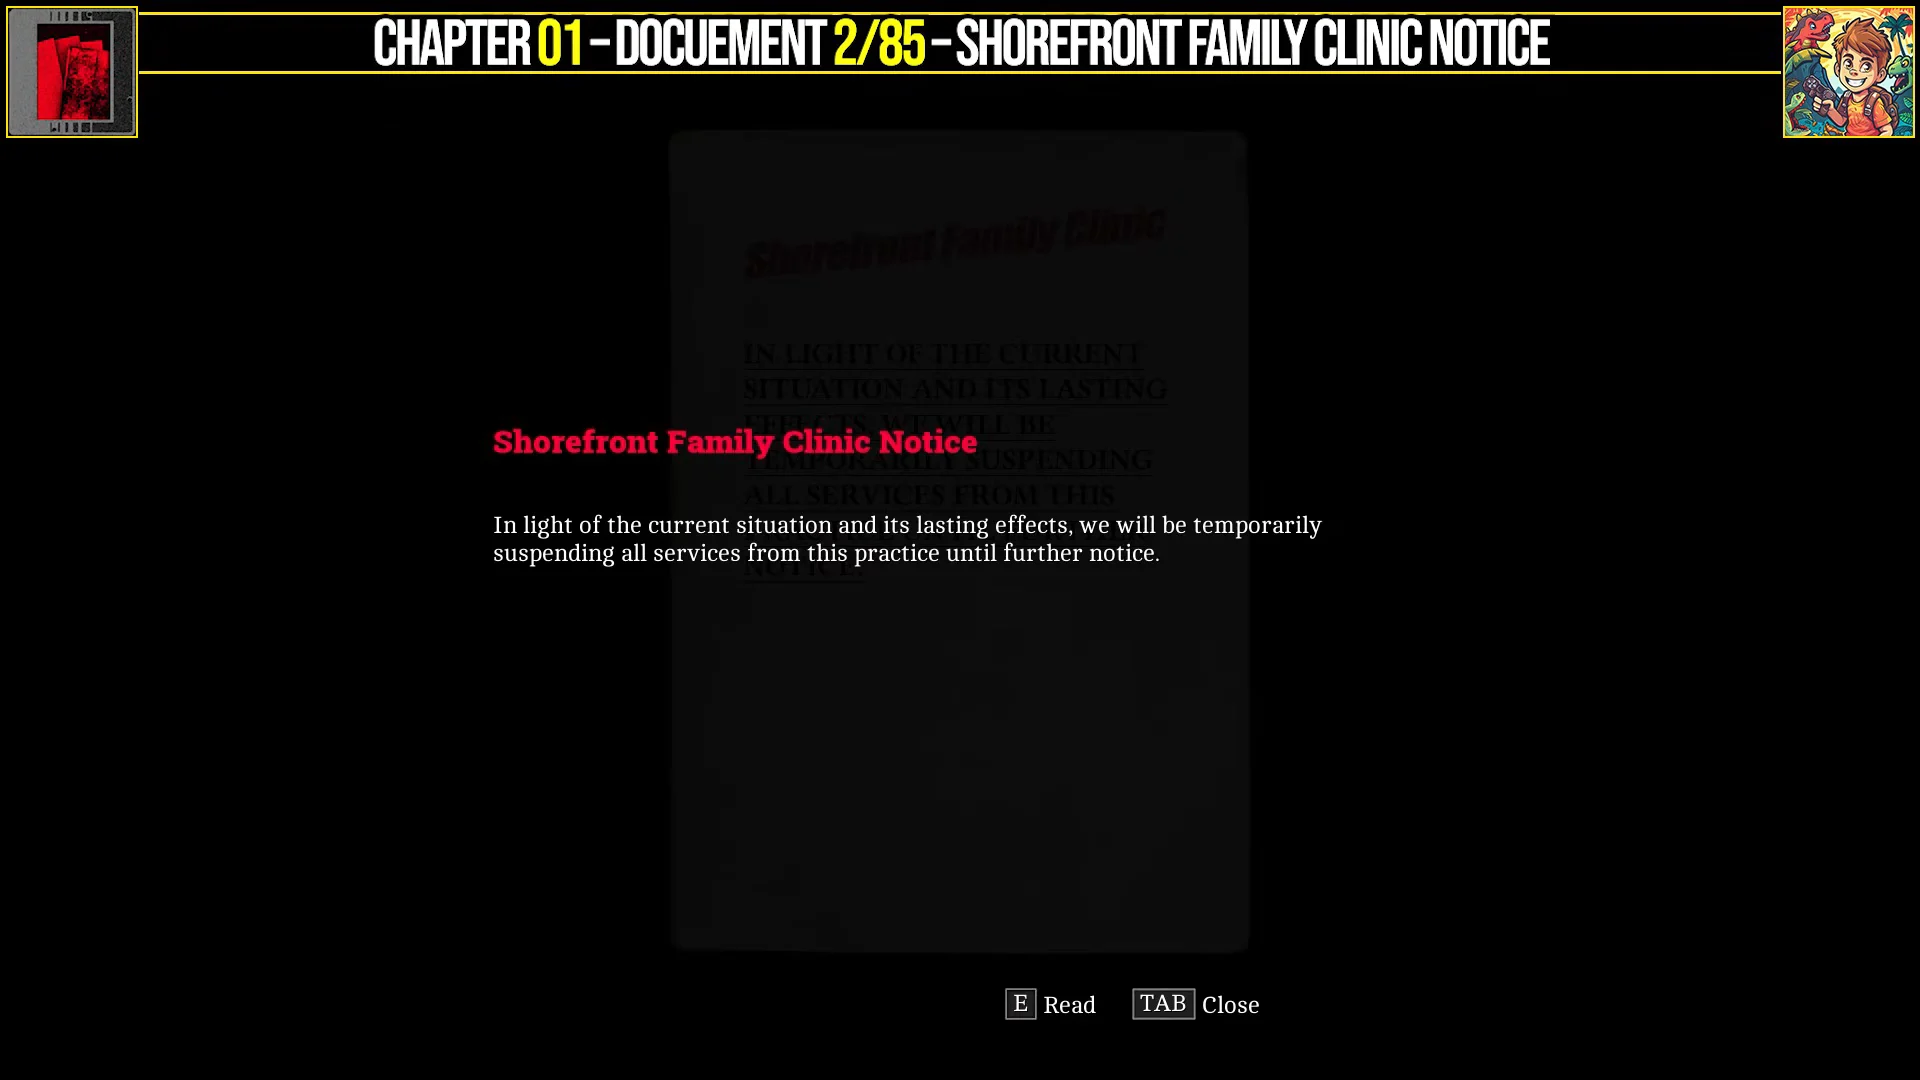
Move past the scaffolding. A stalker attacks here, and this is where the Pistol earns its ammo. Once it is down, read the printed Scaffold Notice pinned to the building entrance door.
Use the receiver in the same room to reach CRTV Channel 25. This one is not a straight tune — you have to line up the RGB alignment sliders until the intercepted feed resolves.
Take the stairs up inside the building. The locked apartment door has a metal hatch in it — open the hatch and slice the organic mass behind it with the scalpel to get in.
Study computer: Note.txt and printing Photo1.jpg and Photo2.jpg
In the study, use the terminal running RedSquares Email Sys 014. Open Note.txt, the message Mrs. McKenzie sent to the St Amelia Herald’s picture editor. One document is added.
Try to print the two attached images and the terminal reports the network printer is offline. Go to the kitchen and inspect the pile of protest flyers there to restore power to the printer.
Return to the computer, print Photo1.jpg and Photo2.jpg, then physically collect the printouts. Both count separately, so do not walk off after only grabbing one.
Leave the study and climb out of the open window onto the exterior scaffolding. This is the only way into the upper apartment, and it is not signposted on the map.
Re-enter the building through the upper apartment. A monster is roaming inside, and the stretch is built for evasion rather than a fight — use doorways and closets to break line of sight instead of burning your six pistol rounds.
Use the key on the blue metal container sitting on the landing table. The Blue Box holds two pistol rounds and a bottle of alcohol, the crafting ingredient you will want banked for later chapters.
The Blue Box is one of only seven resource containers in the game, so open it before you touch the broken floor in the back room.
Basement and shed: Strange Postcard 6 and reaching the Medical Centre
Go into the back room of the apartment and interact with the fractured wooden floor. Simon drops through into the basement, and there is no route back up, so confirm the Blue Box and both printouts are already yours.
Leave the shed, unlock the gate back out to the street, and run for the St. Amelia Medical Centre. Touching the exterior door triggers the cutscene that closes the chapter.
You know the chapter is fully cleared if your counters moved by the right amount before that cutscene fires: two CRTV signals, two Strange Postcards, five readable documents, the Pistol in your equipment list, the Lock Box Key consumed, and eight pistol rounds plus one bottle of alcohol added to your inventory. If any of those are short, load your phone save and retrace the alley before the scaffolding.
Postcards are the only category that merits a second check. Your collectible total carries over between playthroughs; however, Strange Postcards are absent from New Game Plus. Consequently, only this trip through the fog lets you obtain numbers 5 and 6.