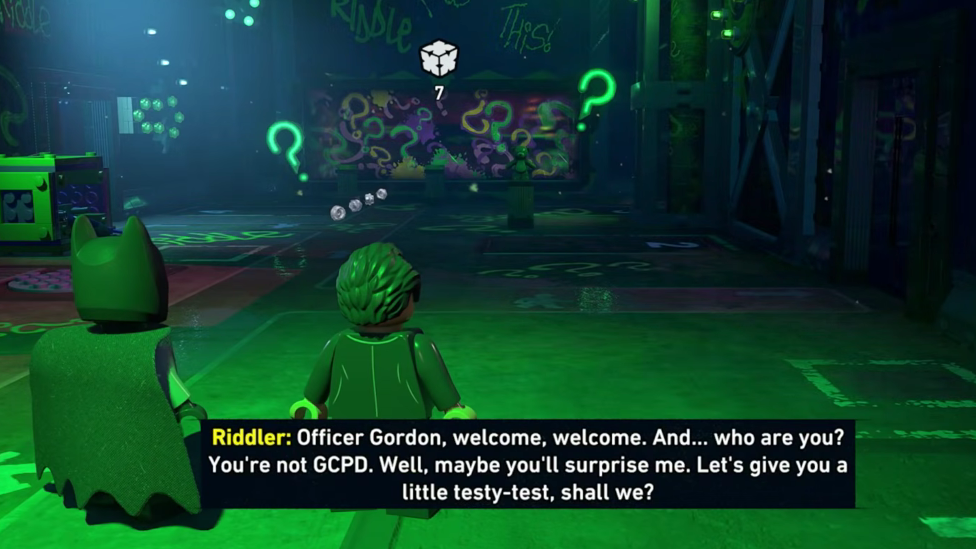
The first proper introduction to the Riddler in Lego Batman: Legacy of the Dark Knight comes through the Riddle Me This side quest, which unlocks after the Tricorner Investigation against Cobblepot. Harvey Bullock hands Batman and Jim Gordon an address pulled from a greeting card, and that address turns out to be the Tricorner Puzzle Room, a green-soaked chamber built around three back-to-back mirror puzzles.
Mirror room 1: Place the bear
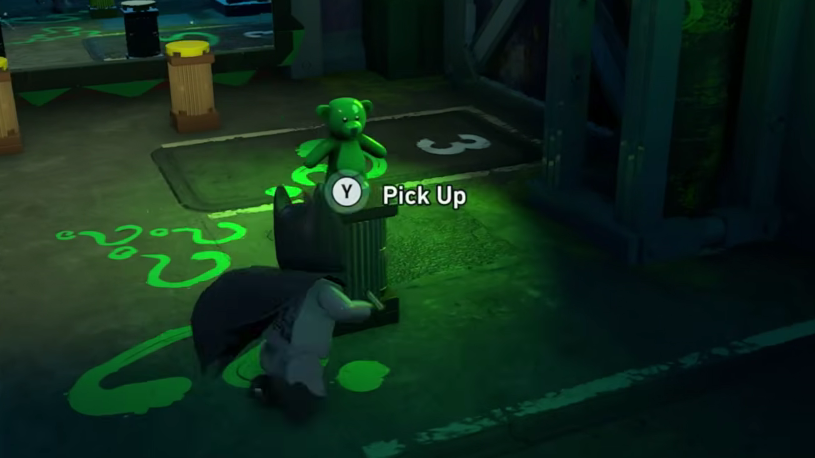
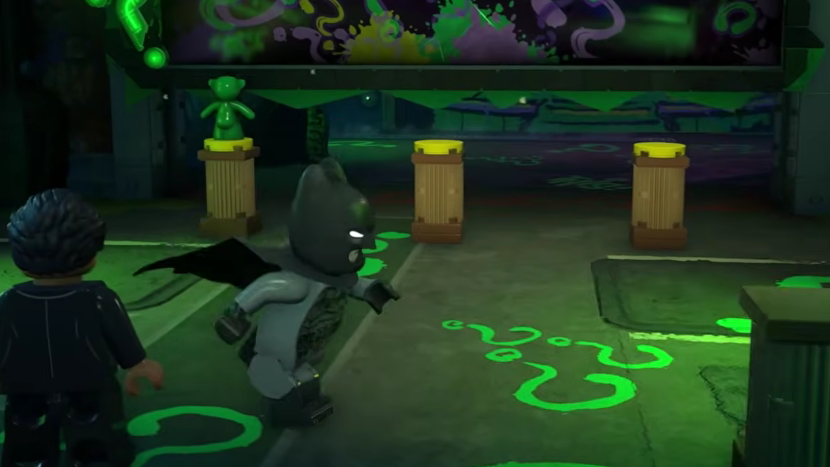
You enter alongside Jim Gordon, and the Riddler immediately starts taunting through the room’s speakers. Three pedestals sit in front of a large mirror, and only one of the reflections shows an object resting on a plinth: a green teddy bear.
Confirmation: the mirror physically opens, and the objective updates to Complete the second mirror puzzle.
Mirror room 2: Top hat, lamp, candlestick
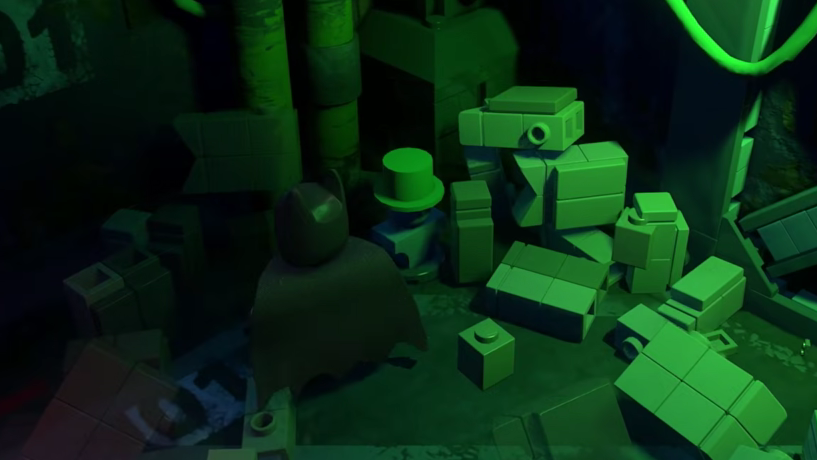
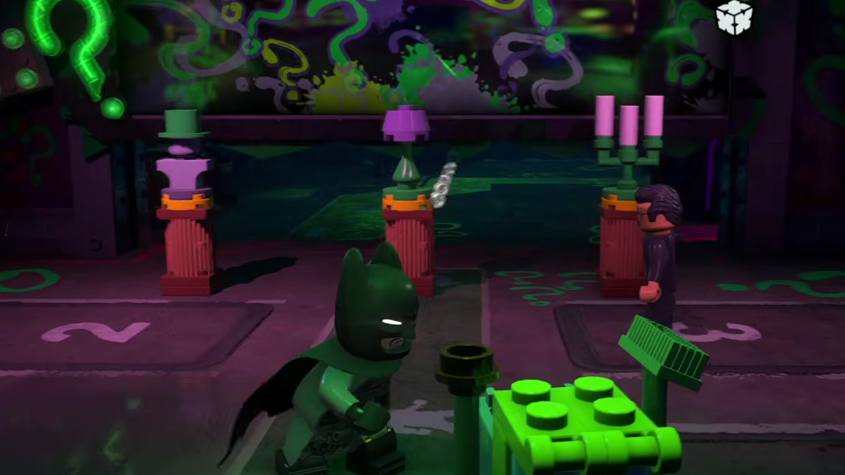
The second room has three empty plinths in front of a fresh mirror. The reflection shows three items in this order, left to right: a top hat, a lamp, and a candlestick. The objects themselves are scattered around the room, with one hidden inside a pile of Lego boxes in the corner.
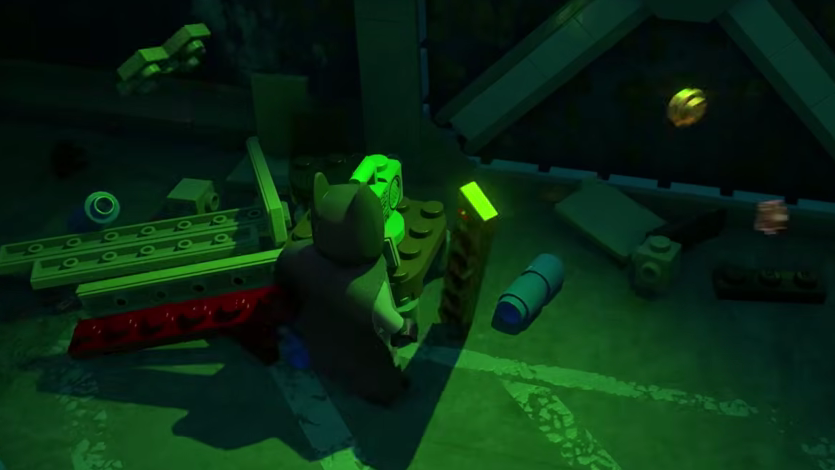
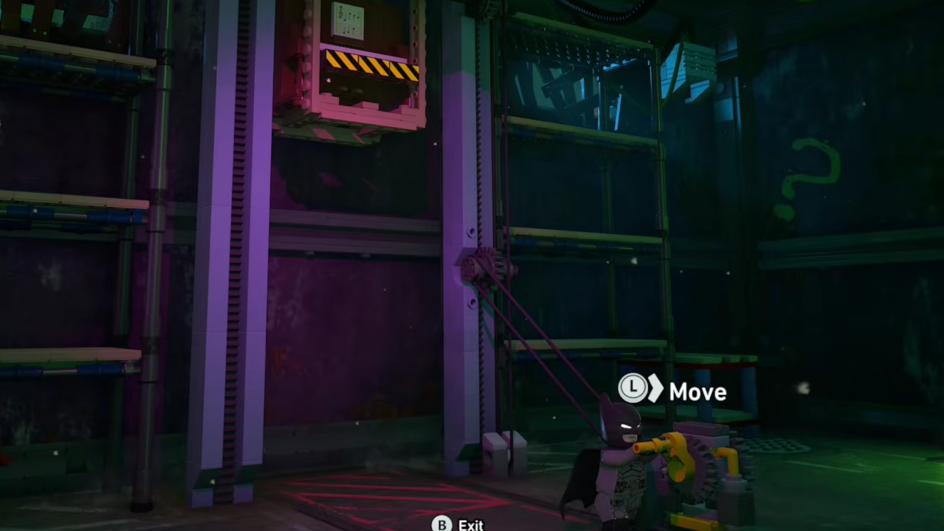
Mirror room 3: Lamp, boombox, and the piano
The third room is the trickiest of the three because the reflection shows a lamp and a boombox on the pedestals, plus a piano lowered into the background. The piano is suspended above the room and has to be brought down using a crane handle on the side.
Claim the Riddler Puzzle Box
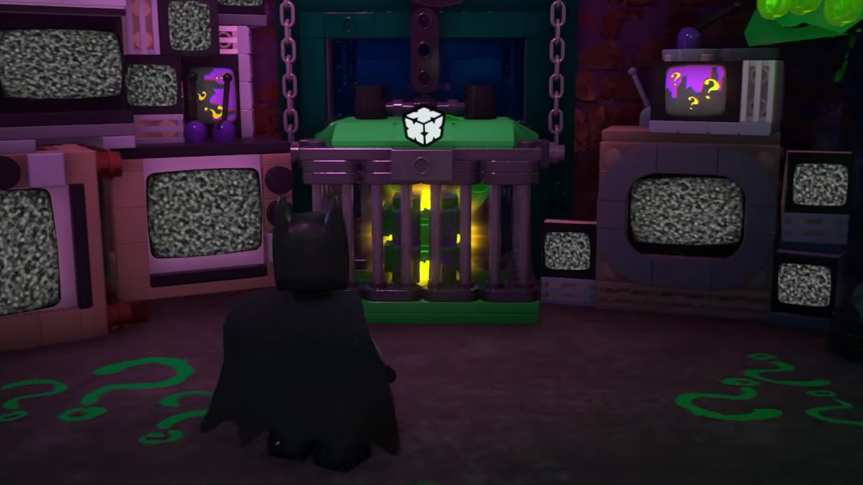
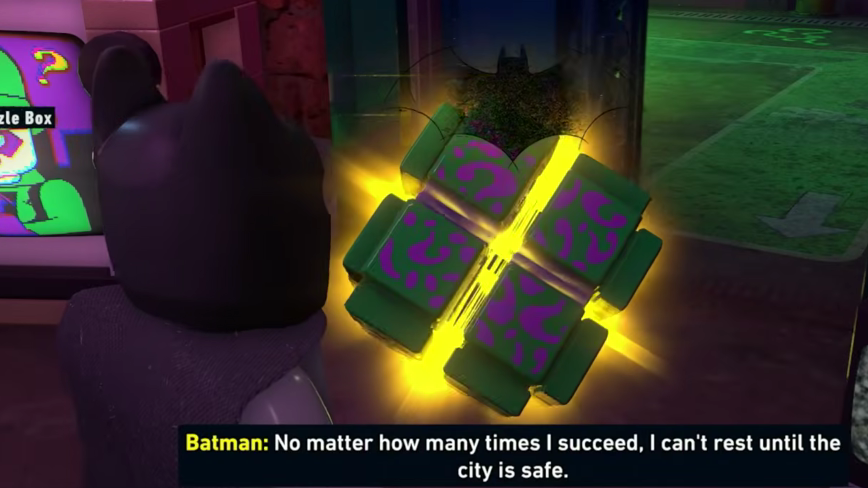
Behind the final mirror is a room lined with televisions showing the Riddler’s face and a cage at the center holding a glowing green trophy. The cage opens automatically once you approach.
Walk up to the trophy and use the Collect prompt. The HUD will flash Riddler Puzzle Box 1/9 Tricorner followed by Puzzle Room 1/1 Tricorner, confirming the room is cleared. The objective then changes to Leave the Riddler Room.
What unlocks after Tricorner
Solving the first Puzzle Room marks the next one on Gotham’s map. Puzzle Rooms use a Puzzle Box icon, while smaller individual Riddler puzzles use the standard Question Mark icon. The progression continues through The Cauldron North, Old Gotham North and West, Gotham Village’s Robinson Park, Newtown, and East End Amusement Mile, with several later rooms gated behind specific characters.
| Puzzle Room | Character requirement |
|---|---|
| Tricorner 1 | Batman and Jim Gordon (story default) |
| The Cauldron North | Batman |
| Old Gotham North | Batman (grapple + ranged) |
| Old Gotham West | Catwoman (Whip) + Batman (UV Vision, Spray Explosive, grapple) |
| Gotham Village – Robinson Park | Catwoman + Batman |
| Newtown | Talia (Ninja Dash) |
| East End Amusement Mile | Batgirl (Hack, Drone) |
Common reasons the mirror puzzle won’t complete
If a mirror refuses to open after you’ve placed objects, only a few things are usually wrong. The object order in room 2 has to match the reflection from left to right, not in any order. In room 3, the piano needs to be physically lowered using the crane handle; placing both items on the pedestals without aligning the piano leaves the puzzle unfinished. And the bear in room 1 must go on the specific pedestal where the reflection shows it, not on any open plinth.
Picking up the wrong decoy item (such as the pink candelabra in room 2) doesn’t break the puzzle. Drop it and grab the correct object. Once every pedestal matches and the background elements line up, the mirror animation plays on its own.