

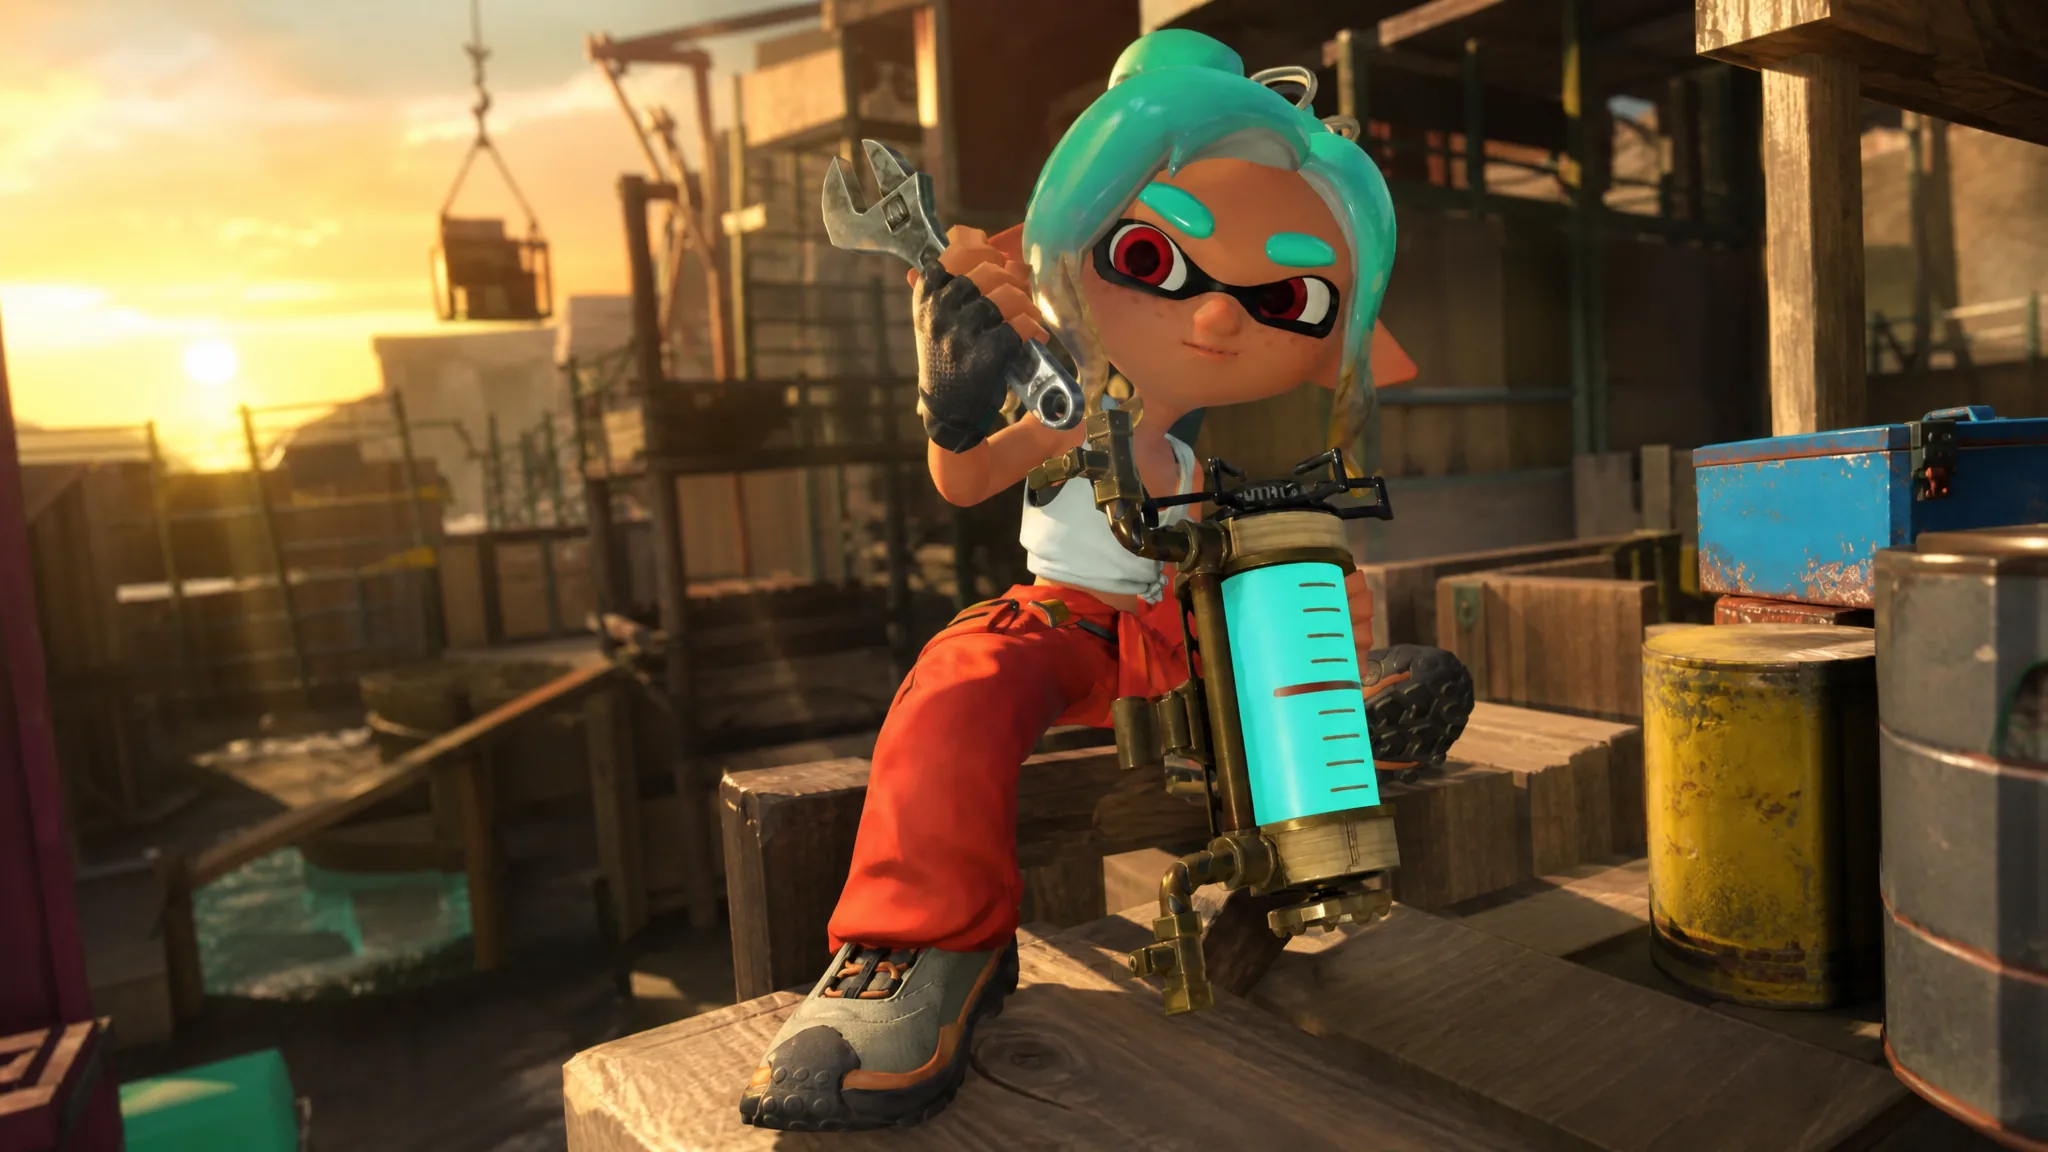
Gadgets are the cooldown-based combat tools your mechanic builds and equips in Splatoon Raiders. Each one is tied to a single Ink Tank, so the tank you carry into a raid decides which gadgets you can slot. There are 15 in total, split evenly across the three tanks, and most are crafted at the Hideout Ship using looted Salmonid parts and Spirhalite Shards.
Quick answer: There are five gadgets per tank (15 total). Only Blast Boot (Speed), Splatchet (Power), and Shot Pot (Tactical) are available from the start. Every other gadget is crafted after you unlock gadget development on the Hideout Ship, and some require the ship to reach Level 2 or Level 3 first.
Every gadget and what it does
Speed gadgets are about movement and hit-and-run play. Power gadgets reward close-range fighting and break through tough defenses. Tactical gadgets let you place turrets, traps, and lasers that keep working while you focus elsewhere.
| Gadget | Tank | Effect |
|---|---|---|
| Blast Boot | Speed | Leap forward and land with an explosive splash; also works as an escape |
| Booyarang | Speed | Boomerang throw that damages enemies as it flies out and returns |
| Dash Bomb | Speed | Dash in a chosen direction, leaving an instantly exploding bomb behind you |
| Jump Bomb | Speed | Jump with explosive force in an aimed direction, leaving ink in your wake |
| Flywire | Speed | Fires a line you ride; sticks to inkable ground, walls, or Salmonids, then explodes on impact |
| Splatchet | Power | Rush forward with a wide slashing arc that breaks tough shields |
| Splatellites | Power | Orbiting discs that ink the ground and damage enemies who get close |
| Spinwheel | Power | Rolls forward spraying ink, pushes Salmonids back, and locks onto Boss Salmonids |
| Meteor Mitt | Power | Jump and slam down; bigger drops create bigger explosions |
| Shellacker | Power | Fires a wave of exploding ink; charge longer for a stronger blast |
| Shot Pot | Tactical | Deployable turret that automatically fires at nearby crates and Salmonids |
| Hi-Fiver | Tactical | Fires five ink lines that bounce off terrain and damage enemies |
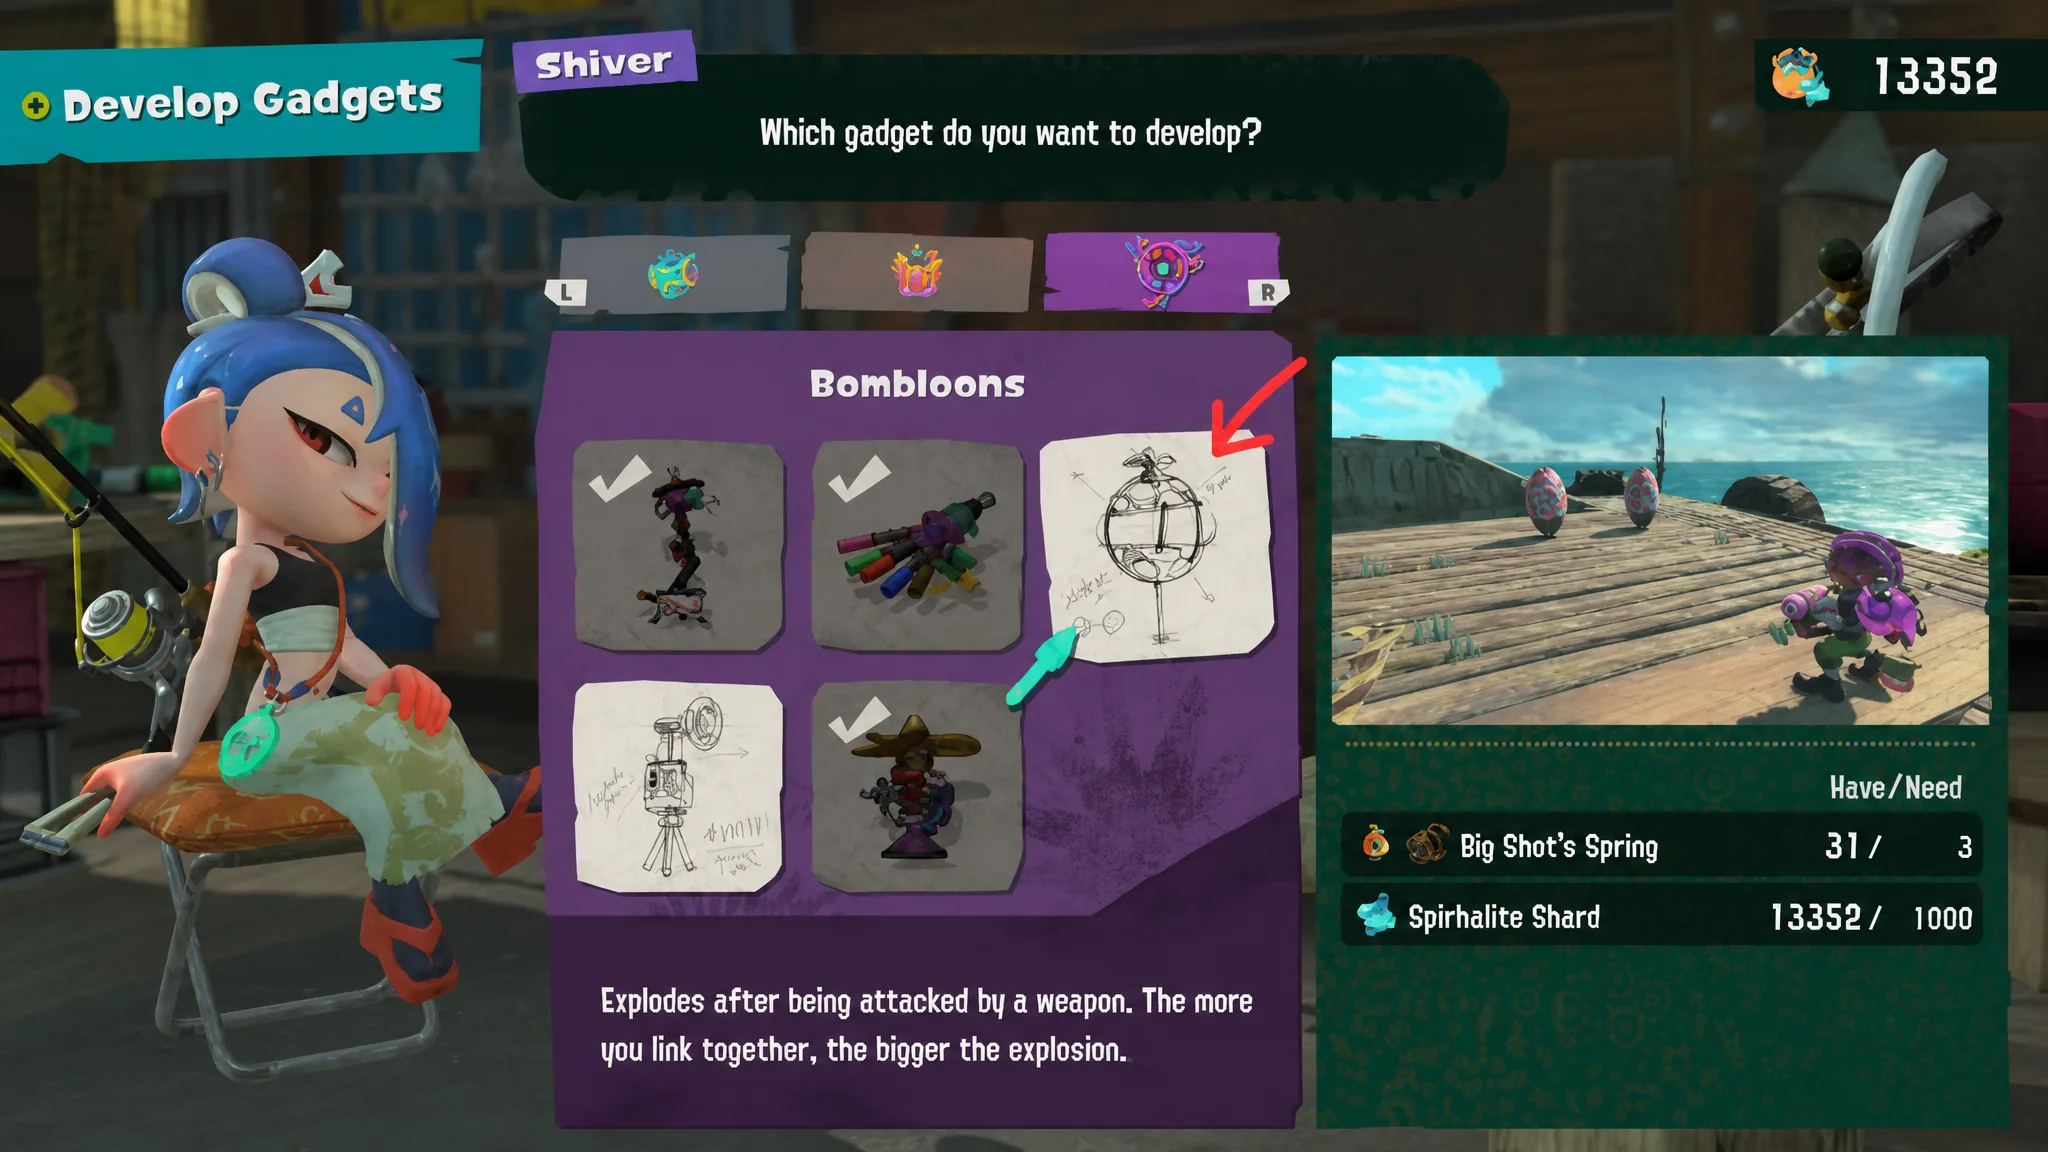
| Bombloons | Tactical | Floating bombs that detonate when shot; link more together for a larger blast |
| Tether Wail | Tactical | Connects you to a laser that thickens and hits harder the longer you extend it |
| Torqscrew | Tactical | Spins up an ink vortex whose blades fling Salmonids into the air |
Unlock requirements, materials, and cooldowns
The three starting gadgets cost nothing. Everything else needs a blueprint plus crafting materials, and several blueprints only appear once the Hideout Ship reaches a higher level. Materials come from specific Salmonids, so check the workshop to see which enemies drop what you need.
| Gadget | Hideout Level | Materials | Cooldown |
|---|---|---|---|
| Blast Boot | Default (Speed) | — | 9s |
| Splatchet | Default (Power) | — | 12s |
| Shot Pot | Default (Tactical) | — | 9s |
| Booyarang | 1 | 5x Salivator’s Plastic Bag, 1,000x Spirhalite Shard | 9s |
| Dash Bomb | 1 | 3x Stinger’s Colander, 1,000x Spirhalite Shard | 6s |
| Spinwheel | 1 | 3x Steelhead’s Tire, 1,000x Spirhalite Shard | 12s |
| Splatellites | 1 | 5x Salty Tongue’s Bucket, 1,000x Spirhalite Shard | 15s |
| Hi-Fiver | 1 | 5x Scrapper’s Glass Window, 1,000x Spirhalite Shard | 12s |
| Bombloons | 1 | 3x Big Shot’s Spring, 1,000x Spirhalite Shard | 3s |
| Jump Bomb | 2 | 5x Flyfish’s Bin, 10x Salty Tongue’s Bucket, 3,000x Spirhalite Shard | 6s |
| Meteor Mitt | 2 | 5x Fish Stick’s Drill Bit, 10x Scrapper’s Glass Window, 3,000x Spirhalite Shard | 12s |
| Tether Wail | 2 | 10x Stinger’s Colander, 5x Smoker’s Tank, 3,000x Spirhalite Shard | 12s |
| Flywire | 3 | 5x Steelhead’s Tire, 5x Smoker’s Tank, 10x Scrapper’s Glass Window, 5,000x Spirhalite Shard | 12s |
| Shellacker | 3 | 5x Maw’s Bobbler, 5x Steel Eel’s Jaw, 10x Stinger’s Colander, 5,000x Spirhalite Shard | 9s |
| Torqscrew | 3 | 5x Slammin’ Lid’s Lid, 5x Salivator’s Plastic Bag, 10x Salty Tongue’s Bucket, 5,000x Spirhalite Shard | 15s |
To craft anything past the defaults, first build the gadget development feature at the Hideout Ship. Shiver handles the actual crafting. If a blueprint you want is missing, upgrade the ship, since higher Hideout Ship levels unlock the Level 2 and Level 3 gadgets above. A gadget is ready when it appears in the Gear menu and can be assigned to a tank.
Equipping and using gadgets
Gadgets are equipped in the Gear menu aboard the Hideout Ship. Pick a tank first, then slot your gadgets to it. At the start of the game you can carry two gadgets, and both must belong to the tank you have on. That limit is the main thing shaping an early build.
Each equipped gadget is bound to the L or R button. Pressing the button activates it; some fire instantly while others let you aim or position them. After use, the gadget enters its cooldown before it can fire again.
Collecting enough Salmonid Eggs (Power Eggs) upgrades that tank and eventually unlocks a third gadget slot, which is assigned to the A button. Once a tank is upgraded far enough, the third slot can hold a gadget from a different tank, opening up cross-tank combinations you cannot run early on.
Customizing gadgets with Gadget Parts
Gadget Parts change how each gadget performs. They are found across the Spirhalite Islands, dropped by Salmonids or pulled from treasure chests at the end of a stage, then attached back at the Hideout Ship. Parts do far more than raise damage. They can add ink explosions, extend duration, apply knockback gas, or rework a gadget’s behavior entirely. Fitting a Multirang part to the Booyarang, for example, turns a single throw into two boomerangs at once.
Every part has an equip cost that takes up a set number of Gadget Part Slots, and stronger or more unusual effects cost more. You mix and match freely as long as you stay within a gadget’s slot capacity. Spending Skill Points to upgrade a tank increases that capacity, so leveling up lets you fit combinations that were previously a slot or two out of reach.
Because difficulty settings only change combat and not the loot you collect, there is room to experiment. Match your two starting gadgets to the tank and the Salmonids you expect to face, then rebuild around a third slot and stronger parts as your Hideout Ship and tanks grow.





