
Restricting edits to headers and footers in Microsoft Word is crucial for preserving document consistency, especially when multiple users collaborate or when official templates must retain branding and legal information. Word’s built-in tools allow you to lock these sections while keeping the main content editable, ensuring that important information—like company names, document titles, or page numbers—remains unchanged.
Locking and Protecting Headers and Footers Using Section Breaks and Editing Restrictions
Applying section breaks and configuring editing restrictions is the most effective method for protecting headers and footers in Word on Windows 11. This approach prevents users from modifying header and footer content, while still allowing them to work on the main body of the document.
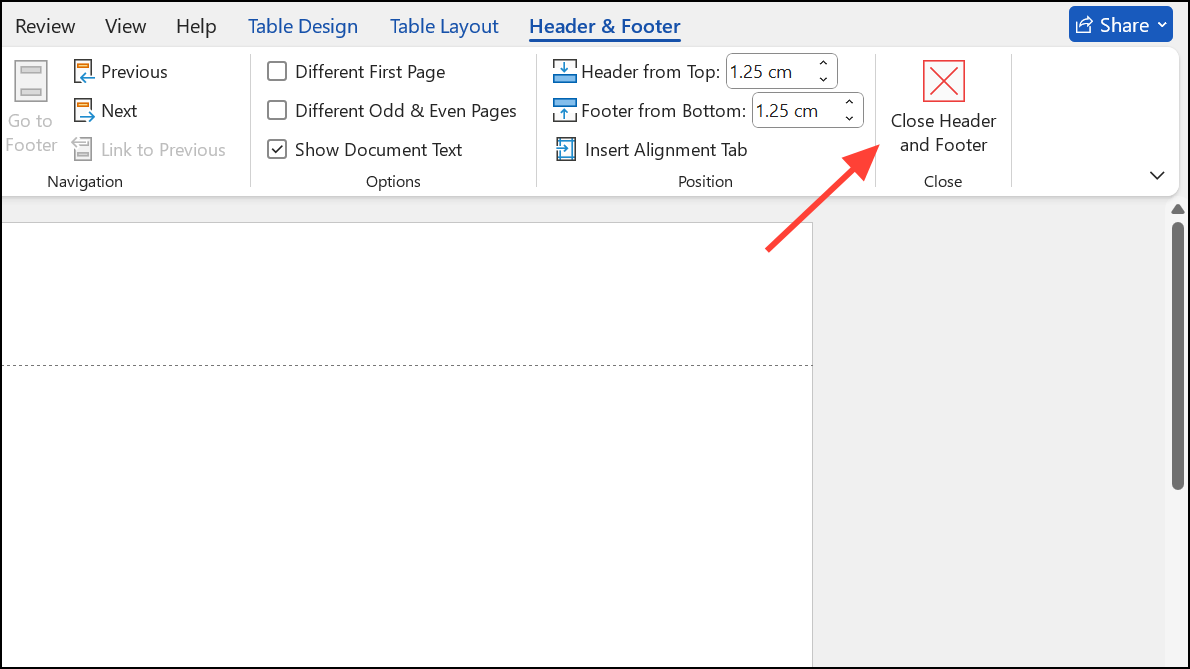
Step 1: Open the Word document you want to protect. Edit the header and footer as needed, adding text, images, or page numbers. Double-click the header or footer area to make changes, then click “Close Header and Footer” on the ribbon once finished.
Step 2: Place your cursor at the very start of the first page of your document. This is where you’ll insert a section break to separate the header/footer area from the main content.
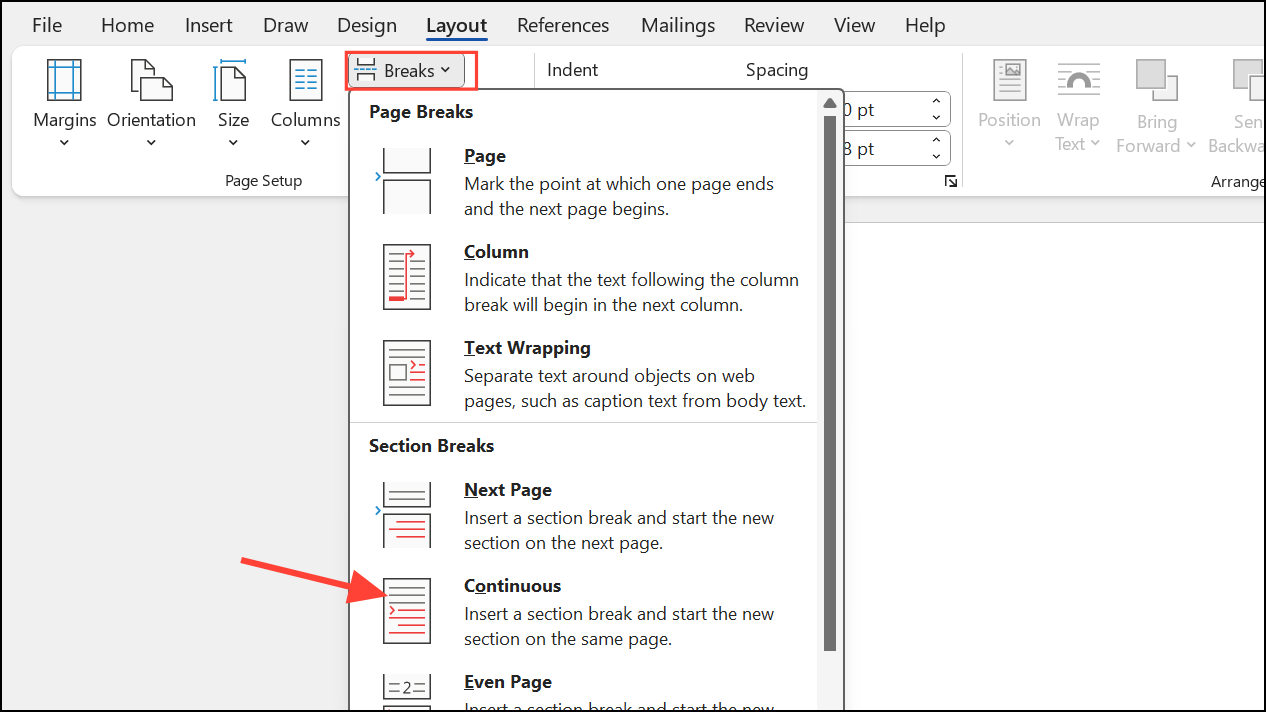
Step 3: Go to the Layout tab on the ribbon, click Breaks, and choose Continuous. This inserts a section break, dividing the document into two sections: the protected header/footer section and the editable body.
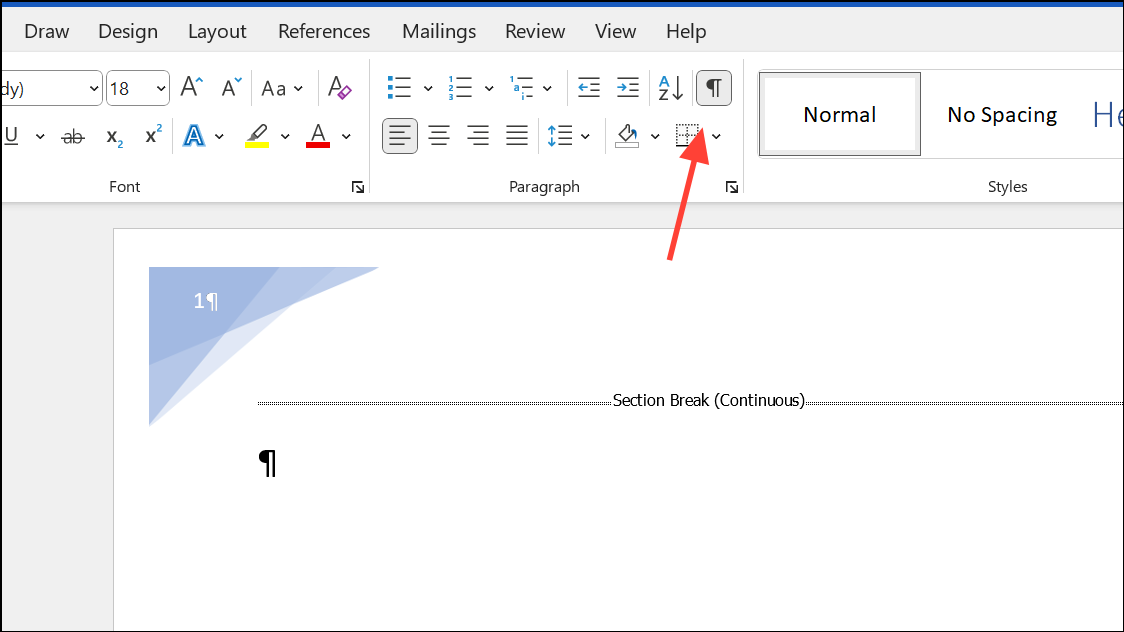
Step 4: To minimize the appearance of the section break, switch to the Home tab, then click the Show/Hide ¶ button in the Paragraph group. This reveals non-printing characters, including section breaks. Select the section break and set its font size to 1 in the font size box, then press Enter to shrink it. Click the Show/Hide ¶ button again to hide formatting marks.
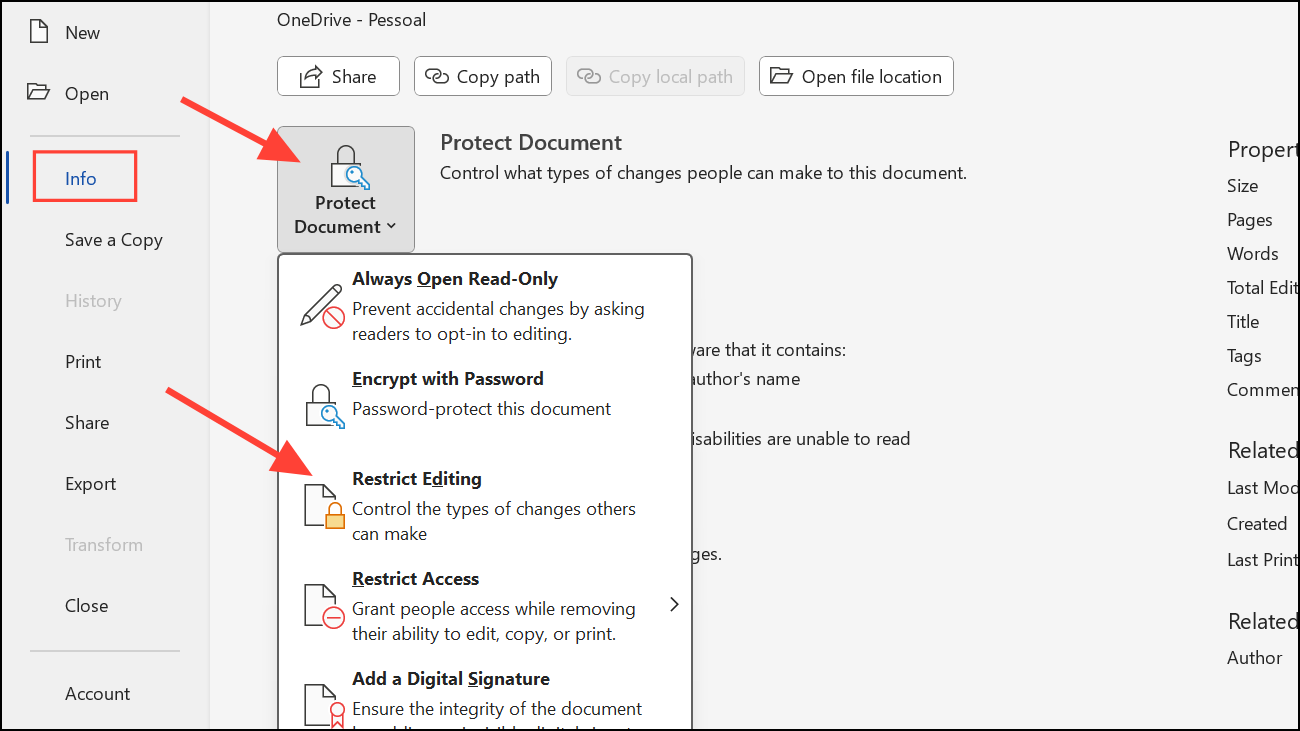
Step 5: Click the File tab, select Info in the left pane, then click Protect Document and choose Restrict Editing. The Restrict Editing pane will appear on the right side of your Word window.
Step 6: In the Restrict Editing pane, check Allow only this type of editing in the document and select No changes (Read only) from the dropdown menu. This makes the document read-only by default.

Step 7: To allow editing in the main body of the document (while keeping the header/footer locked), click at the start of your main content, then press Ctrl + Shift + End to select from the cursor to the end of the document.
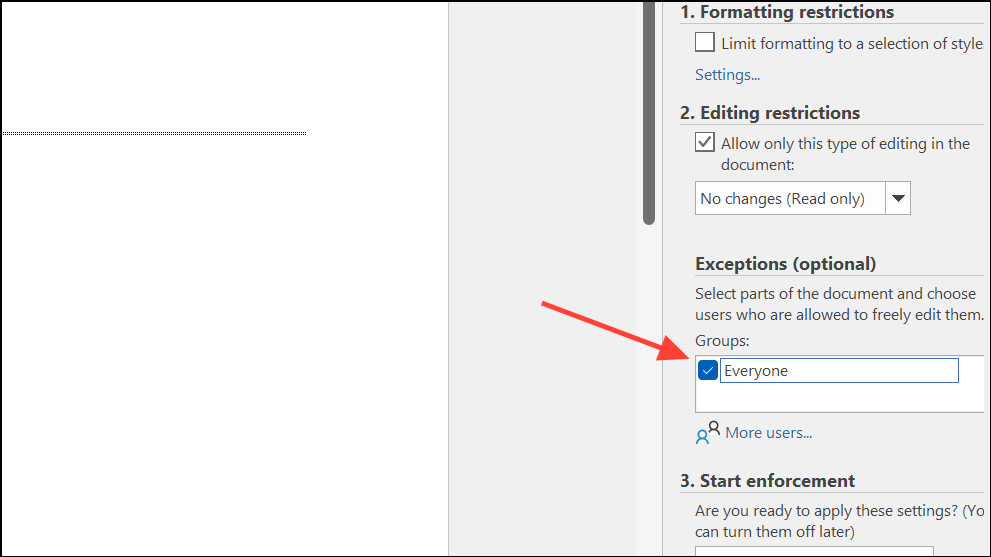
Step 8: Under the Exceptions section in the Restrict Editing pane, check the box for Everyone. This allows all users to edit the selected region, but not the header/footer area.
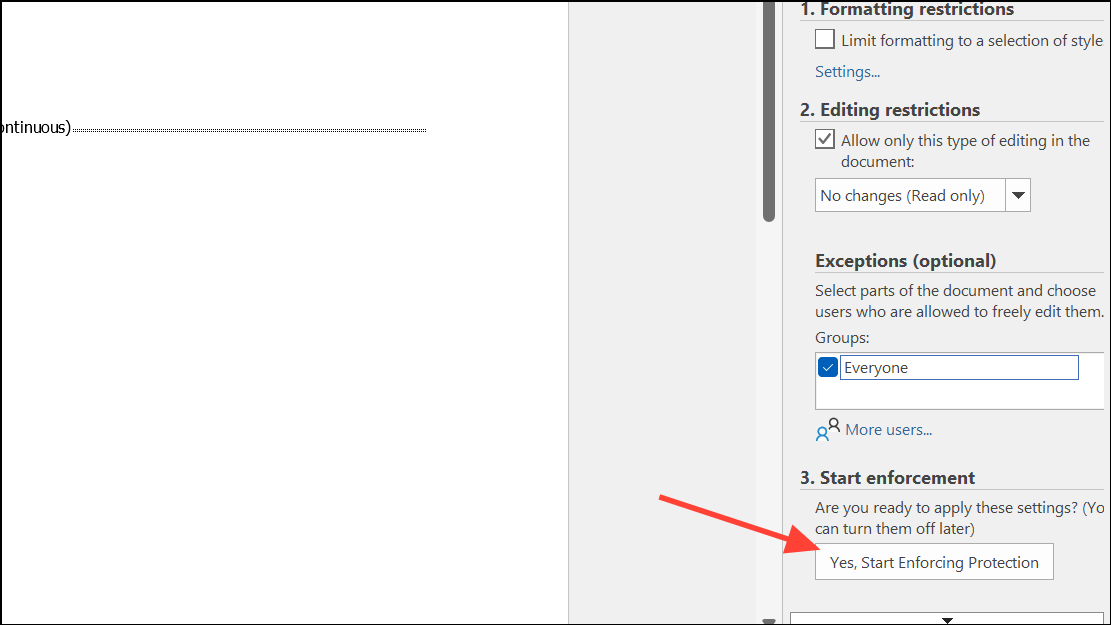
Step 9: Click Yes, Start Enforcing Protection at the bottom of the pane. In the dialog that appears, enter a password to prevent others from disabling protection (optional, but highly recommended), confirm the password, and click OK.
Step 10: Once protection is enabled, the editable areas of your document may be highlighted in yellow. If you want to remove this highlight, uncheck Highlight the regions I can edit in the Restrict Editing pane.
Now, when someone attempts to edit the header or footer, Word will prevent changes unless the protection is removed with the password. The main document body remains fully editable for all users.
Alternative Approaches and Advanced Tips
Using Templates for Reusability
For documents that require consistent headers and footers across multiple files, consider saving your protected document as a Word template (.dotx). This allows you to create new documents with the same protection already in place, reducing repetitive setup.
Section-Specific Protection
When your document contains multiple sections (for example, chapters or appendices), you can use section breaks to apply different headers/footers or protection levels to each section. Double-check that your protection settings apply only to the desired sections by reviewing the Restrict Editing pane and adjusting exceptions as needed.
Limitations and Workarounds
- Word’s protection features prevent direct editing of headers and footers, but they do not stop users from copying visible content (like screenshots of graphics in the header).
- Advanced users may attempt to circumvent protection by converting the document to another format or using third-party tools. Password protection provides a strong deterrent, but no method is completely foolproof against determined attempts.
Removing or Modifying Protection
To remove header and footer protection, return to the Review tab, click Restrict Editing, and select Stop Protection. Enter the password if prompted. This restores full editing capability to the entire document.
Applying section breaks and editing restrictions in Word provides a reliable way to lock headers and footers, keeping your document’s structure intact while allowing easy collaboration on the main content. Regularly save backup copies and store your password securely to avoid accidental lockouts.