

Every expedition in Mistfall Hunter can turn deadly the moment another Gyldhunter appears. This is a PvPvE extraction RPG, so a rival can ambush you mid-fight, drain your resources before your next encounter, or turn a clean loot run into a total loss. Winning player fights comes down to a handful of systems working together: energy, dodging, positioning, attack timing, class matchups, and terrain. Small mistakes decide most duels.
Quick answer: Only engage when you have healing charges, energy, and cooldowns ready, and when terrain favors your class. Ranged classes hold the high ground and open space; melee classes corner opponents in tight areas. If any of those are missing, disengage instead of trading.
Decide whether to fight before you commit
Skilled players do not win every fight. They take the fights worth taking. Before you launch a strike or hold your ground, run through three checks quickly, because the other player will not wait around.
| Check | What to confirm |
|---|---|
| Is the risk worth it? | Weigh your equipment value against what you actually stand to gain from the kill. |
| Do you have resources? | Skill and passive cooldowns, energy, and at least one healing charge. No healing charge means no fight. |
| Do you have the advantage? | Undetected approach, high ground as a ranged class, or enough space to dodge as a melee class. |
Every fight risks everything you are carrying. A bad opening lets the enemy seize the advantage, a third party can crash your setup, and a monster train around a corner can end you before you react. Tactical items make decent openers but are risky mid-fight, and every item, including healing potions, has its own cooldown. Think through the likely outcomes, then act.
Manage energy, dodge energy, and cooldowns
Three resources drive everything you do in a fight. Running out of any of them leaves you exposed, and mashing buttons until your bar empties is the most common reason players die in a duel.
| Resource | What it powers |
|---|---|
| Energy (Stamina) | Attacks and skills. Without it, you cannot act. |
| Dodge Energy | A separate bar for evading attacks and triggering Breakthrough when a combo staggers you. |
| Skill and passive cooldowns | Lock a skill after use, with exceptions for skills that carry charges or double activations. Tactical and healing items follow the same rule. |
Learn how to recover energy while fighting. The basic Sorcerer attack on left mouse restores a small amount of energy, and the Withered Knight’s basic combo does the same. Investing in affixes like Vitality raises your energy pool, which means more attacks, more skills, and more damage over a fight.
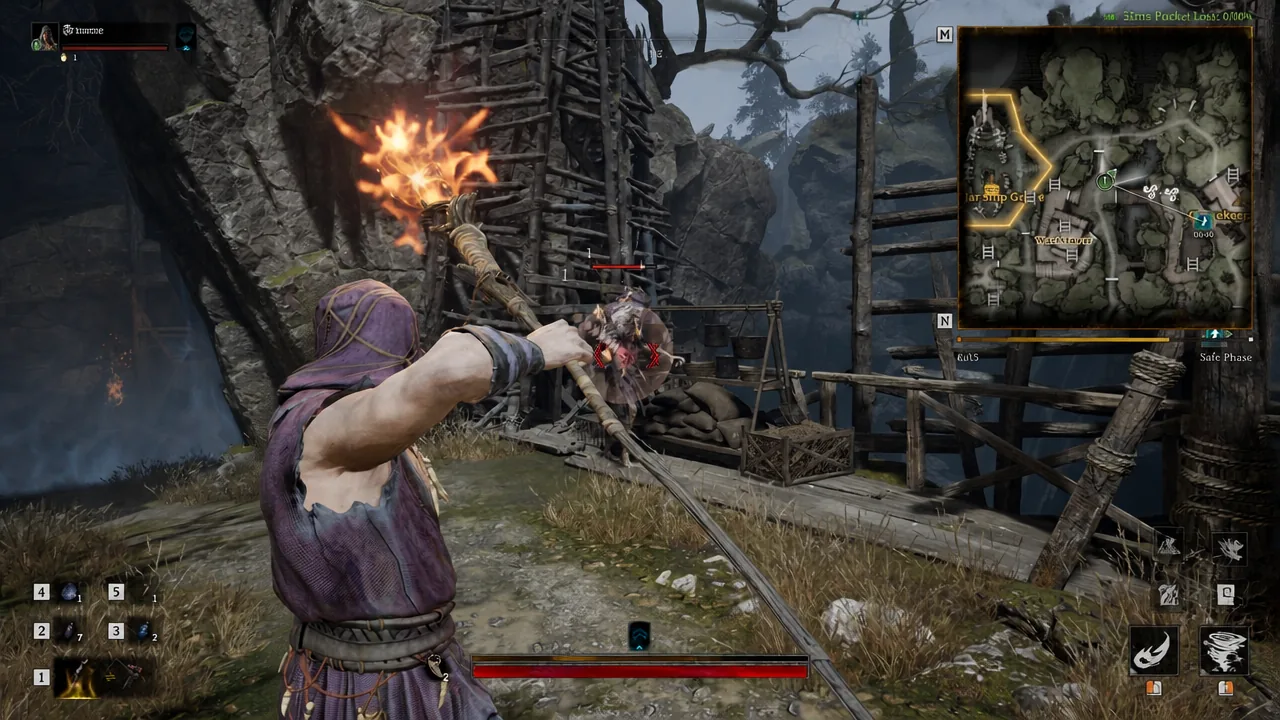
Melee classes gain a tactical edge in moving, attacking, dodging, and chaining combos. Ranged classes trade that for heavy damage, area effects, and crowd control. The two are close to balanced, so any class can beat any other under the right conditions. Practice landing every attack cleanly, know which moves are best for opening and which are best for backing off, and treat a tactical retreat to recover health and energy as a normal part of combat.
Hold the right terrain for your class
Where you fight matters as much as when. Ranged classes should never fight on ground level if they can avoid it. Take the high ground, especially on the Blackarrow or Sorcerer, and use distance to control the exchange.
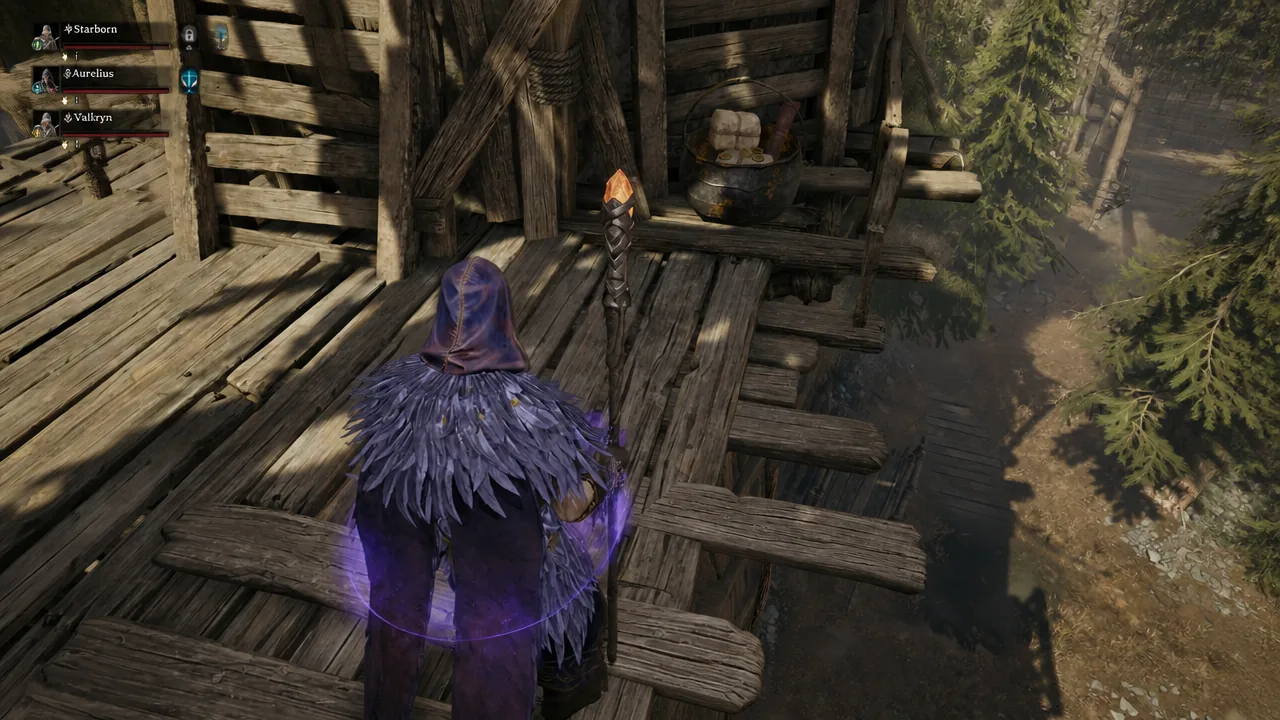
The opposite is true in enclosed spaces. A ranged class caught in a tunnel is easy prey for every other class, and even the modest Seer becomes dangerous in a corridor. Melee classes should invert the same logic. Avoid open ground against ranged opponents, play on lower terrain, and engage when you can corner them. Watch your attack and dodge energy while chasing, because a melee class that runs dry becomes an easy backstab target.
Disengage safely and break pursuit
Fleeing is a valid tactic, and you will do it often. Disengaging means putting distance or terrain between you and an attacker, then running and breaking off their chase. This gets harder on Trio Maps, where fights between multiple teams turn into a mess nobody wants to be caught in.
Beyond dodging out of range, you can stay behind cover before moving off, pull PvE enemies between you and the chaser, close a door in their face, or use an area or crowd-control attack to force them to back off.
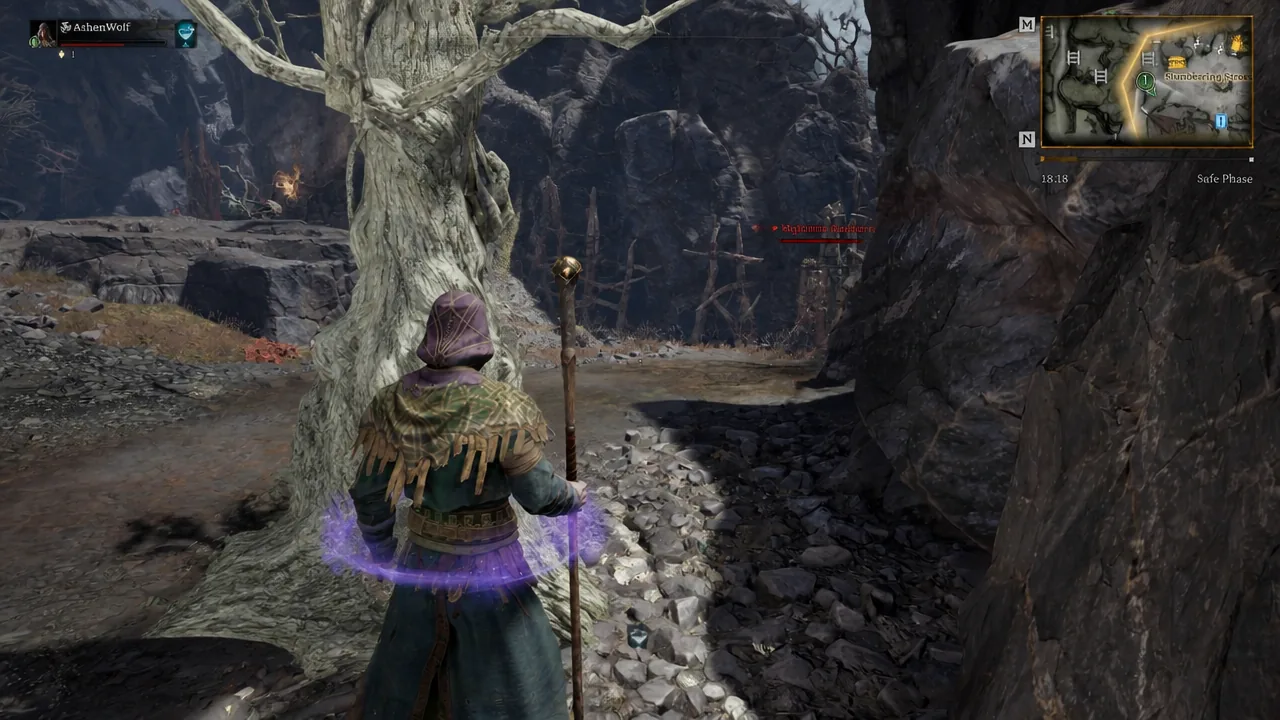
Chasing carries its own risk, since a fleeing player can lay traps around corners. When you are the one escaping, tactical items are some of the most reliable tools for creating space.
| Item | Effect and use |
|---|---|
| Mimic Dust | Turns you into a random scenario object. Strong for hiding or slipping away from a fight. |
| Spellbound Key | Thrown at a door, it opens or closes it instantly, putting a barrier between you and pursuers. |
| Shadow Dust | Grants 10 seconds of invisibility so any class can enter stealth. Ideal for breaking line of sight. |
| Mud Jar | Creates a puddle that slows enemies and shortens their dodge distance. Good for covering an escape. |
| Silence Dust | Silences enemies in a small area, blocking attacks, skills, and spells. Useful against melee chasers. |
| Lure Jar | Thrown at a door or an opponent, it aggros nearby PvE enemies onto the target. Underrated. |
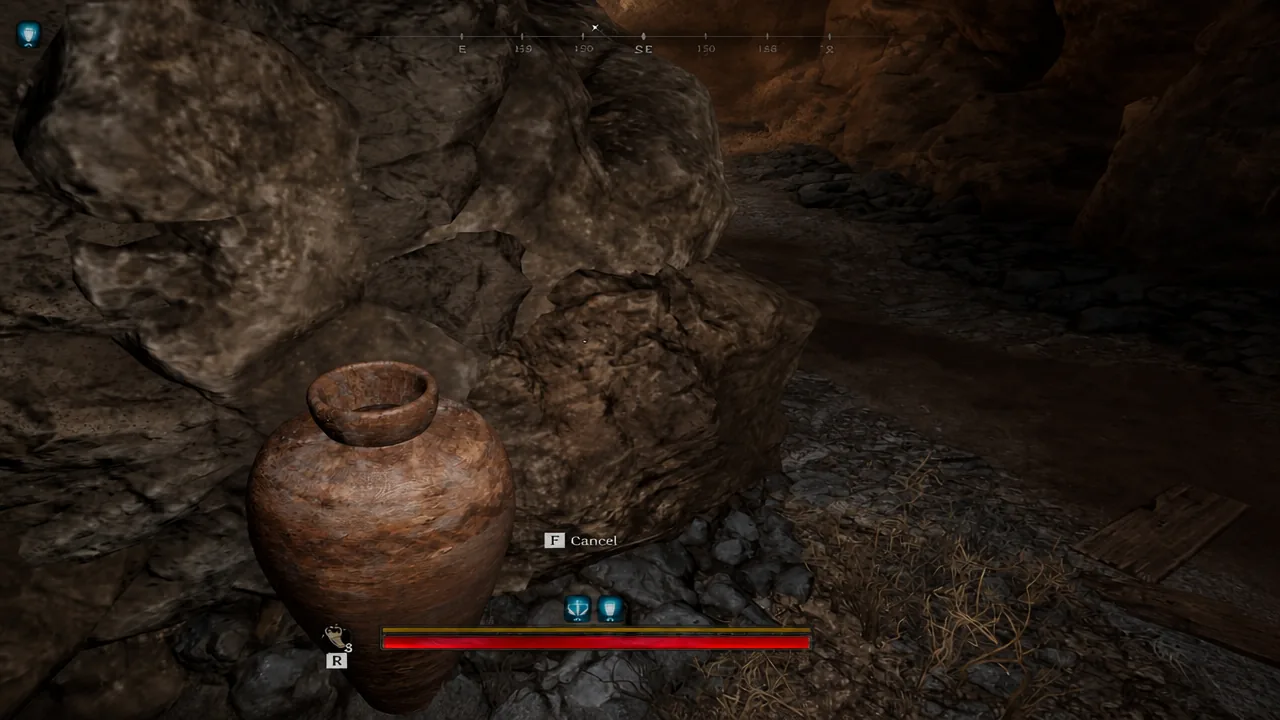
Mimic Dust is especially flexible. After transforming, you can drift toward other scenery objects to blend in, sit still near a chokepoint to ambush, or simply wait out a pursuer who has lost your trail.
Finish downed enemies before they recover
How a knockdown resolves depends on your mode. Downing an enemy in solo play executes them instantly. In trios, a downed player starts crawling and can be revived by teammates, so execute them as fast as possible to keep them out of the fight.
Watch for the Withered Knight’s Intervene skill from the Polearm and Shield branch. It marks downed allies and resurrects them after a few seconds. That mark is an overshield, and you have to break it to stop the revive.
Position your squad in trios
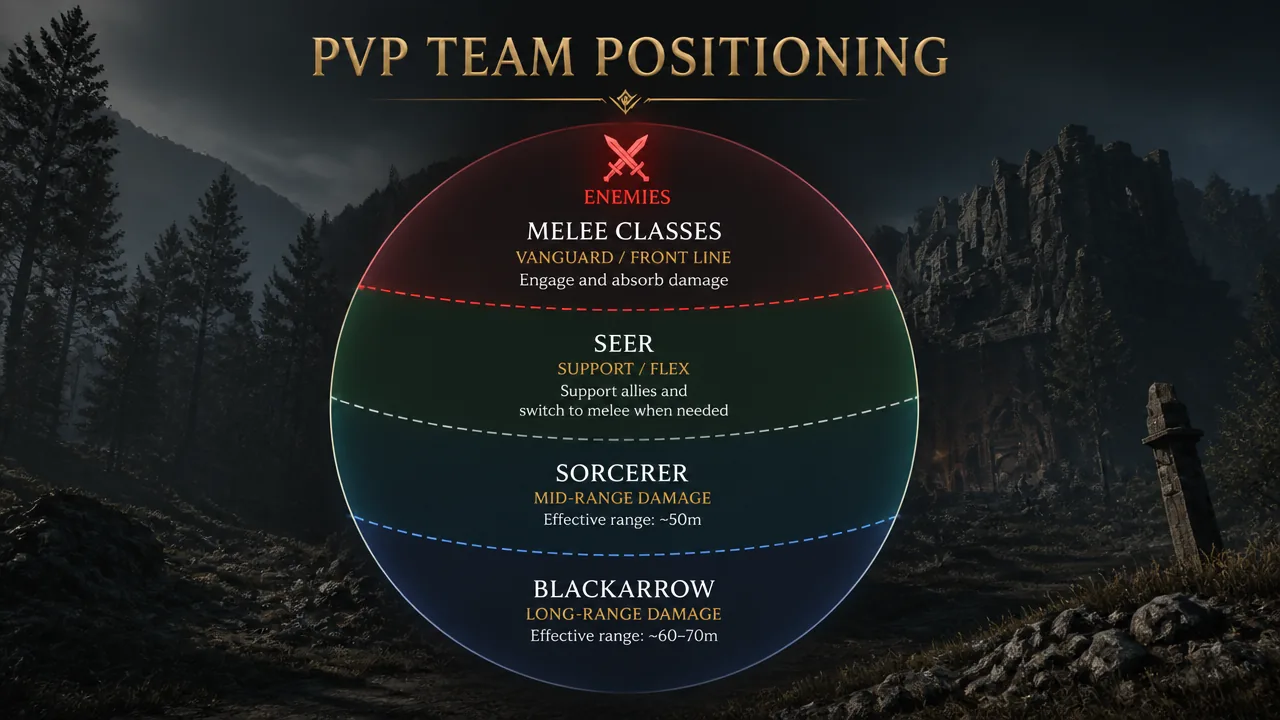
Team fights reward clean formation. Roles line up from front to back based on each class’s effective range and durability.
| Line | Class and role |
|---|---|
| Vanguard | Withered Knights, Shadowstrix, or Mercenaries lead the front. |
| Mid range | Seers support and rotate to melee when needed. |
| Front rearguard | Sorcerers stand near the Seer, since most spells reach about 50 meters. |
| True rearguard | Blackarrows hold the high ground and control the fight from distance. |
Know the limits of your class as well as its strengths. Ranged classes can slot the Ranged affix to extend their effective range by 20 percent, an option melee classes do not have. Melee builds lean on affixes like Bulwark or Frenzy instead, which make them hit harder and take more punishment.
Practice the fundamentals in the PvP Tutorials
If your timing still feels off, drill it before risking real loot. Open the Task Menu with H on PC, click the Training Record, and enter the PvP Tutorials. They cover energy management, combos, skills, crowd control, and positioning in a controlled space.
Winning fights is really about controlling the terms of engagement. Keep your healing charges and cooldowns topped up, hold the terrain that suits your class, execute downed enemies quickly in trios, and treat disengaging as a win when the odds turn. Play those decisions well and you will extract with far more loot than you lose.





