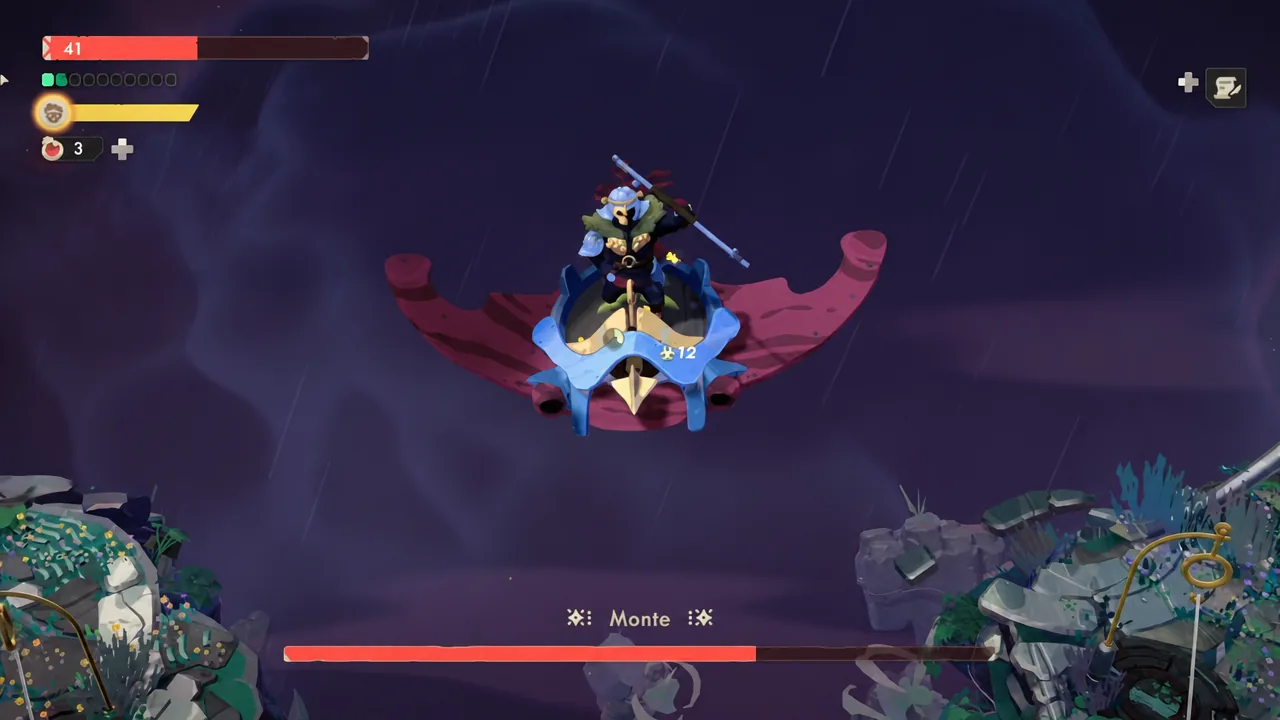
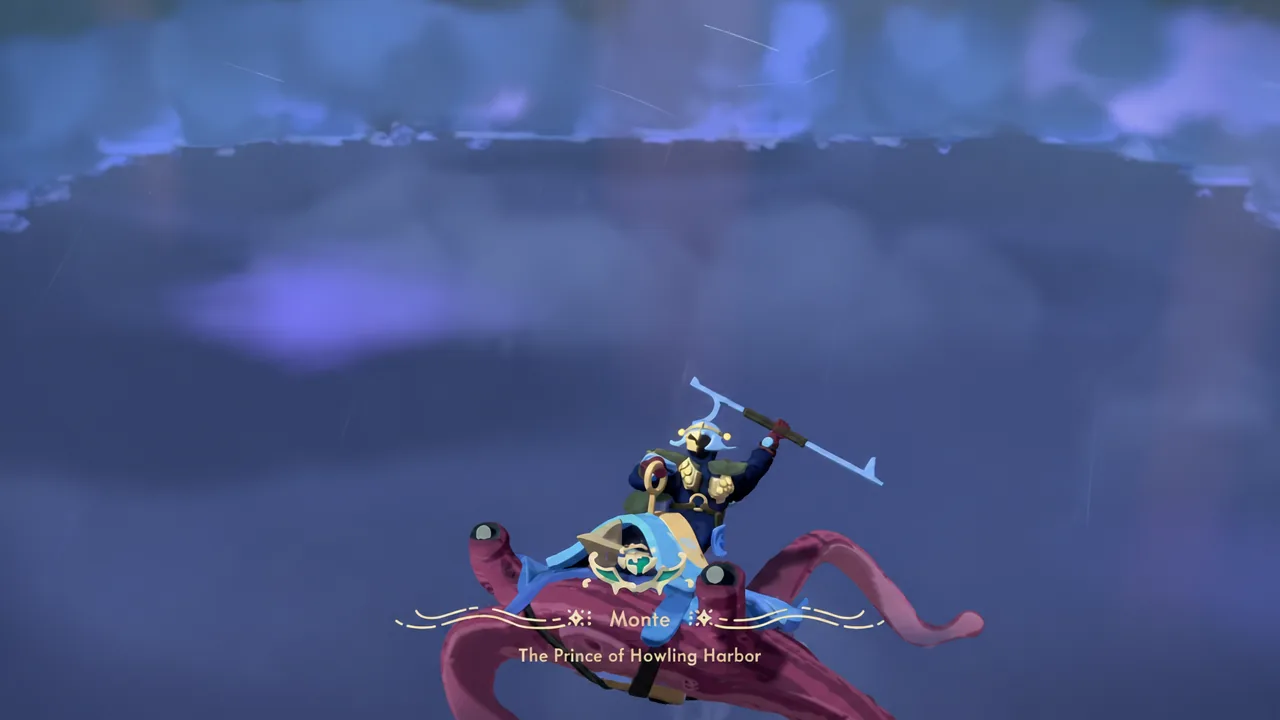
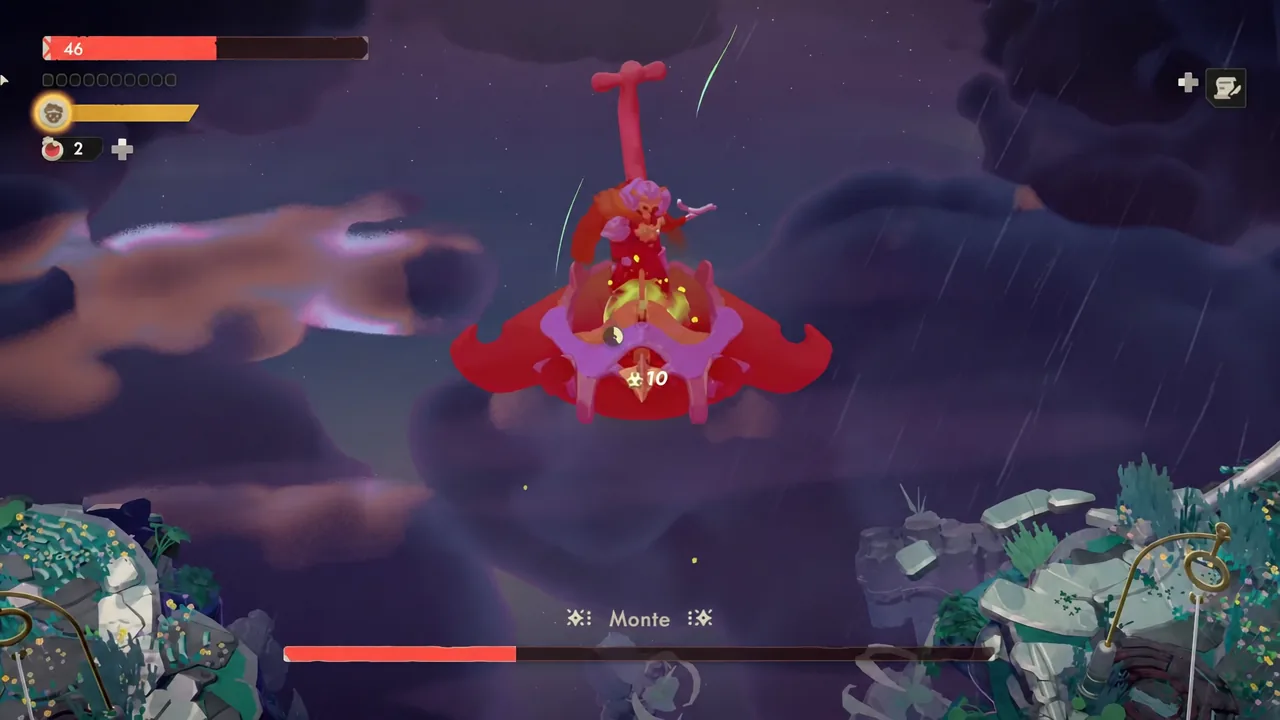
Prince Monte fights from the back of a flying stingray, which means he can cross the arena in a second and reset the spacing whenever he wants. Almost every death in this fight comes from chasing him instead of waiting for the pattern to end. Learn the two moments he stands still, and the whole encounter gets much shorter.
Quick answer: Hold the center of the arena, roll toward Monte right before his pink explosion markers detonate to get free melee hits, use your gun during his aerial charges, and break his shield by hitting him three times with the ruptured projectile during each chase segment.
Where to find Monte in Moonlighter 2
Monte waits at the end of a run through Harrowing Heights, the second location in Aeolia. That area opens up through Julien, the character trapped in the portal. Speak to him during both day and night to pick up his first quest, clear the first Aeolia boss, then talk to him again across day and night to receive the second quest, which unlocks Harrowing Heights.
Bring ammo and expect to spend a lot of the fight at range. Monte spends long stretches airborne on the stingray, and your gun is the only thing that reaches him during those moves. Melee is still how you refill ammo, so the enemies he summons later are a resource, not just a nuisance.
The two safe damage windows against Monte
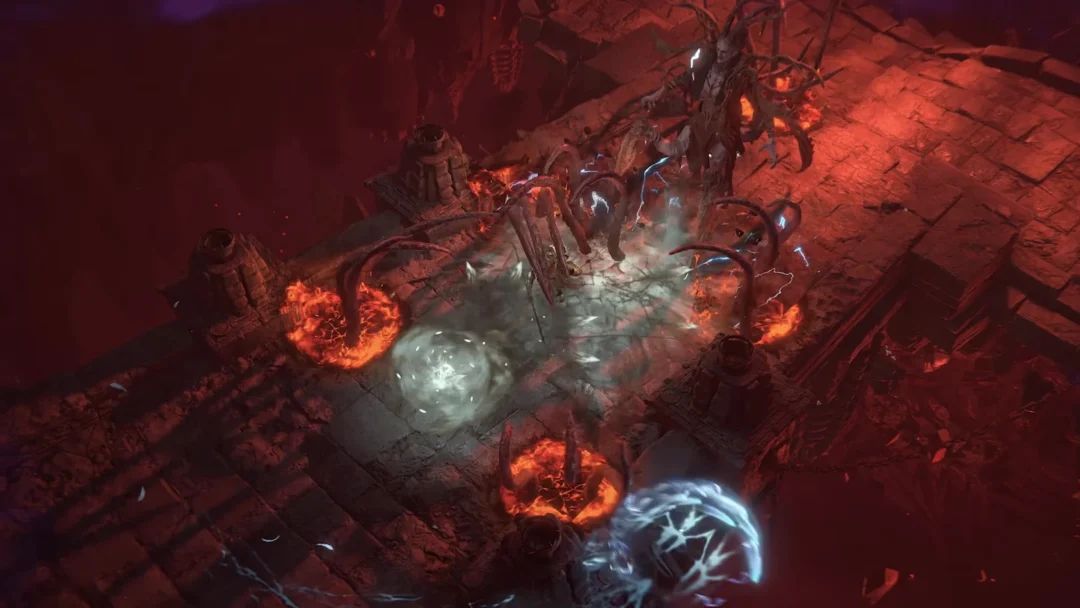
The first window is the explosion sequence. Pink marks appear on the ground around Monte, and the instinct is to sprint away from them. Do the opposite. Roll toward him just before the first wave goes off, and you land inside the pattern while he stands frozen until every wave finishes. He can chain this up to three times in a row, so a single clean read is worth a large chunk of his health bar.
The second window is positional. Monte returns to the middle of the arena after nearly every big move, so parking yourself near the center means you are already in range when he lands. Stand on the edges and you will spend those free seconds walking instead of swinging.
Monte’s attack patterns and the correct response
Four moves make up his opening kit. Every one of them has a visible tell, and the right answer changes depending on whether he is grounded or in the air.
| Attack | Tell | Response |
|---|---|---|
| Falling weapon lines | Long straight lines mark where weapons drop from the sky, repeated four times | Roll sideways out of the line, then roll in toward Monte for one or two hits before the next pass |
| Aerial charge | He climbs, then dives at a circle marked on the floor | Skip melee entirely and shoot him with your gun if you have ammo |
| Lightning melee | His weapon visibly charges with lightning | Back off until you know the timing; once you do, squeeze in a couple of hits between blows |
| Explosion waves | Pink markings ripple outward on the ground, up to three times in a row | Roll in toward him just before the first wave triggers and attack until the last wave clears |
Breaking Monte’s shield: The chase and platform sequence
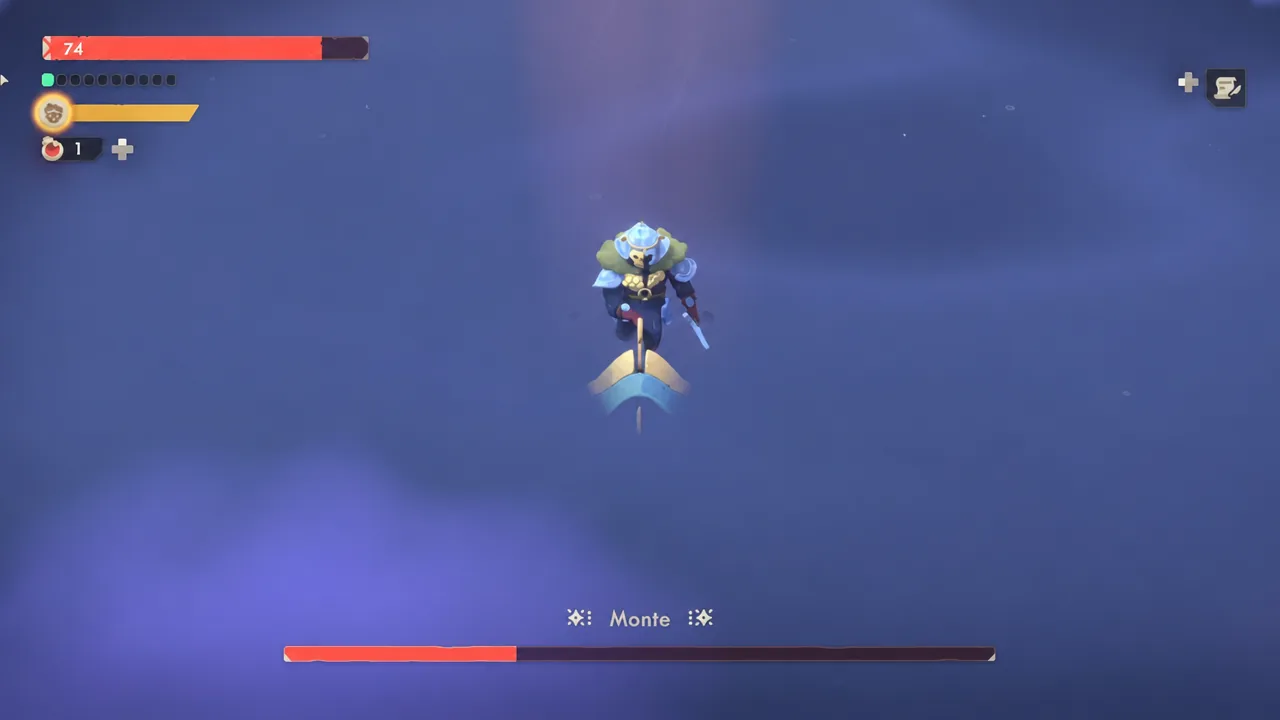
Once you take roughly 30 percent off his health bar, Monte retreats to higher ground and the fight switches from combat to traversal. This part is pure movement, and none of your damage matters until you reach him.
Note: the second time you run this sequence, flying enemies join the platform section. Shoot them or let them detonate at a safe distance, then go back to throwing the projectile.
What changes in Monte’s second and third phases
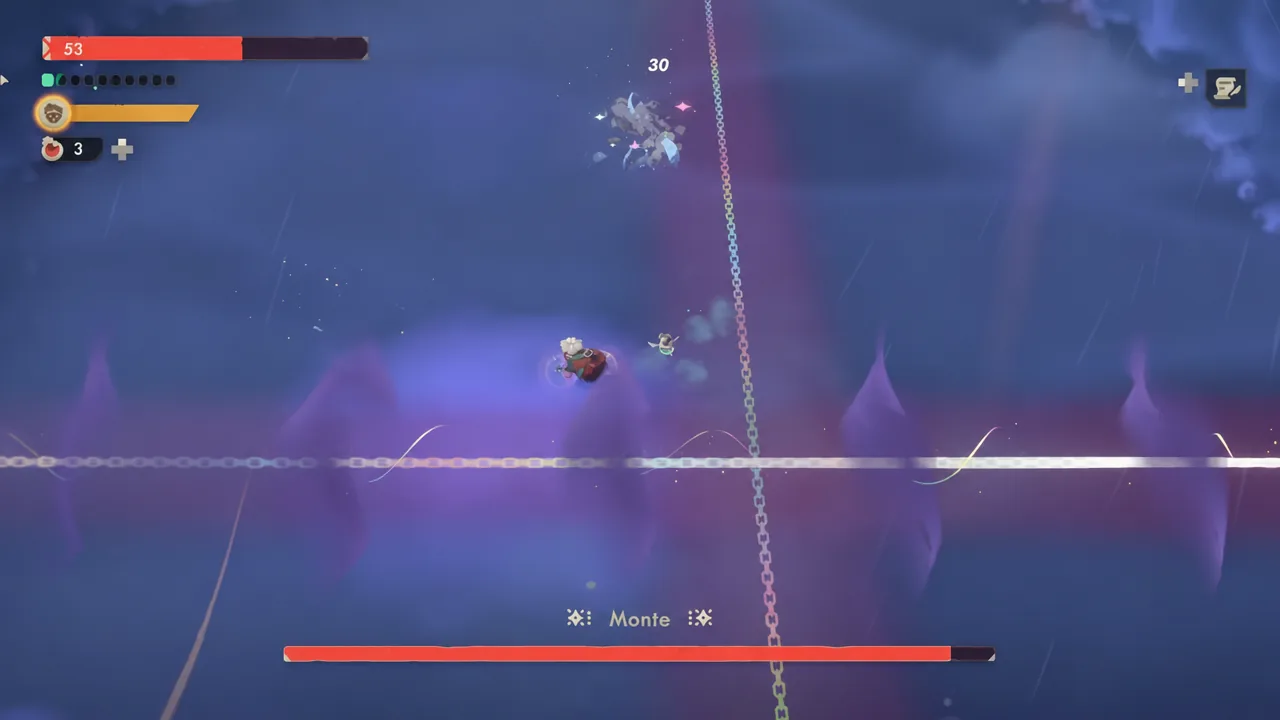
Phase two adds chains that stretch across the whole arena, with Monte riding along them one at a time. You can catch him mid-chain with good timing and reach, but the better use of that stretch is killing the enemies that spawn so your gun is loaded again.
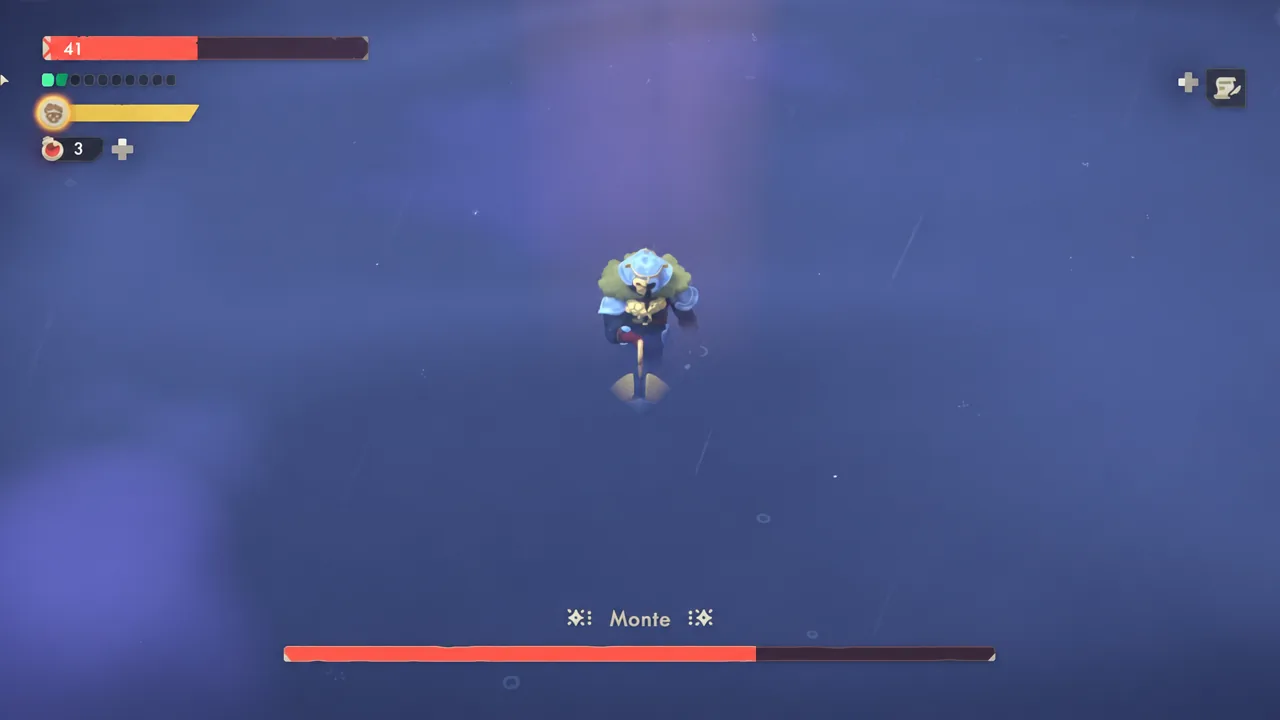
He also starts stacking his old moves. Close-range swings now come with lines of falling weapons, and his flying charges arrive alongside explosions rolling out from the center. You do not have to answer these combinations at all. If you want damage, the melee-plus-falling-weapons version is the safest one, so wait for the line of weapons to move away, dodge the swing, then hit him.
Phase three is the same fight with more clutter. Aerial charges now drop objects from above with circles on the floor, chain attacks leave damaging trails behind, the falling weapon lines repeat more times in a row, and his melee explosions sweep from the top of the screen to the bottom instead of side to side. Your plan does not change. Keep using the gun by default and wait for the explosion-wave pattern, which stays untouched and still hands you free hits.
Rewards for defeating Monte
Two loot chests appear in the arena once Monte goes down, along with The King’s Right Mask. That material completes Souls Forever Lost 2, and it is the key ingredient for crafting the Ray Axe. If you leave the arena without opening both chests, you lose that loot for the run, so sweep the room before you go.
The fight rewards patience more than aggression. Sit near the center, let Monte commit to a pattern, and take the openings he hands you rather than the ones you try to force.