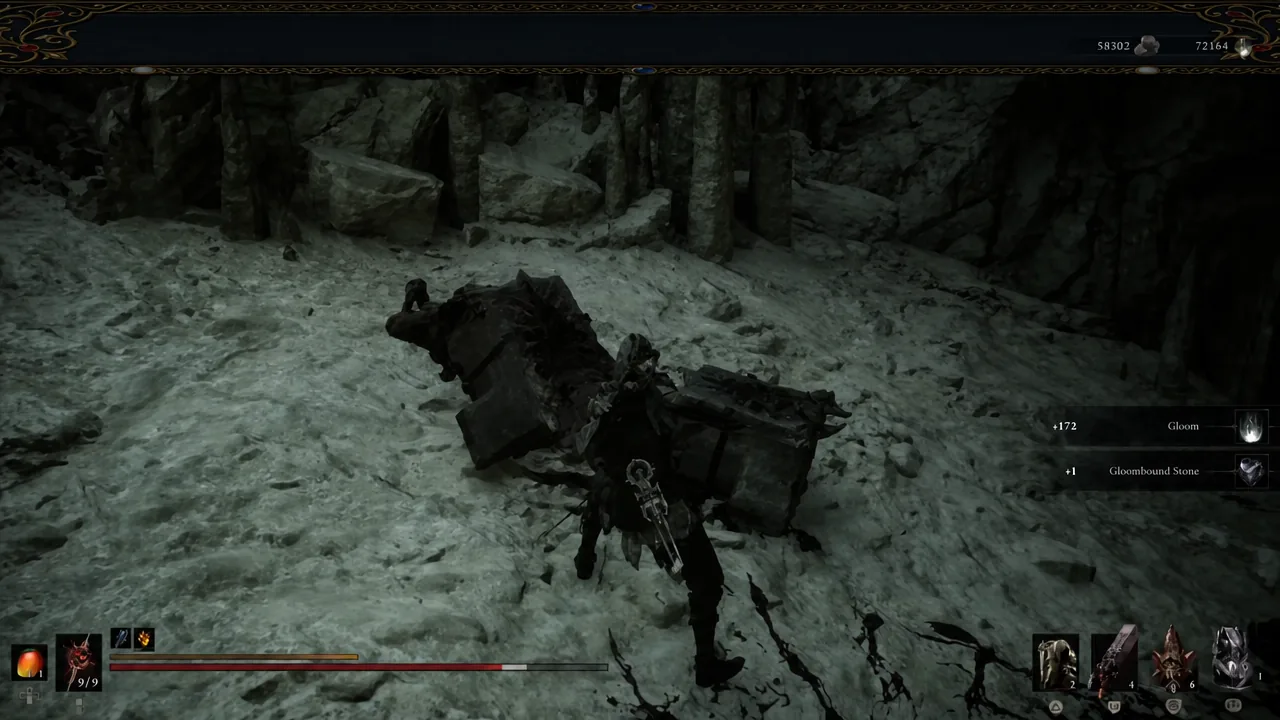
Fragile Tarstones are the fastest currency engine in Mortal Shell 2, and they all come from the same source: Lithopods, the burrowing stone crabs that lunge at you from the ground. Kill enough of them and you get Justiciar’s Stone for Coin, Gloombound Stone for Gloom, Egon’s Stone for a dungeon safety net, and Glimpse Stone for Shell Bonds. The trick is finding a pack that sits close enough to a checkpoint that the reset costs you almost nothing.
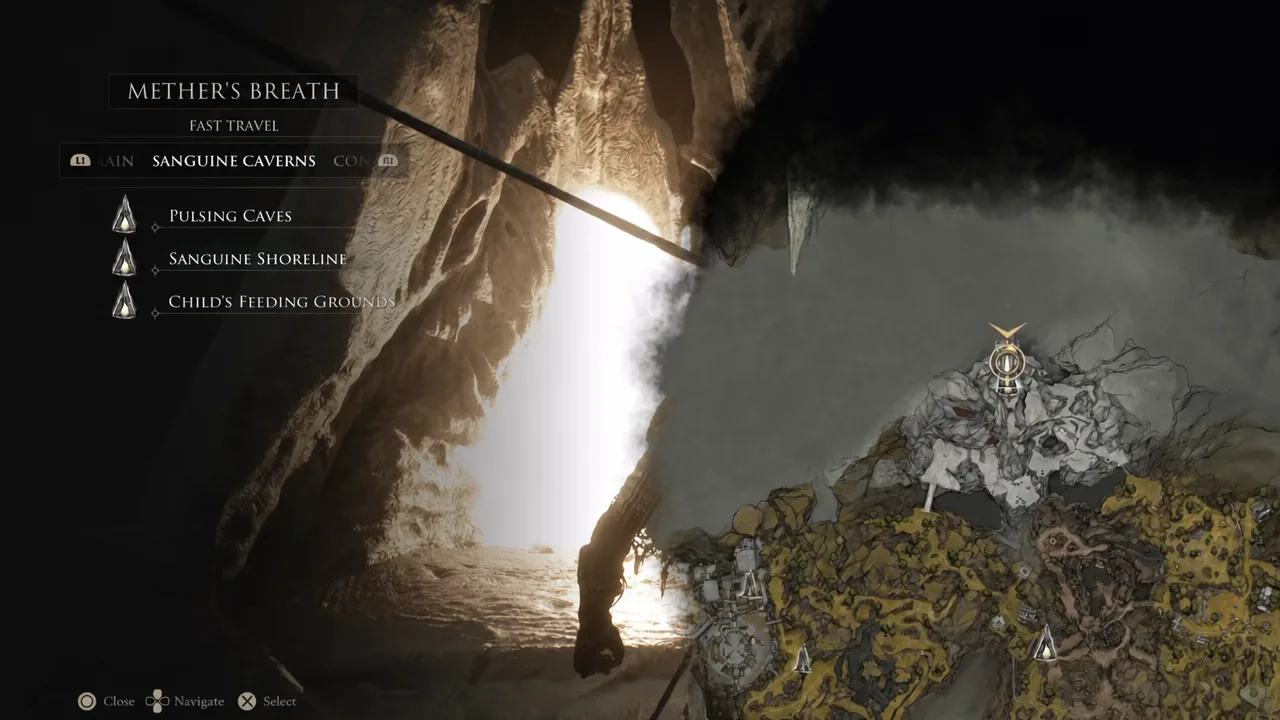
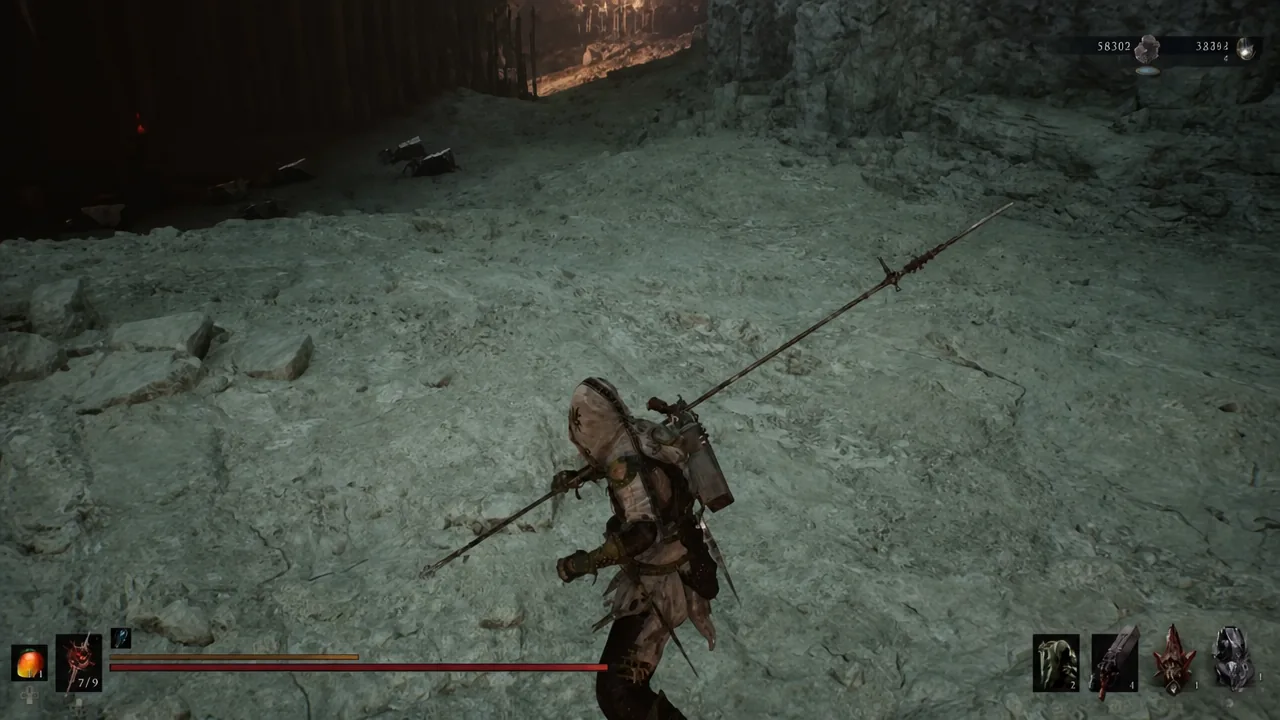
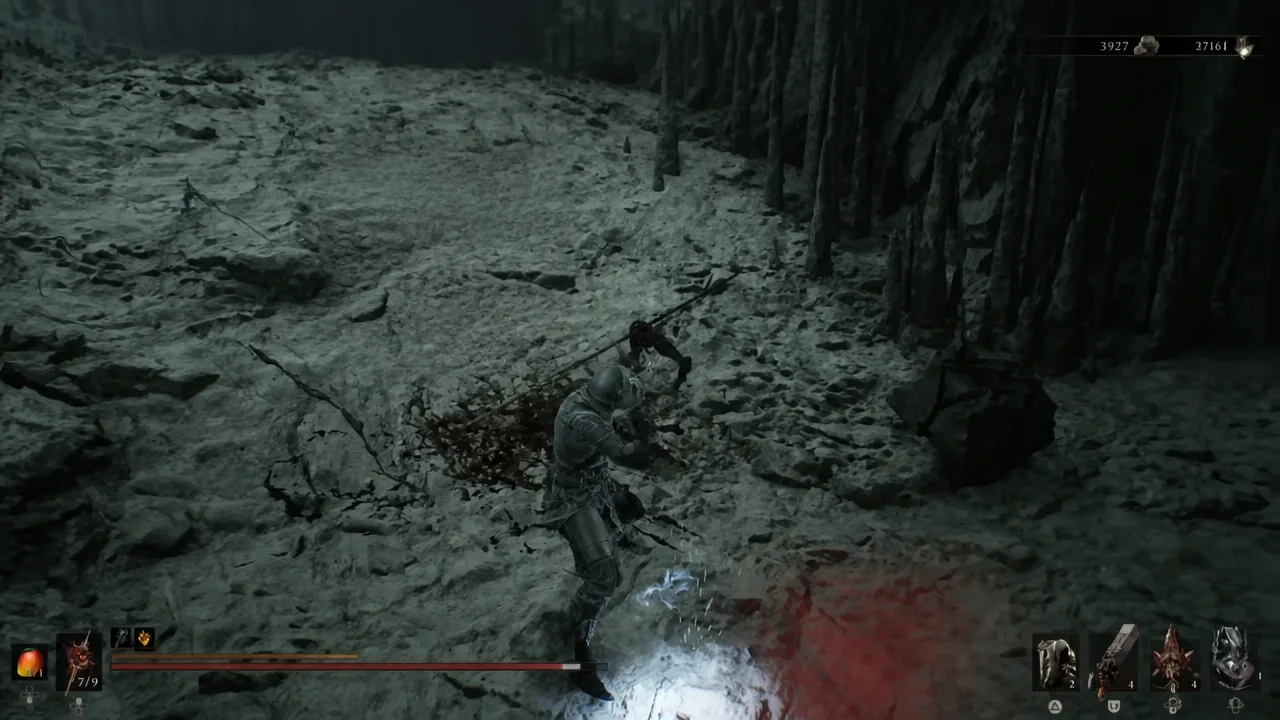
Quick answer: Fast travel to the Pulsing Caves checkpoint in Sanguine Caverns, kill the Mini Lithopods standing just outside the portal, walk back to the portal and rest to respawn them, then repeat. Each cycle takes well under a minute and drops Gloom alongside Fragile Tarstones.
Pulsing Caves Lithopod loop in Sanguine Caverns
The Pulsing Caves checkpoint sits in the Sanguine Caverns area of Mother’s Breath, and a group of Mini Lithopods spawns in the open ground right outside the portal. Because the enemies and the rest point are effectively on top of each other, there is no travel time and no risk of losing your drops on the way back.
What each Fragile Tarstone does when it breaks
Fragile Tarstones behave differently from the rest of the Tarstone pool. They occupy the Support slot, so four can be equipped at once, they wear down as their effect triggers, and they pay out a lump sum the moment they shatter. They cannot be upgraded at the Tarforge and they have no tiers.
| Stone | Passive effect | On break | Durability |
|---|---|---|---|
| Justiciar’s Stone | +30% Coin from slain foes | 1,500 Coins and Tarcore | 5,000, spent as bonus Coin is gained |
| Gloombound Stone | +30% Gloom from slain foes | 3,000 Gloom and Tarcore | 10,000, spent as bonus Gloom is gained |
| Egon’s Stone | On death inside a Dungeon, offers a revive at its entrance | Prevents the Gloom loss for that death | 3, spent on each activation |
| Glimpse Stone | None | 3 Glimpses | 20, spent per enemy defeated |
Note: duplicates of the same Fragile Tarstone do not stack, so only one Glimpse Stone can be active at a time. That single-slot limit is the hard ceiling on how fast Glimpses can be converted, no matter how many stones sit in your inventory.
Glimpse Stone drops and the Obsidian Lithopod route
Justiciar’s, Gloombound and Egon’s Stones come off ordinary Lithopods all over the world, including the Fainweald and Ruins of Mammon populations. Glimpse Stone is the outlier. The Obsidian Lithopods in The Unfound Path, identifiable by their glossy black shell, are the confirmed drop source for it, and standard stone crabs elsewhere are not documented as dropping it.
If a Pulsing Caves cycle is not producing Glimpse Stones for you, treat it as a Coin, Gloom and Egon’s Stone loop and run the endgame area for Glimpses instead. The Unfound Path opens beneath Marrow Keep once you have collected and Gloom siphoned 167 Ova in the Ova Nursery.
How many Glimpse Stones it takes to max every Shell
Glimpses raise a Shell’s Bonding Tier through Zhirelle at the Shellkeeper’s Vault. A normal playthrough hands out roughly enough to finish three Shells, which leaves five untouched. The arithmetic from there is fixed.
| Requirement | Amount |
|---|---|
| Glimpses to fully upgrade one Shell | 27 |
| Glimpses for the remaining five Shells | 135 |
| Glimpses granted per broken stone | 3 |
| Glimpse Stones needed | 45 |
| Enemies to defeat to break them all | 900 |
Farming the stones is the short half of the job. Breaking them is the long half, since each one needs 20 kills while equipped and you can only wear one at a time.
Fastest way to break Glimpse Stones at Blackridge Pass
Two hanging bats sit on the tree across the bridge from the Blackridge Pass Beacon. Rest, spin around, and drop both with two shots from the Ballistazooka, then rest again to bring them back. The Ballistazooka is easier to aim at that range, though any Sidearm that one-shots them works, and it needs no upgrade investment.
That rhythm lands about two kills every five seconds, which works out to one Glimpse Stone broken roughly every 50 seconds. Clearing all 45 stones takes under an hour of repetition. Equip a Charged Stone alongside the Ballistazooka if you want the pace to hold up.
Buying Fragile Tarstones from Merrick
Merrick in Marrow Keep is a second supply line. His shop is locked on your first visit and expands once you have returned enough Ova, after which he can stock Glimpse Stone, Egon’s Stone, Tarcores and Mether’s Severance. Justiciar’s Stone and Gloombound Stone start at five units each in his inventory.
His stock refreshes as you clear major progression milestones, not on a timer and not by resting repeatedly at one Beacon. Check back after handing in Ova or finishing a dungeon rather than reloading the shop menu.
Why a farming run pays out nothing
You know the Glimpse Stone worked when its durability counter falls to zero, the stone shatters, and three Glimpses land in your total. Gloombound and Justiciar’s Stones announce themselves the same way, with a Gloom or Coin lump sum plus a Tarcore at the moment of breaking. If nothing changes, one of a few things is happening.
- The stone was never equipped in a Support slot, so kills did not wear it down.
- You are killing standard Lithopods and expecting Glimpse Stone drops, which come from the Obsidian variant in The Unfound Path.
- You rested before picking up the Gloom on the ground, which clears the field along with your uncollected drops.
- Gloombound and Justiciar’s durability only ticks down on the bonus portion of Gloom or Coin, so kills that pay nothing do not advance them.
If a Bond turns out to be the wrong investment after all this, Mether’s Severance handed to Zhirelle severs it, resets that Shell and refunds every Glimpse you sank into it. That refund covers the Bond only, so check your Shell Points separately afterward rather than assuming the whole build rolled back.