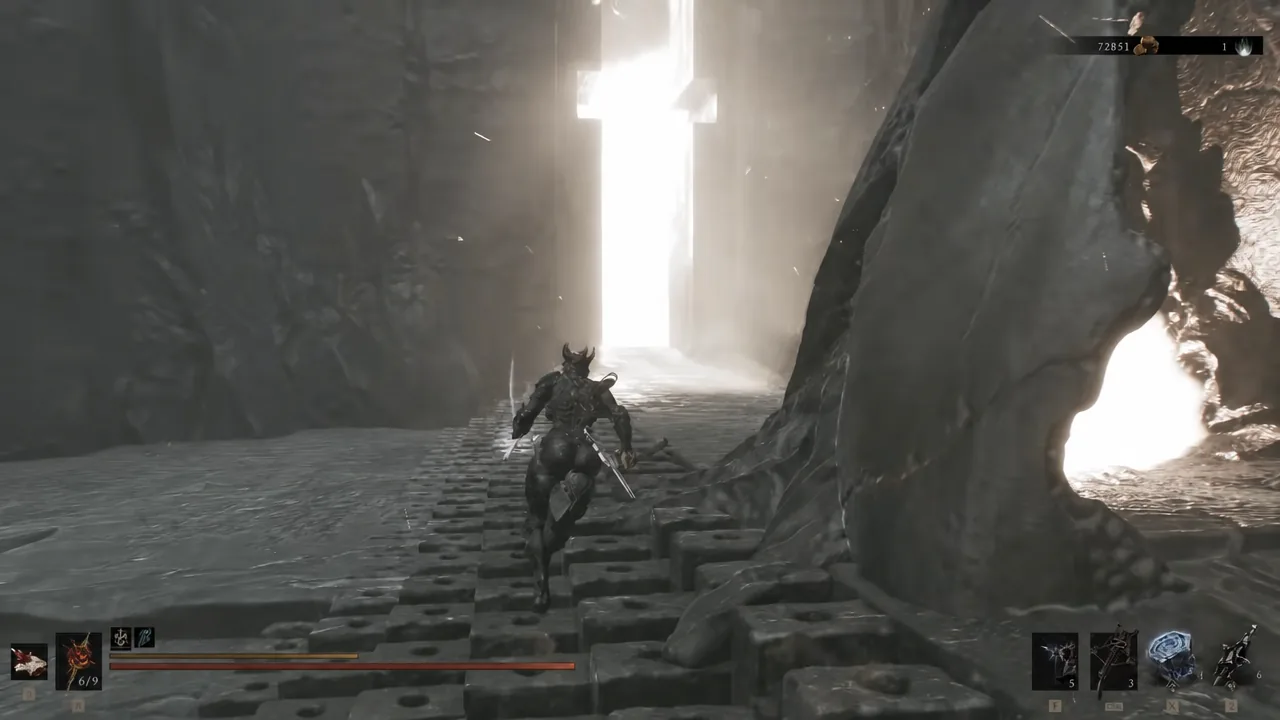
The Faded Citadel holds three beacons, and the Citadel Atrium is the one most players walk straight past. It is tucked at the bottom of a drop past the chain-held stone platform, well after the elevator that only opens once Solnir, the Gloom Seeker, is dead. Cleansing it means stepping inside and clearing Servant’s Hall, the dungeon that guards one of the Ova you need before Isaac, the Scholar-Prince.
Quick answer: The Citadel Atrium Beacon sits past the chain-held platform beyond Solnir’s elevator. Revitalize it, pick Cleanse Beacon, wipe out Servants of the Scholar-Prince in Servant’s Hall, then Cleanse Corruption and collect the Ovum.
What you need before reaching the Citadel Atrium Beacon
Everything here sits behind the Gate of Infinity, in the Vestige of Infinity section of Mammon. The Faded Citadel’s only sub-location, the Ashen Sanctum, runs from the first hallway all the way to Isaac’s arena, and the Citadel Atrium Beacon is the last beacon you reach before that fight.
- The Gate of Infinity Beacon cleansed, so you can fast travel to the start of the run.
- The Citadel Annex Beacon activated — it is the first beacon in the area, on a balcony past the egg-filled cave.
- Solnir, the Gloom Seeker defeated. The mini-boss arena sits above the Annex, and killing him opens the door to the elevator.
- A grasp of the blue flame rule: while a flame burns, the enemies near it shrug off damage. Put the flame out first, then fight.
Citadel Atrium Beacon location in the Faded Citadel
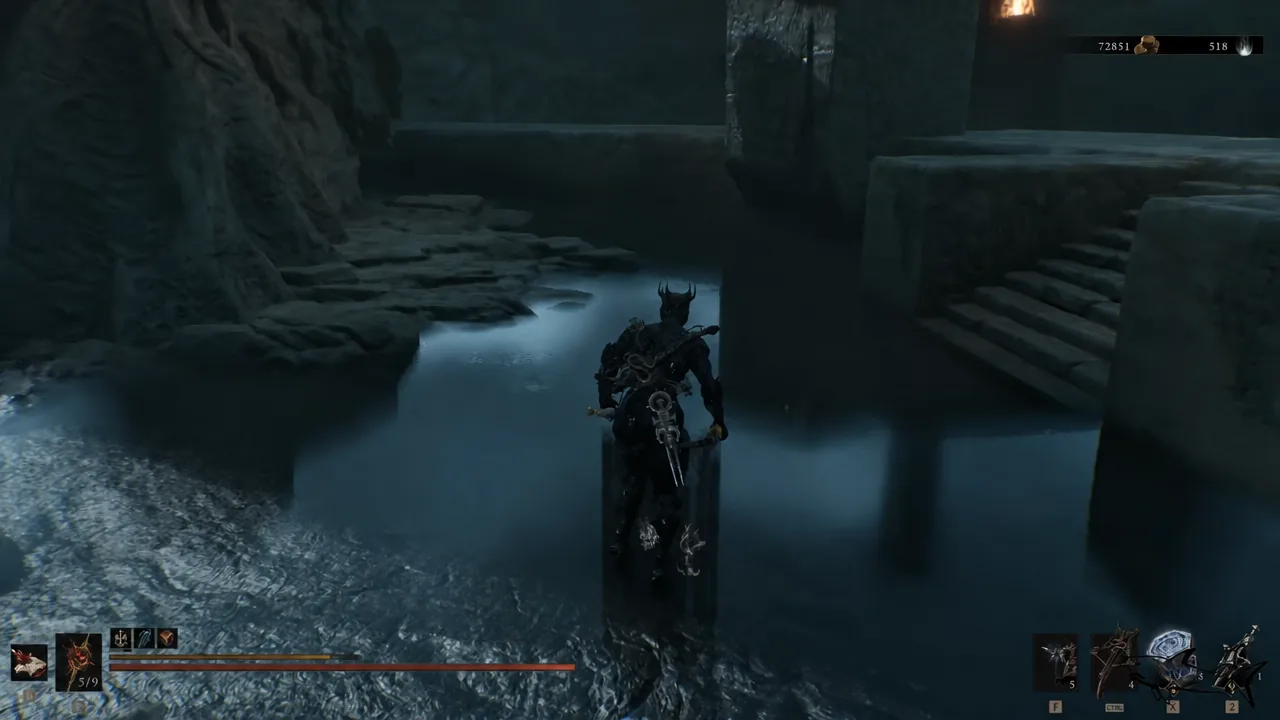
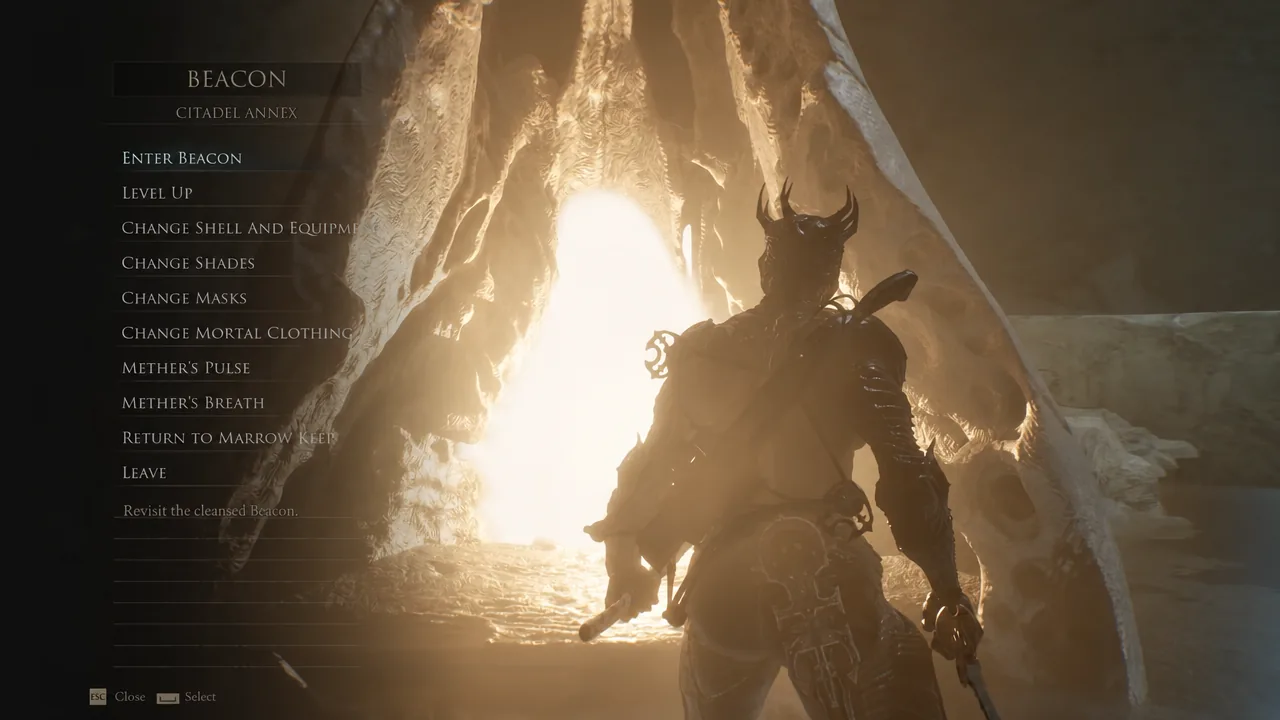
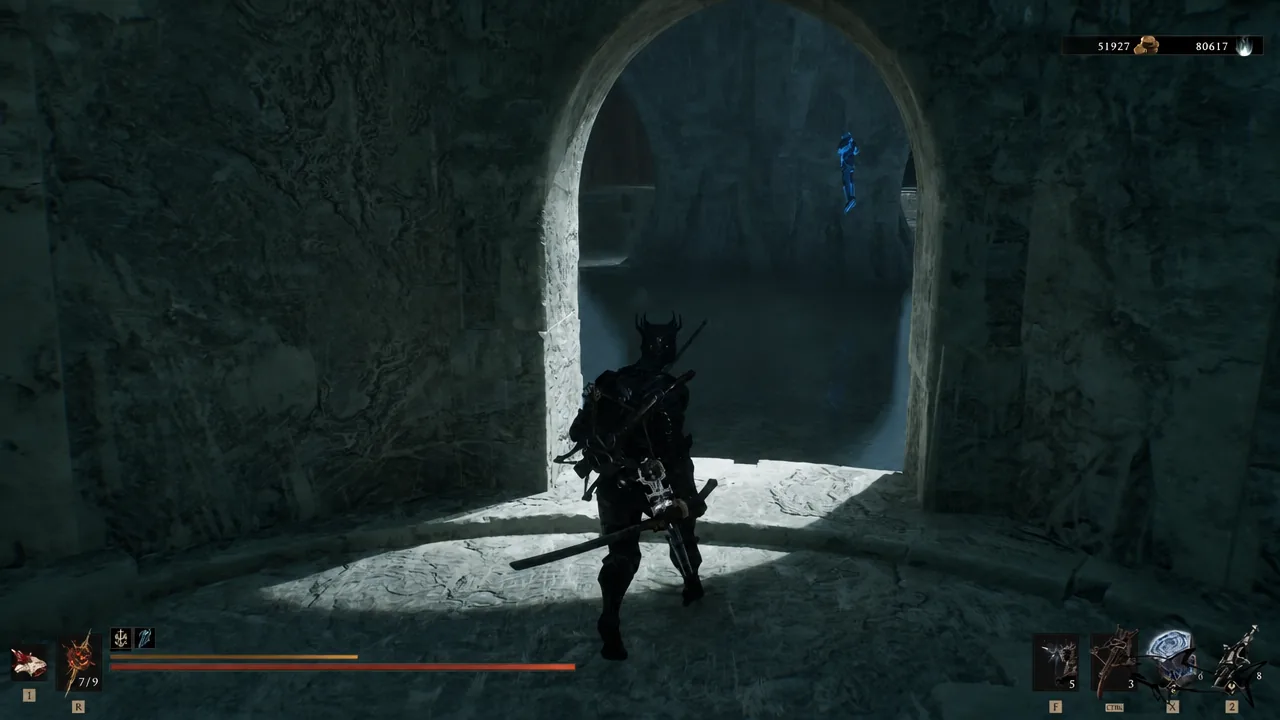
Before you commit to the dungeon, drop down from the blocks near the Annex side and look for the candle structure in the middle of the enemy-filled hollow. Interacting with it hands over the Faded Gland, and five locked chests ring the area.
Servant’s Hall: How to beat Servants of the Scholar-Prince
Pick Cleanse Beacon at the Citadel Atrium and you spawn in a pale corridor. There is a throne near the entrance that coughs up Dorsalite, then an archway that opens onto a flooded chamber. Stepping toward it triggers the Servant’s Hall location prompt and the boss health bar for Servants of the Scholar-Prince.
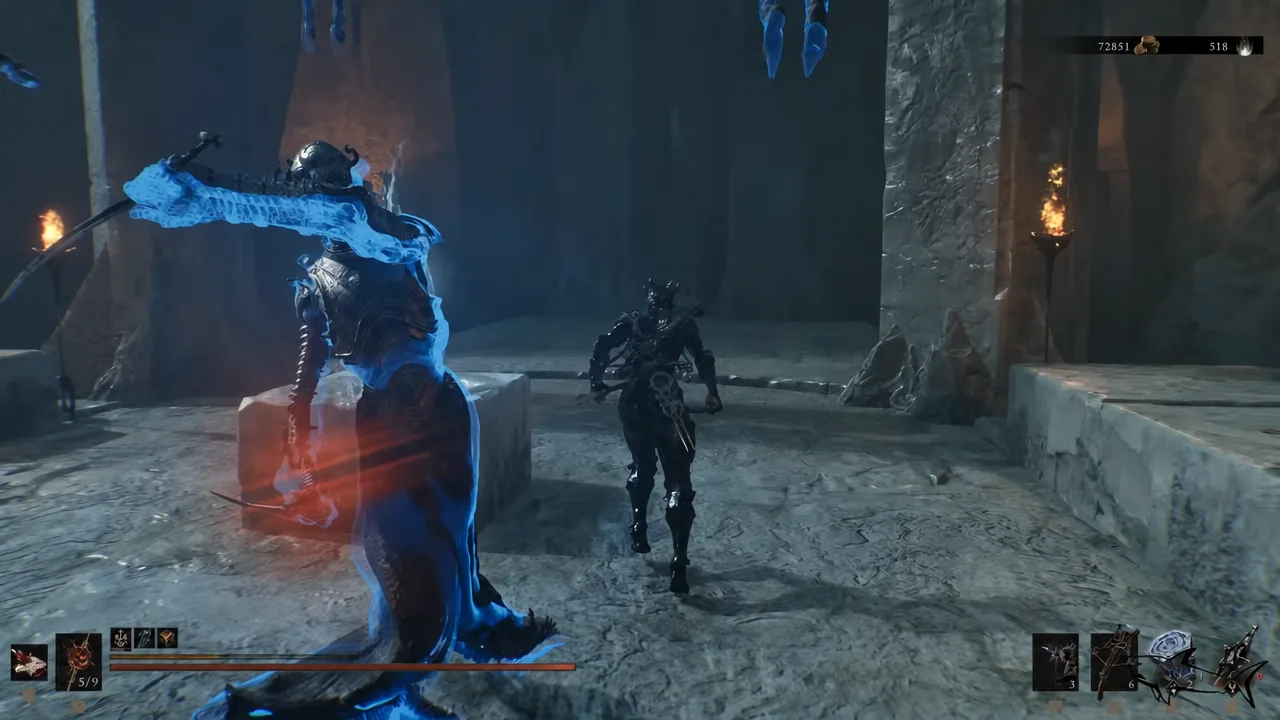
This is a group encounter rather than one boss. A shared health bar drains as you kill slender spectral servants and heavier armored knights that roll across the stepped stone platforms. Two blue flames are burning in the hall, and both need to go out.
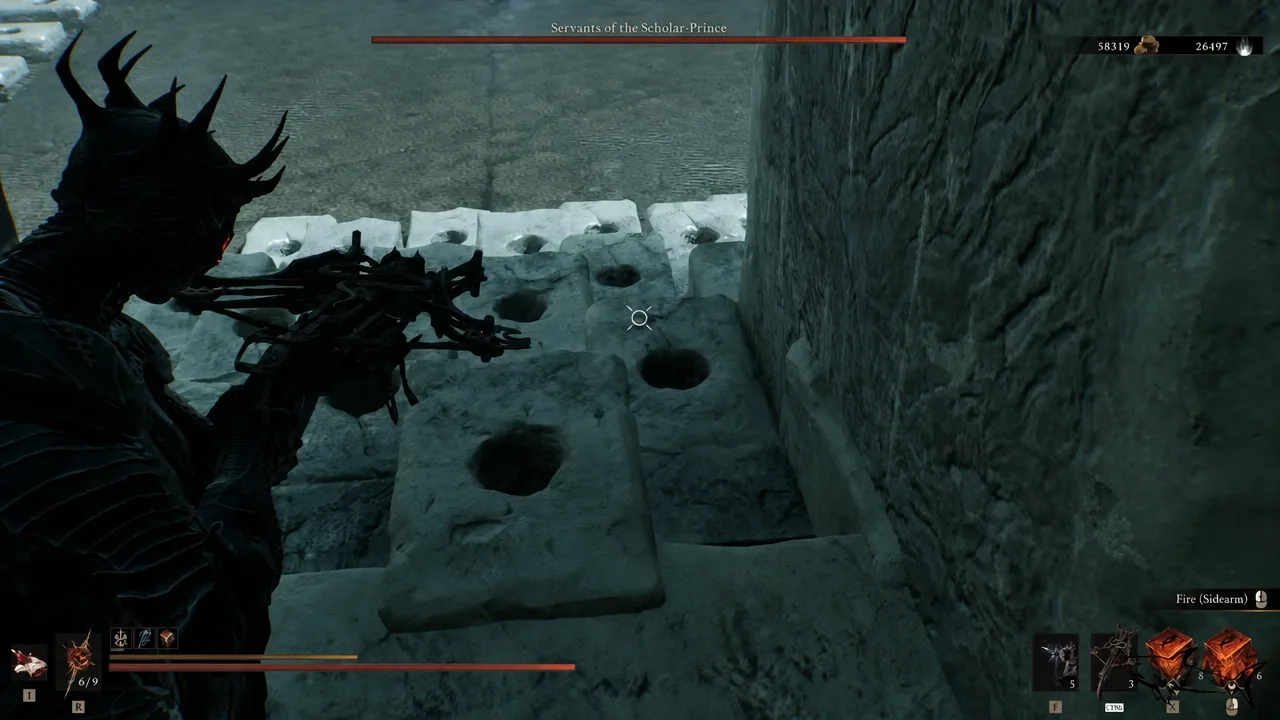
- Thin the crowd from the entrance ledge with your Sidearm before dropping into the water.
- Extinguish the first blue flame immediately — the servants stay protected while it burns.
- Clear that first wave, then put out the second flame, which sits around the central pillar in the arena.
- Pull enemies apart instead of fighting the pack; the armored knights hit far harder than the spectral servants.
- Before heading for the altar, open the stone chest on the raised platform for a Winterglass Gem.
Cleanse Corruption and confirm the Citadel Atrium Beacon is cleansed
Once the shared health bar empties, head to the dark crystalline structure in the middle of the arena and use the Cleanse Corruption prompt. The game then asks Collect Ovum and return to Beacon? with a YES or NO choice, and a NEW OVUM FOUND message on screen.
Choose YES. The screen fades to white and you respawn in front of the glowing shrine outside, with BEACON CLEANSED: CITADEL ATRIUM on screen alongside a reward of +1 Glimpse. That message is your confirmation — if you do not see it, the Ovum was not collected and the beacon is still uncleansed.
None of the game’s beacons are missable. If you skip this one, you can come back after the final boss during free roam, before you start New Game+.
Faded Citadel beacon order
| Beacon | Dungeon inside | Where it sits |
|---|---|---|
| Citadel Annex | Hushed Sanctum | Balcony past the egg cave |
| Citadel Atrium | Servant’s Hall | Past the chain platform |
| Scholar-Prince’s Chamber | — | After Isaac is defeated |
Those three are beacons 34, 35, and 36 of the 49 in the game, and the one that appears after Isaac carries the biggest Ova haul, as every post-boss beacon does. Clearing all 46 cleansable beacons is what the So Fresh, So Clean and Bring My Ova Back to Me achievements are tracking.
With the Citadel Atrium sorted, head back to the exit of the previous zone and look around for the regular path. It leads to a Bone Gate into a new area, where Ruk is waiting with a word about what comes next — and a summon sign for the fight with Isaac, the Scholar-Prince.