

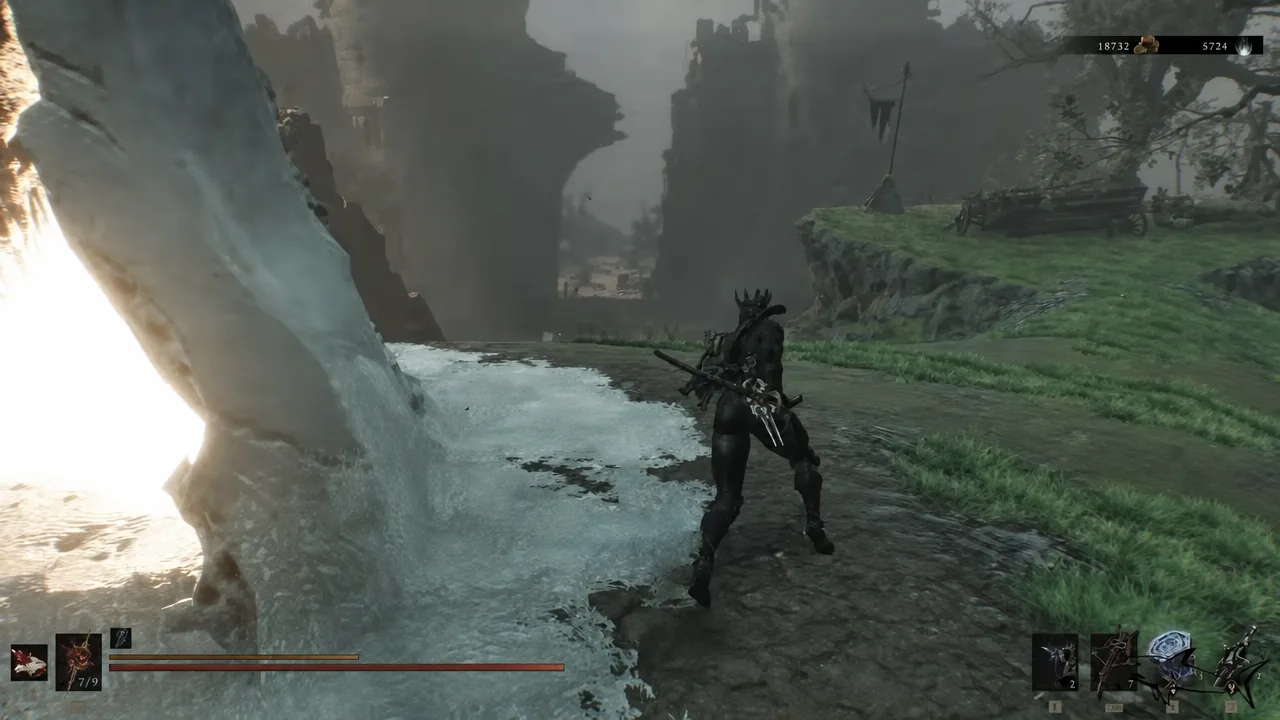
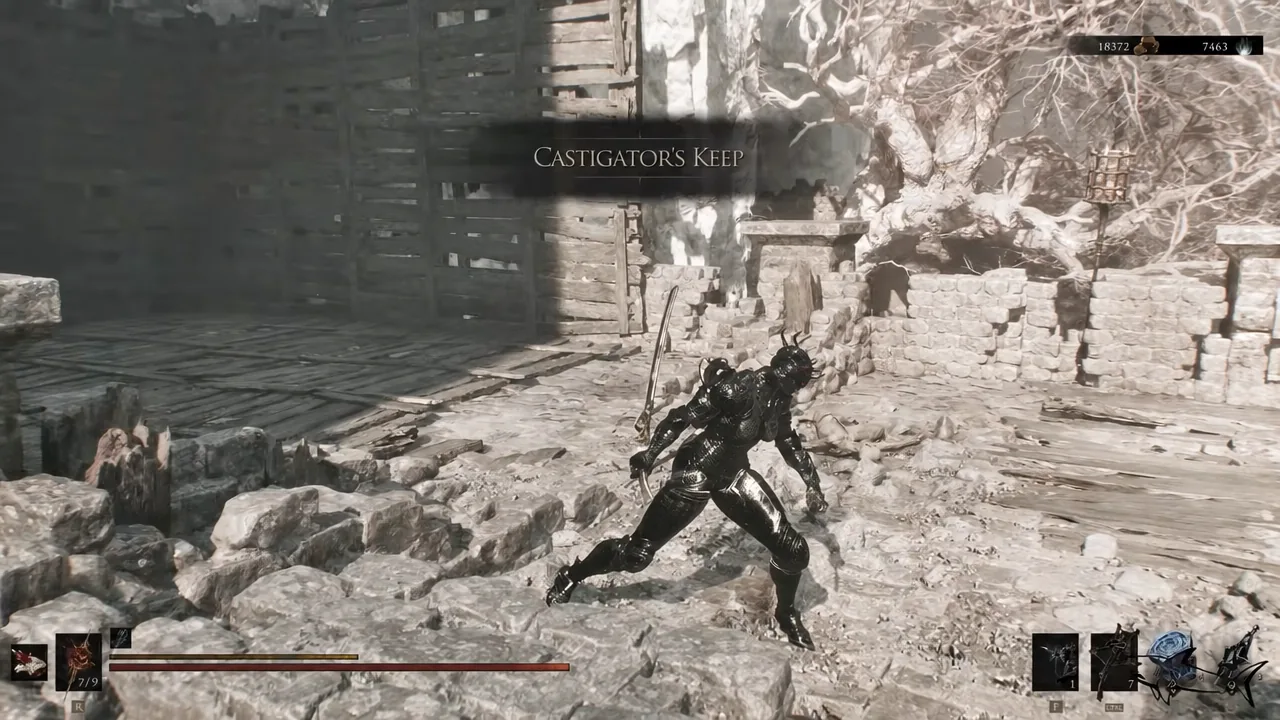
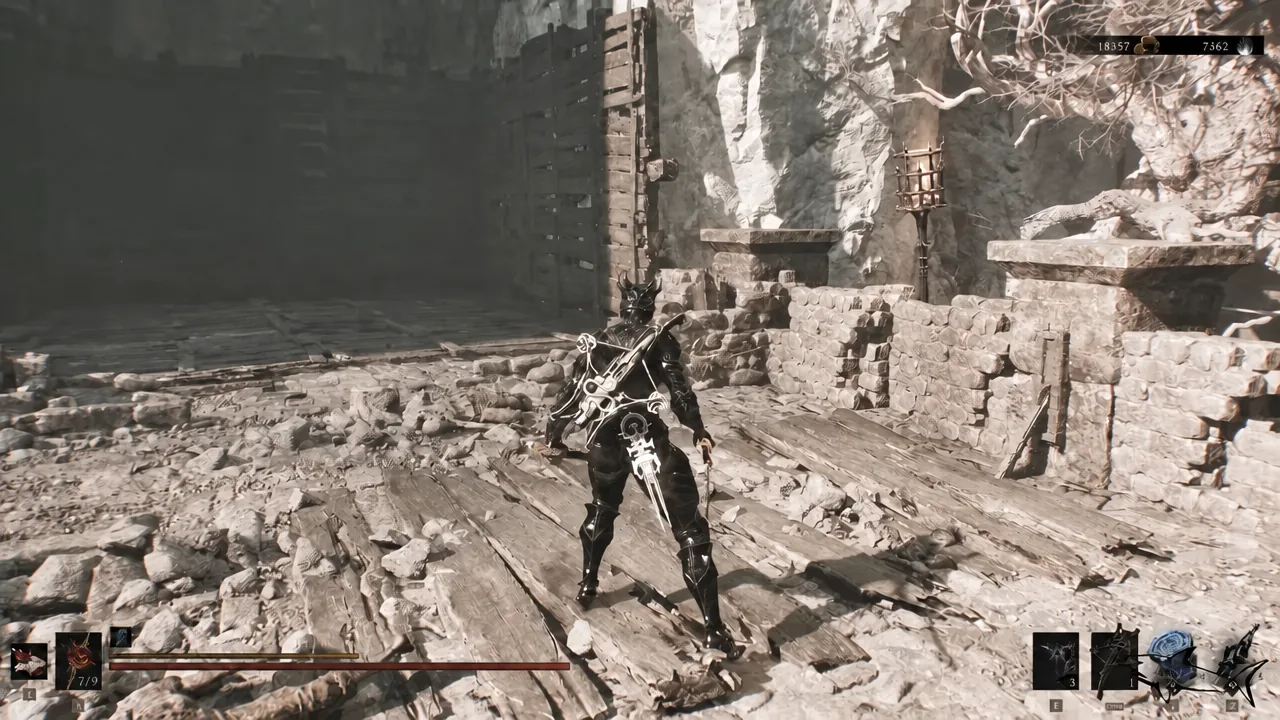
The Vestige of Infinity sits at the southern edge of the Ruins of Mammon, a stretch of pale white rock split down the middle by a small bridge that separates it from The Silent Steps. Its beacon is not sitting out in the open like most of the ones scattered across Mammon. Reaching it means using the giant elevator inside Castigator’s Keep, and the elevator will not move until you find a lever tucked out of sight behind a stone wall.
Quick answer: Fast travel to Castigator’s Keep, climb the interior stairs to the elevator platform, pull the lever hidden behind the stone wall beside it, ride the elevator to the upper cliffs, then strike the white wall straight ahead to expose the beacon.
What you need before you go
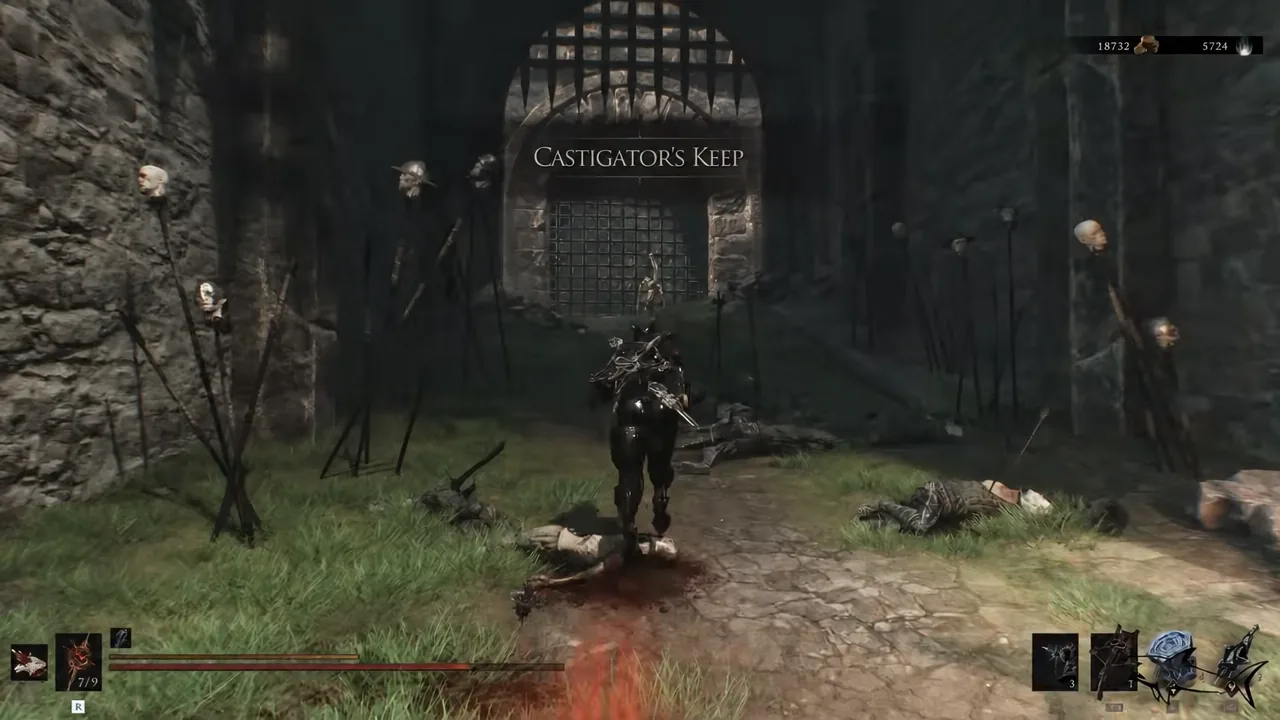
Castigator’s Keep has to be unlocked as a fast travel point first. Its own beacon sits at the top of the Keep ruins, reached by heading right from the entrance and following the stone stairs up. Once that beacon is cleansed or at least discovered, Mether’s Breath will list it and you can skip the overland trek entirely.
| Detail | Value |
|---|---|
| Region | Ruins of Mammon (southernmost section) |
| Beacon in the area | Gate of Infinity Beacon |
| Dungeon | Forbidden Archives |
| Bosses | Gloombound Wraith, Starved Harridan |
| Connects to | Castigator’s Keep (via the giant elevator), The Silent Steps |
| Notable items | Thief’s Stone from the Corrupted Statue trial, three Dorsalites past a western elevator |
Overland route from Outskirts of Mammon
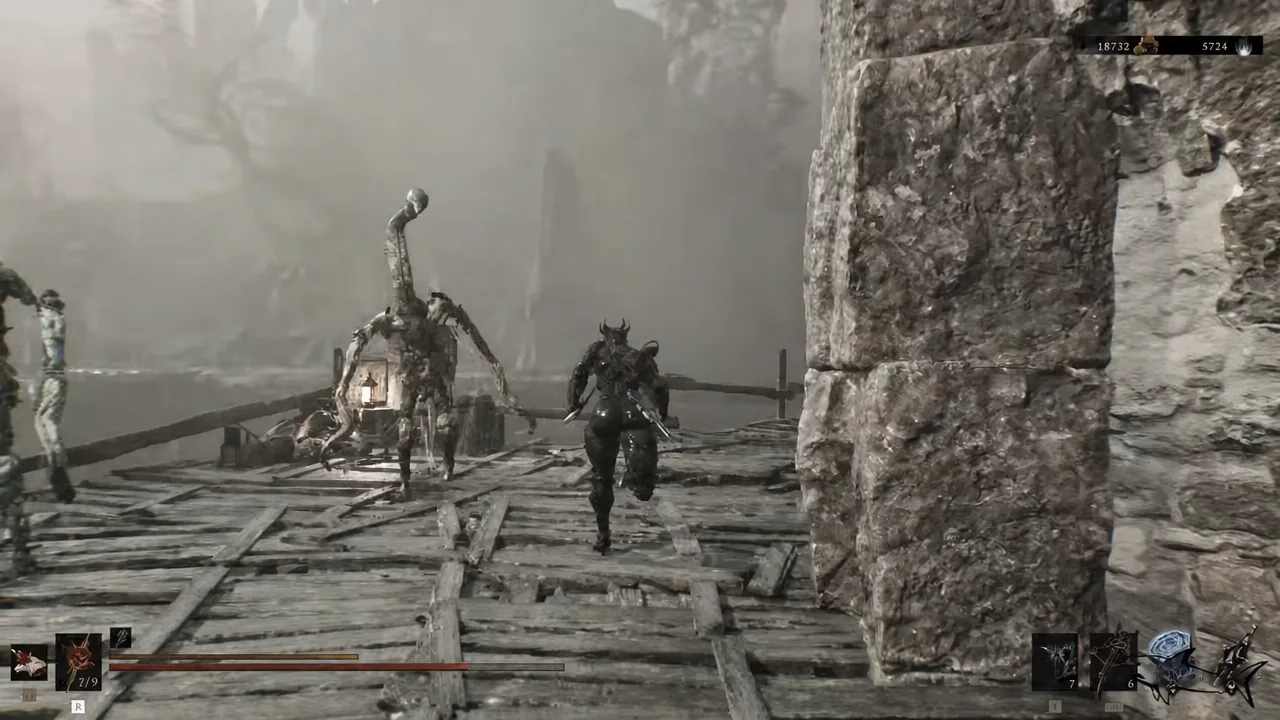
If Castigator’s Keep is not on your fast travel list yet, the cleanest approach starts at the Outskirts of Mammon beacon, which is unlocked by default in the southern part of the map. From there the path runs through the Road to Absolution and ends at the Keep’s outer walls.
Finding the elevator inside Castigator’s Keep
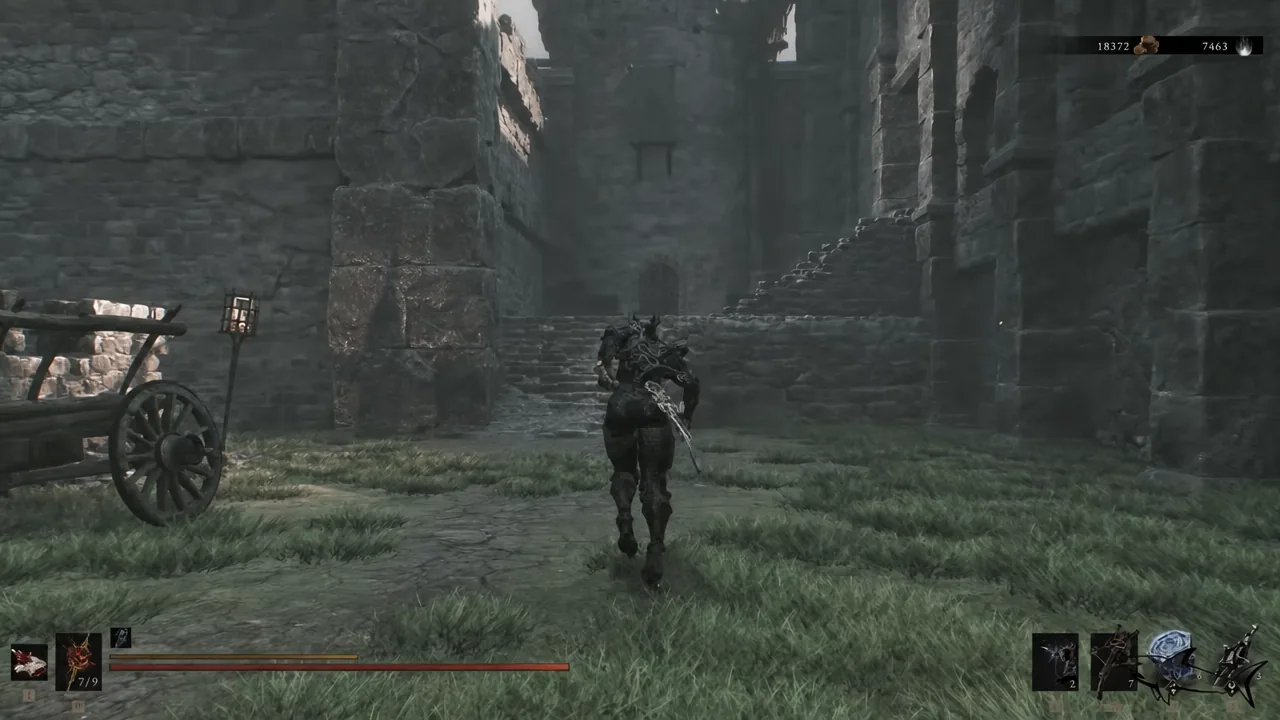
The elevator is the only way up to the white rock plateau from this side. It sits on an upper floor of the Keep, reached by the interior staircase rather than the outer walls you used to get in.
Breaking the white wall to reveal the beacon
The elevator lets you out on the upper cliffs, where the terrain turns to the pale rock that defines the Vestige of Infinity. The beacon is not visible from the platform because a false wall stands between you and it.
How to confirm it worked
Three signs tell you the beacon is registered. The VESTIGE OF INFINITY area banner appears on screen as you cross into the white rock zone. The beacon menu opens with the full option list rather than a bare rest prompt. And the location shows up in the Mether’s Breath fast travel list from any other beacon, which means you never have to ride the elevator again.
If the elevator stays still, the lever has not been pulled. It is easy to walk onto the platform, see nothing happen, and assume the mechanism is locked behind story progress. Check the stone wall next to the platform before backtracking. Likewise, if you reach the top and find only rock, you are standing in front of the false wall rather than past it, so hit the surface instead of hunting for a path around it.
What the area holds once you are in
The Gate of Infinity Beacon in this zone opens into the Forbidden Archives, where the Gloombound Wraith waits. The Starved Harridan also roams the Vestige. A Corrupted Statue here runs a trial that hands over the Thief’s Stone when you clear it, and three Dorsalites are stashed past an elevator on the western side of the area.
Note: beacons in Mortal Shell 2 start out corrupted. Resting at one restores Health and Resolve, revives your equipped Shell, respawns non-boss enemies, and moves your respawn point. Cleansing it means clearing the dungeon inside for the Ovum and unlocking the fuller menu.
None of the 49 beacons in the game are missable, so if you skip this one on your way through Mammon, you can come back for it after the final boss during free roam. That said, having a travel point on the southern white rock saves a long run every time you return for the Thief’s Stone trial or the Forbidden Archives.





