

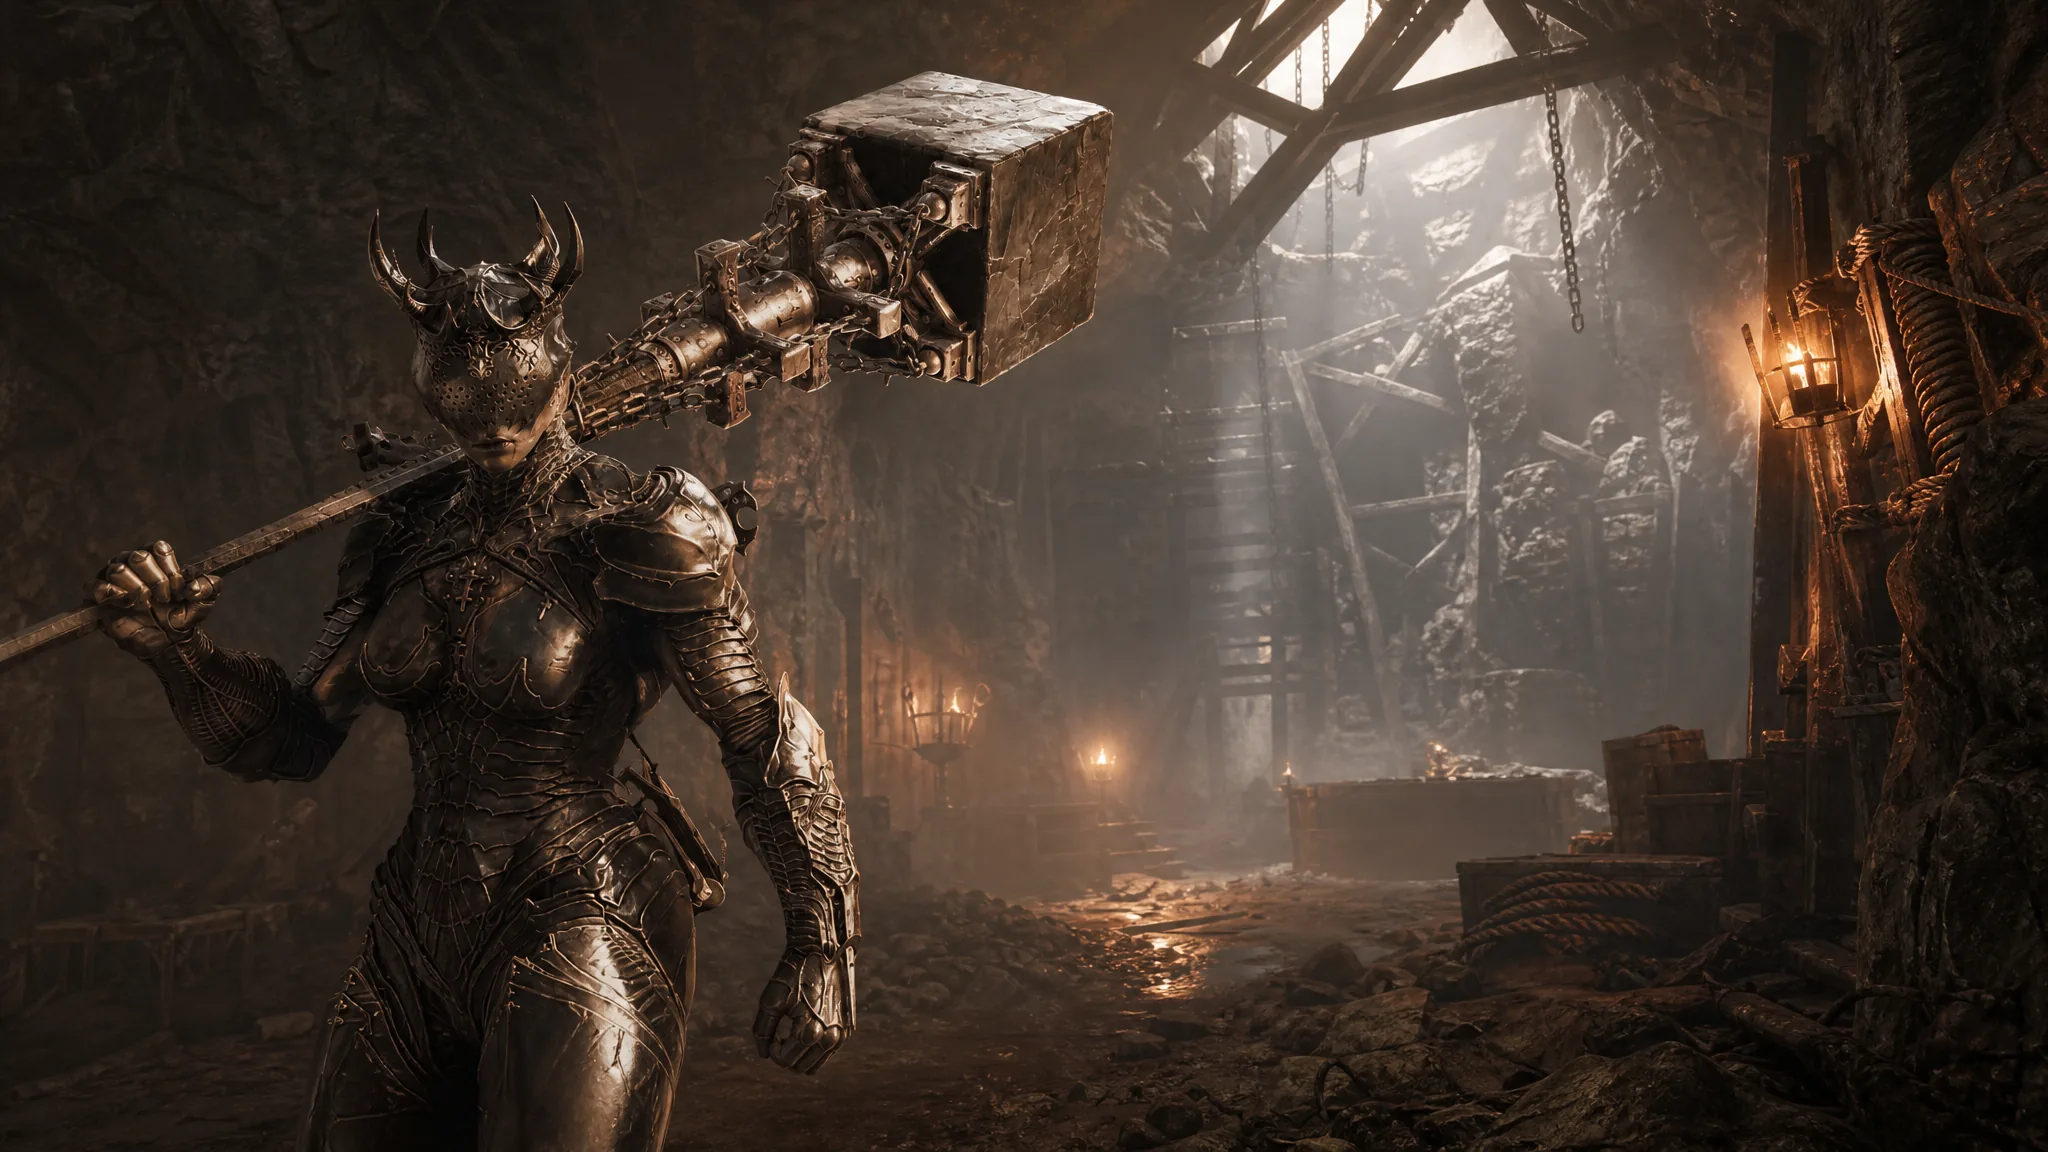
The Collapsed Mine is a short cave dungeon in Mortal Shell 2, tucked into the Deserted Slums. It packs a handful of miner enemies, a few wooden barricades, and a single stone sarcophagus that holds the Shattering Stone Tarstone. The whole run takes only a couple of minutes once you know the path.
Quick answer: Enter the cave south of the Abandoned Outpost Beacon, kill the miners and smash the wooden barricades blocking the way, open the stone sarcophagus at the end to claim the Shattering Stone Tarstone, then squeeze through the narrow rock crevice beside it to drop out and exit.
Collapsed Mine location and entrance
The Collapsed Mine sits south of the Abandoned Outpost Beacon. Head toward the central pit of the slums and look for the cave opening nearby. That cave mouth is the dungeon entrance, and going inside drops you straight into the dark tunnels where the run begins.
Note: There are several mines in this stretch of the map, including the Obsidianite Mines to the south of the same beacon. The Collapsed Mine is the one reached through the cave near the pit, so make sure you are entering the right opening before you commit.
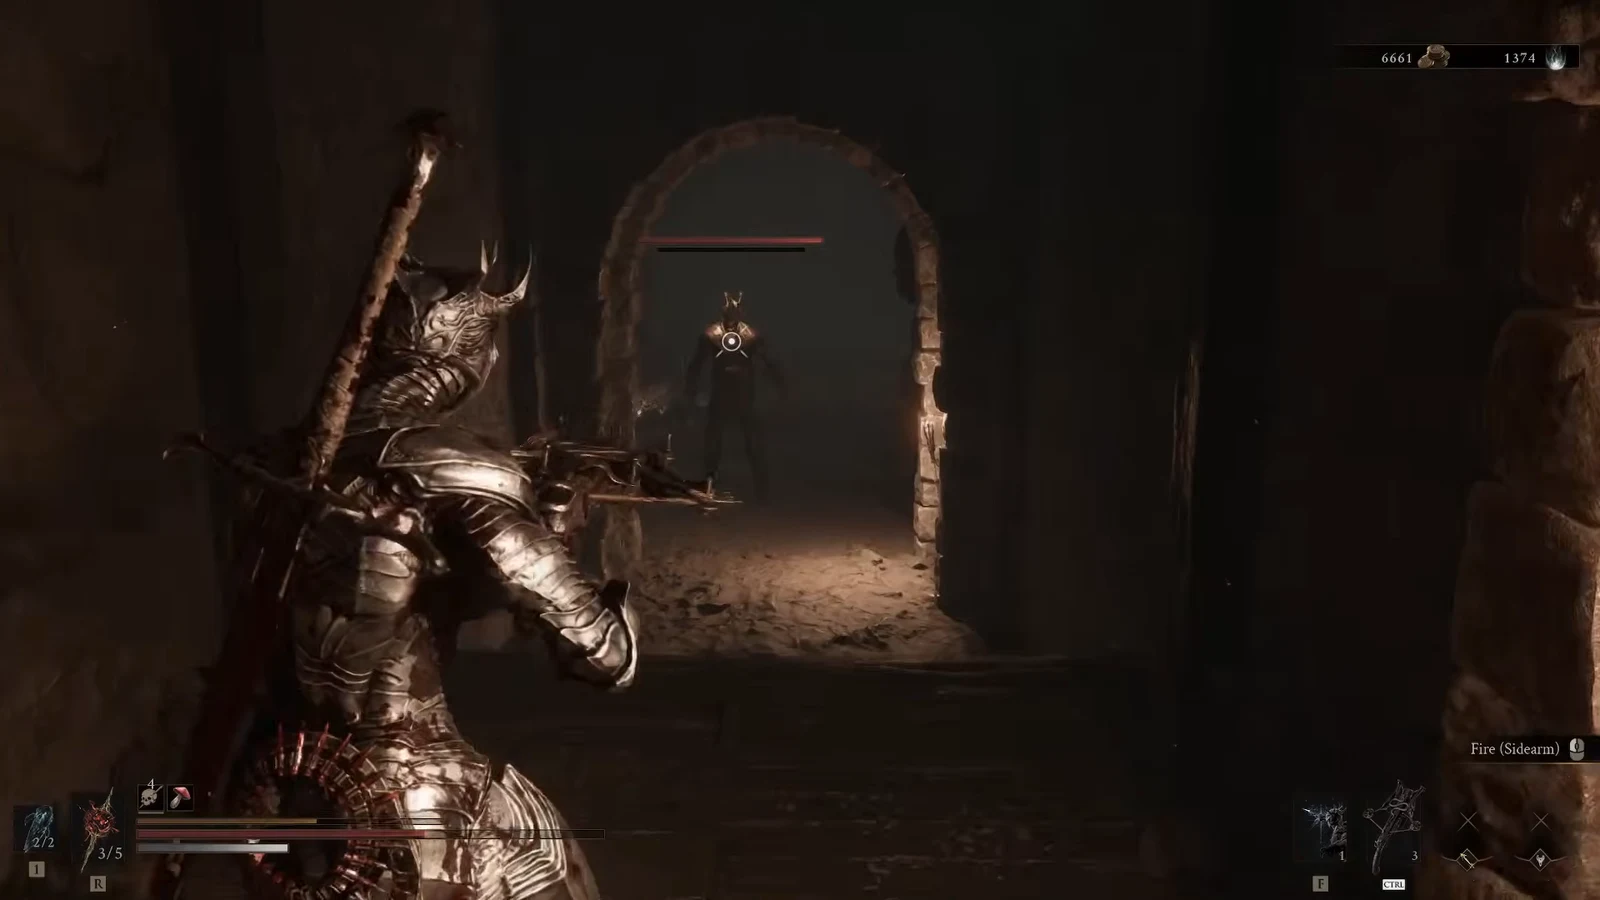
Clearing the miners and barricades
Shattering Stone Tarstone reward
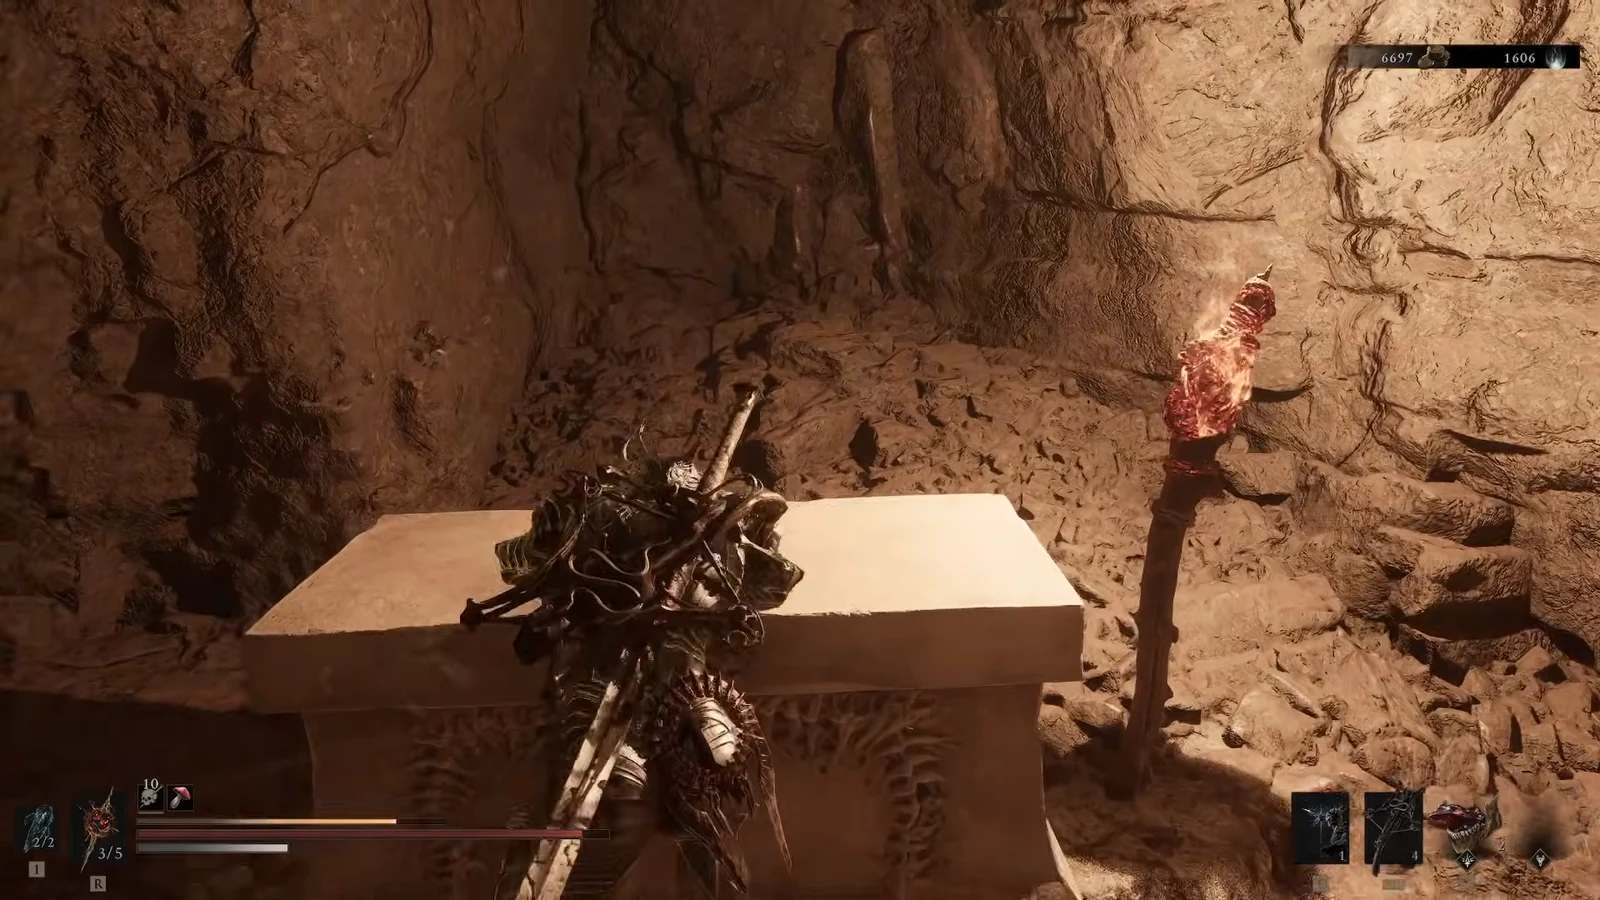
At the far end of the cave you reach a stone sarcophagus. Open it to receive the Shattering Stone, a Tarstone that boosts the Stagger Damage of your next melee attack after you kill an enemy. This is the only meaningful pickup in the dungeon and the reason to make the trip.
The Shattering Stone scales its bonus across tiers, so the stagger boost grows as the Tarstone improves. The values it can grant are listed below.
| Tier | Effect on next melee attack |
|---|---|
| 1 | +35% Stagger Damage |
| 2 | +50% Stagger Damage |
| 3 | +75% Stagger Damage |
Exit shortcut through the crevice
You do not need to backtrack through the tunnels. A narrow rock crevice sits near the sarcophagus, marked with a “Squeeze Through” prompt. Slip through the gap and drop down on the other side to leave the dungeon quickly.
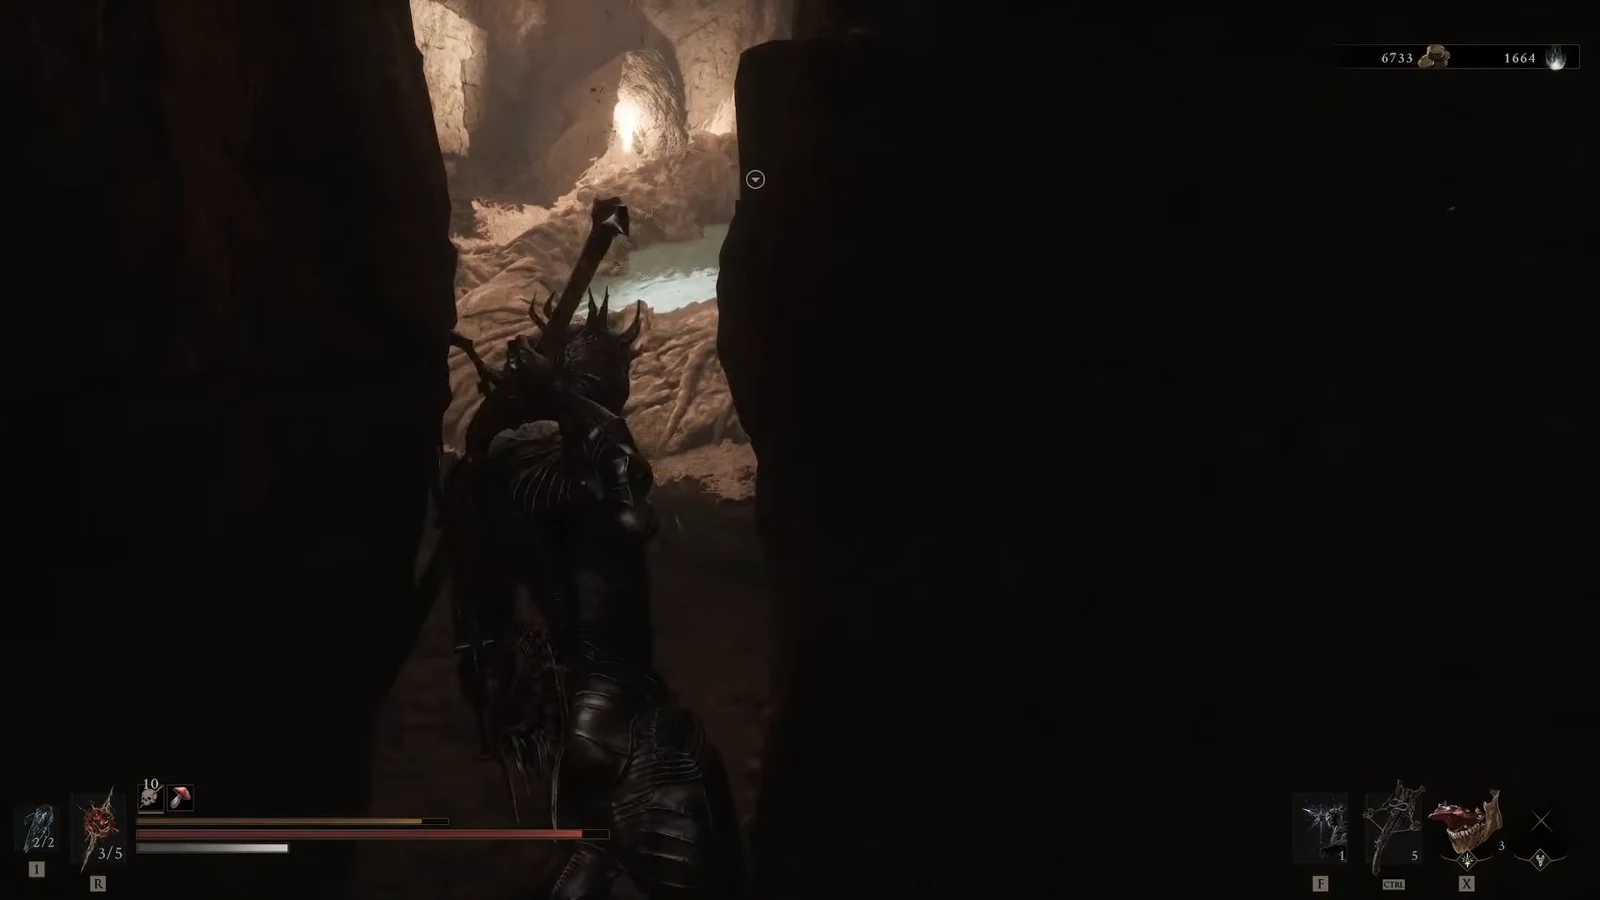
Once you drop down and land outside the cave, the Collapsed Mine is finished. With the Shattering Stone in your inventory and the miners cleared, there is nothing left to collect inside, so you can move on to the rest of the Deserted Slums.





