The Hall of Echoes is an optional dungeon in the northeastern part of Fainweald in Mortal Shell 2. You cannot walk straight into it. The entrance is sealed behind a wooden door that only opens with the Crypt Key, and the room at the bottom hides a bell-and-pillar puzzle that blocks the way to the final loot.
Quick answer: Pick up the Crypt Key first, use it on the sealed door in northeastern Fainweald, ride the lift down, break the false wall, shoot the hanging bell with your sidearm to close the gap, then push the movable pillar onto the pressure plate to raise the final door.
Get the Crypt Key first
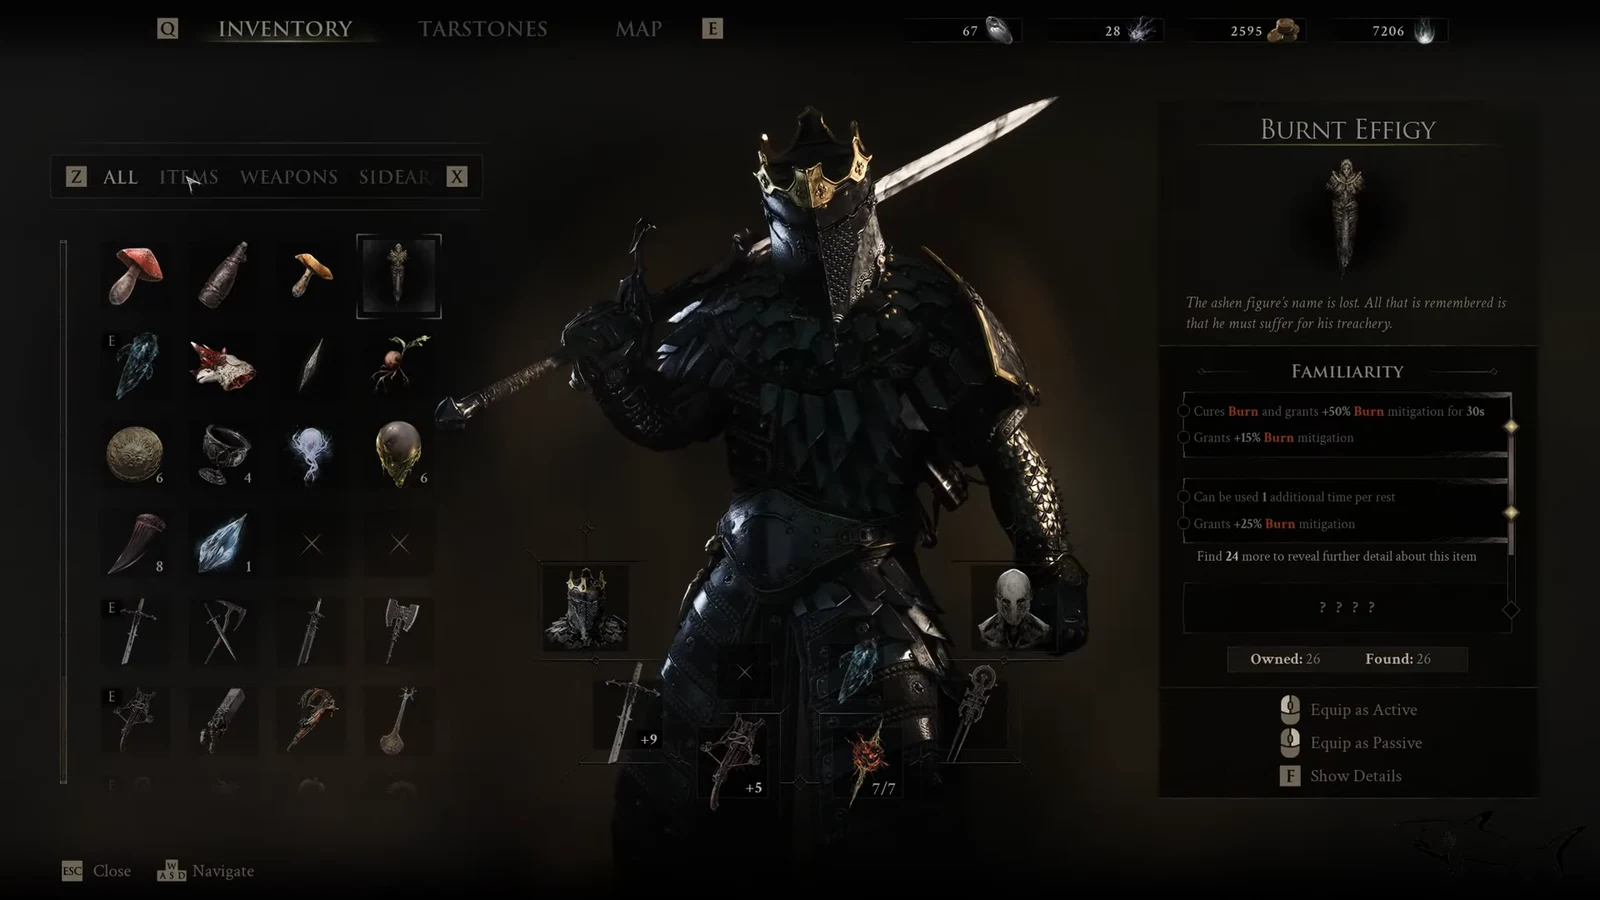
The door to the Hall of Echoes stays locked until you carry the Crypt Key. The key sits on a shelf inside a small stone ruin in the Desolate Peak area, right above the entrance to the Illusionist’s Cache dungeon. A lore note rests on the same table before you grab it.
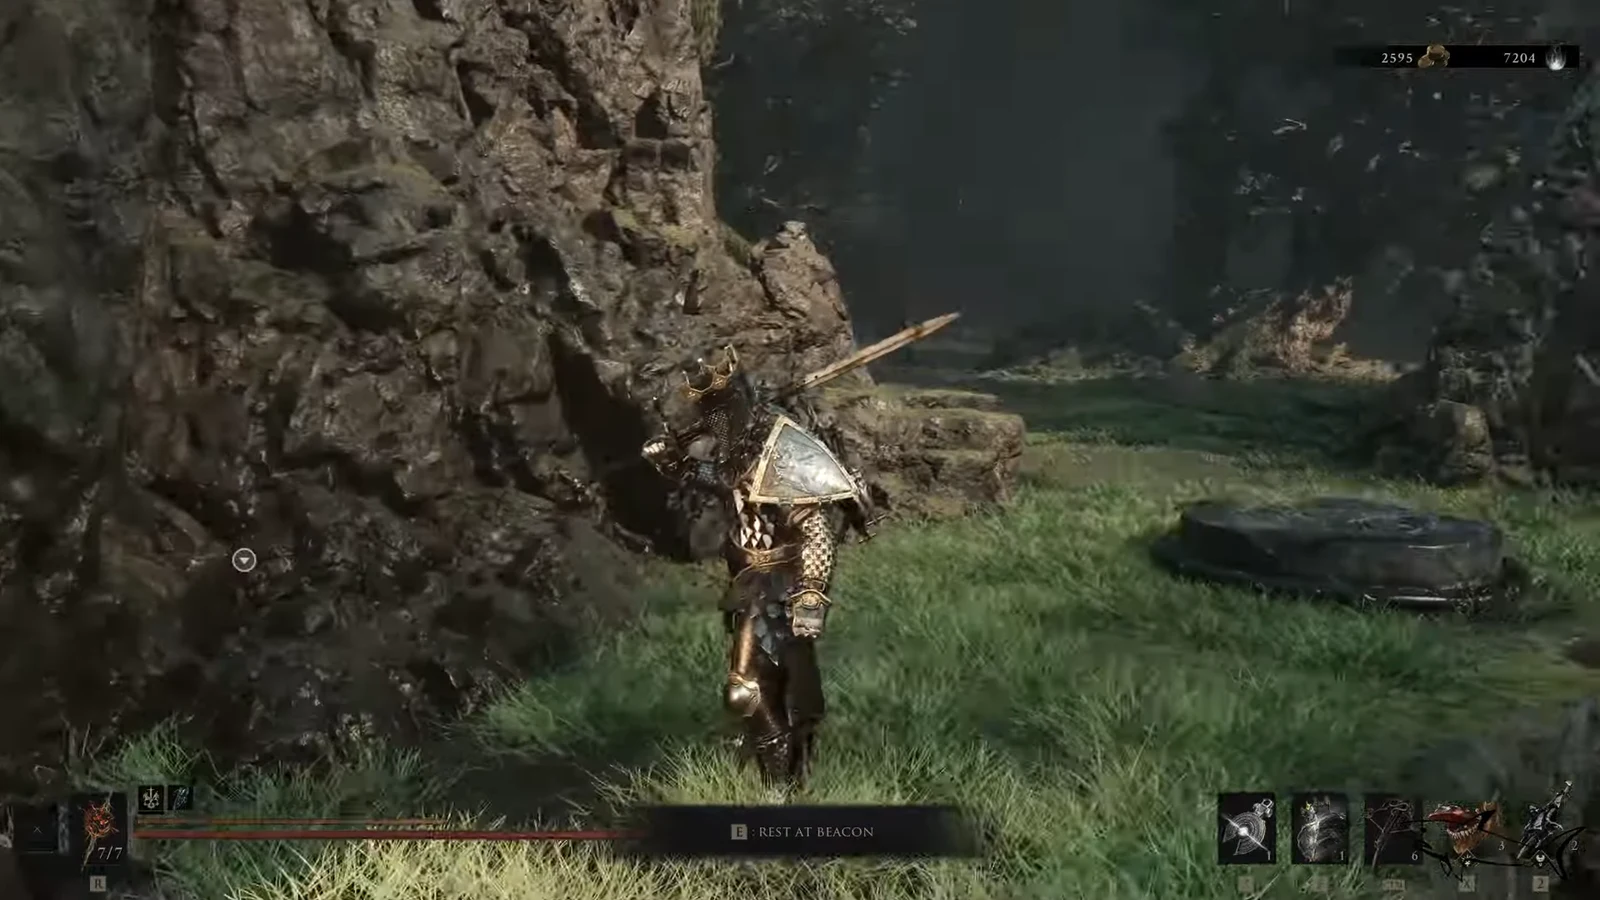
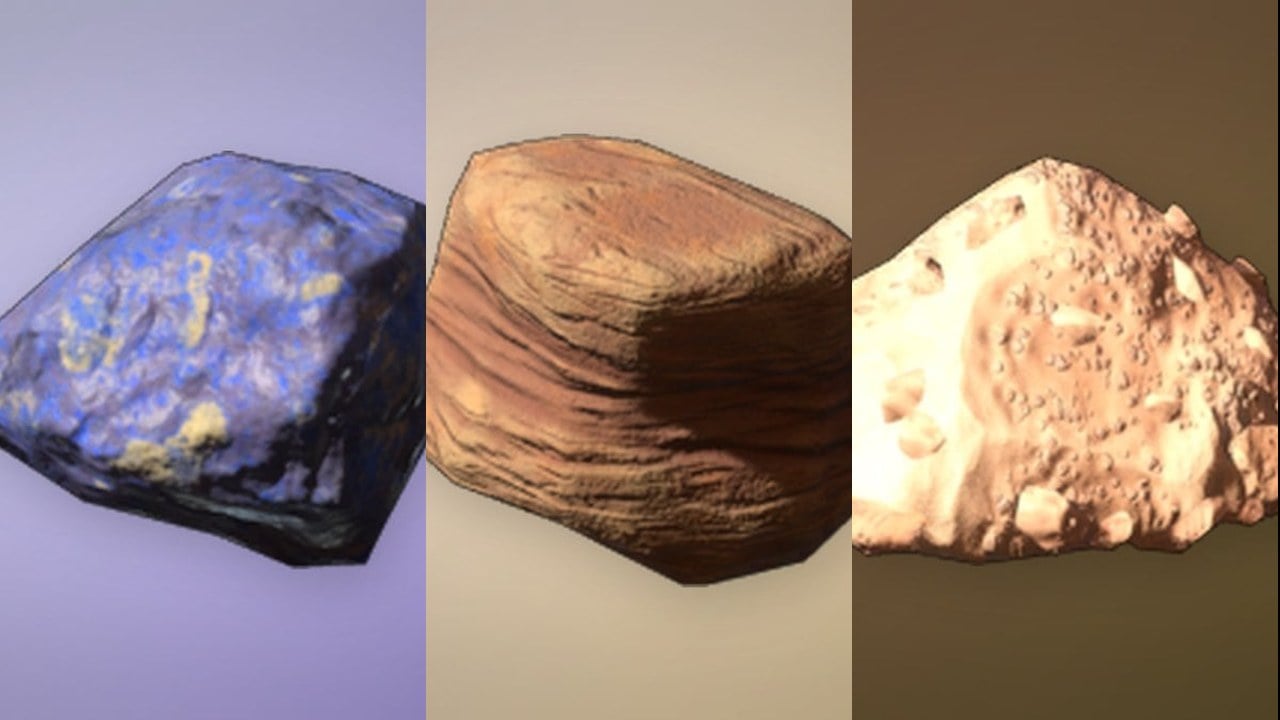
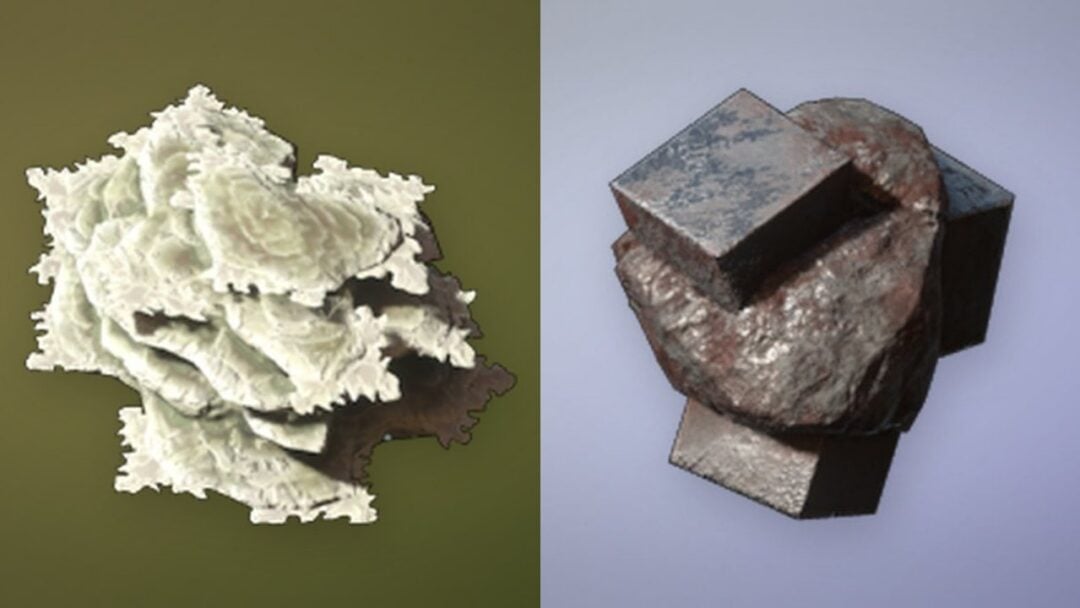
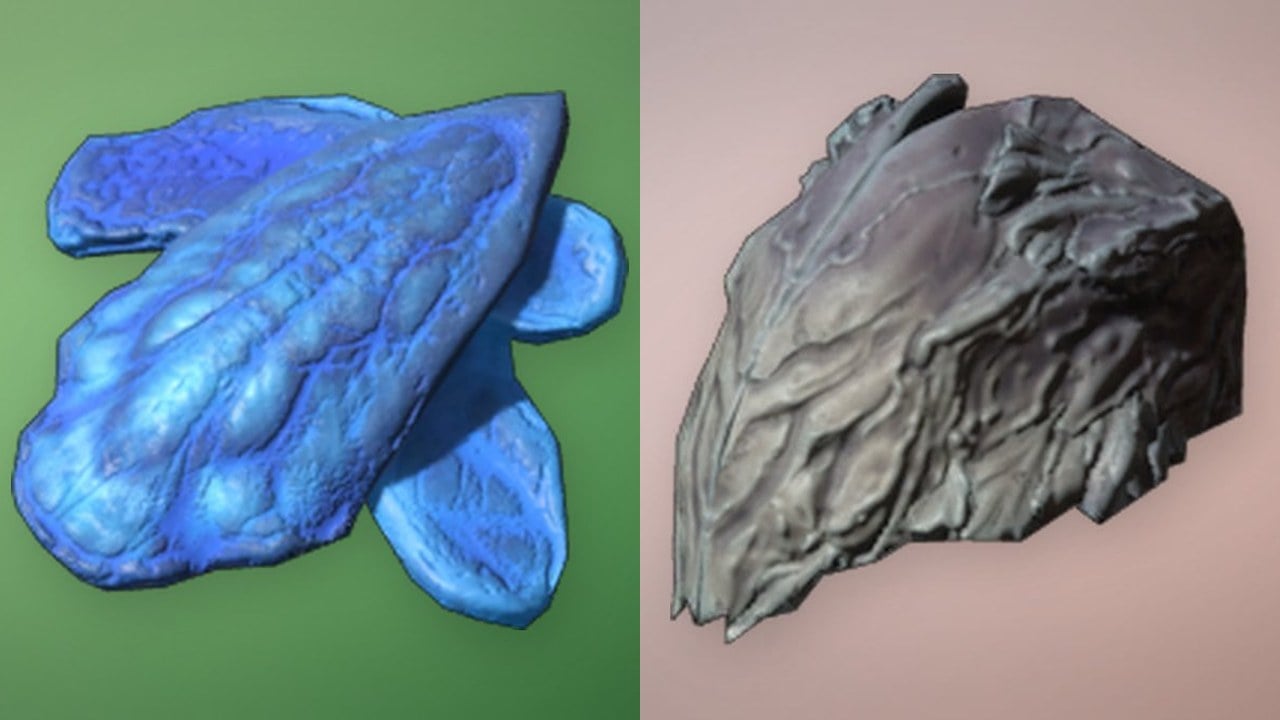
Rest at the closest beacon, then travel across to the ruins on the isolated cliffside. Step inside the stone structure, read the note on the workbench, and loot the Crypt Key from the chest area. You can also chip a Latterite from a white glowing spire on the way in.
Reach the Hall of Echoes entrance
The dungeon entrance is in the northeastern part of Fainweald, up a stone staircase. The quickest approach is to fast travel to the nearest beacon, then run past the stone structures and enemies until you reach the wooden gate at the top of the stairs.
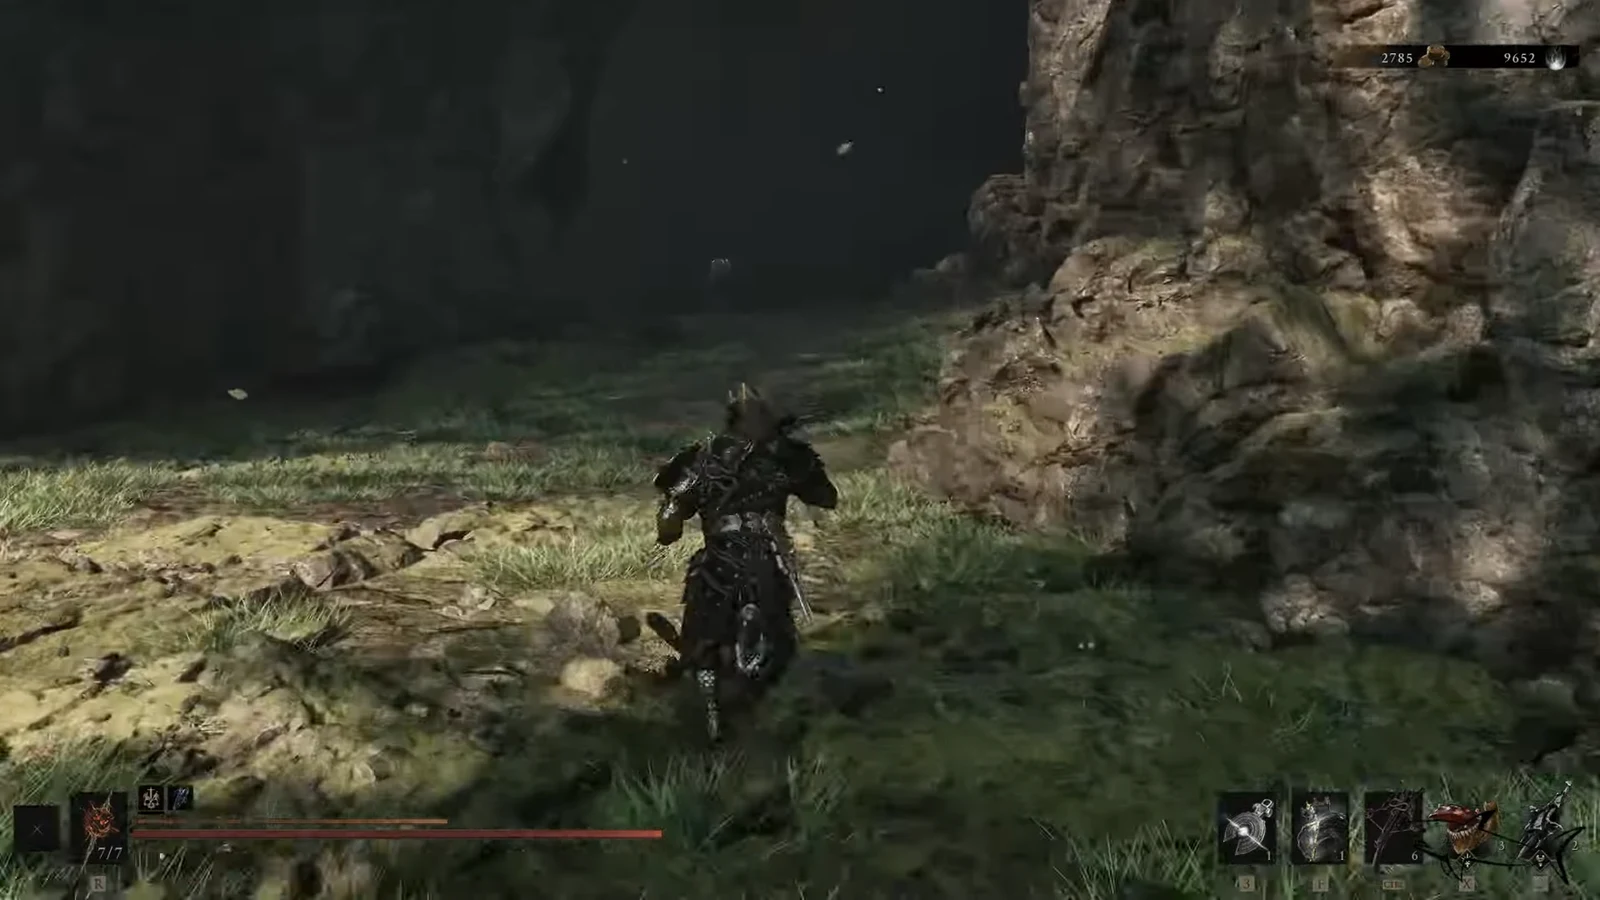
Interact with the wooden door and pick the Crypt Key option at the prompt to open it. Step through the corridor onto the wooden lift and ride it down into the underground structure.
Work through the tunnels to the puzzle room
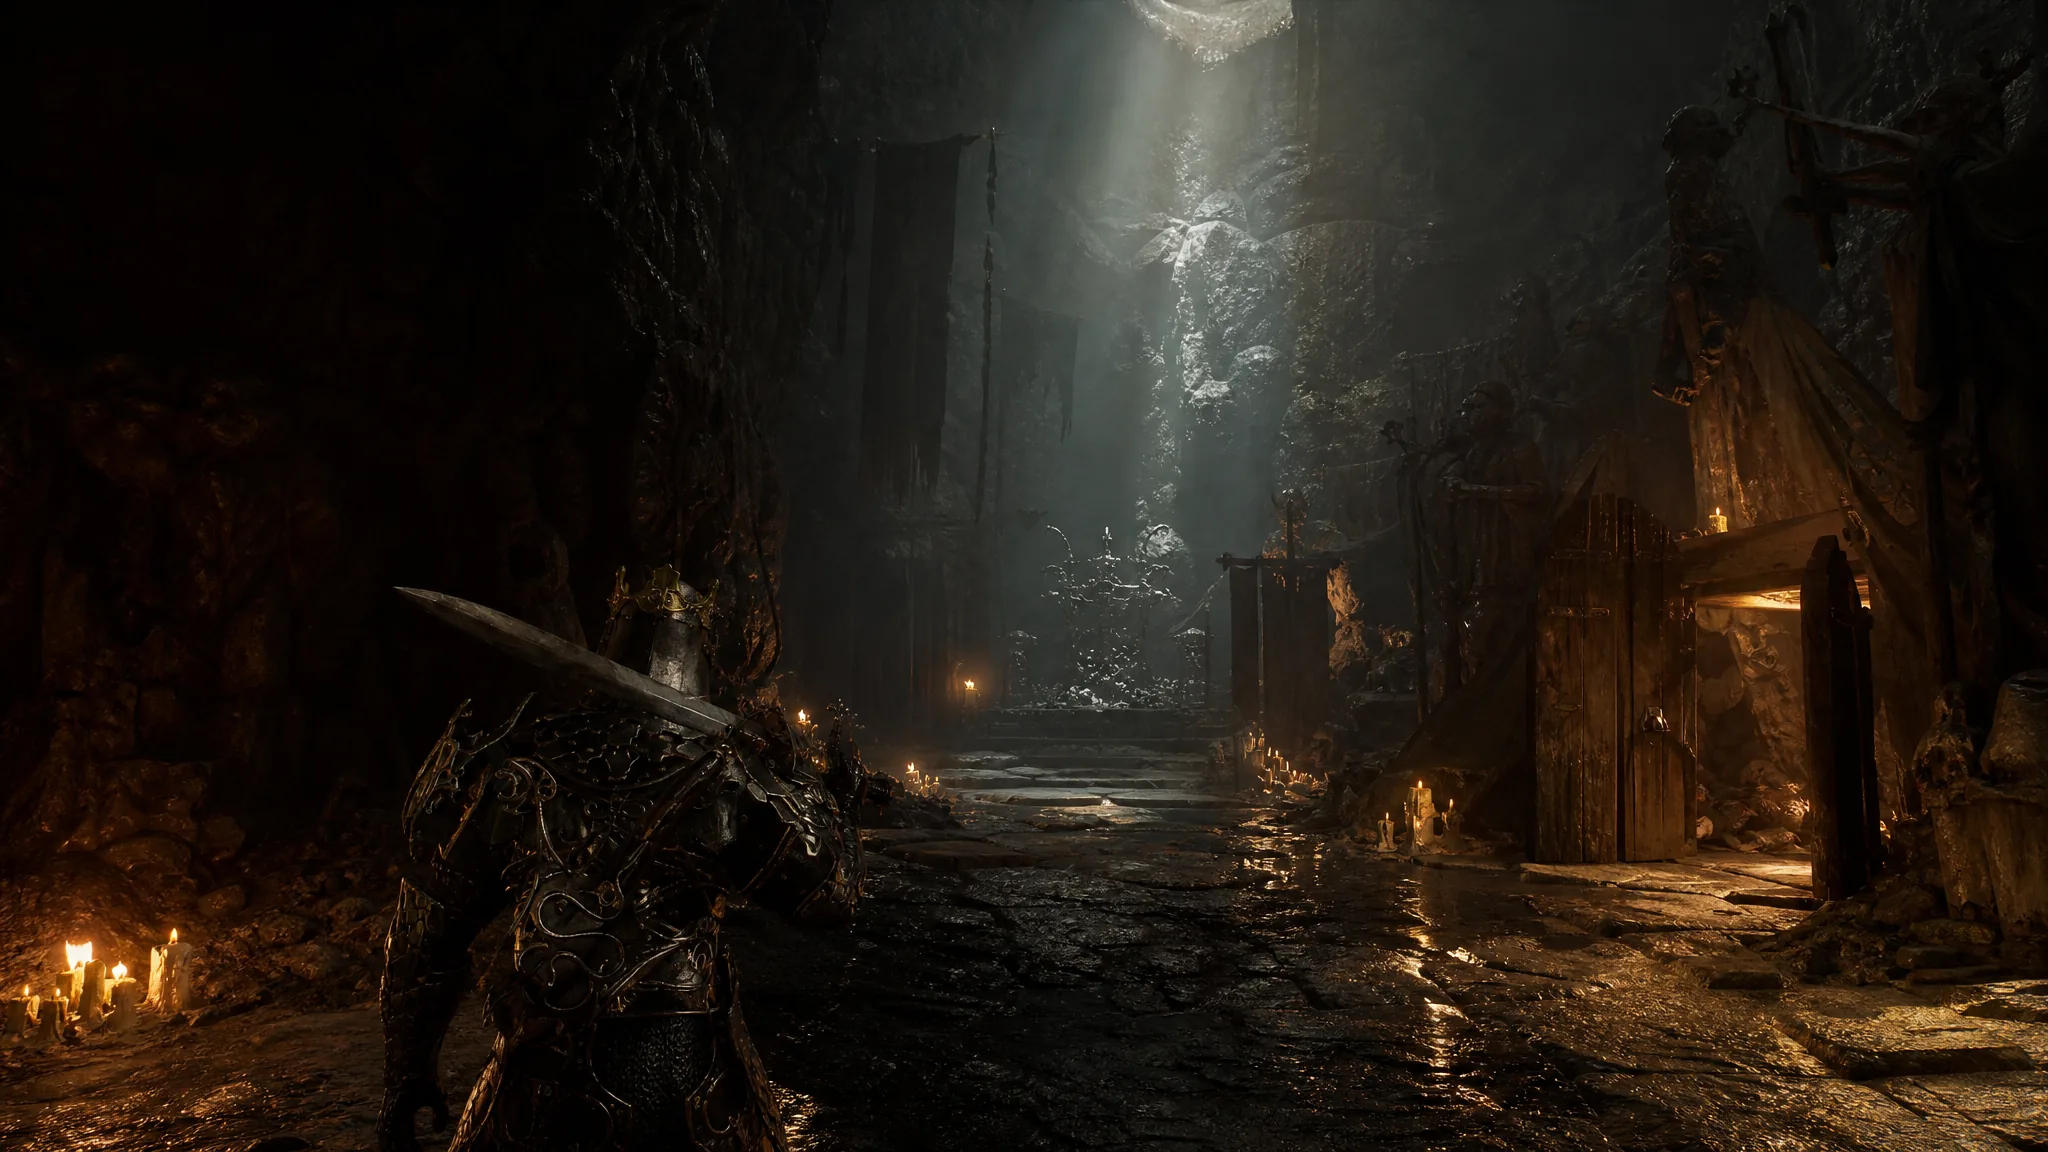
At the bottom of the lift you arrive in the cavern labeled Hall of Echoes. Head down the stairs and stay ready. Two coffin monsters are disguised as ordinary coffins scattered along the tunnel and will spring at you.
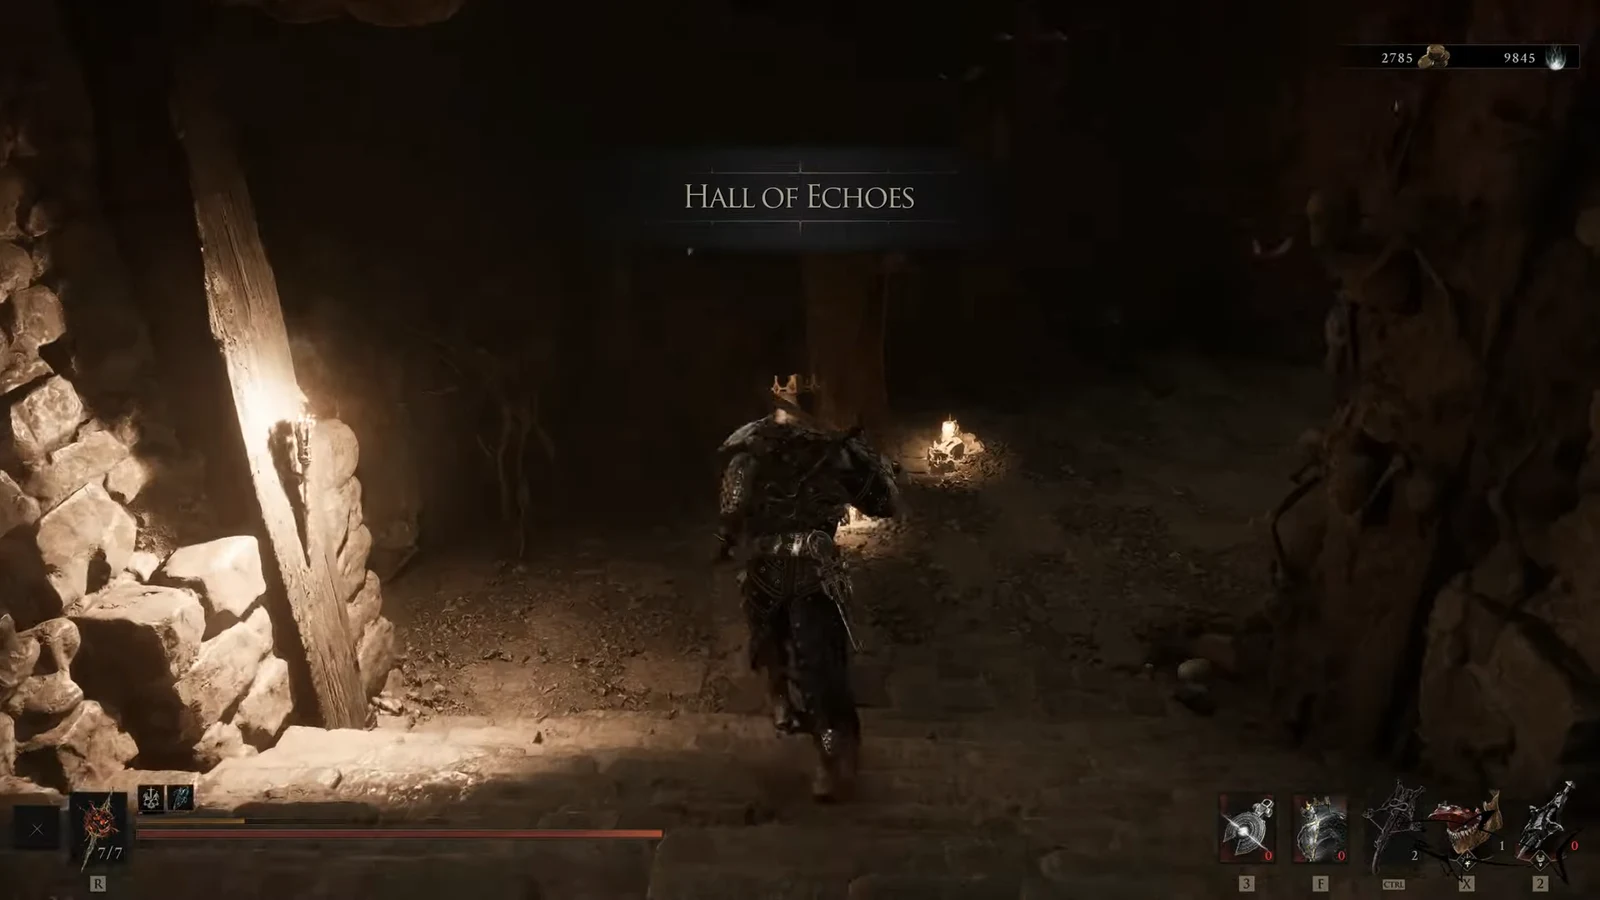
At the end of the tunnel you meet a well-lit wall that seems to block the path. It is a false wall. Attack it and it gives way, letting you push deeper into the lower caverns.
Drop into the lower chamber and clear the two ghosts waiting there. Walk up the nearby stairs and strike the white branch to collect a Laterite. Attack the wall at the top of that staircase to reveal another hidden wall, which drops you back beside the pressure plate where the puzzle begins.
Solve the bell and pillar puzzle
The central mechanism ties together three parts: a floor pressure plate, a large hanging bell, and a movable stone pillar sitting across a gap in the floor. The goal is to get that pillar onto the pressure plate. Follow this exact order.
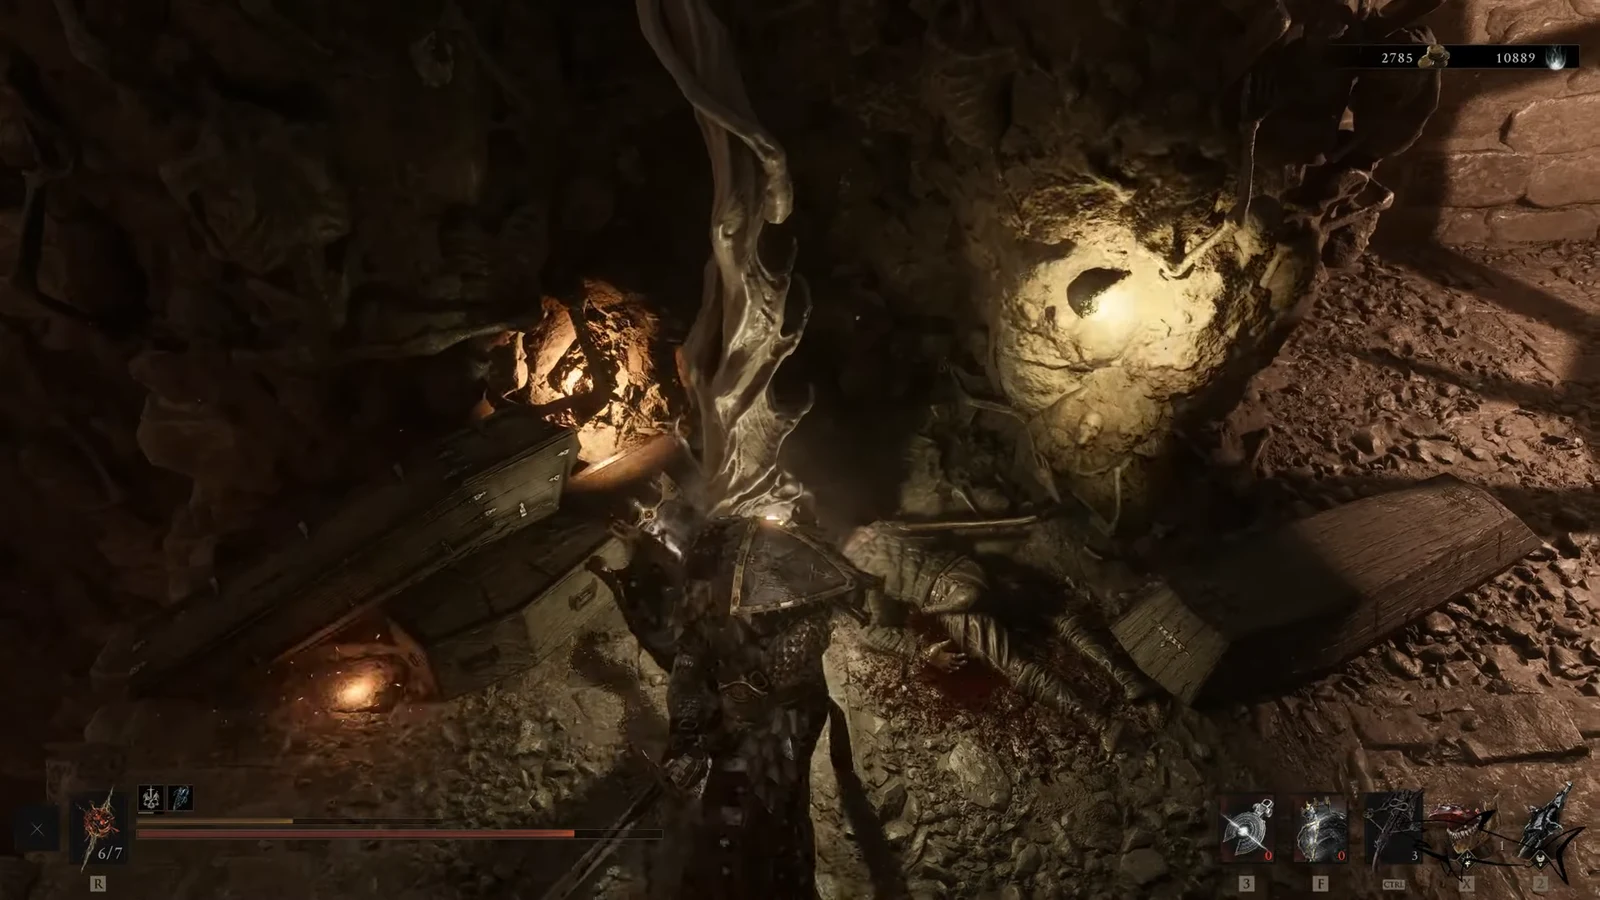
The pillar only travels the full distance once the gap is closed, so ring the bell before you try to push it. If the door drops again, the pillar has slipped off the plate and needs to be shoved back on.
Altar room rewards
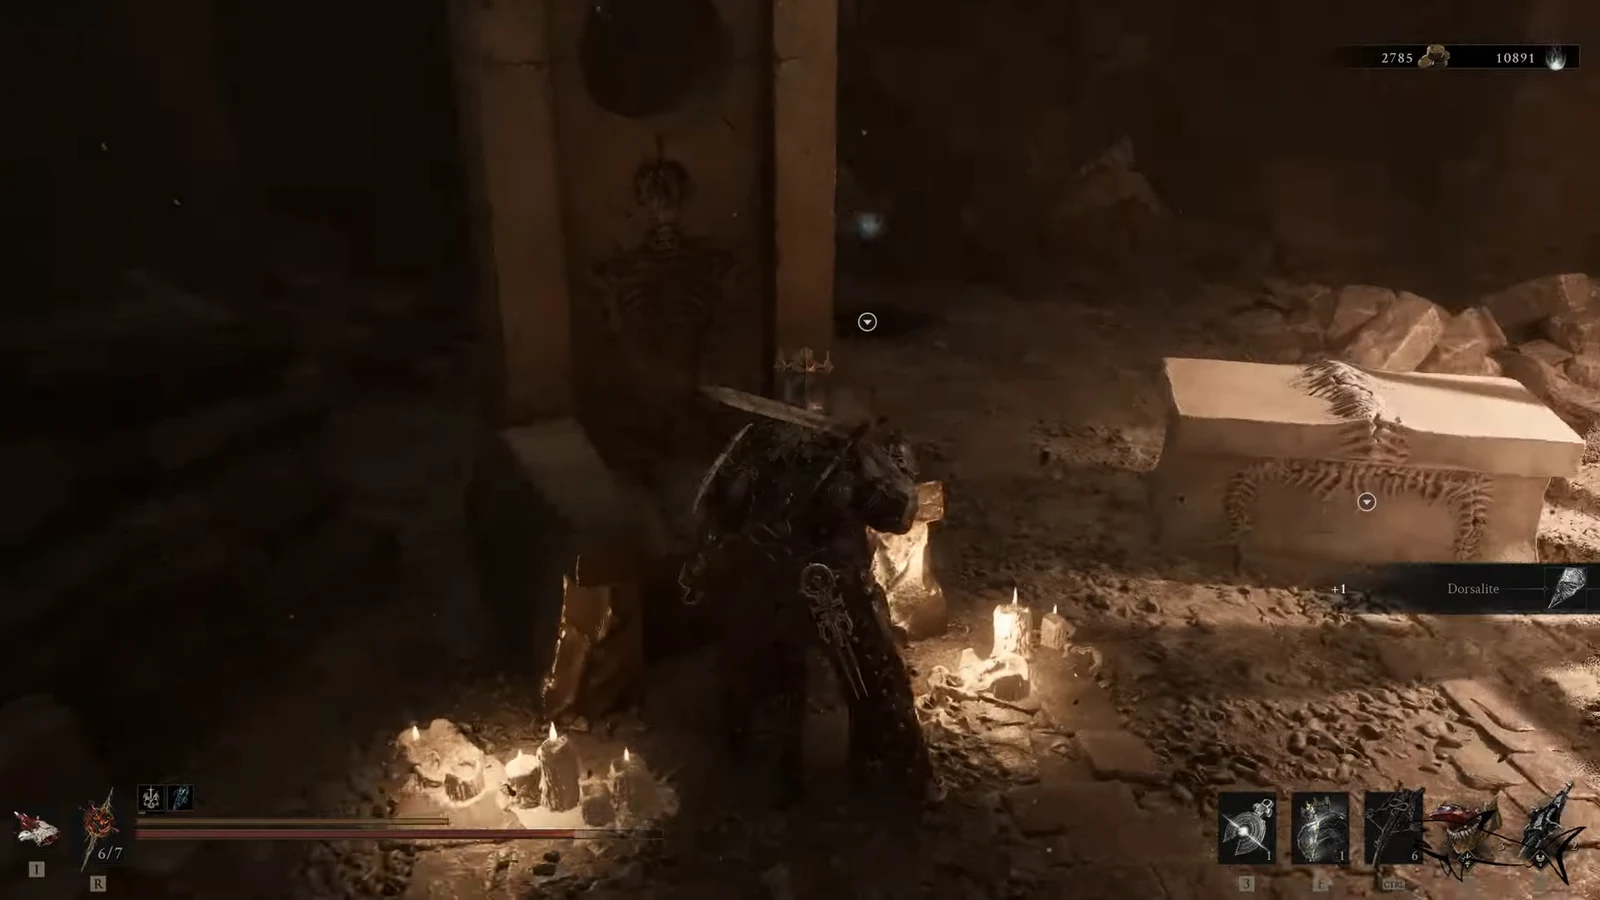
Step through the raised door into the central altar room. Three pickups wait inside.
| Reward | How to collect |
|---|---|
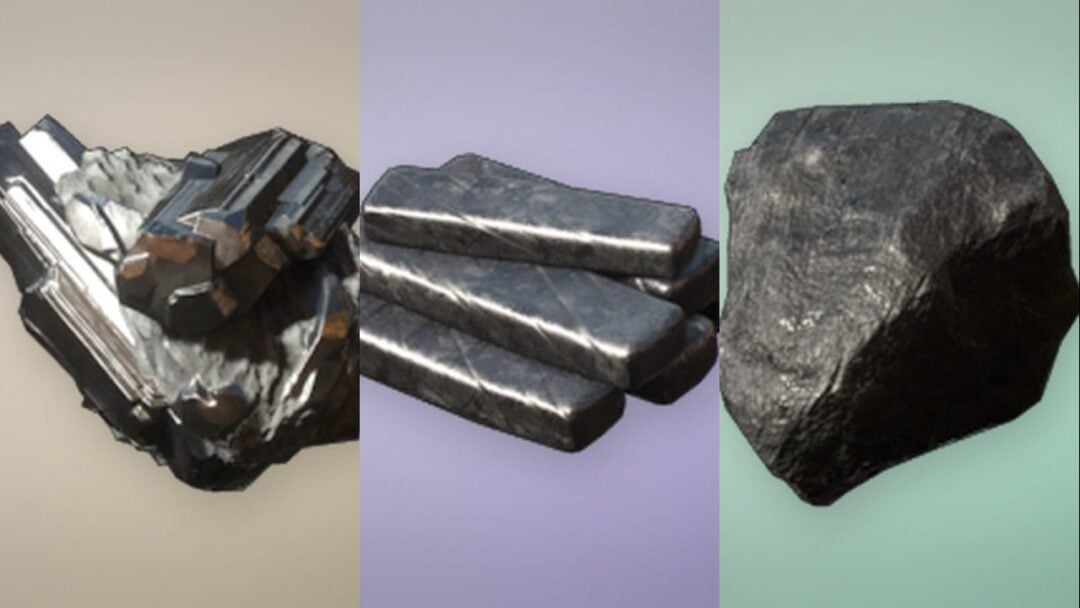
| Sheephead Totem | Loot it from the altar. Using it transforms you into a sheep to graze and boosts your stats. |
| Dorsalite | Interact with the bone chair that holds a skeletal imprint. |
| Winterglass Gem | Open the stone sarcophagus. It sells to a merchant for 1,000 coins. |
Finish and mark the dungeon complete
Once you have all three rewards, interact with the white light in the altar room to return to the elevator, or ride the lift back up and leave through the dungeon archway. Open the map, highlight the Hall of Echoes, and toggle Mark Complete. That map flag is your confirmation that everything in the dungeon has been cleared.