The Feeding Room Key has one job in Mortal Shell 2. It opens a locked wooden gate on the flooded floor of Holding Cells, and that gate is the only way into the Feeding Room.
Quick answer: Drop to the bottom of Holding Cells, loot the Feeding Room Key from the corner hut on the far side of the water, then use it on the locked wooden double-door on that same floor. The bars release when the key is correct, and the lift beyond leads into the Rabid Grisha Pack arena.
Two wells into Holding Cells
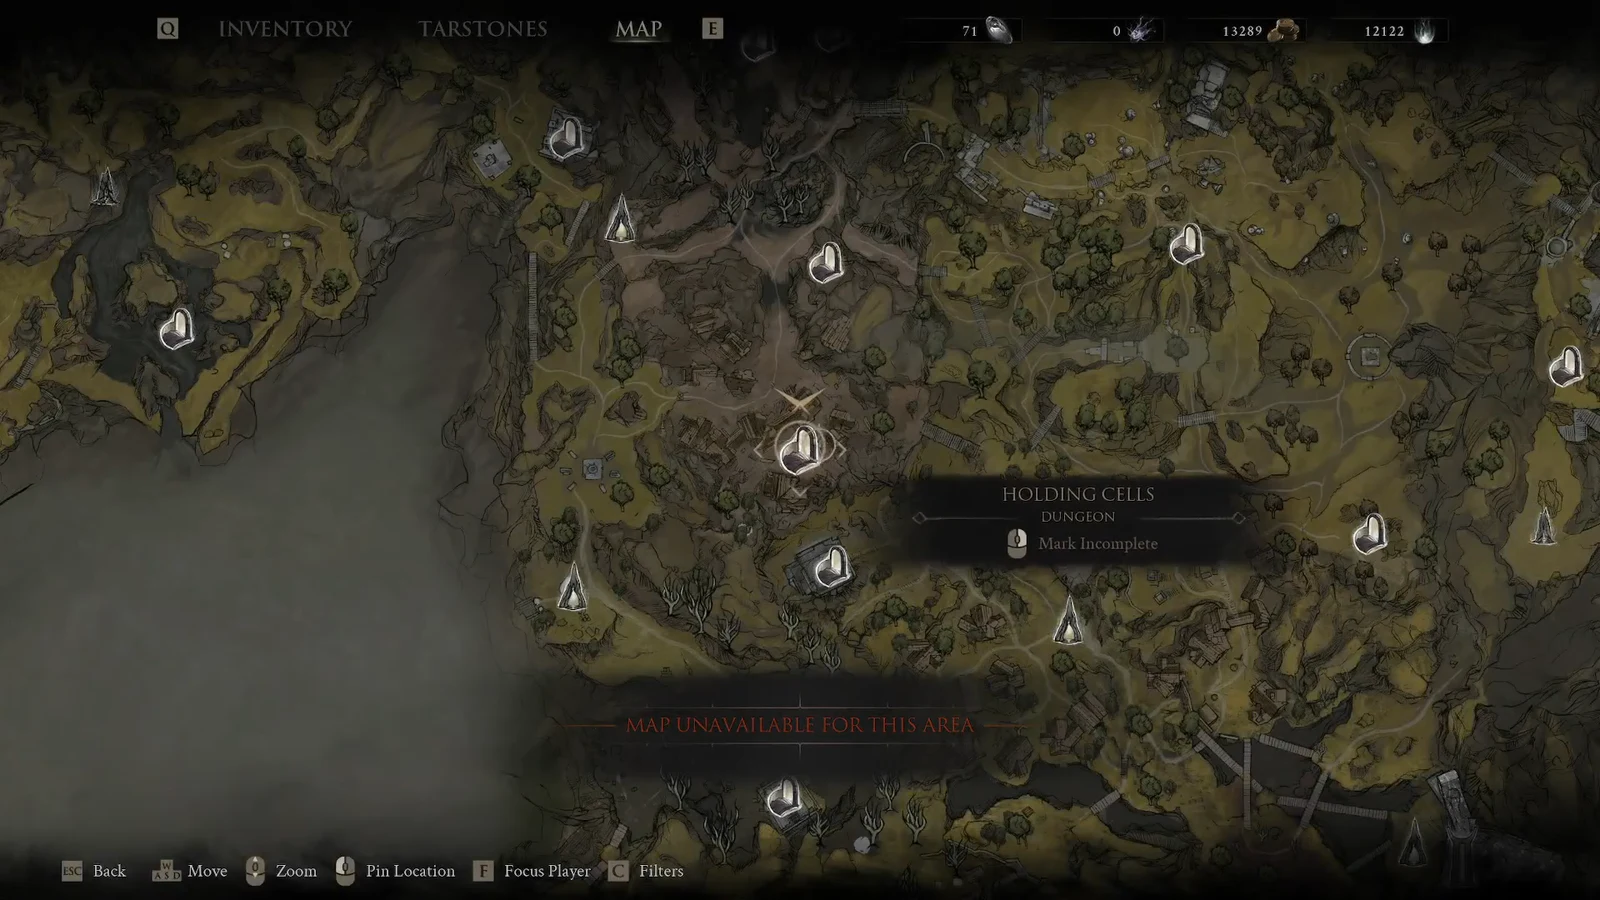
Holding Cells sits under Blackridge Hamlet and also opens from a second well near the Citadel of Penance. Both wells dump you into the same dungeon. The Blackridge well sits closer to a Beacon, which makes a failed run shorter. The Citadel-side well sits near Gloomshade Grove and the approach to Martyr’s Prison.
The Blackridge Hamlet well is the cleaner start if you already opened that hamlet. Clear the corruption behind the chapel, ride the launch pad into the hamlet, then interact with the well. That path needs Mether’s Breath, because that is what lets you cleanse the blockage and travel between unlocked Beacons. Either entrance works for the key. You do not need both.
| Well | Overworld spot | Why pick it |
|---|---|---|
| Blackridge Hamlet | Near the Blackridge Pass Beacon | Shorter walk back after a death |
| Citadel of Penance side | Secluded well near Gloomshade Grove | Closer to that grove and the citadel approach |
The overworld map can mark Holding Cells. Once you are inside, the local map is unavailable, so treat the wooden walkways and the water below as your landmarks.
Wooden walkways to the flooded floor
From the Blackridge well, the first rooms feed onto a wide wooden scaffold over a deep pit. Stay on those boards only long enough to get a drop or a lift. The far gate on the upper walkway is a different route and is not required for the Feeding Room Key.
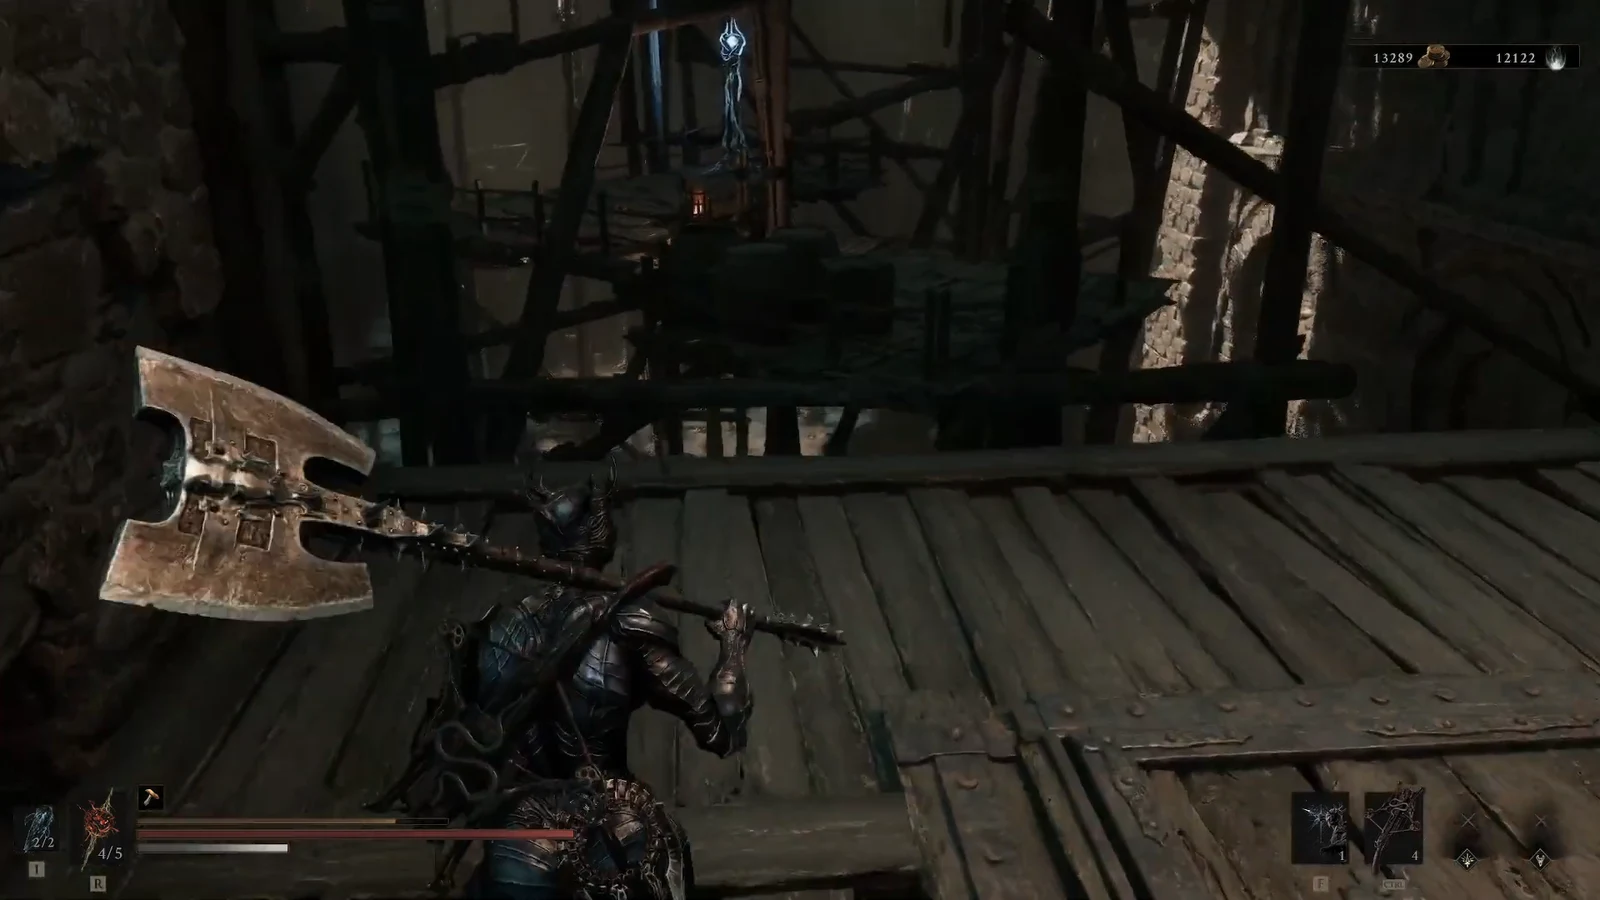
Ventrium sits on the upper floors, including an alcove near the entrance and a shrine you pass on the scaffolds. Grab it if you walk by. Then get off the wood. A plunging attack from a ledge cancels the fall. The elevators on the upper level also reach the water. The flooded cells are crowded, so do not burn every heal on the way down.
Feeding Room Key location
The key never leaves the bottom floor. If you started at the Blackridge well, cross the water toward the opposite end of the pit. The hut you want is in a far corner, in one of the lower houses, not under the first scaffold you dropped from.
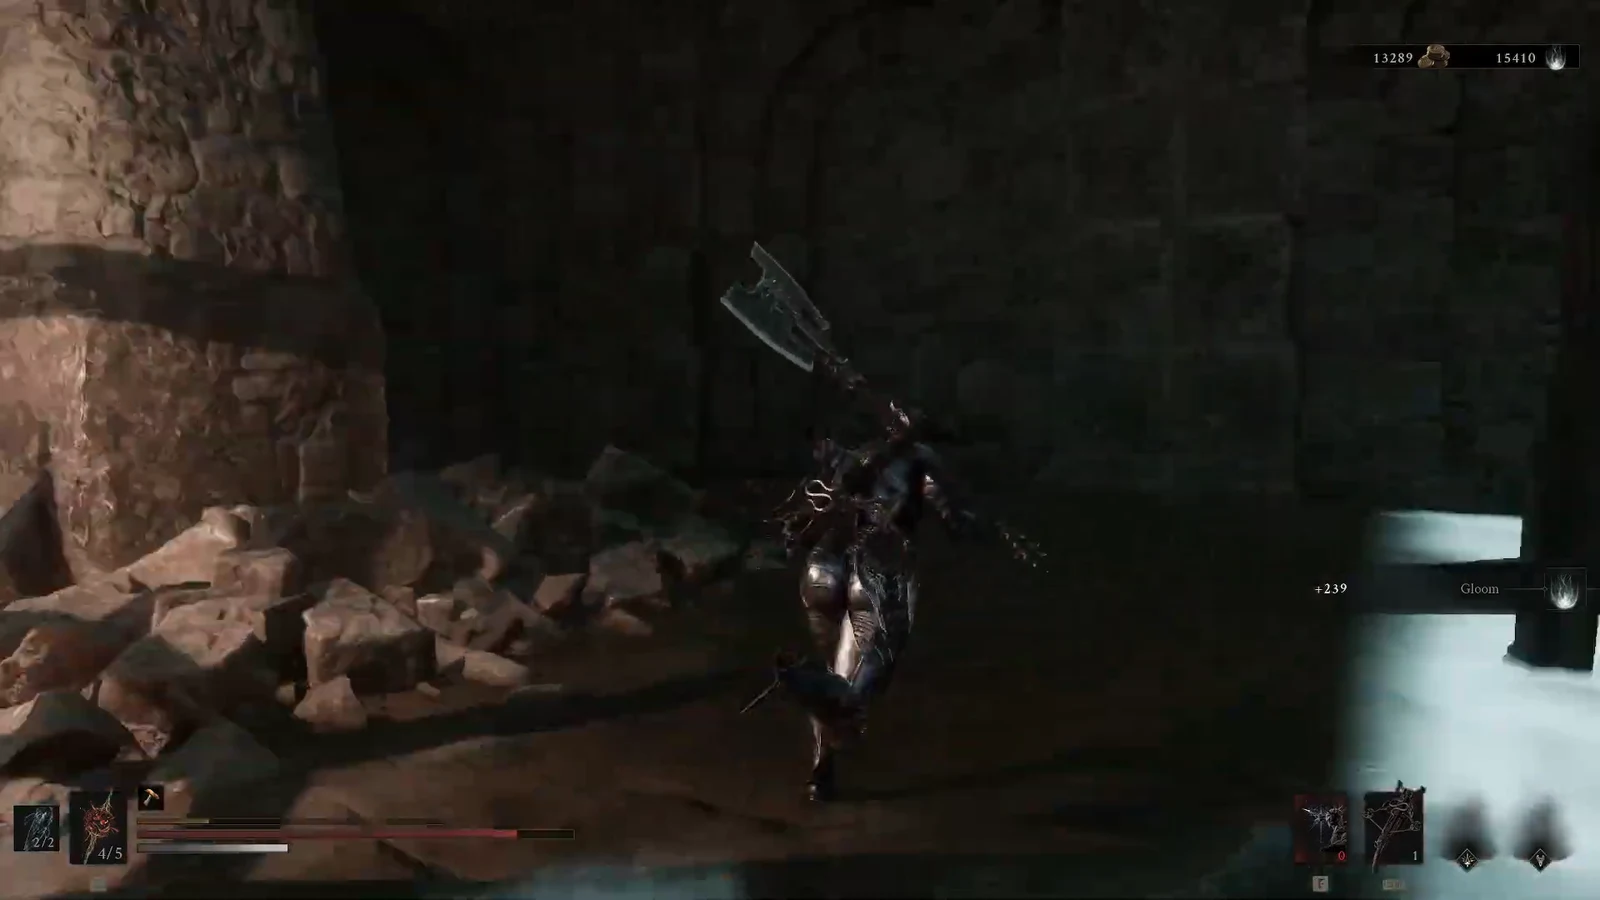
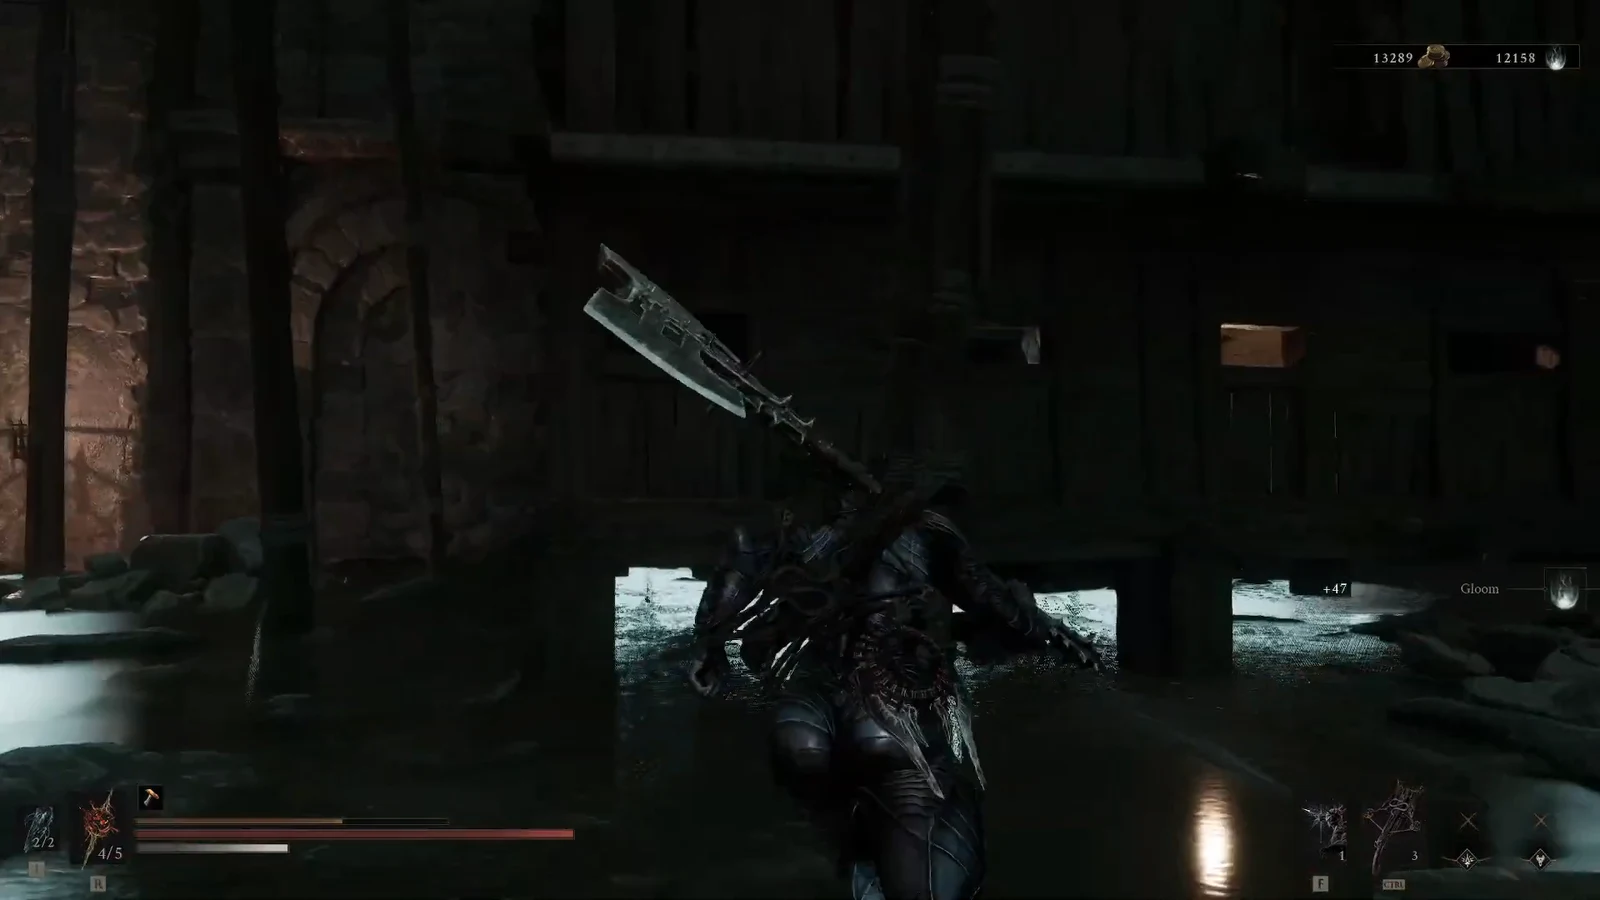
If the body has nothing, you are in the wrong shack. There is another small hut closer to the Blackridge drop that only holds a Gloom Tentacle. The key hut is the far corner house, on the opposite side from that Blackridge entrance.
Where to use the Feeding Room Key
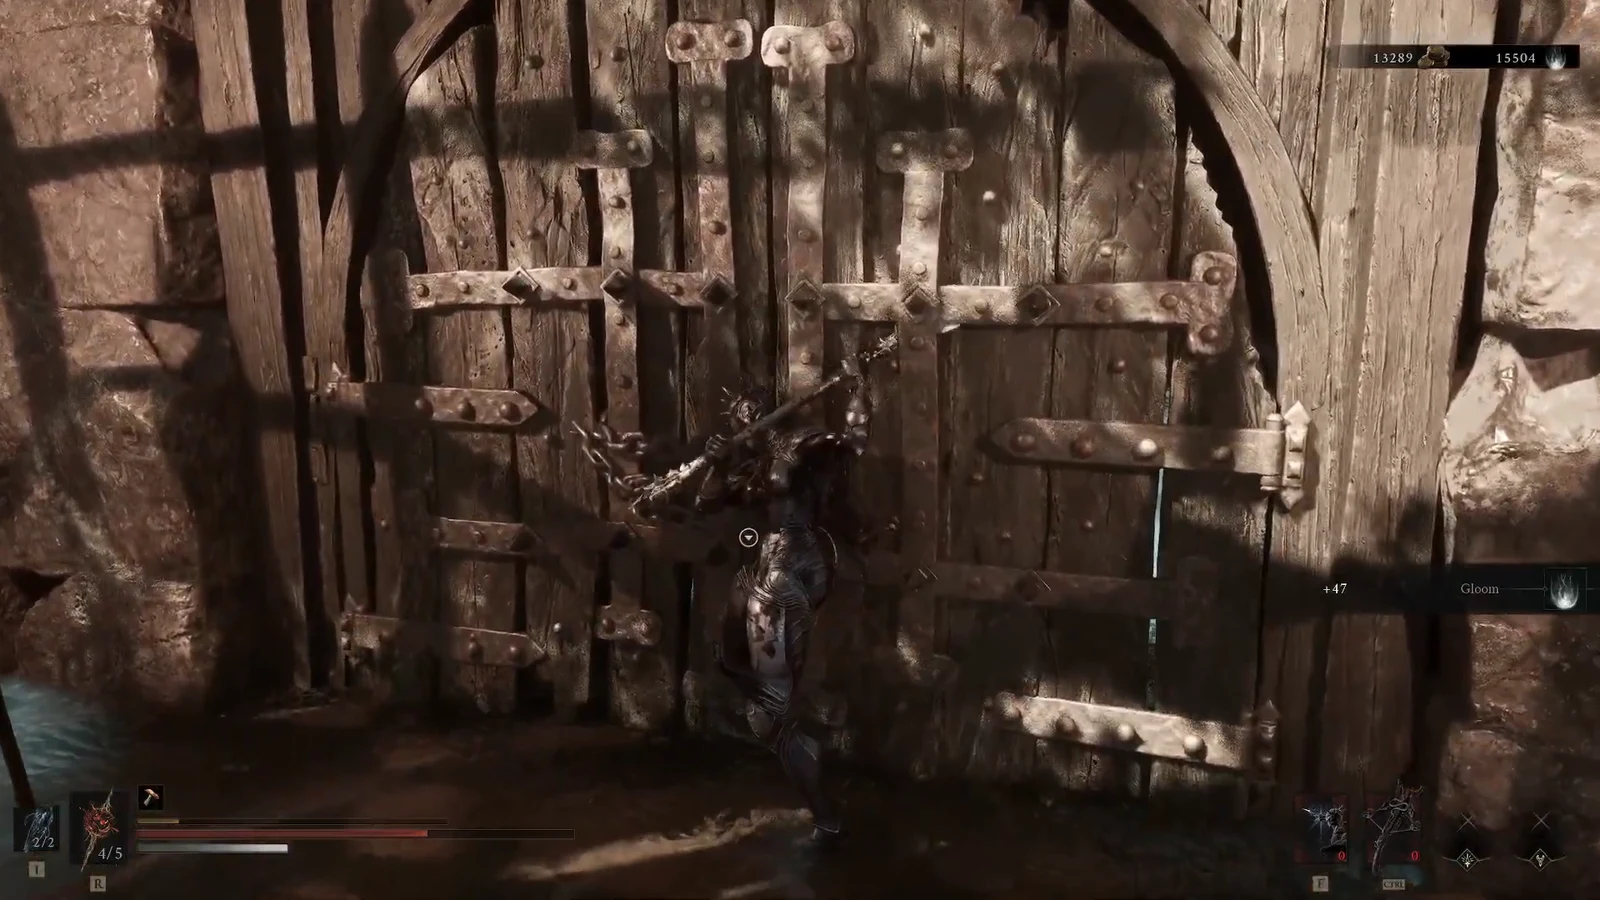
The lock is not in another dungeon. Stay on the flooded base floor and look for a reinforced wooden double-door with rounded leaves. Bear traps sit on the ground around it. Inspecting the door without the key tells you that you still need the Feeding Room Key.
| Check | What you should see |
|---|---|
| Key obtained | Feeding Room Key in inventory, taken from the far-corner hut |
| Key used | Wooden double-door on the flooded floor unlocks and stays open |
| Room reached | Lift ride, then a Glimpse on the side crates |
| Arena started | You drop into a cage against the Rabid Grisha Pack |
| Pack beaten | Inflamed Clawstone and 2x Grisha Remnant |
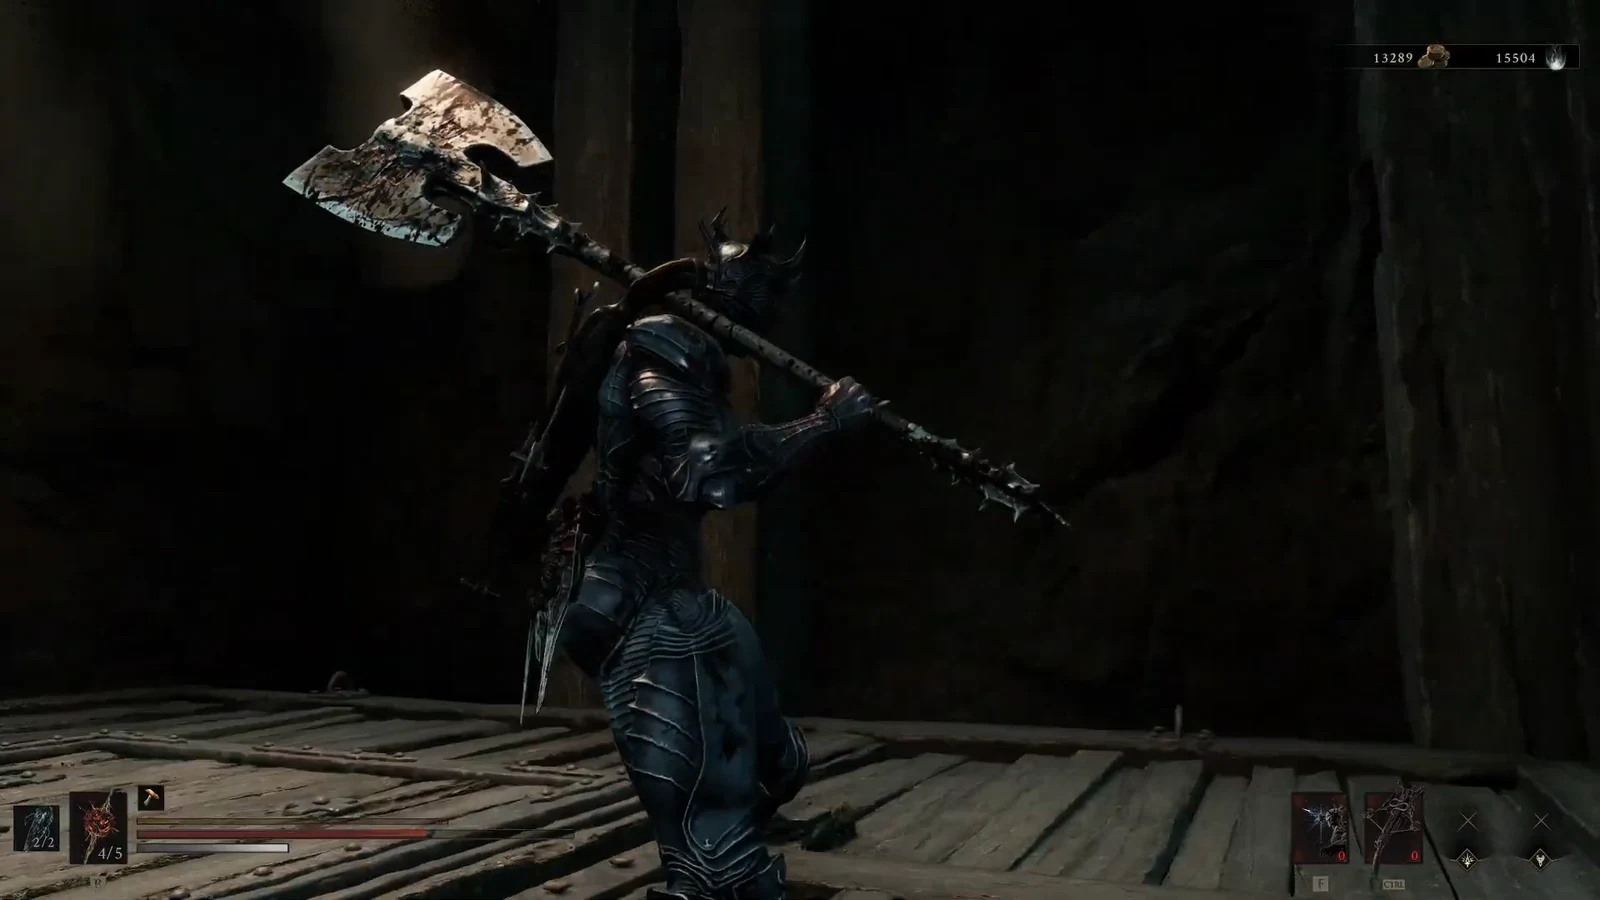
The Inflamed Clawstone is a Tarstone for the Veteran’s Battle Axe and adds a fire infusion. That drop, plus the two remnants, is the clean proof that you finished the room the key was built for. If you die in the cage, you return to your last Beacon and can walk the same unlocked door again. You do not need a second Feeding Room Key.