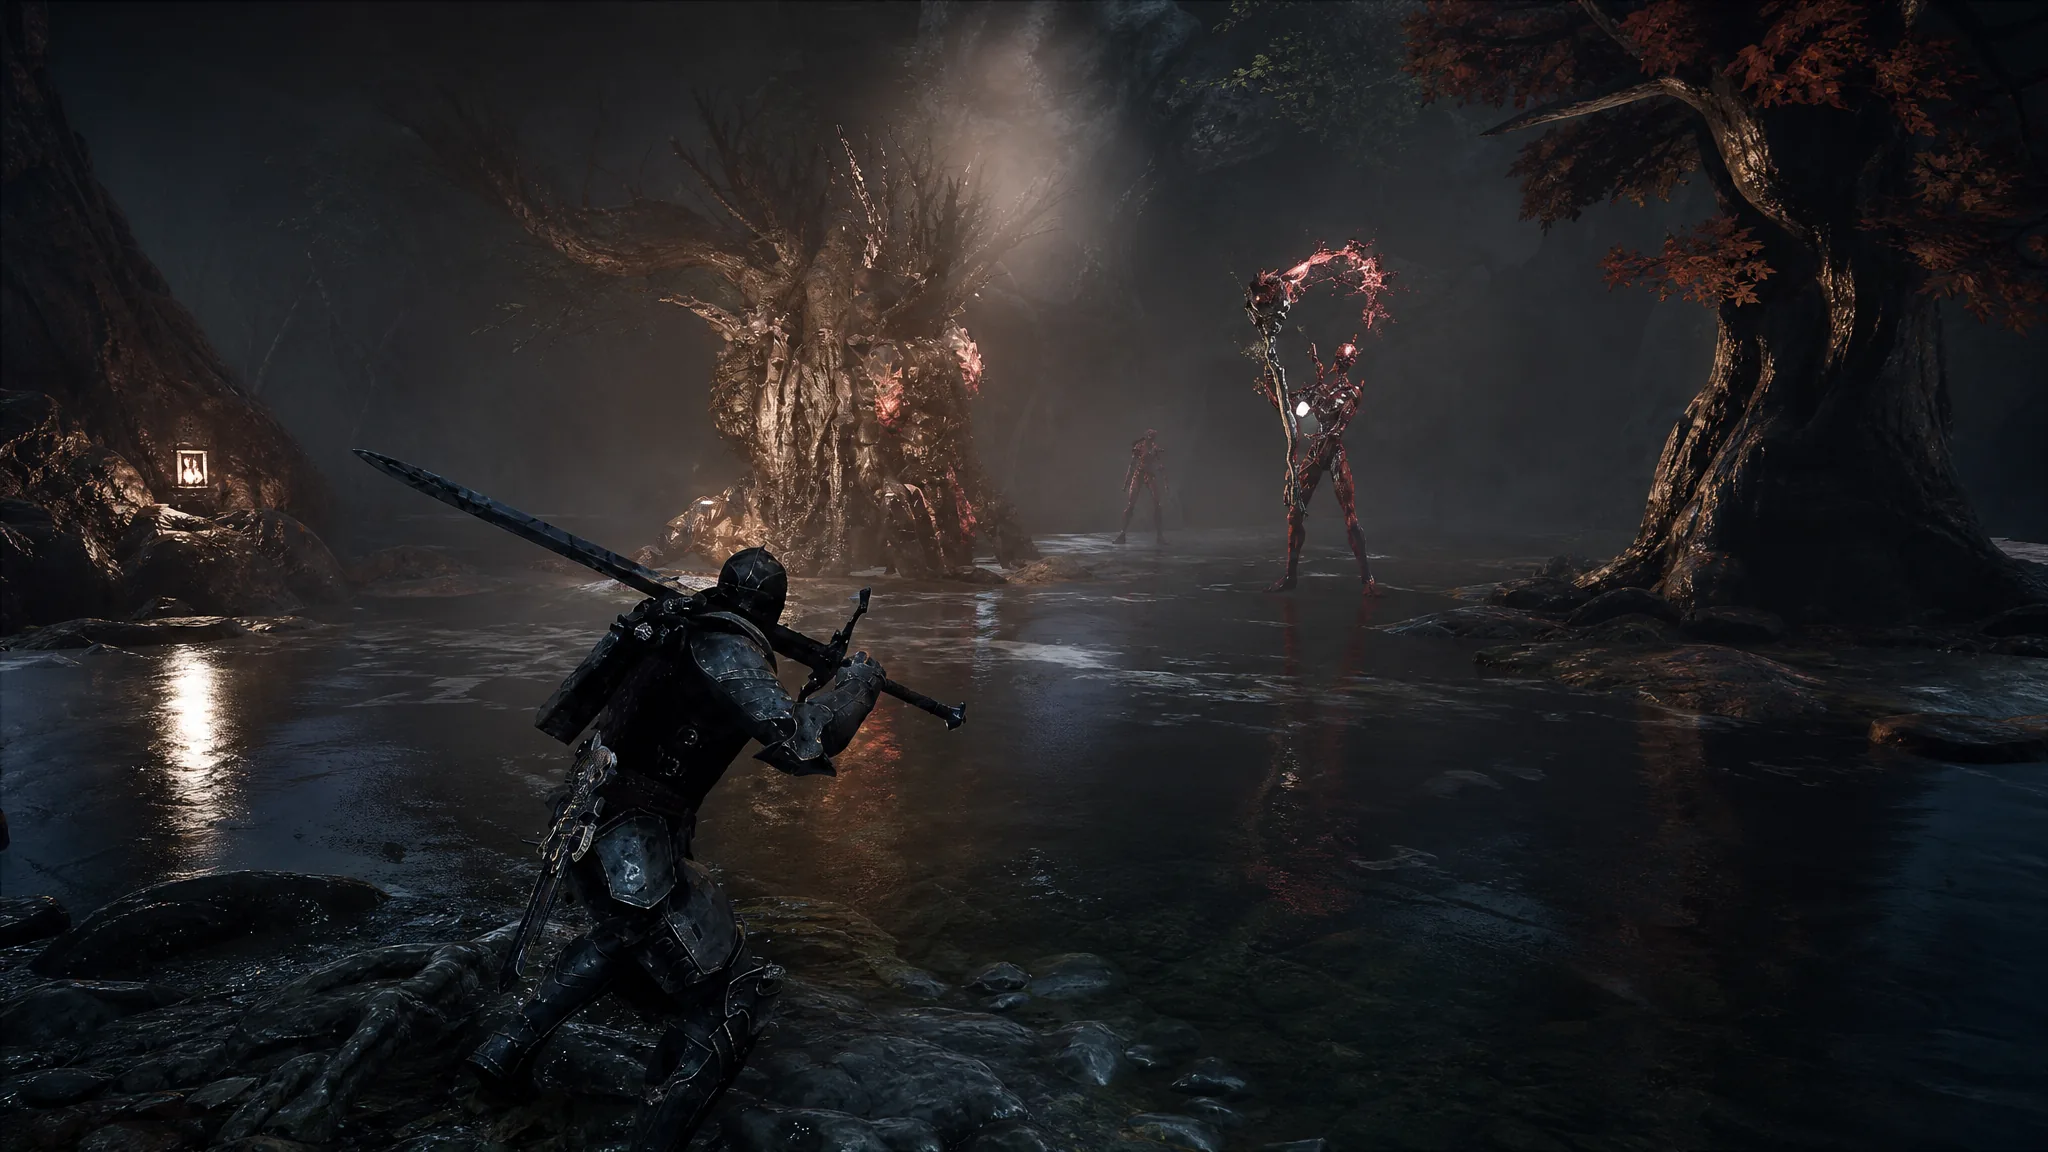
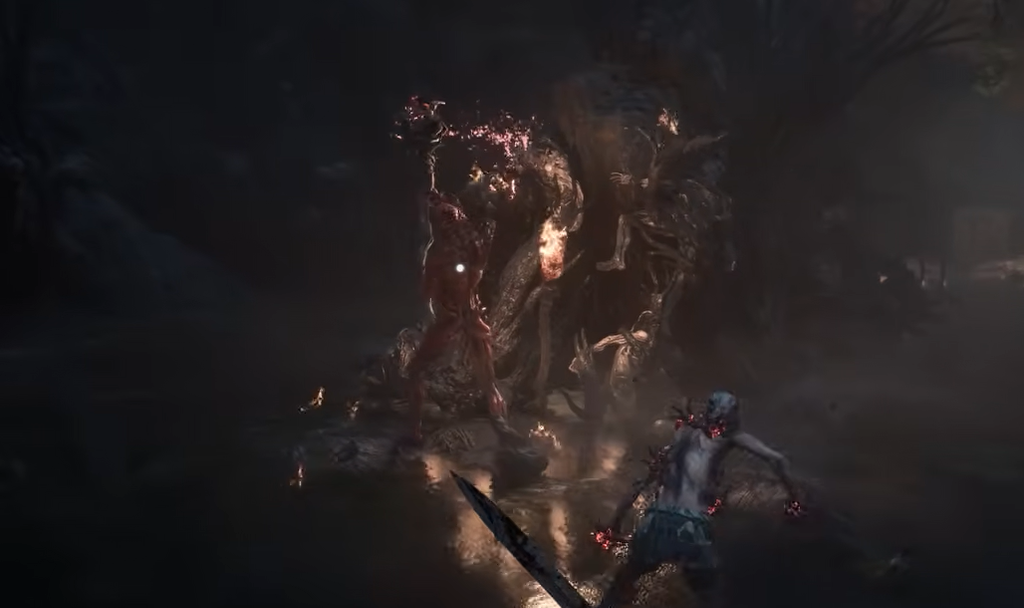
The Gloombound Ritualist is the first mini boss you can fight in Mortal Shell II, tucked into the swampy prologue area of Disciple’s Pass. It is an optional encounter with a small move set, and the biggest threat comes from the exploding minions it summons rather than its own swings. Learn to space around those and the fight is short.
Quick answer: Open with your Shell ability to build break damage right away, then parry (or dodge) its staff combos until the break meter fills and finish it with a riposte. When it summons explosive corpses, run to one side and leave them behind instead of trying to fight through them.
Where to find the Gloombound Ritualist
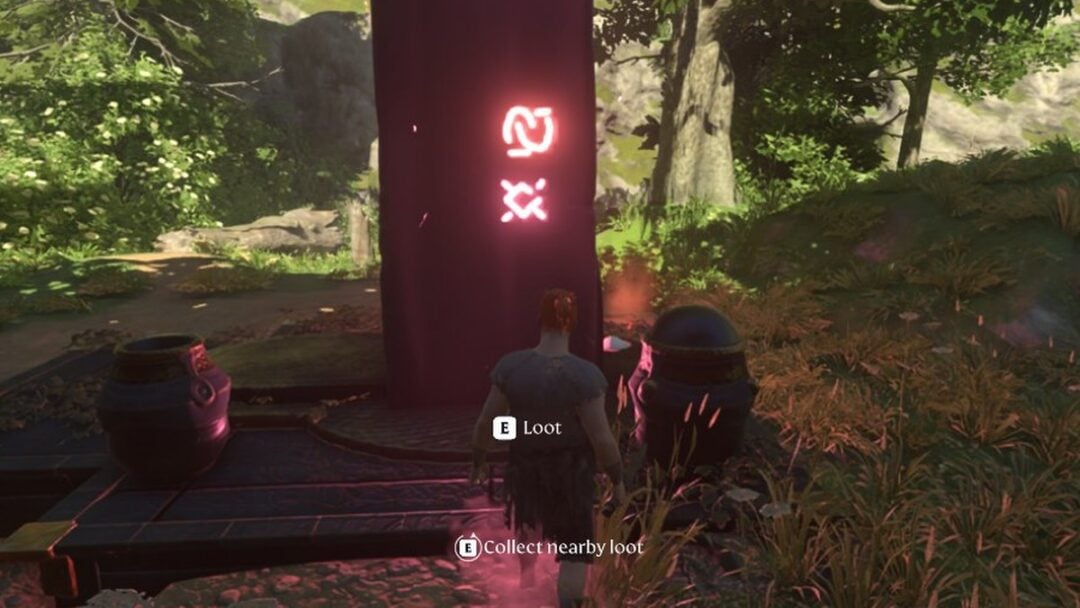
The Gloombound Ritualist waits at the end of a swampy path in Disciple’s Pass during the prologue. When the route splits into two, take the left path. The mini boss can also be reached from the right, but that side is guarded by enemies that inflict poison, so the left approach is cleaner.
There are still enemies to clear on the left path, so deal with them before dropping in. When you are ready, drop down into the flooded swamp and walk toward the middle of the arena to start the fight. Note that the water and low visibility can make the boss harder to track, so keep it centered on your screen.
Gloombound Ritualist attack patterns
The Ritualist has a compact set of moves. Most of the danger comes from the summoned bombs, while the staff strings are punishable once you know the timing.
| Attack | What it does |
|---|---|
| Summon Undead Bombs | Summons undead enemies (usually 2–3) that rush toward you and explode when they get close. |
| Trigger Explosions | Same windup as the summon, but the explosions erupt from the ground instead. |
| Fire Projectile | Raises its staff and fires a projectile that travels in a straight line toward you. |
| Two-Swing Combo | Swings its staff twice at its target. |
| Swing and Thrust Combo | Similar to the two-swing, but ends with a thrust. |
| 5-Hit Combo | After a long windup, launches a fast combo that ends in an overhead swing. |
| Overhead Swing | A single overhead smash with the staff. |
How to beat the Gloombound Ritualist
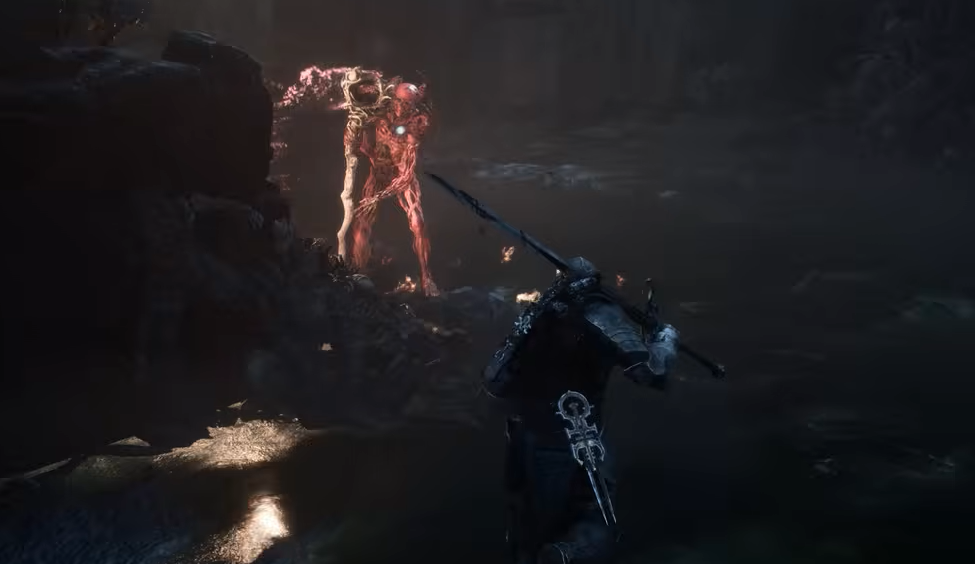
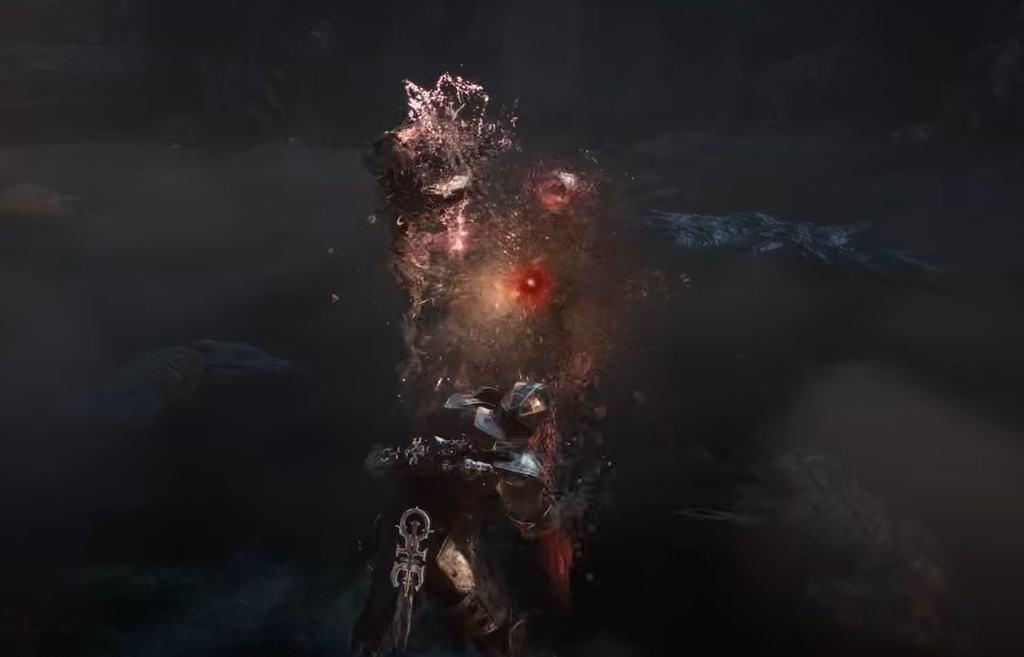
The overhead swing and the 5-hit combo both have clear windups. Watch for the long wind-up on the 5-hit combo and either parry from the first hit or roll clear before it finishes with the overhead.
Rewards and how to confirm the win
Defeating the Gloombound Ritualist rewards Gloom x360. Gloom is the currency you spend to level up the Harbinger while resting at Beacons. It drops when you die and is lost permanently if you die again before retrieving it, so bank it at a Beacon before your next risky push.
You know the fight is over when the break meter fills and your riposte lands the killing blow, or when its health bar empties. The boss collapses, the Gloom is added to your total, and the arena clears of the summoned bombs. Because this is an optional prologue encounter, clearing it once removes it for good and leaves you free to continue toward the rest of Disciple’s Pass.