Fragile Tarstones in Mortal Shell II only pay out after they shatter, and shattering one means defeating 20 enemies while it sits in your loadout. Hunting down 20 real fights per stone is the slow way to do it. The fast way is a pen of sheep in the Glutted Mire that respawns every time you rest, sitting less than 30 seconds from a beacon.
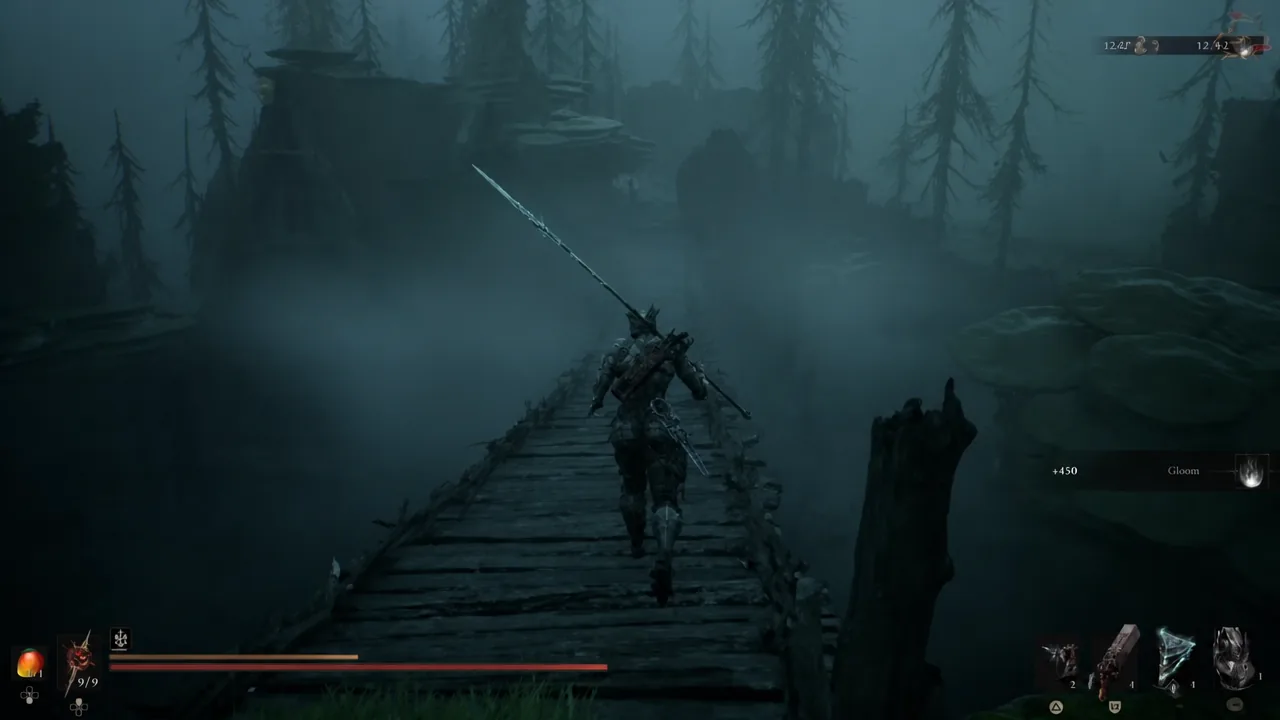
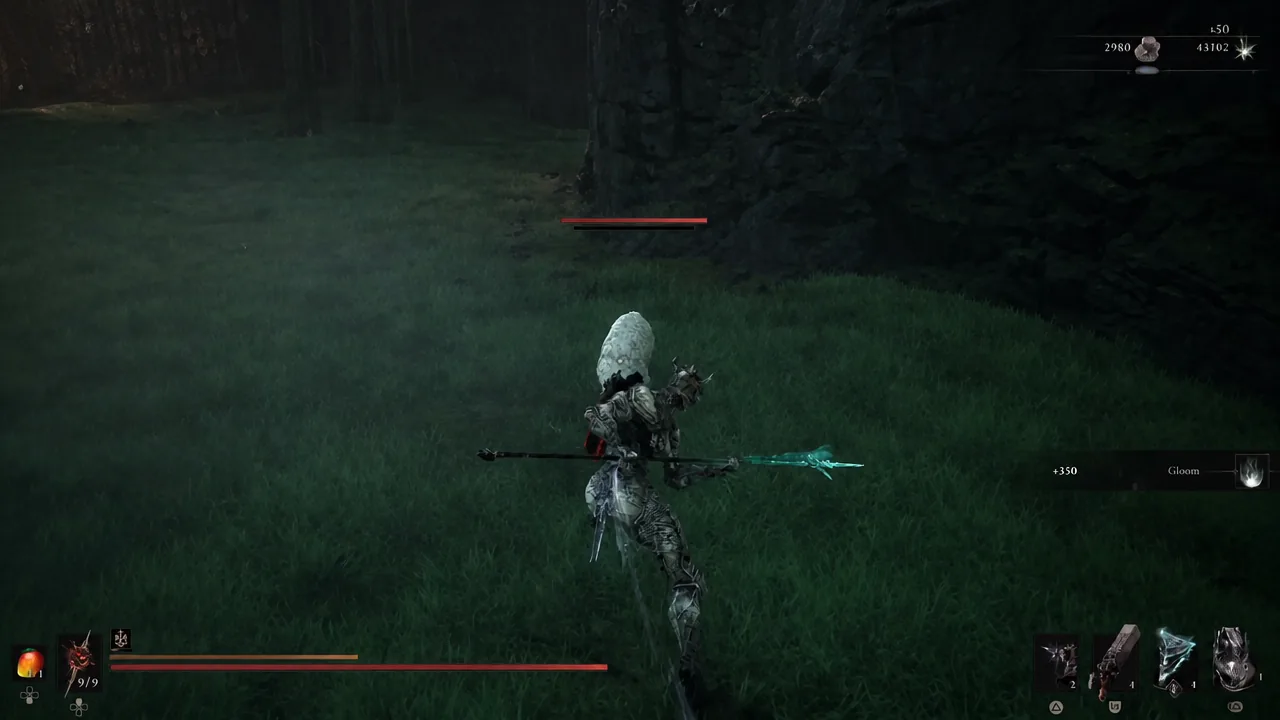
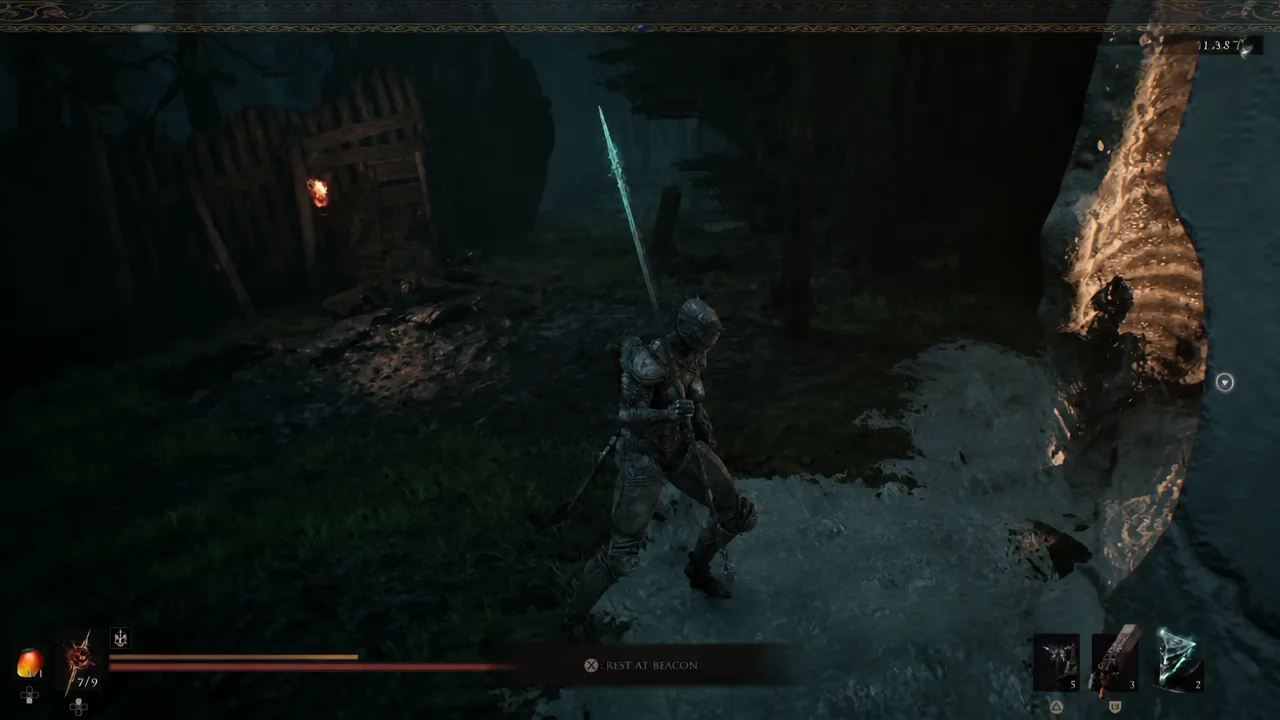
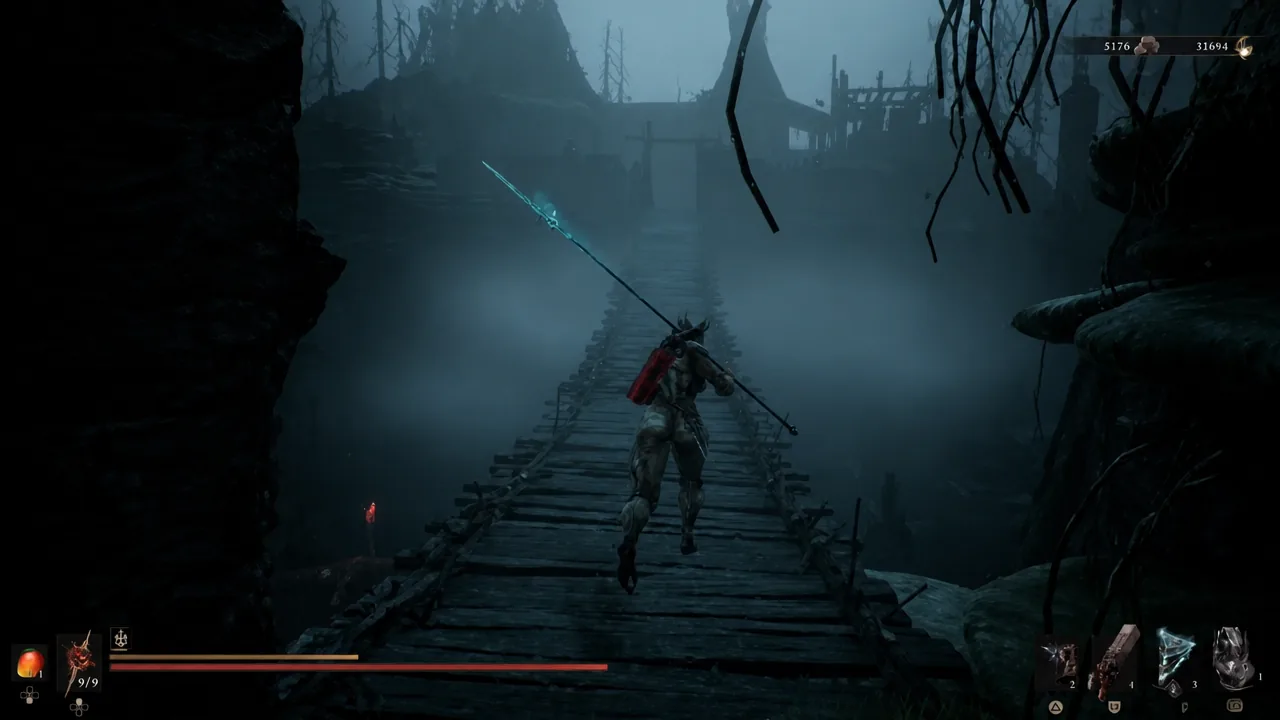
Quick answer: Equip a Fragile Tarstone, fast travel to the Sunken Village beacon in the Glutted Mire, cross the wooden bridge to the sheep pen, kill every sheep, then run back and rest at the beacon to respawn them. Repeat until the stone’s 20/20 durability hits zero and it breaks.
How Fragile Tarstone durability works
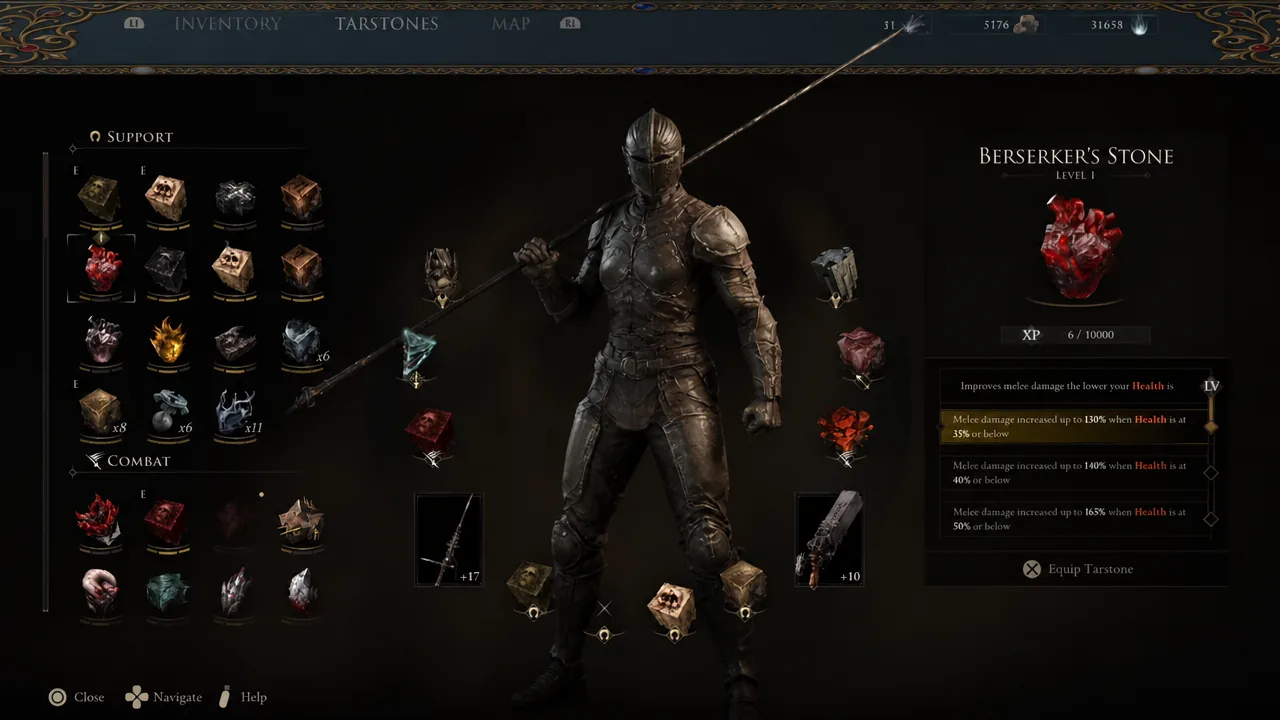
A Fragile Tarstone is a one-use Tarstone with a durability counter of 20. Each enemy you defeat while it is equipped removes one point. At zero, the stone breaks and fires its payload. Sheep count. There is no minimum enemy level or difficulty check on the counter, which is the entire reason this route works.
Only one Fragile Tarstone can be slotted at a time, so you cannot burn through a stack in parallel. Breaking 45 Glimpse Stones means running the 20-kill condition 45 separate times, which is why cutting the per-stone time down matters more than anything else.
| Fragile Tarstone | Break condition | On break |
|---|---|---|
| Glimpse Stone | Defeat 20 enemies | 3 Glimpses |
| Justiciar’s Stone | Defeat 20 enemies | +10% crit chance |
Glimpse Stones themselves drop from the Lithopods in The Unfound Path and can be bought from Merrick in Marrow Keep. Stone crabs in the main game do not drop them; they roll Egon’s Stone, Justiciar’s Stone, and Gloombound Stone instead.
Reaching the Sunken Village beacon in the Glutted Mire
The Glutted Mire is an unmapped region sitting behind the Mushroom Village Gate. You need to clear that gate first, which means entering the dungeon, working through the Hall of Illusions puzzle, dispelling the illusory wall, beating the boss, and touching the Ova Cluster to open the way through.
Past the gate you drop into Seeping Mire and continue on to the Sunken Village beacon. Once it is lit, it appears on the fast travel map under Glutted Mire alongside Seeping Mire and Magdalena’s Glade, and you never have to walk the approach again.
The sheep pen loop
Confirming the stone actually broke
A broken Glimpse Stone reads as FRAGILE TARSTONE, BROKEN in your inventory and the three Glimpses land straight away, ready to hand to Zhirelle in Marrow Keep for Shell Bonding. A Justiciar’s Stone applies its +10% crit chance the moment it shatters. If the durability number has not moved after a run, the stone is not equipped in your active Tarstone slot.
Note: only one Fragile Tarstone contributes at a time. Carrying a stack does nothing on its own, and kills earned while a different stone is slotted do not carry over.
Farming Extracted Specimen on the same run
The sheep also drop Extracted Specimen, a tradeable item worth 100 coins each at Merrick in Marrow Keep. Since you are already killing dozens of them per stone, the specimens pile up for free while the durability counter drains.
The drops come from the Proxima Shell’s Collector ability, which harvests flesh samples from kills. Pushing Proxima’s Shell Bond to Tier III with Zhirelle and maxing Collector raises both how often specimens drop and how many you get per kill. Specimens left on the ground persist across beacon rests, so you can chain several kill cycles and then sweep the pen once at the end rather than stopping to loot after every pass.
Two other things stack neatly here. Justiciar’s Stone raises coin drops per kill while it is equipped, so breaking one at the pen pays out twice. And the Auto Pick Up Gold setting removes the manual looting of coin pouches between runs.
Blackridge Pass as an alternative break spot
If you have not opened the Mushroom Village Gate yet, Blackridge Pass covers the same 20-kill condition. Rest at the beacon, turn around, and two bats hang from a tree across the bridge. Both go down to one shot each from a Sidearm such as the Ballistazooka or the Forgotten Crossbow, with no upgrade investment needed, then you rest to respawn them.
| Spot | Enemies per rest | Also yields |
|---|---|---|
| Sunken Village, Glutted Mire | A pen of sheep | Extracted Specimen, coins |
| Blackridge Pass | Two hanging bats | Nothing notable |
The bat loop clears roughly two kills every five seconds, which works out to about 50 seconds per broken stone. The sheep pen trades a slightly longer approach for a much larger group per reset plus the specimen income, so it is the better choice once the Glutted Mire is open.
Stockpiling first is worth the extra planning. Collect a batch of Glimpse Stones from the Lithopods near the Chamber of the Forsaken beacon in The Unfound Path, then bring the whole stack to Sunken Village and grind them out back to back. Fully maxing a Shell’s Bonding takes 27 Glimpses, so the arithmetic adds up quickly, and running the pen once means you walk away with Glimpses, broken Justiciar’s Stones, and a sack of specimens to sell all from the same beacon.