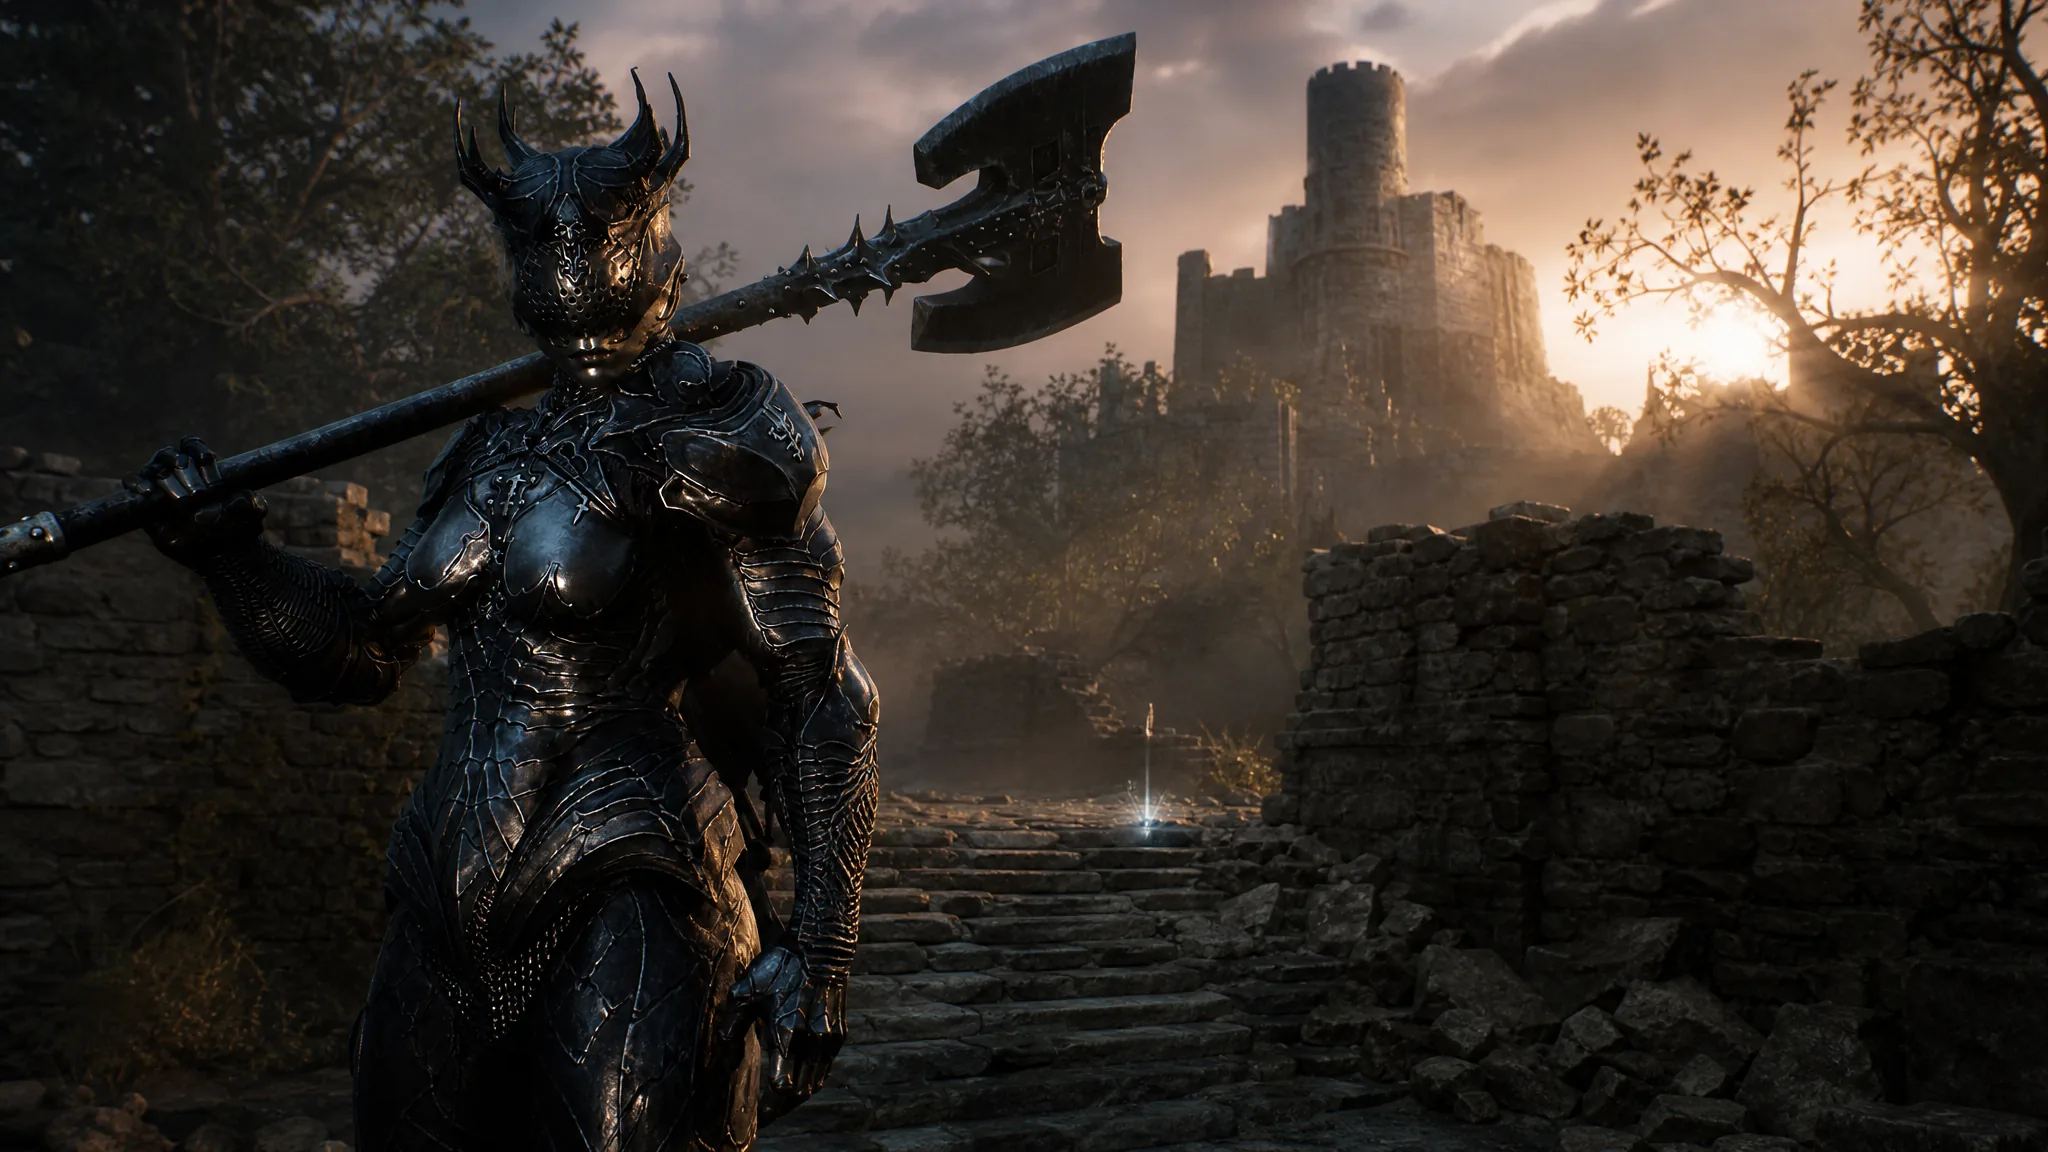
The Castigator’s Keep beacon sits at the top of the Castigator’s Keep ruins in the center of the Ruins of Mammon. Cleansing it drops you into Viletongue’s Domain, a compact mini-dungeon that ends with a locked gate, a missing lever, and a boss fight where your movement inputs are flipped.
Quick answer: Enter the beacon, ride the elevator down, fight your way to the room with the lever-less gate, drink the Strange Concoction on the table to summon Viletongue Batushka, kill it for the Sage’s Gate Lever, fit the lever to the gate, then cleanse the corruption and collect the Ovum.
Where the Castigator’s Keep beacon is in the Ruins of Mammon
Head for the Castigator’s Keep ruins in the middle of the Mammon map. From the entrance, keep right and climb the stone stairs. The beacon is waiting at the top.
Interact with it and pick Cleanse Beacon. That option only appears on corrupted beacons, and choosing it teleports you inside rather than fast travelling anywhere. The other menu entries — Level Up, Change Shell and Equipment, Mether’s Pulse, Mether’s Breath, Return to Marrow Keep, and Leave — stay available before you commit, so sort your Shell and loadout first.
Route through Viletongue’s Domain
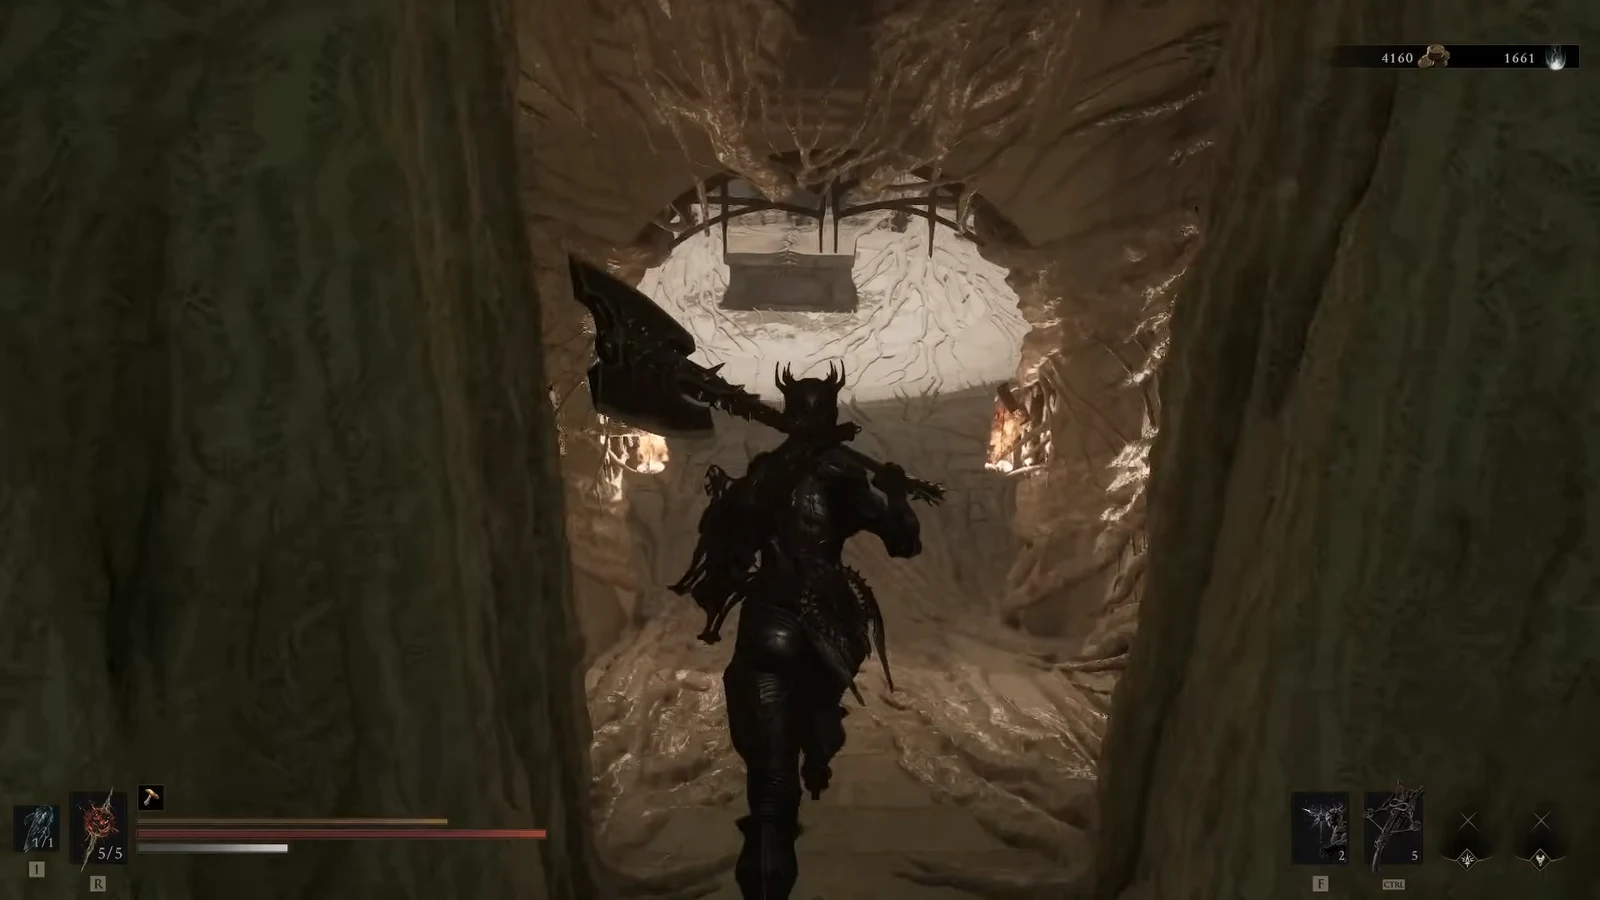
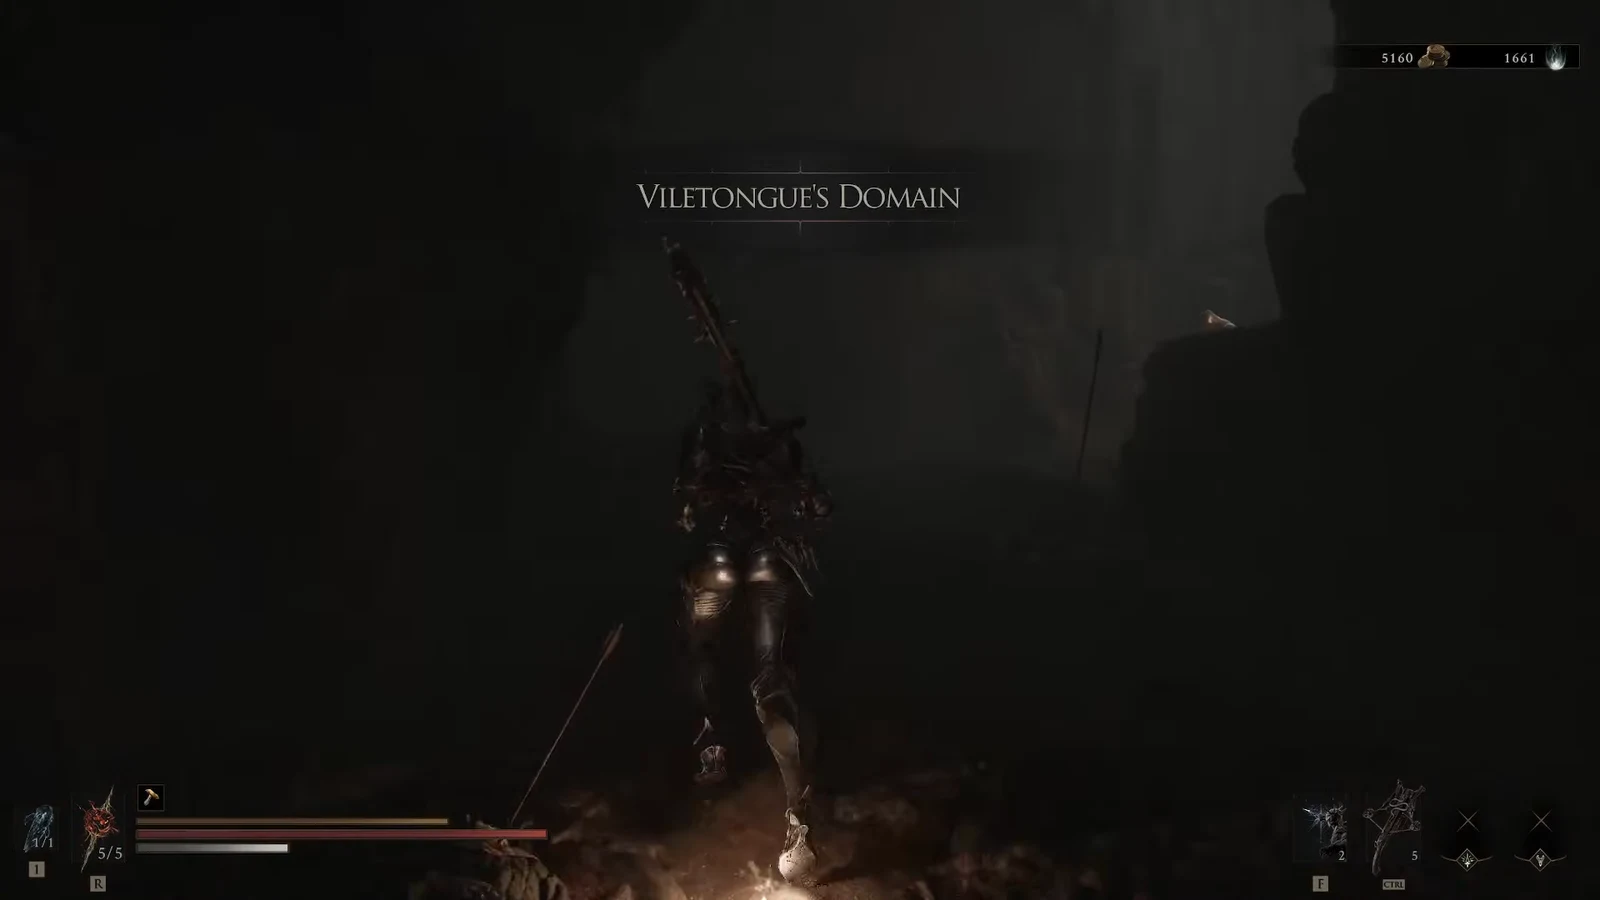
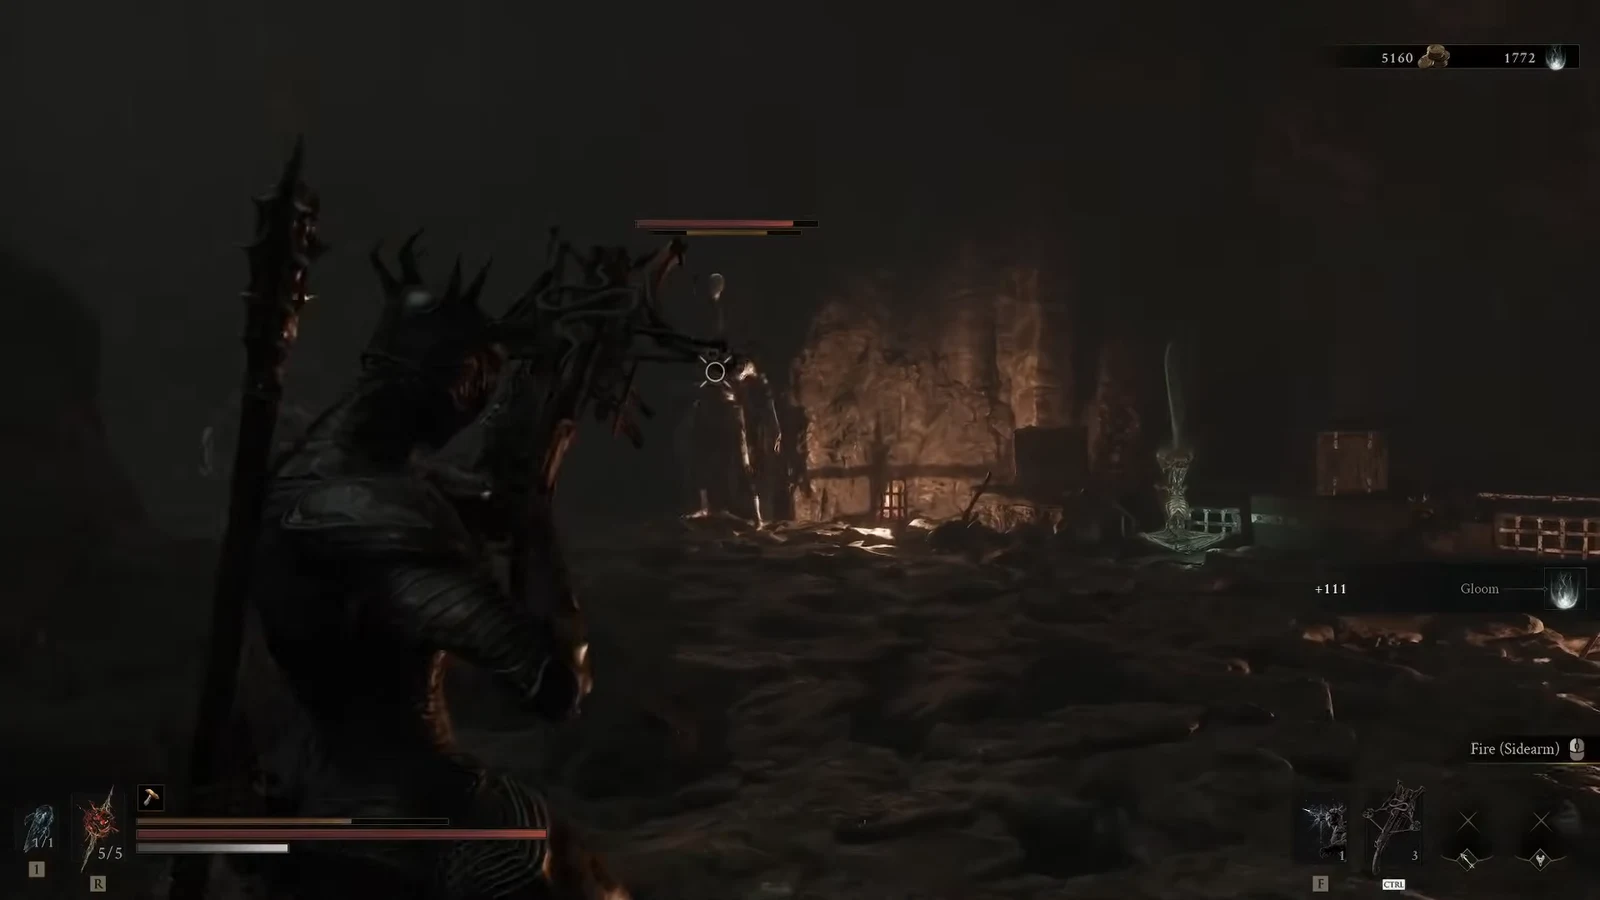
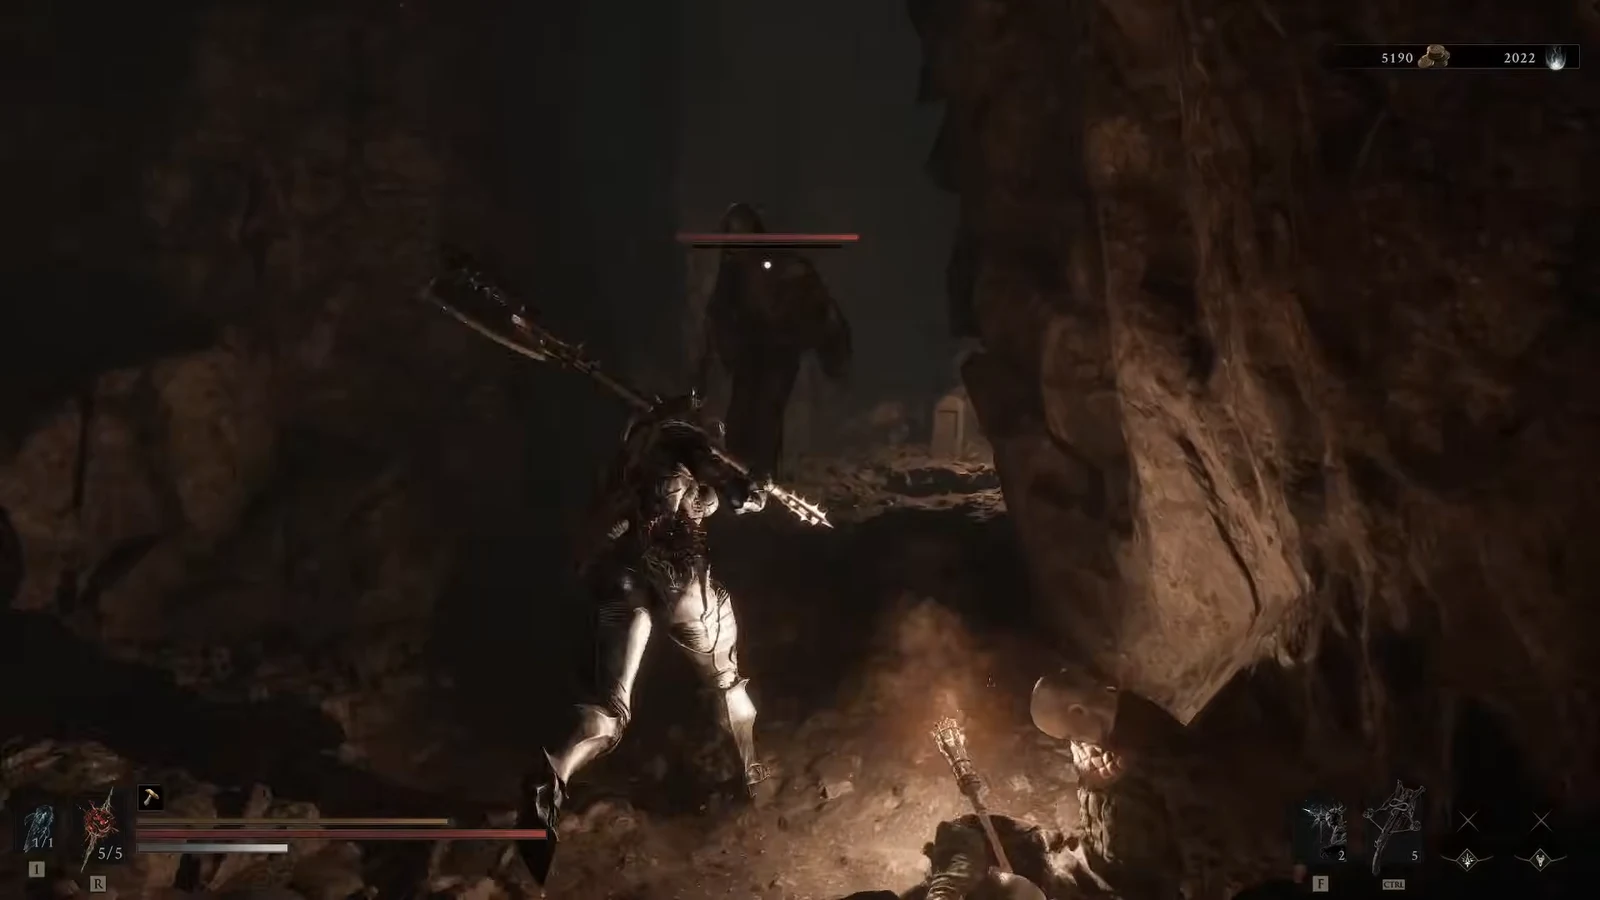
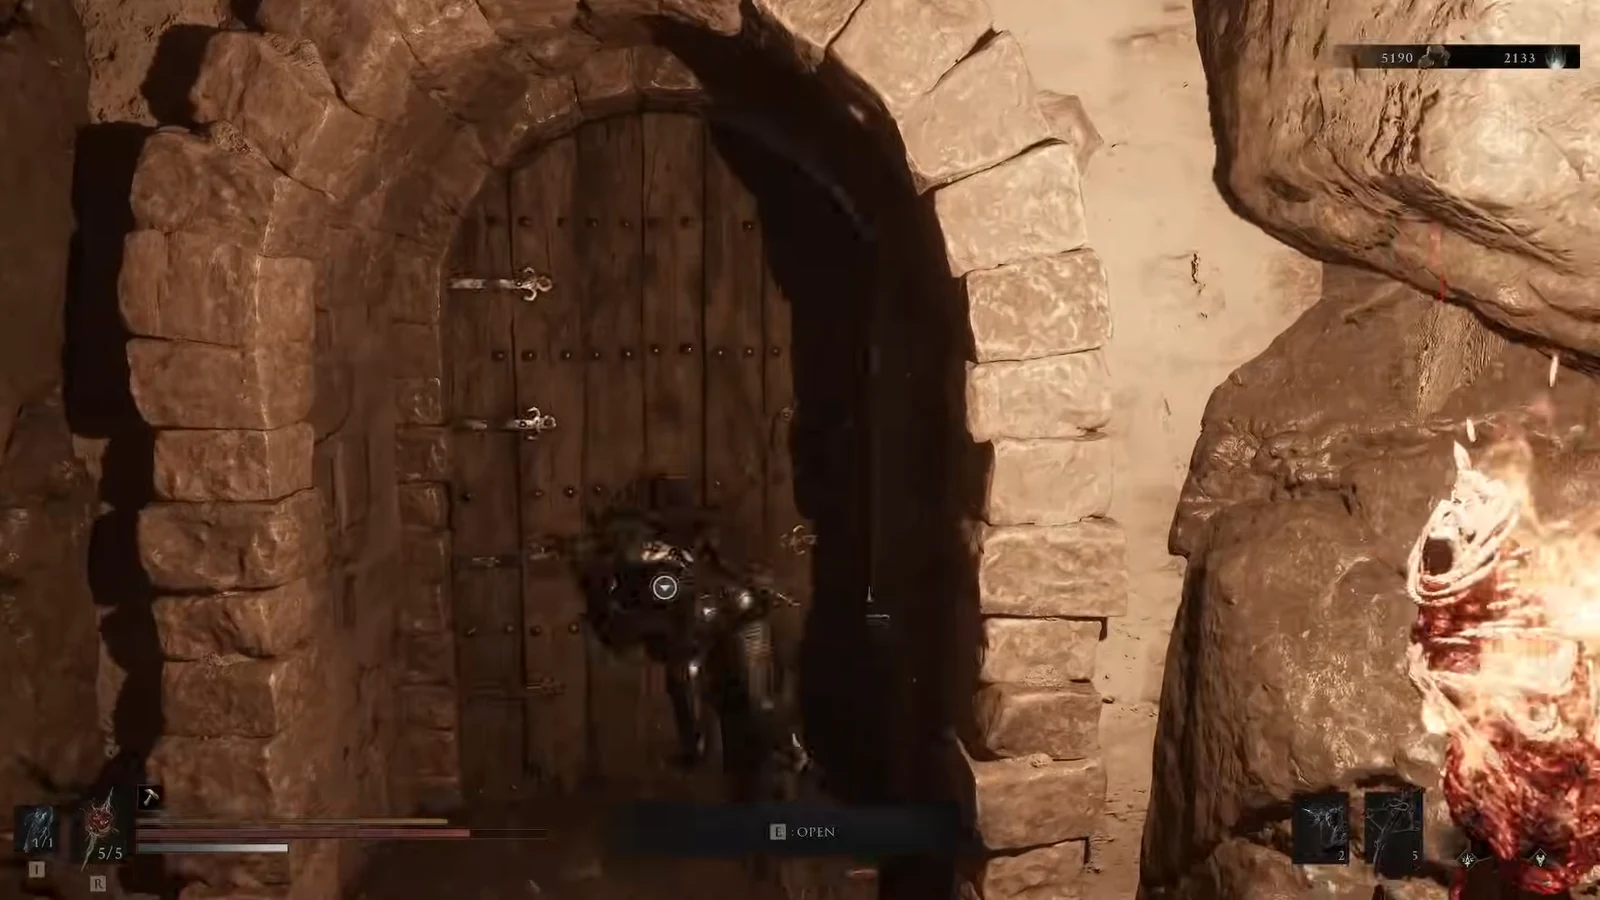
Drink the Strange Concoction to trigger the boss
The lever isn’t hidden somewhere in the dungeon. It’s carried by the boss, and the only way to summon that boss is to drink from the candle-lit table in the same room as the gate. Interacting with it brings up a “DRINK STRANGE CONCOCTION?” prompt with Yes and No options.
Choose Yes and Viletongue Batushka appears. There is no way to skip this fight and still open the gate.
Rest, restock, and swap equipment before you touch the table. Once the concoction goes down, the fight starts immediately in a cramped room.
Beating Viletongue Batushka with inverted controls
The concoction flips your movement inputs for the duration of the encounter. Pushing forward walks you backward, pushing left goes right, and every dodge lands in the opposite direction to the one you intended. That’s the entire gimmick, and it’s what makes an otherwise moderate fight dangerous.
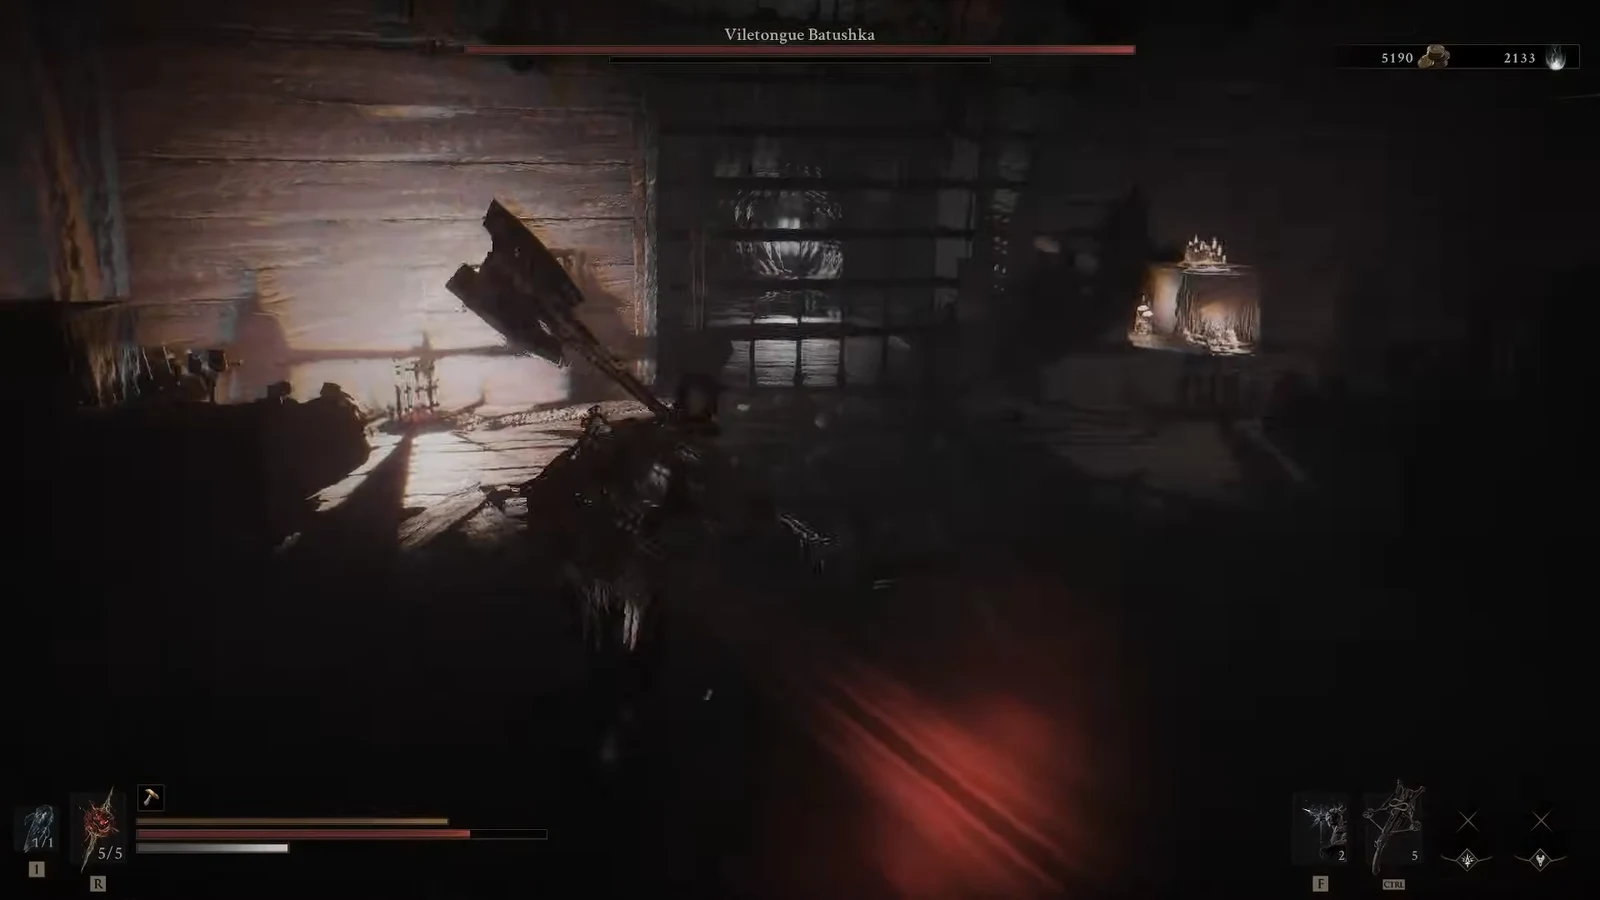
Lean on defensive options rather than repositioning. Harden and Perfect Guard both work off timing instead of movement, so they stay reliable while your directional inputs lie to you. Batushka has high poise, and basic light attack chains won’t stagger it, so trading combos is a losing play.
Watch the reach on its tongue attacks. Keeping distance is harder than usual because backing away requires holding forward, so pick a spacing early and commit to it rather than constantly adjusting. Break its pressure with a timed guard, punish the recovery window, then reset.
Everything you collect in Viletongue’s Domain
| Item | Where it comes from |
|---|---|
| 1,000 Coins | Sarcophagus in the entry corridor |
| Ventrurium x1 | Ground loot in the cave fight |
| Coins and Glimpse pickups | Scattered through the domain and dropped by enemies |
| Sage’s Gate Lever | Viletongue Batushka drop |
| Viletongue Hedron x1 | Viletongue Batushka drop |
| Ova x3 | Behind the gate, at the end of the dungeon |
| Glimpse x1 | Beacon cleanse reward |
Fit the lever and confirm the beacon is cleansed
Back in the overworld, the black tendrils around the beacon are gone and its map icon changes to the cleansed version. If you ever need to double-check later, the Mether’s Breath fast travel list shows cleanse status by icon, which is useful because beacons tucked inside Gates don’t appear on the world map at all.
Why the cleanse didn’t complete
Two things stop this beacon from registering. The first is walking away after killing Batushka without installing the lever — the boss drop alone doesn’t count as progress, and the gate stays shut. The second is opening the gate but leaving before taking the Ovum, since the beacon only flips to cleansed once you accept the return prompt.
If you die inside, you respawn at your last beacon and the regular enemies come back, but the dungeon layout and the Strange Concoction are unchanged. Nothing here is missable, so a wipe just means walking the route again.
Castigator’s Keep is one of 49 beacons in the game, 46 of which can actually be cleansed — Marrow Keep, Widow’s Overlook, and Outskirts of Mammon come pre-cleansed. Every Ova in a playthrough comes from cleansing these, so clearing Viletongue’s Domain feeds directly into the 168 Ovum you need before Marrow Keep will open the Unfound Path.