Shell progression in Mortal Shell 2 runs on a separate track from your Harbinger’s level. Your Harbinger grows by spending Gloom at Beacons, but a Shell only gets stronger when you deepen your bond with it, and that bond is what gates every ability tier on its perk tree. If your Shell abilities look permanently greyed out, the bond level is almost always the reason.
Quick answer: Go to Marrow Keep, speak to Zhirelle the Shellkeeper, choose Shell Bonding, and hold the Deepen Bond input to spend Glimpse. Each new Bond Level unlocks a fresh row of Shell abilities that you then purchase with Shell Points.
Glimpse vs Shell Points: which currency does what
Two different resources are involved, and mixing them up is the most common source of confusion. Glimpse raises the Bond Level and opens the tier rows. Shell Points buy the individual abilities inside those rows. You need both, and one cannot substitute for the other.
| Detail | Glimpse | Shell Points |
|---|---|---|
| Spent on | Bond Levels, which unlock ability tiers and Shell Memories | Individual abilities inside an unlocked tier |
| Where you spend it | Zhirelle the Shellkeeper in Marrow Keep | Any Beacon level-up screen, or Zhirelle |
| How you earn it | Cleansing Corrupted Beacons and gates, specific chests, dungeons, some NPC events | Automatically at certain Harbinger level milestones |
| Can you undo it | No, treat every purchase as permanent | Yes, allocated points reset for free |
| Supply | Finite per playthrough | Repeatable by farming Gloom and levelling |
Because Shell Points come from Harbinger levels, the fastest way to fill out a perk tree is to farm Gloom near a Beacon and level up. Beacons respawn regular enemies when you rest, so a dense cluster of foes close to one is worth marking.
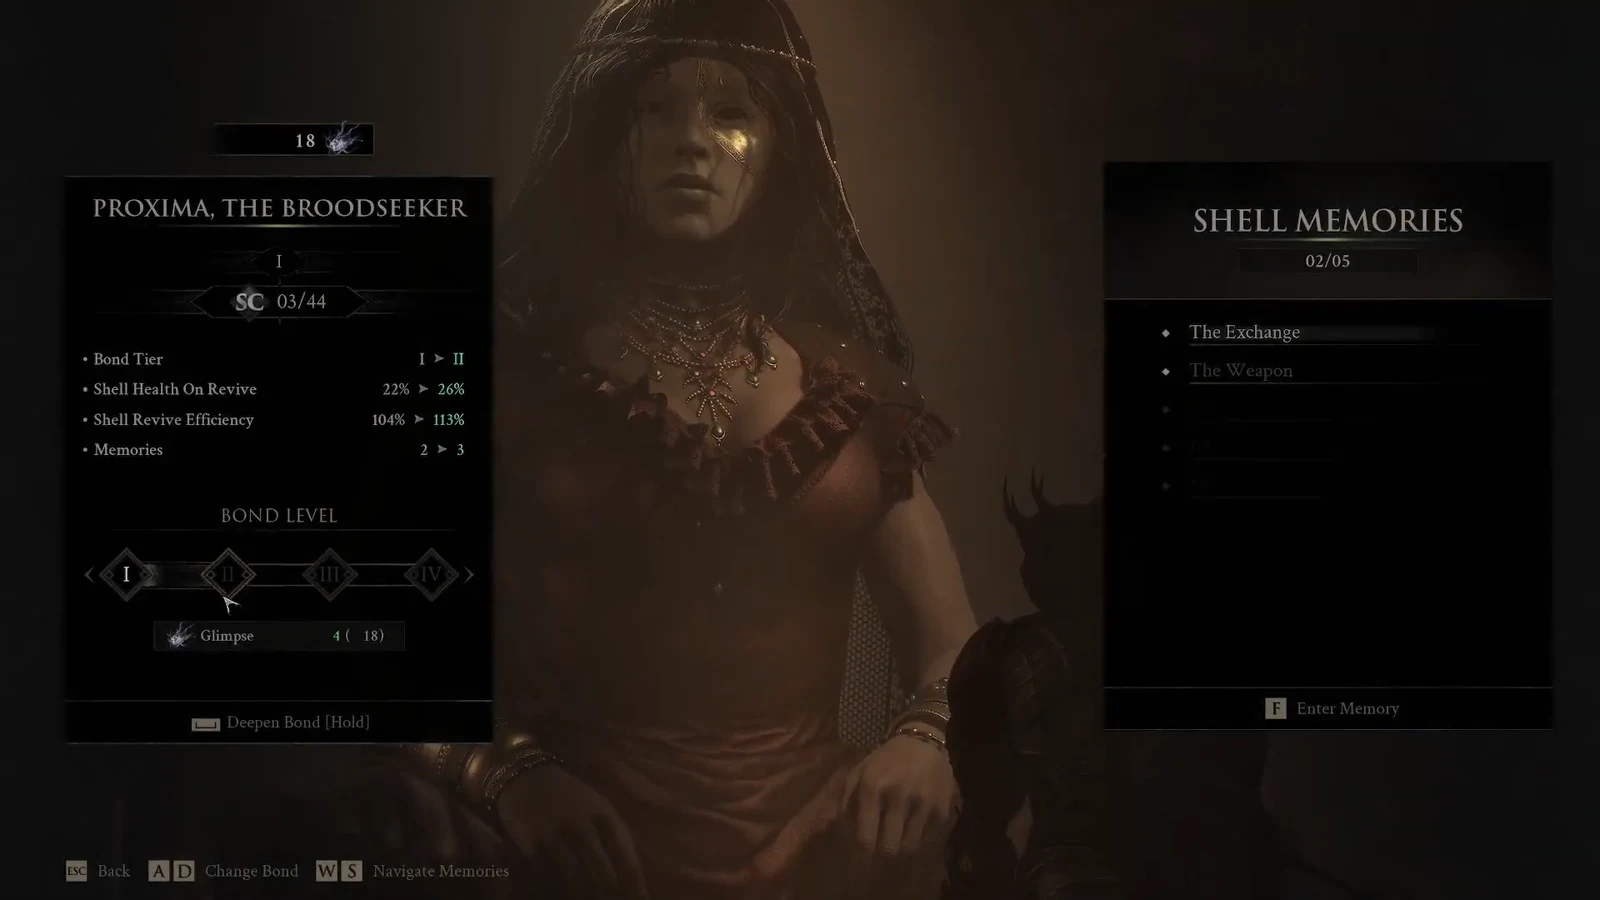
How to increase a Shell’s Bond Level at Zhirelle in Marrow Keep

Unlocking Shell abilities and buying them with Shell Points
Back out of Shell Bonding and choose Shell Abilities. The tier rows that were sealed before your bond went up now read as unlocked, and you can scroll through named passives such as Biohazard, Seizure, Shellshock, Collector, Biohunter, Amperion and Reflection. Each entry offers Obtain Ability and Show Details, and confirming a purchase deducts Shell Points.
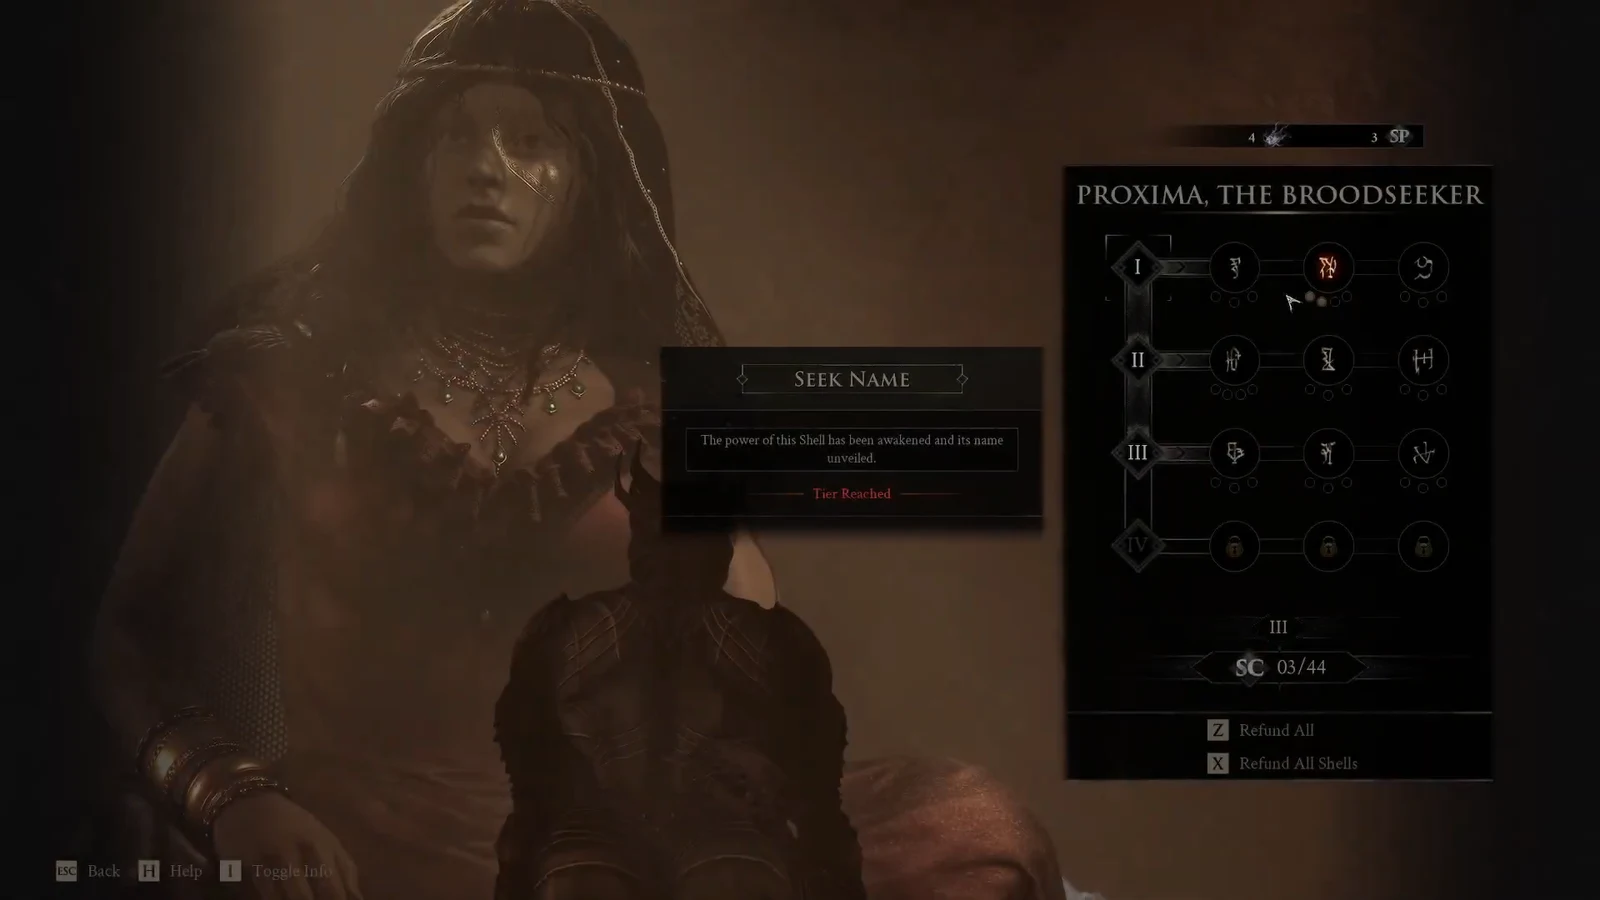
The same perk window appears on the Level Up screen at any Beacon once you have unlocked your first Shell’s Memories, so you do not need to run back to Marrow Keep every time you gain a level. Allocation and refunds both work from there.
Most passives can be bought more than once to reach stronger versions of themselves, with each additional rank costing more Shell Points than the last. A single fully upgraded passive is potent, but it eats the budget that several cheaper perks would have filled. Since resetting points costs nothing, it is worth trying both approaches against a boss before committing.
Tip: at Bond Level 1, most Shells offer a selectable perk granting immunity to a status effect. If poison, burning or freezing is what keeps killing you in an area, one Glimpse into the right Shell can solve the fight outright.
Glimpse costs and how many Shells you can realistically max
Glimpse is finite in a single playthrough, and the cost curve is steep at the top end. Getting a Shell off the ground is cheap. Taking it all the way is not.
| Bond progress | Glimpse cost | What it opens |
|---|---|---|
| Level 0 to Level 1 | 1 | Tier 1 perks, including status effect immunity options |
| Level 0 to Level 4 (max) | 27 total | All four tiers, up to the Tier 4 perks |
There are eight playable Shells whose bonds can be raised, and Glimpse can also be spent on permanently summoning Shell allies for boss fights, which competes for the same pool. In practice a single run supports roughly two or three fully bonded Shells, with the rest sitting at Bond Level 1 for their immunity perks.
Spending is effectively irreversible without a backup save, so decide which playstyle you actually enjoy before dumping 27 Glimpse into a Shell. Your Shells carry into New Game+, which is where you can finish bonding the ones you skipped.
Where to find Glimpse
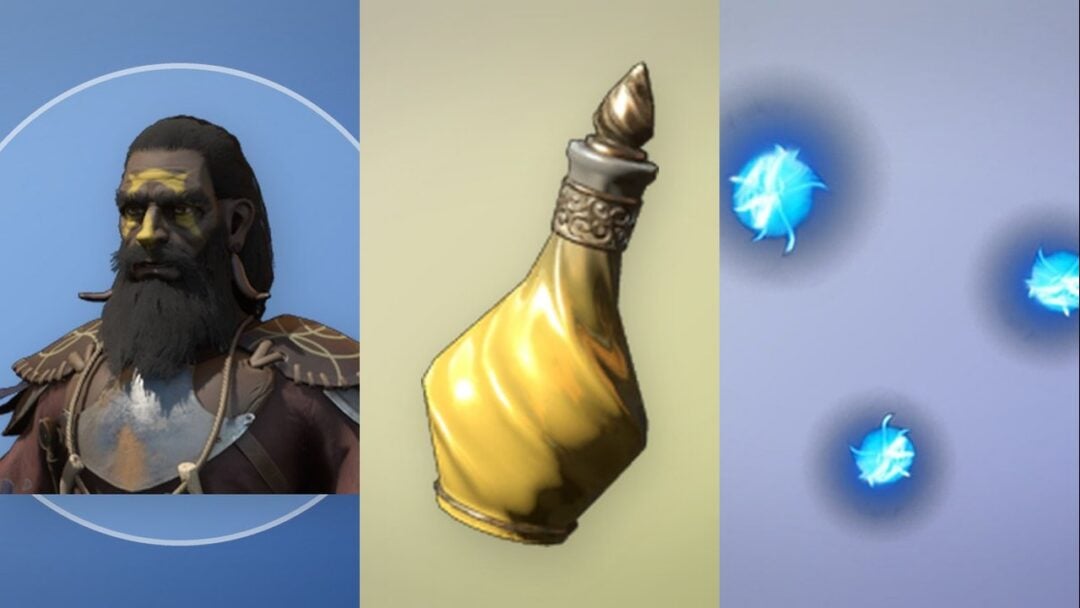
Glimpse shows up in the world as a vertical white wisp, usually near Beacons, Corrupted Gates and dungeons. Cleansing a Corrupted Beacon is the most reliable single source.
- Cleansing Corrupted Beacons and gates
- Specific chests scattered through the regions
- Dungeon interiors
- Certain NPC interactions, such as the Grisha Pup encounter in Mushroom Village
How to confirm the bond went up, and why a tier stays locked
A successful bond increase is impossible to miss. The game flashes SHELL BOND DEEPENED with the line “This Shell’s bond has deepened, increasing its power,” and the perk tree reports Tier Row Unlocked. The Shell Tier value on the bonding screen also ticks up, and the Shell Health On Revive and Shell Revive Efficiency stats change with it.
If nothing happens, there are only a few reasons. You may not hold enough Glimpse for the next Bond Level, which the Deepen Bond prompt will reflect. You may be looking at a perk row above your current Bond Level, in which case it stays sealed until you advance the tier. Or you have the tier open but no Shell Points left, which is a Harbinger level problem rather than a bond problem, and is solved by farming Gloom and levelling at a Beacon.
One last thing worth internalising early: Gloom drops where you die and vanishes for good if you fall again before retrieving it, so bank your levels before a risky boss attempt. Glimpse carries no such risk, but its scarcity means every Deepen Bond is a decision about which Shell you plan to finish the game in.