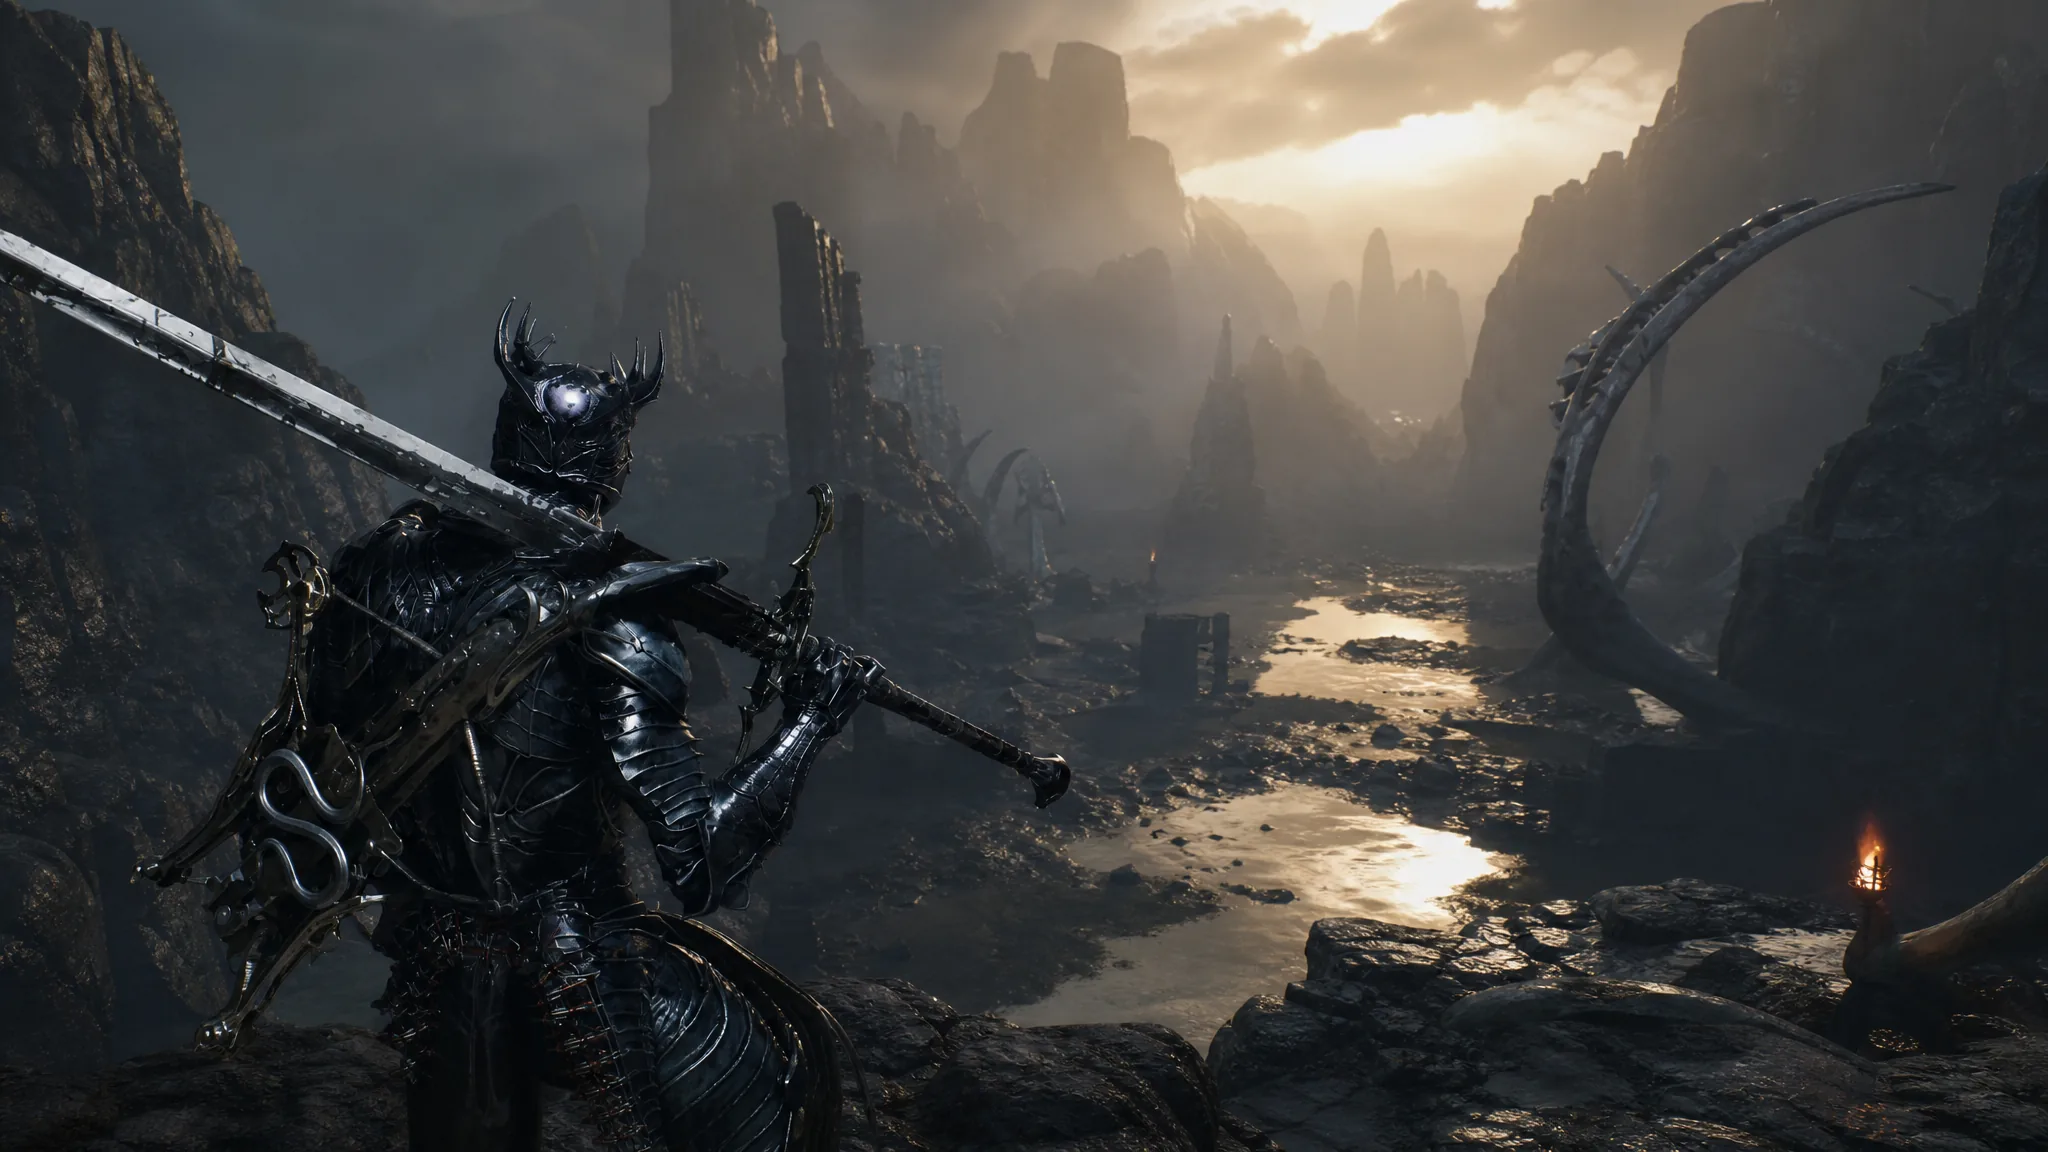
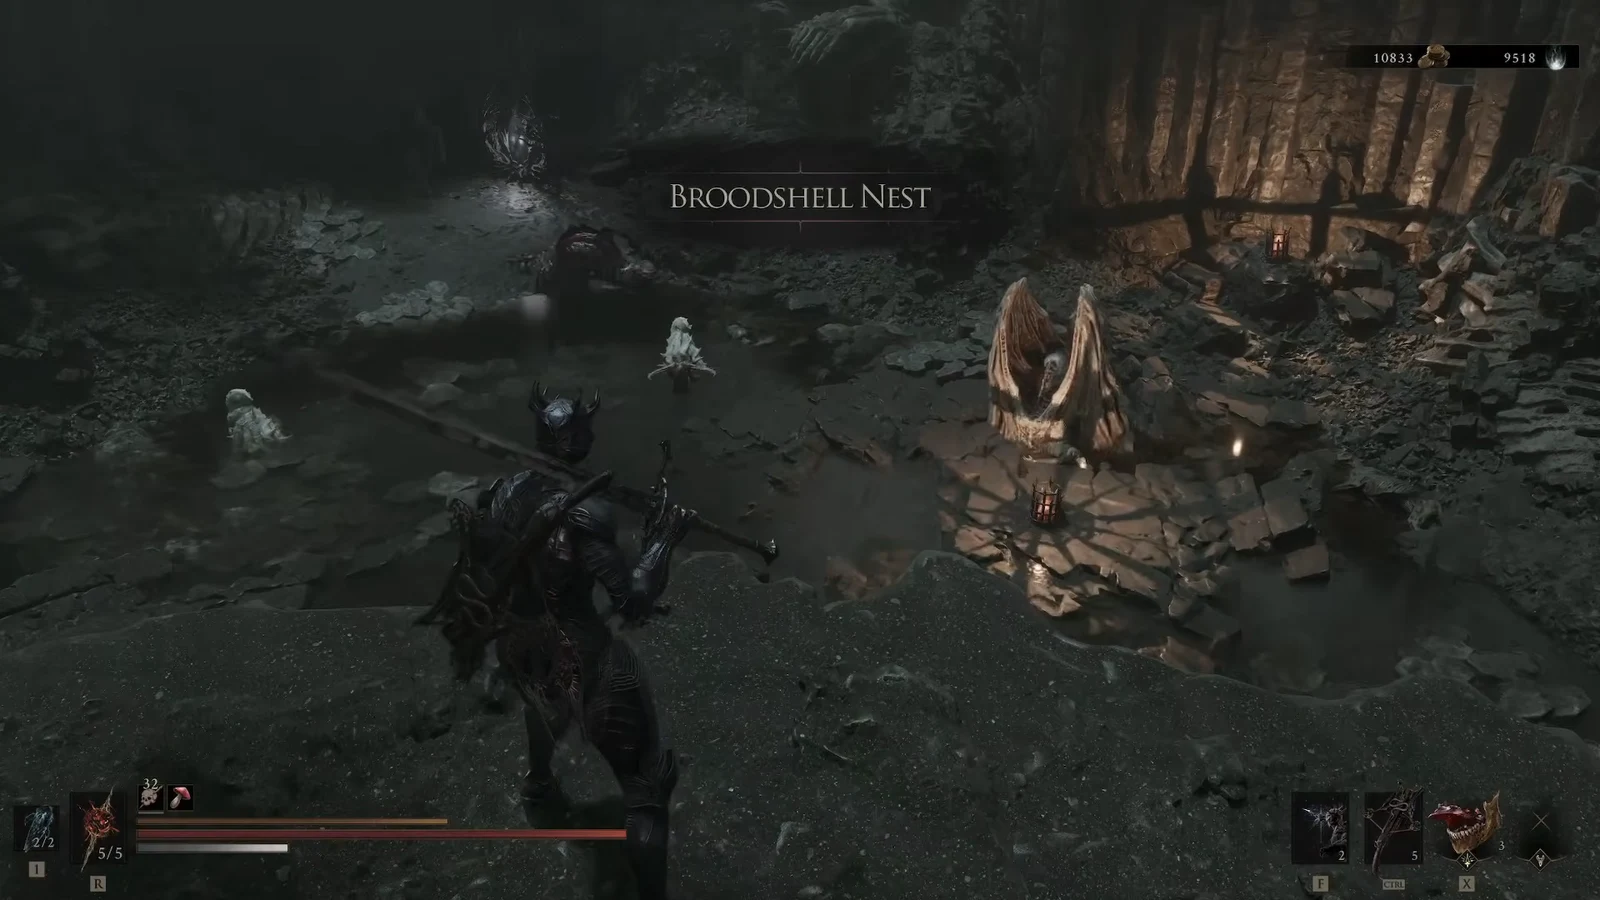
The Ossinite Falls Beacon sits in the Withered Shoals, one of the corrupted zones in the Ruins of Mammon side of the map. It is the 38th Beacon in the fast-travel order, and like most corrupted Beacons it drops you into a short dungeon built around a Broodshell Nest. Cleansing it turns the Beacon into a safe checkpoint and hands you an Ovum, which is the resource the Harbinger is sent to recover.
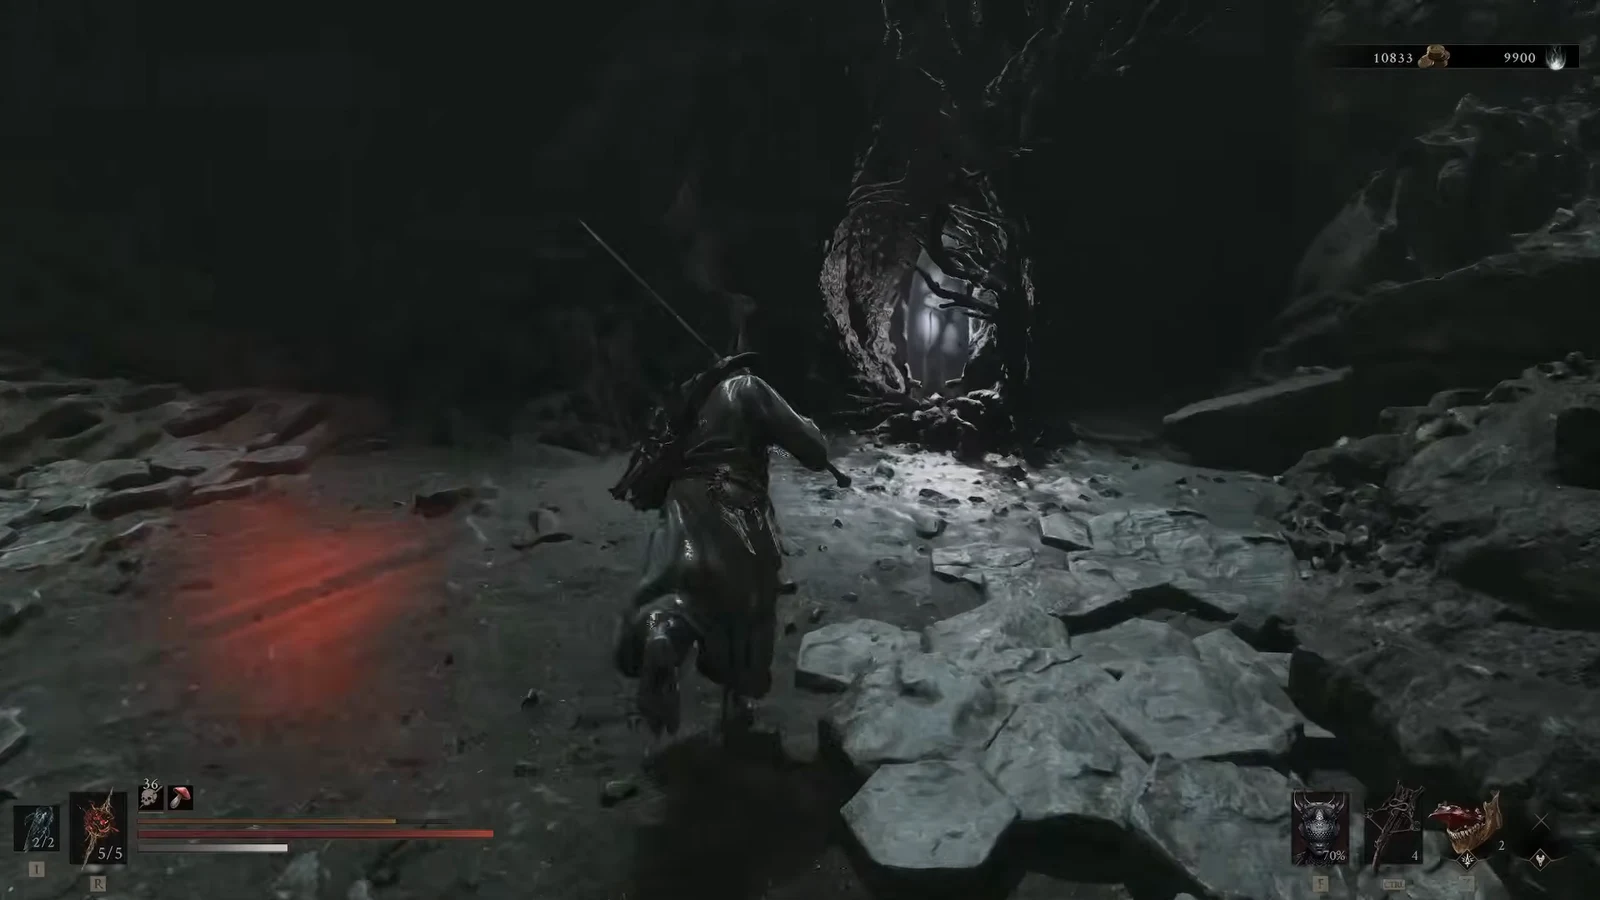
Quick answer: Interact with the Ossinite Falls Beacon and pick Cleanse Beacon. Clear or run past the enemies in the Broodshell Nest, activate the node showing the CLEANSE CORRUPTION prompt, collect the Ovum, and choose Yes to return. The run is finished the moment BEACON CLEANSED appears on screen.
How to reach the Ossinite Falls Beacon
The Withered Shoals is usually the first or second gate you meet in the Mammon region. Start from the Outskirts of Mammon Beacon and head southwest, passing through a Bone Portal and a village of coffin enemies until you reach the Gate of Mammon Beacon. Cleanse that Beacon first to open the door into the Withered Shoals proper.
Inside the Shoals you will fight eel enemies, large snails, and packs of brigands, so watch for bear traps scattered through the area with the giant skeletal remains. Keep pushing forward past the multi-limb and head enemies and the Ossinite Falls Beacon appears at the end of the stretch.
Cleansing the Beacon step by step
How to confirm the cleanse worked
The BEACON CLEANSED banner is the confirmation. After it appears, the Ossinite Falls Beacon stops being corrupted and works as a normal checkpoint. From it you can level up, swap Shells, change equipment, and travel back to Marrow Keep through the Mether’s Breath.
Note: One large snail’s shell can look like the Beacon from a distance in this stretch of the Shoals, so do not mistake an enemy for the checkpoint when you are lining up the interact prompt.
What to grab after cleansing Ossinite Falls
With the Beacon secured as a checkpoint, the surrounding caverns hold two Tarstones and an optional boss. Collecting the Tarstones before you commit to the boss saves a return trip, since crossing the wooden bridge deeper in the cave starts the fight.
| Reward | Where to get it | Effect |
|---|---|---|
| Torpor Stone | Enter the waterfall just past the Beacon, or open the chest guarded by a white wolf-like enemy in the cave system | Tarstone that can be inspected and equipped from the Tarstones menu |
| Accursed Stone | Equipped from the Tarstones menu | Applies Curse to sidearms on critical hits, useful for critical-focused builds |
| Strange Remnant | Defeat Strange Grisha across the wooden bridge | Tarstone reward that appears in your inventory after the boss dies |
Beating Strange Grisha
The route to Strange Grisha runs through a dark swamp with spider-like enemies and ghouls, so avoid long attack chains when several are near you. Keep following the cavern until you reach the wooden bridge, then cross it to begin the encounter with full health and resources.
Strange Grisha uses the same attack patterns as other Grisha-type enemies, so watch its windups and strike during the recovery frames rather than attacking constantly. Dodge red attacks instead of trying to absorb them, and use Parrying, Perfect Guarding, or Perfect Hardening to build Break Damage for a Riposte opening. Defeating it adds the Strange Remnant Tarstone to your inventory, which makes the full Ossinite Falls run worth finishing in a single visit.